How to Digitize Your Signature
In this tutorial, I’ll walk you through the step-by-step process to learn how to digitize your signature in Photoshop. If you plan to sell your artwork online or license it on products, I always recommend making sure that your signature is included somewhere in your artwork. I also recommend making sure that your signature is legible. This way, if someone sees your art in the wild and wants to learn more about the person who created it, they can find your signature, google you, and become a raving fan of your work!

I include my signature on as many of my pieces as possible - including seamless patterns! There are two main reasons for this:
Brand recognition. I include the exact same signature on all of my designs, so it is consistent and easy to recognize as my brand. This is where digitizing comes in handy! Instead of having to re-write my signature for every piece, I have a digital copy that I can add to all of my designs as needed.
I want it to be easy for people to see my signature, google me, and find more of my work.
There are lots of different ways to write your signature, and at the end of the day it comes down to personal preference. I draw my signature in pencil because I think it blends nicely with watercolor, and the majority of my art is watercolor. But feel free to use any medium you want to create your signature! The process of digitizing it will be the same no matter how you draw it.
Some people prefer to use their brand name instead of a signature on their artwork. If your brand name is different from your artist name, you might prefer to include a small version of your logo as your signature instead of a handwritten signature. It all comes down to what’s best for you and your style.
If you are an analog signature kind of person, this tutorial will make things so much easier for you! Let’s dive into learning how to digitize your signature in Photoshop.
Supplies:
For this tutorial, you’ll need:
Step 1: Draw Your Signature
Start by drawing your signature in whatever medium you prefer. This can be as simple as drawing in pencil on a piece of sketchbook paper. Whatever works for you! I recommend drawing a few different variations of your signature so you have options to choose from and can select the one that you think will work best. When you’ve chosen the signature you want to use you can put a star next to it to indicate that it’s the one that you want to digitize.

Step 2: Scan or Photograph Your Signature
The next step is to scan your signature so that you can manipulate it digitally. If you don’t have a scanner, no problem. You can take a picture of your signature with your phone. I’ll provide instructions for both in this tutorial. I prefer to scan since that provides the highest quality digital image, but if you don’t have a scanner handy you’ll be just fine with your phone.
Scan your signature:
I use this Epson scanner for scanning all of my art. Since you’ll be using this digitized signature on all of your designs, you want to make sure that it’s scanned at a high resolution so that you can scale it up to fit on large products. I scanned mine in at 1200 dpi.
I also find that I get better scanning results when I press down gently on the lid of the scanner as it scans. This ensures that whatever I’m scanning stays flush to the glass and is as clear as possible. If you want a more in-depth look at the scanning process for digitizing artwork check out my class, Digitize Your Art to Sell Online.
Photograph your signature:
If you don’t have a scanner, you can take a picture of your signature, but you want to make sure that the picture is taken in good lighting and from a straight angle. These will help make sure that your signature looks as close as possible to how you wrote it.
Step 3: Clean it Up
Now that you have a digital image of your signature whether from scanning or taking a picture, open up that file in Photoshop.
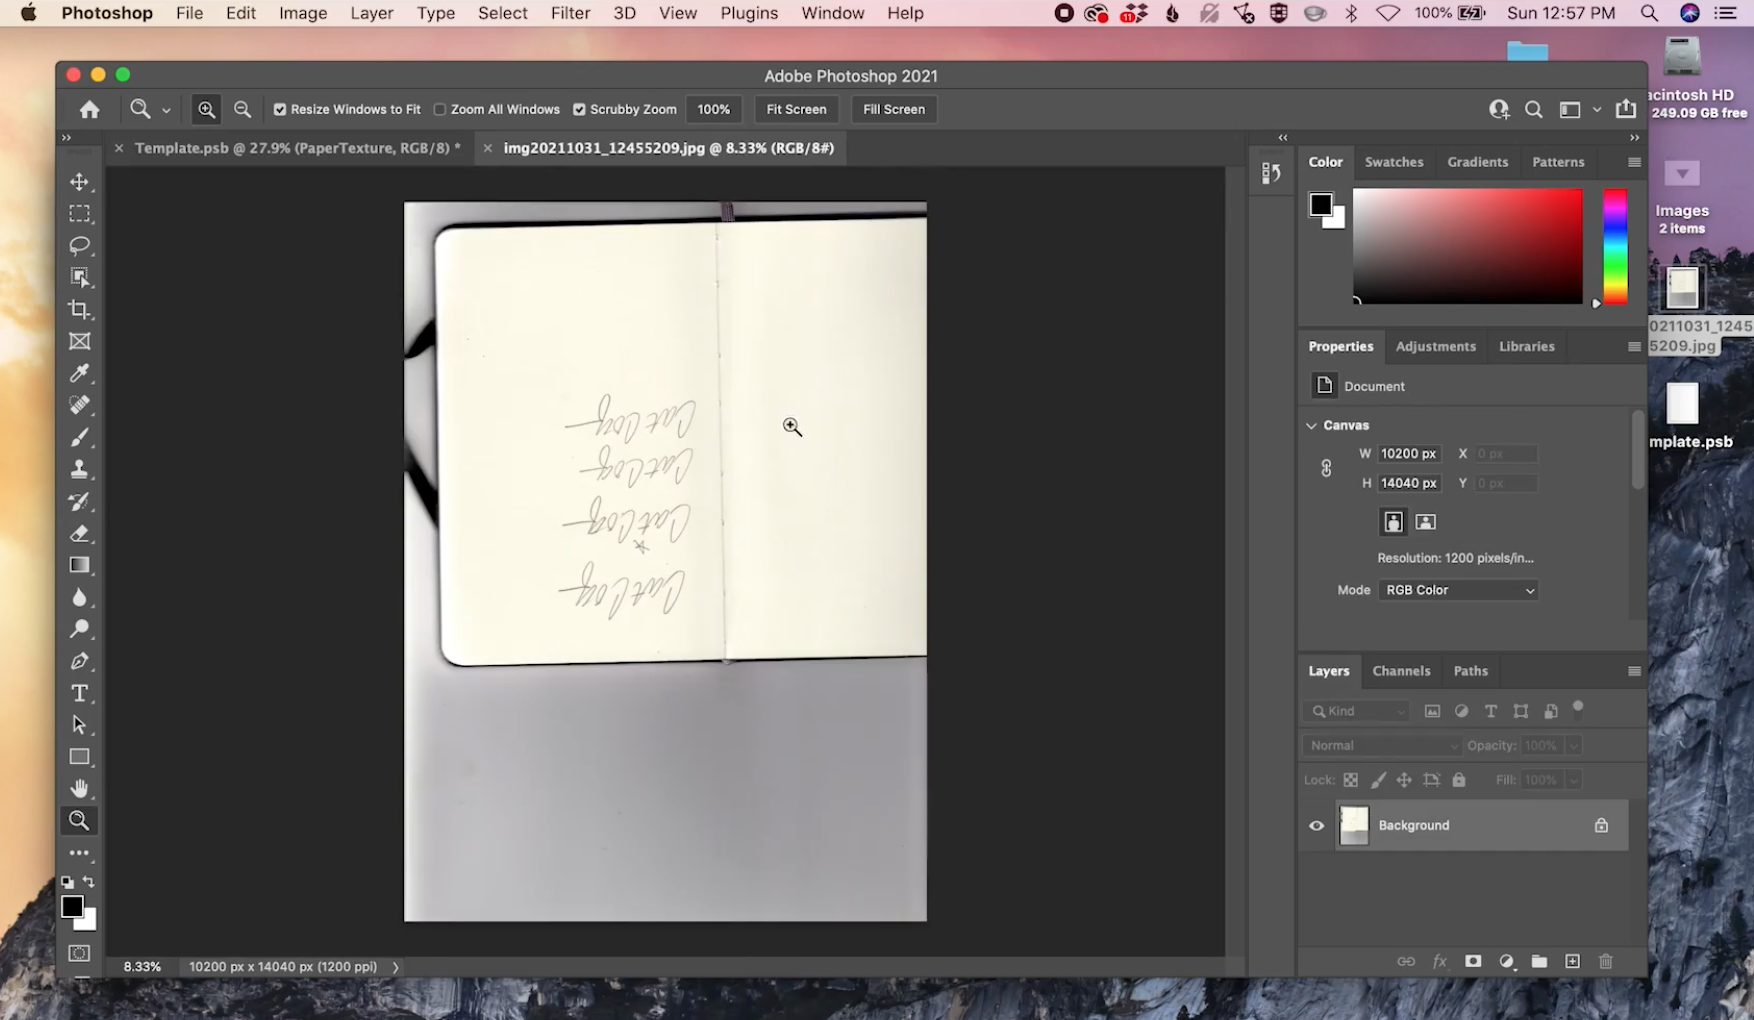
In my example, the image was pulled into Photoshop upside down. If yours looks like this too you can rotate the canvas by clicking Image → Image Rotation → 180.

Now, you want to delete everything besides the signature you want to digitize. You can do this by selecting the crop tool (keyboard shortcut: c).

With the crop tool selected, drag a box around the signature you want to digitize, make sure it’s all within the crop box, and press delete to remove the rest of the image.

The next step is to remove any errant pencil marks or imperfections that you don’t want to include in your final signature file like the star that we used to indicate that this was the signature we wanted to use. To do this, grab your lasso tool (keyboard shortcut: L).

I like to use the polygonal lasso since this gives me more control over the areas I’m selecting. Now you can click around the areas that you want to remove with the lasso tool. If you ever have any trouble connecting it, you can double click when the shape is almost complete, and it will automatically connect for you.

Once you’ve selected an area you want to remove you can simply cut it from the canvas by clicking edit → cut (keyboard shortcut command + x).

Repeat this process to cut out any stray marks that aren’t part of your signature. If you have any errors that are really close to the signature, you’ll use the same process, but just make sure to be very controlled with your lasso selection.
Step 4: Remove the Background
Now we want to select the remaining paper background and cut it all out so all that remains is the signature on a transparent background. To do this, use the magic wand tool (keyboard shortcut: w).

There is a setting with the magic wand that you’ll need to change to remove the background. With the magic wand selected, go up to the settings bar and make sure that “Contiguous” is turned off. If “Contiguous” is turned on, that means that it will only select areas of the canvas that are similar in color and are touching each other. Since not all of the paper background is touching, (i.e. the background in the middle of the “o” in “CatCoq”) we want to make sure that the box next to “Contiguous” is unchecked.

Now select one of the white areas where you cut out any extra pencil marks. This should also select a lot of the paper texture background.

The other gray areas are spots that the lasso didn’t pick up. The reason those spots didn’t get selected is that they were outside of the tolerance that the lasso was set to. What this means is that they’re just slightly darker than the white color, so the lasso doesn’t recognize them as part of the same selection.

To add these areas to your current selection, make sure that your magic wand is still selected, hold down shift, and click on one of the darker spots. This will grab many of the areas that the initial selection didn’t quite get.

You can repeat this process of holding shift and clicking on the area to make sure that everything besides your signature gets selected.
If you find any straggling pencil marks that you missed, using the magic wand on them will select your signature along with it. We don’t want that, so you can use a different technique to make sure these areas get removed as well. To select these areas grab your marquee tool (keyboard shortcut: m), hold shift, and draw around the pencil mark.

Now that you have all of the background selected, you want to inverse that selection so that the signature is selected. To do this click Select → Inverse.

There are a couple of final steps that I use to make my digital signature look more natural. Just as if it was actually written on the page!
With the signature selected click Select → Modify → Expand. And expand the selection by two pixels.

What this does is expands the selection from a tight crop around the signature to a little more of a loose and natural-looking selection.

Last but not least, click Select → Modify → Feather and feather the selection by 1 pixel. That feathering just adds a slight blur to the selection. This makes the signature look more natural and hand-drawn.

Now we want to officially remove the signature from the background! To do this in a non-destructive way, we’re going to duplicate the layer so that we still retain the original signature.
You can duplicate the layer with the keyboard shortcut command + j. This keeps the original image, but copies the signature piece that’s selected right now and pastes it onto a new layer.

Click the eyeball next to the background layer and you’ll see that you have your signature on its own layer with the background completely removed.

Step 5: Integrate Your Signature
The final detail for digitizing your signature is to know how to integrate it on whatever piece of artwork you’re adding it to. I always use a paper texture background for my artwork, and I want the signature to look hand-drawn.
To do this, pull your signature into your design and position it in place. Make sure it is on the layer directly above the paper texture background. Then make sure the signature layer is selected and change the blending mode from “Normal” to “Multiply.” This blends the signature with the paper texture so it looks more integrated and hand-drawn.
And there you have it! Now you have your signature digitized to use on any and all future digital artwork you might create!
Want to dive deeper into the process behind digitizing your artwork to sell online?
Learning how to turn my hand-painted artwork into digital files was a turning point for my creative business. Now I help other artists learn how they can transition into selling their art online like I did. If you want to dive deeper into learning how to digitize your art and sell it online, check out my classes that will walk you through the process step-by-step.

Digitize Your Art to Sell Online
In this class, you’re going to learn the step-by-step process of digitizing and enhancing your analogue artwork specifically for print-on-demand sales. Think of this as the advanced version of this blog post!

Step-by-Step Guide to Art Licensing
This class is filled with actionable steps that help you make your first sale with artwork online, as well as boosting your sales if you’re already selling.

Hand-painted Seamless Patterns in Photoshop
In this class, you’ll learn the full process for creating seamless patterns with hand-painted designs, from watercolor painting to arranging your pattern on your computer, so you can sell your designs online through print-on-demand.