


Roquefort Cheese Making Recipe
Few people have access to fresh ewes milk and when they do, it’s often quite pricey. For anyone unable to find ewes milk, this is a great guide to walk you through the process of making a Roquefort style cheese.
-

Yield
3 Pounds
-

Aging Time
~2 Months
-

Skill Level
Advanced
-

Author
Jim Wallace


Ingredients
Total price for selected items: Total price:

Instructions
Making Blue Cheese
When making blue cheese there are some common elements that are slightly different from other styles of cheese. The general principle is to build larger curds that will not collapse, leaving an internal structure with plenty of holes to allow blue mold to grow and air to enter the interior, because blue mold needs an aerobic environment meaning plenty of access to oxygen.
Here is a general overview of the different elements:
- Milk develops slightly more acid before adding rennet, which helps develop a firmer curd before cutting.
- Coagulation tends to be longer (less culture) to encourage more moisture retention in the finished cheese.
- Curds are cut larger to preserve moisture.
- The stir is usually intermittent to avoid further moisture loss while still developing a firm exterior layer that does not easily meld together.
- Final curds are exposed to air, while the whey is removed, before going into cheese molds.
- No weight is applied to the curds, although they are turned in their molds several times after molding, in the first hour, and as they cool.
- When ready the cheese is usually dry salted and then punched with holes about one week after being salted.
-


Acidify & Heat Milk
Before you begin add the blue mold powder to 2 oz of sterile water, fresh bottled water will work. Allow this to rehydrate for an hour or two.
Next, pour milk into sanitized pot, add calcium chloride and gently stir for one minute. In this recipe calcium chloride should be used regardless of the type of milk to help curd structure and moisture retention.
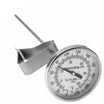
Heat the milk to 88F, it is best to do this by placing the milk pot in another pot or sink of very warm water. If you do this in a pot on the stove make sure you heat the milk slowly and stir well as it heats.
Once the milk reaches 88F the culture can be added and stirred in. To prevent the culture from caking and sinking in clumps sprinkle it over the surface of the milk and allow about 2 minutes for the culture to re-hydrate before stirring in.
Next add the rehydrated blue mold powder and stir briefly.
Very little culture is used in this recipe to accommodate for a longer acid development.
The milk needs to be kept at the target temperature for the next 90 minutes. The culture develops very slowly in the beginning but will transition into a more rapid rate of converting lactose to lactic acid while resting.
Note: There are two options for blue mold powders that work well in this recipe.
PJ | Fast Typical blue taste, middle-green, no unbound moisture, long shelf life, typical Roquefort mold.
PV | Very fast strong blue taste, bluish-green and very creamy consistency, typical for Roquefort and strong Gorgonzola-type
-

Coagulate with Rennet
Add the single strength liquid rennet, diluted in ¼ cup non-chlorinated water, and mix in for 1 minute. Let the milk sit quiet for an additional 75 minutes while the culture continues working and the rennet coagulates a solid curd.
The milk will begin to thicken at about 15 minutes, but let it coagulate fully for the 75 minutes. The longer coagulation time will help maintain proper moisture in the final curd.
When ready, check for a firm coagulation, if it needs longer let the milk set for as much as 20% longer. If needed, you can adjust the rennet amount the next time you make this cheese, more rennet for a quicker set.
The thermal mass of the milk should keep it warm during this period. It’s OK if the temp drops a few degrees during this time because you will heat it back to 88F after cutting the curd.
-


Cut & Dry Curd
Once the milk is well set, cut the curd mass as evenly as possible into 3/4” pieces. Allow the cut curd to settle and rest for 5 minutes, so the cut curd surfaces can heal. Without healing, the curds would break further and lose too much moisture.
This cheese is not cooked any higher than the initial 88F. The following stirs should be a bottom to top motion to allow the curd surface to be aerated and develop a more resistant crust.
Now it is time to begin drying out the curds:
- Bring the curds back up to 88F during a slow stir of 10 minutes. Then stop stirring and allow curds to settle to the bottom. Remove about 10% of the whey, about 3/4-1 quart.
- Stir very slowly for another 10 minutes, so the curds do not break down. Then let them settle and remove another 10% of the whey.
- Stir for another 10 minutes, followed by a brief settling of the curds. Drain the remaining whey down to the surface of the curds. At this point the curds need to be evaluated to make sure they are ready.
Proper Curd Moisture: The amount of final moisture can be controlled by the rate of stirring. For higher moisture, intermittent stirring of a minute or two, alternating with a brief rest can help.
Higher fat milk may need a longer final stir time to release the moisture. This is where the final moisture of your cheese will be set.
The final curds should develop a thin skin on the surface, but when broken, the curd should show good internal moisture. When this point is reached the curds can be allowed to settle under the whey.
-


Drain & Transfer Curds
Remove Whey and Aerate | At this point the curd needs to be fully drained by transferring to a cloth lined drain pan or colander. Do not let the curd meld together during this step; the curds need to be kept separated as individual pieces. I like to use a drain table and as the curds are transferred to the surface, I keep fluffing to keep them separate. I do this while transferring from the pot and keep rousing them as they drain. The curds are still warm and want to make themselves into one solid cheese, do not let them stick together.
As the curds cool and drain they are less likely to stick together. However, I still lift and rouse the curds with a plastic bowl scraper, like chefs use in the kitchen. I simply slide it under the pile of curds and lift with a slight toss.
The end result is a pile of curds that is easy to separate but not too dry. The goal is to have curds that are easy to separate so when molded their own weight will partially consolidate the cheese while leaving hairline cracks and small openings for the blue population.
When done, add salt at a rate of .5% of the total curd weight (approximately 1 1/2 tsp salt for a two gallon batch). This is the final drying step in an effort to keep the curds from fusing together. Spread the salt evenly and give the curds one final mix until the salt dissolves.
Transfer Curds into Molds | Once the curds are ready, transfer them into cheese mold while gently separating any clumps that have formed.
The final curds in the form should not be pressed, even by hand, just the opposite. The curds should be slightly fluffed as they go into the form. Gradually, under their own weight they will compress and partially consolidate, leaving the needed small holes and fissures for the blue to grow.
Flip the cheese molds within 15 min after molding to consolidate the opposite surface. Repeat this several times over the next hour. The cheese should be allowed to cool to room temperature while in the molds.
As you can see there is some attention to be paid to this part, from draining the curds through the final forming.
Let Rest | This cheese does not get pressed, just the steady turning of the cheese in the mold as described above.
Let the cheese sit quietly at 72-78F while acid continues to develop. It should rest for about 8-10 hours from the addition of milk. During this time gas production from the buttermilk/aroma culture will be working hard.
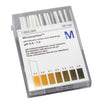
The whey should be tangy at this point as it is approaching the same acid levels of a lactic cheese.
The cheese then needs to be moved to a cooler room at 60-62F to slow the culture down.
-


Dry Salting
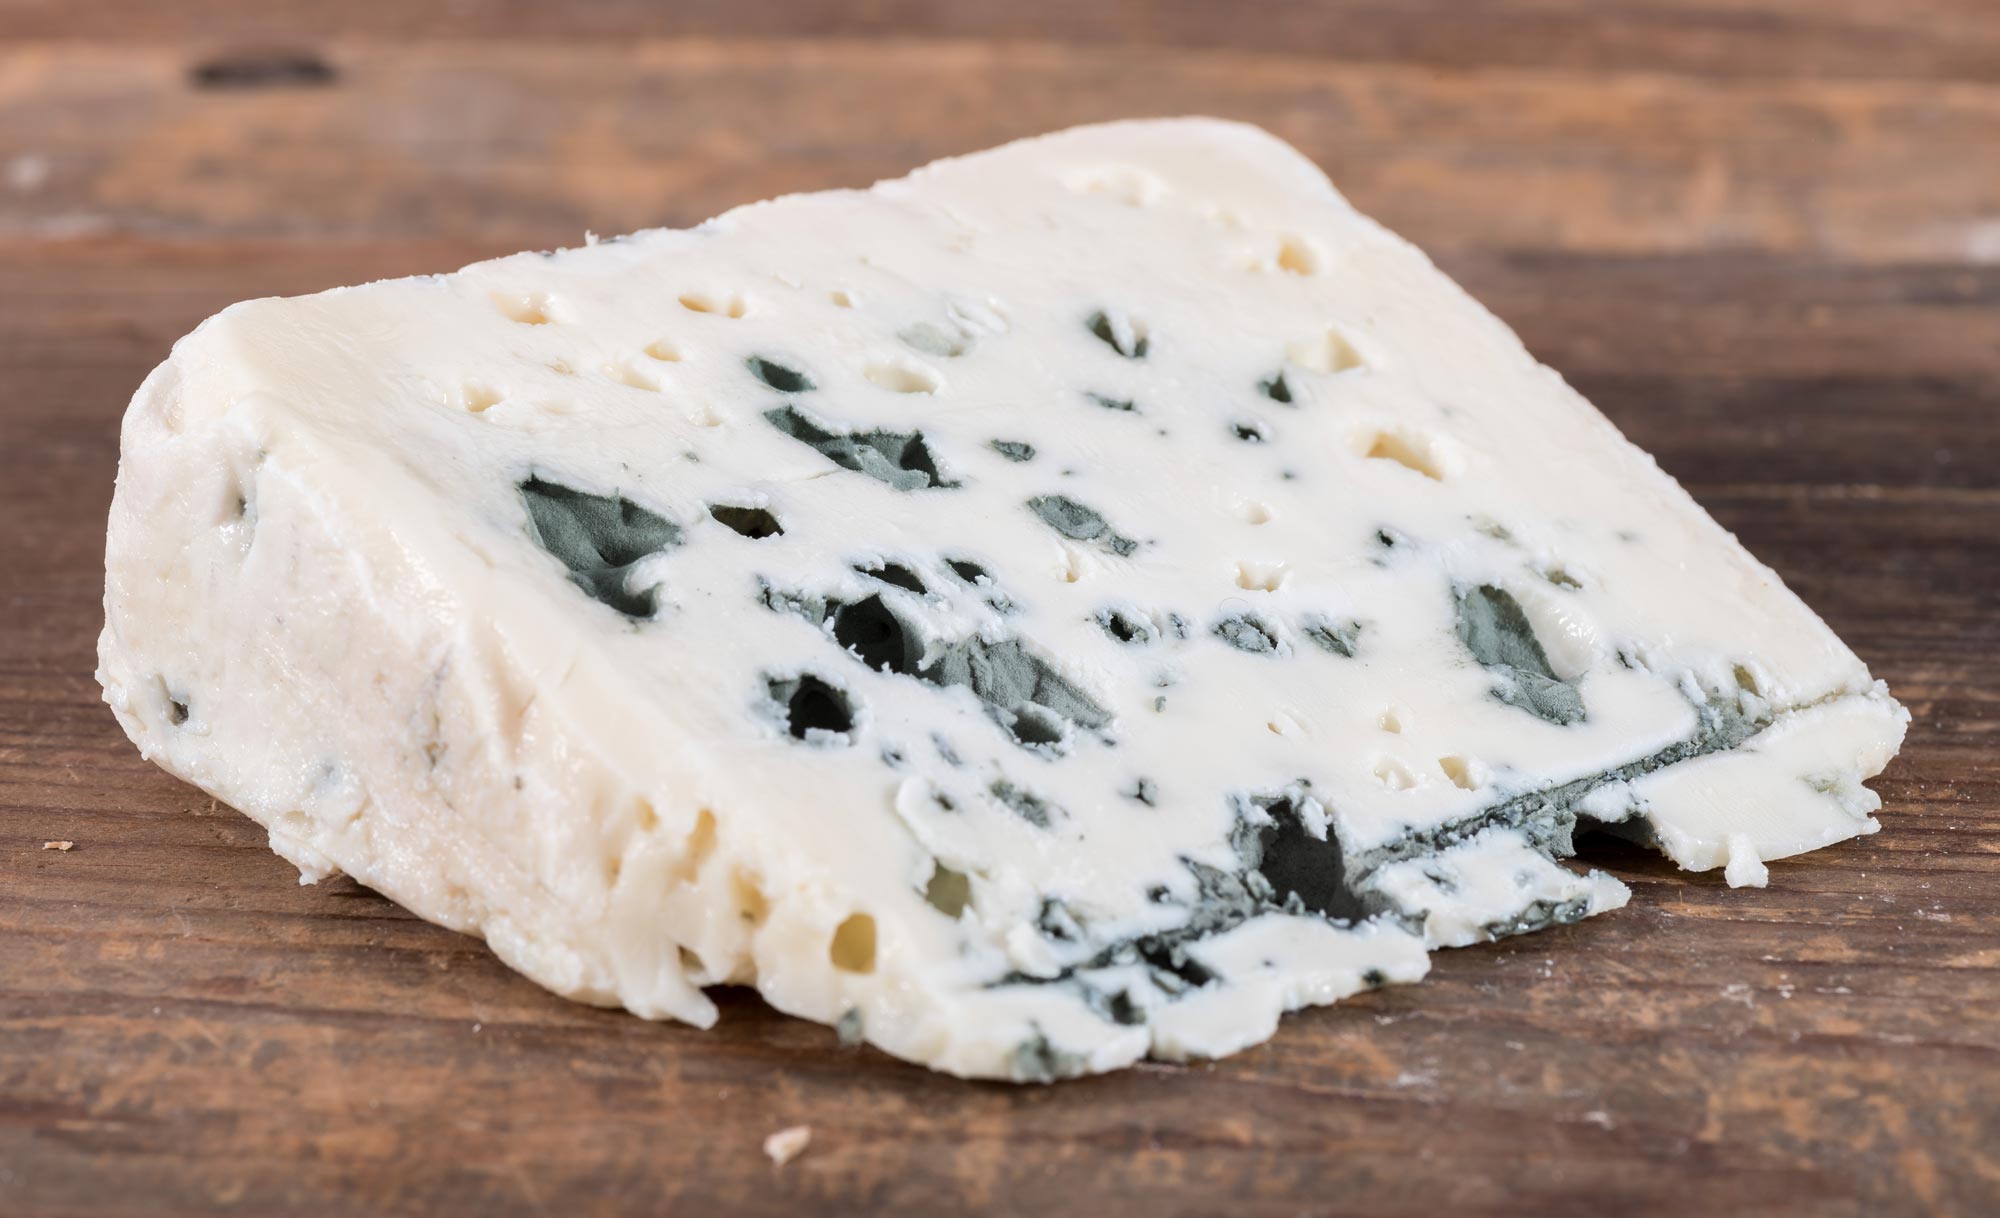
When the ready the cheese can be un-molded and dry salted. The top and bottom of the cheese should be well consolidated, but the sides should have many small figures and openings as shown in the pictures above.
The salting will take place over a 4 day period. To dry salt, place 2.5% of the total cheese weight in salt into a small bowl. For a two gallon batch the amount of salt should be approximately 6 tsp, for this step.
When applying the salt, use a sanitized tray, spread 1/4 of the salt in a line, then press the flat cheese surface into the salt and roll the cheese edges in the rest. Give the cheese a light tap to drop excess that does not adhere. Wait until the salt is absorbed and repeat for the other flat surface and roll the side again. Add the left over salt back into the remaining bowl of salt for the next salting.
Repeat this dry salt application for the following 3 days, until the salt is gone.
Note: Some producers prefer to leave the cheese unsalted for up to 5 days but I begin the dry salt the morning after production.
-


Aging
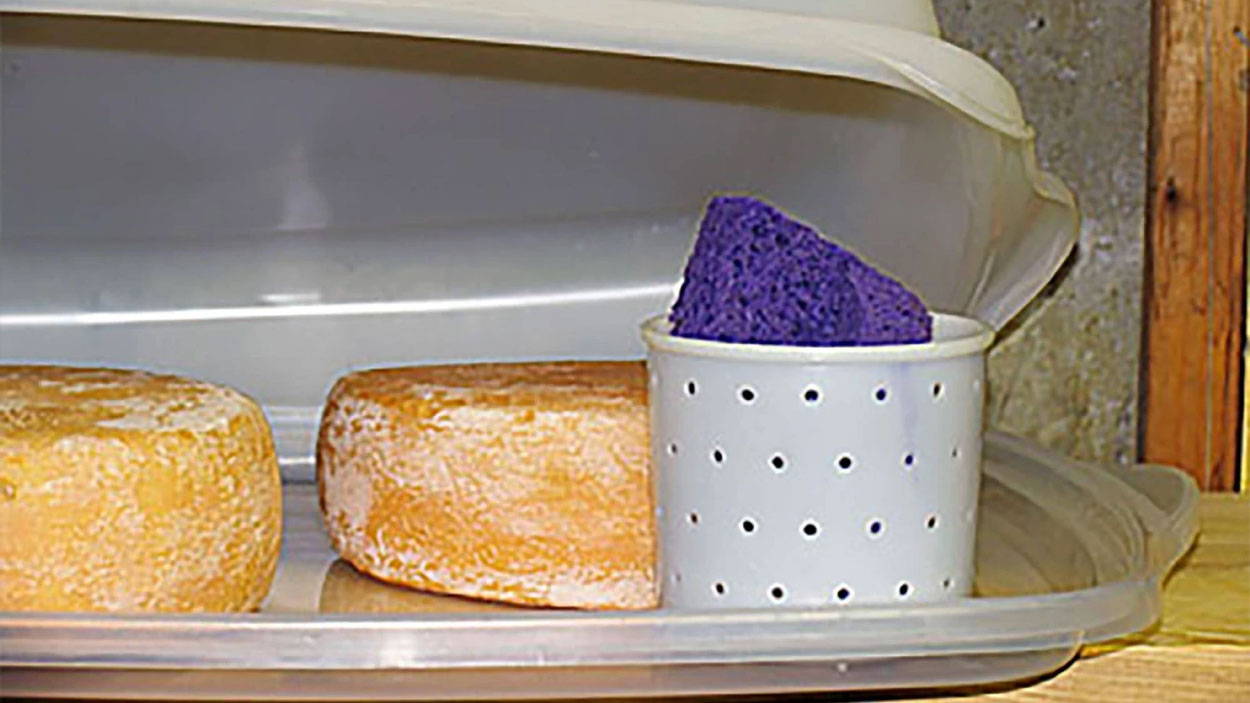
The cheese can now be placed into an aging space at 50-52F and 92-95% moisture.
The freshly salted cheese will have a higher concentration of salt at the surface and may still be releasing salty whey, as it stabilizes and the surface dries.
Aeration for Blue Mold | By Day 9 the cheese will be ready for Blue Mold development which requires access to fresh air, for proper growth. Because of the need for fresh air, the cheese surface should be punctured with a skewer, to create channels within the cheese.
For this step, use a thin, pointed object, like a skewer or metal probe with a diameter of about 1/16-1/8" to puncture the top and bottom surface of the cheese. Make the holes 3/4-1” apart, extending about 2/3 of the way into the cheese body.
Note: Too narrow of a channel will close up with surface mold, too wide of a channel will allow other molds to grow. If after a week, post-punching, you find surface mold growing over the holes, they can be redone.
By Day 14 you should see the first signs of blue mold developing. Allow this to continue for 20-30 days from the make day. After this time blue mold should be developing throughout, if the internal structure was good.
Slowing the Blue | At this point the things can be slowed down by wrapping the cheese in foil. For this I recommend using our Foil Cheese Wrap, it has a waxed parchment paper bonded to the foil. Do not use regular kitchen foil because it can deteriorate with exposure to the blue.
Once wrapped, the cheese should be stored at 38-40F. The enzymes produced by the blue mold will begin transforming the texture and flavor characteristics of this cheese during the final aging time.
The longer it ages, the stronger the flavor and the softer the texture. This final aging can be another 30 days to 12 months. I would suggest starting with a younger cheese until you're familiar with the process.
If the final wrap stage is not done the cheese may show signs of an accelerated development evidenced by a strong ammonia smell and a tendency to leak moisture.
-

Recipe Summary
Day 1-2 Prepare and make cheese then allow it to stabilize at 60-62F and develop its final acid. It will continue to consolidate during this time. Turn the cheese twice a day and remove any moisture that forms underneath.
Day 3-6 Dry salt at 60-62F
Day 7-8 Place in cave at 50-52F. The salt will gradually stabilize, within the cheese, as it moves through the moist cheese. No need for punching at this time because the surface salt is so concentrated and blue will not grow.
Day 9 or 10 The cheese should be aerated by punching holes through the top and bottom surface.
Day 20-30 Wrap the cheese in foil and move it to a cooler 38-40F aging space, until ripe.
Cheese Making Supplies
Popular Products
Cheese Making Recipes
Recommended Recipes
Learn how to make a cheese cave right at home. If you want your cheese to ripen properly you have to make them a good home and take care of them like little bambinos.