My intention for this post and recipe was to introduce you to my new food processor; I’m excited about my choice of machines and still learning how to use some of the features that are new to me. But I’ll save that for another day, because what this post is really about is a new trick I’ve learned in the kitchen—one that has very little to do with my food processor and everything to do with trying something new with an old tried-and-true: cole slaw.
There are so many ways one can make cole slaw, and it’s usually the dressing that makes each version special, whether it’s sweet and creamy like a KFC-style slaw or refined and elegant with a lime and poppy seed vinaigrette. I shared those when Comfort du Jour was brand new, and they are delicious, just like the tangy apple cole slaw from last summer.
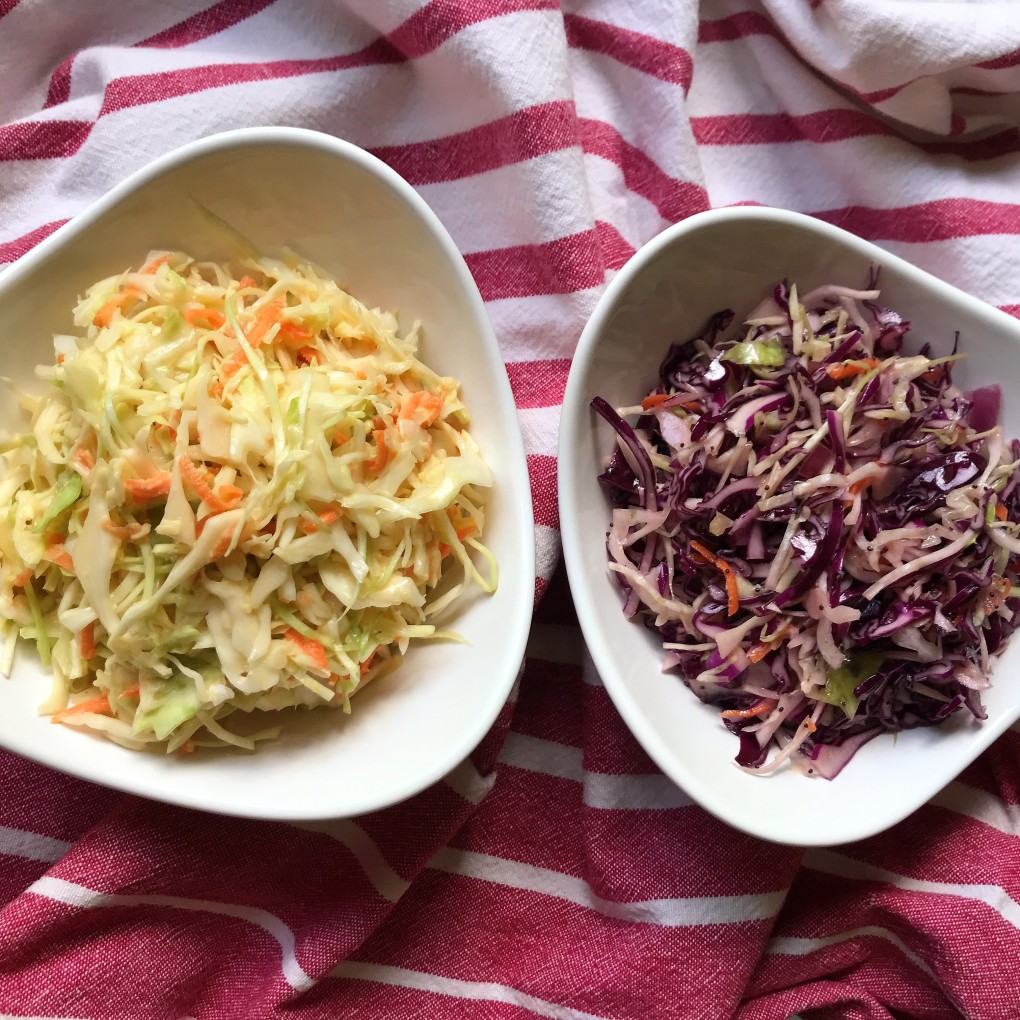

This time, I’ve changed the dressing again (and I think you’ll love its delicate Dijon flavor), but I’ve also dabbled in a new technique that I read about from one of my newest kitchen idols, J. Kenji López-Alt. I love the way this guy approaches food, always with a “what if” attitude, and after his exhaustive experiments in what he calls “The Food Lab,” Kenji is great about sharing his culinary discoveries with home cooks like you and me. You will find a ton of his recipes on the Serious Eats website, but also on his own YouTube channel, which a basically a rabbit hole of exciting kitchen experiments.
His method for making cole slaw produces a perfectly textured salad that is soft, yet pleasantly crunchy. It has all the right flavor but doesn’t get soggy in the bowl. That has always been the bummer, hasn’t it—to load up your plate with all your summer favorites, only to have everything turn milky and soggy because the cole slaw dressing runs everywhere? Well, friends, Kenji has fixed that! And this game changer is so darn simple. Rather than just adding dressing to freshly shredded cabbage and carrots, there’s an intermediate step of extracting most of the moisture from the vegetables first. Under Kenji’s guidance, I tossed the cabbage and carrots with a very generous scoop each of kosher salt and cane sugar, then rinsed it under cold water (which seemed counterproductive with the intention of removing excess water, but stay with me), and then I dried it before proceeding with the dressing. The results were outstanding, and the fine strands of cabbage held exactly enough dressing for flavor, but not so much to drown it.
The dressing is a departure from other cole slaw recipes I’ve made, as it has only a slight hint of sugar (a lovely balance to the apple cider vinegar in the recipe). Dijon mustard lends a little sass to the creamy mayo, and I mixed in a dash of celery seed along with drained, finely shredded sweet onion and about two dozen twists of freshly cracked black pepper. Here’s how it goes, beginning with about 8 cups of shredded cabbage and carrots in a very large bowl:
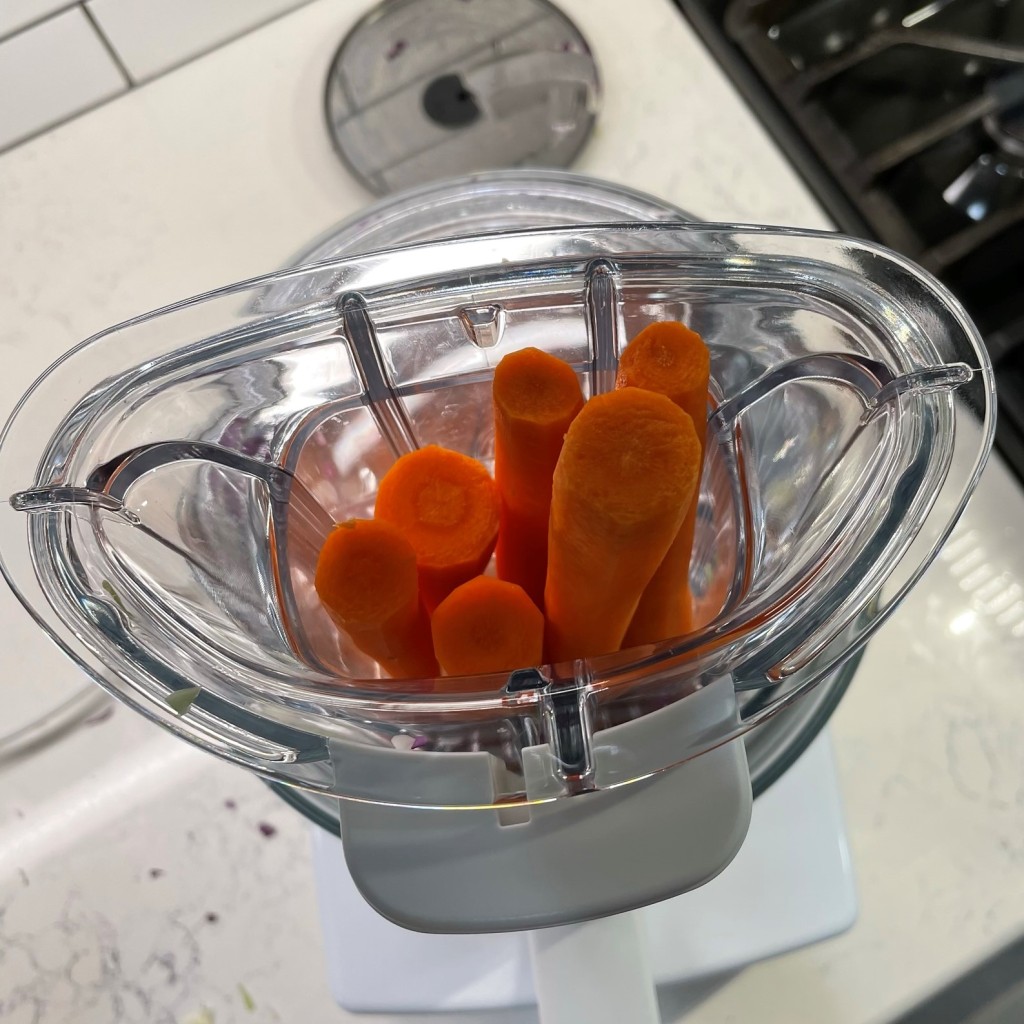
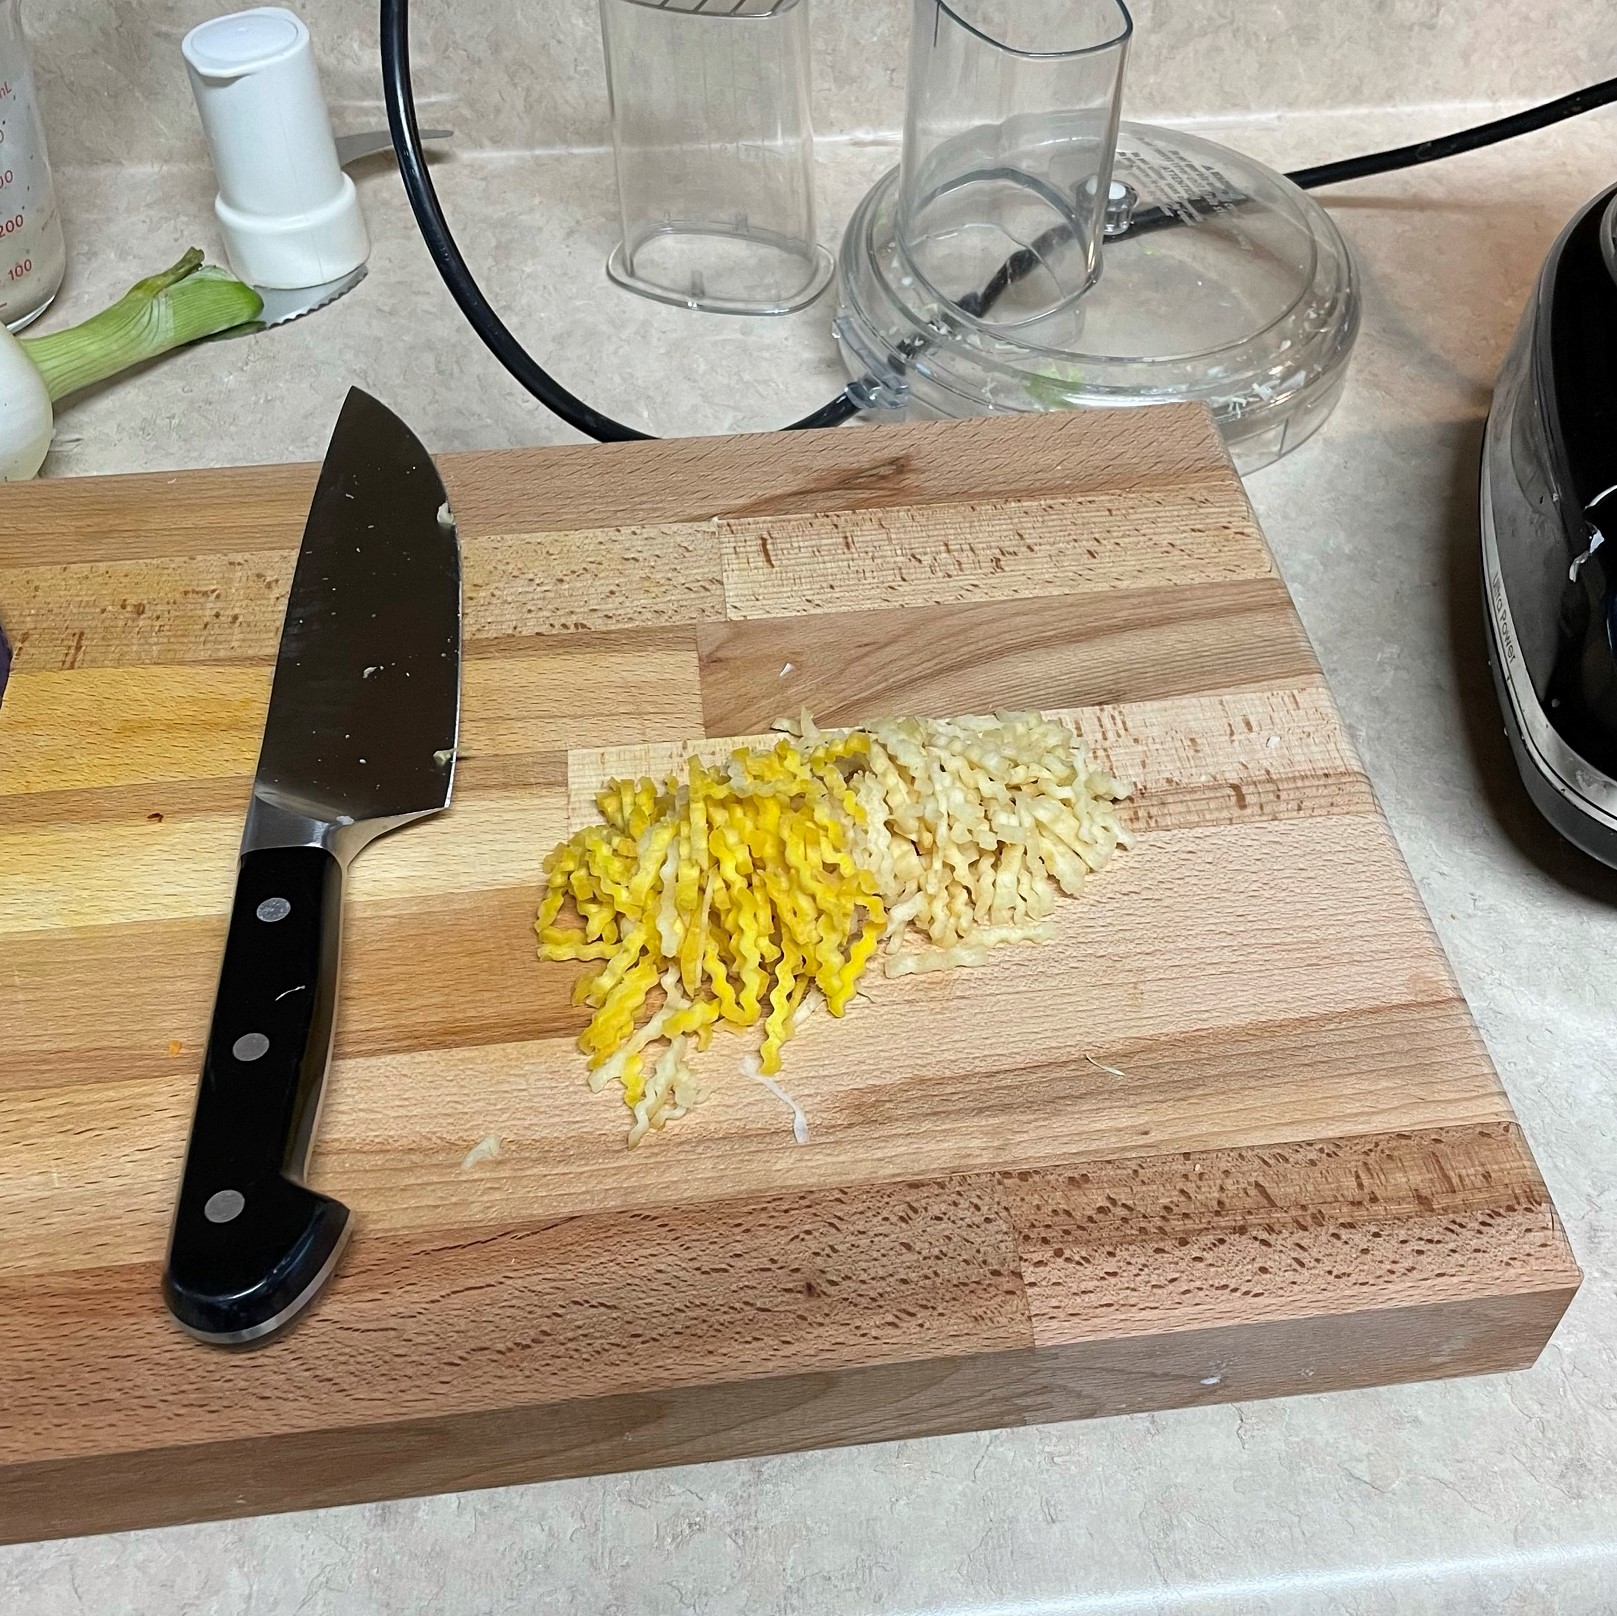
I used my new food processor to shred the cabbage, carrots and onions in this cole slaw. I’ll share more about my new toy in another post. 😉 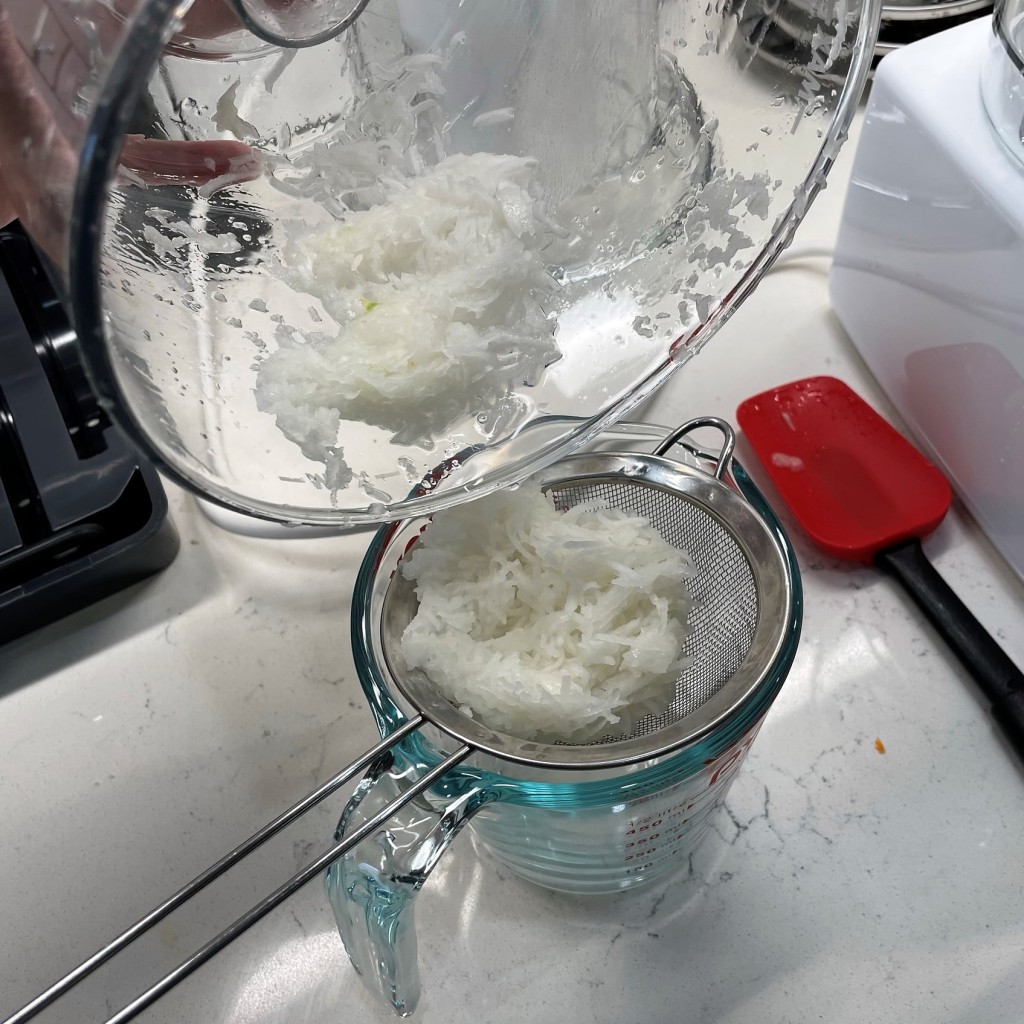
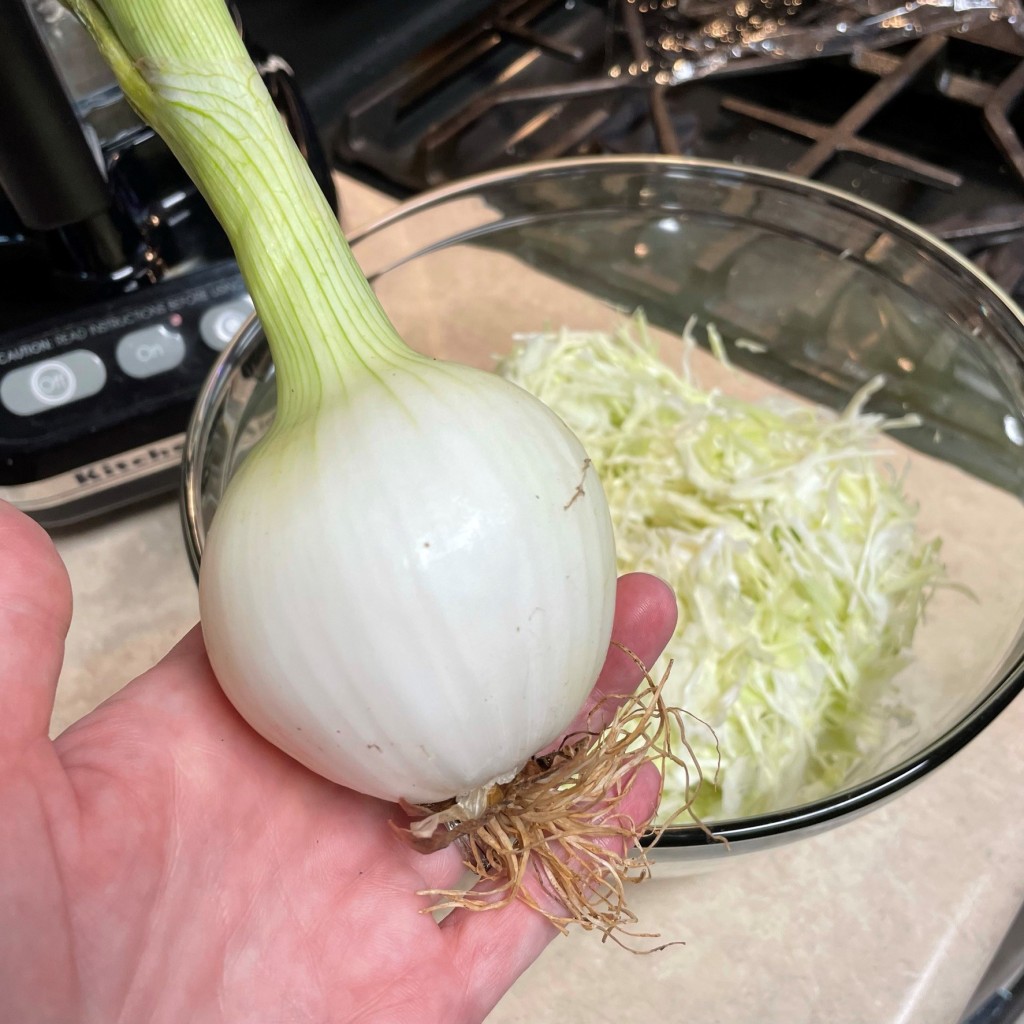
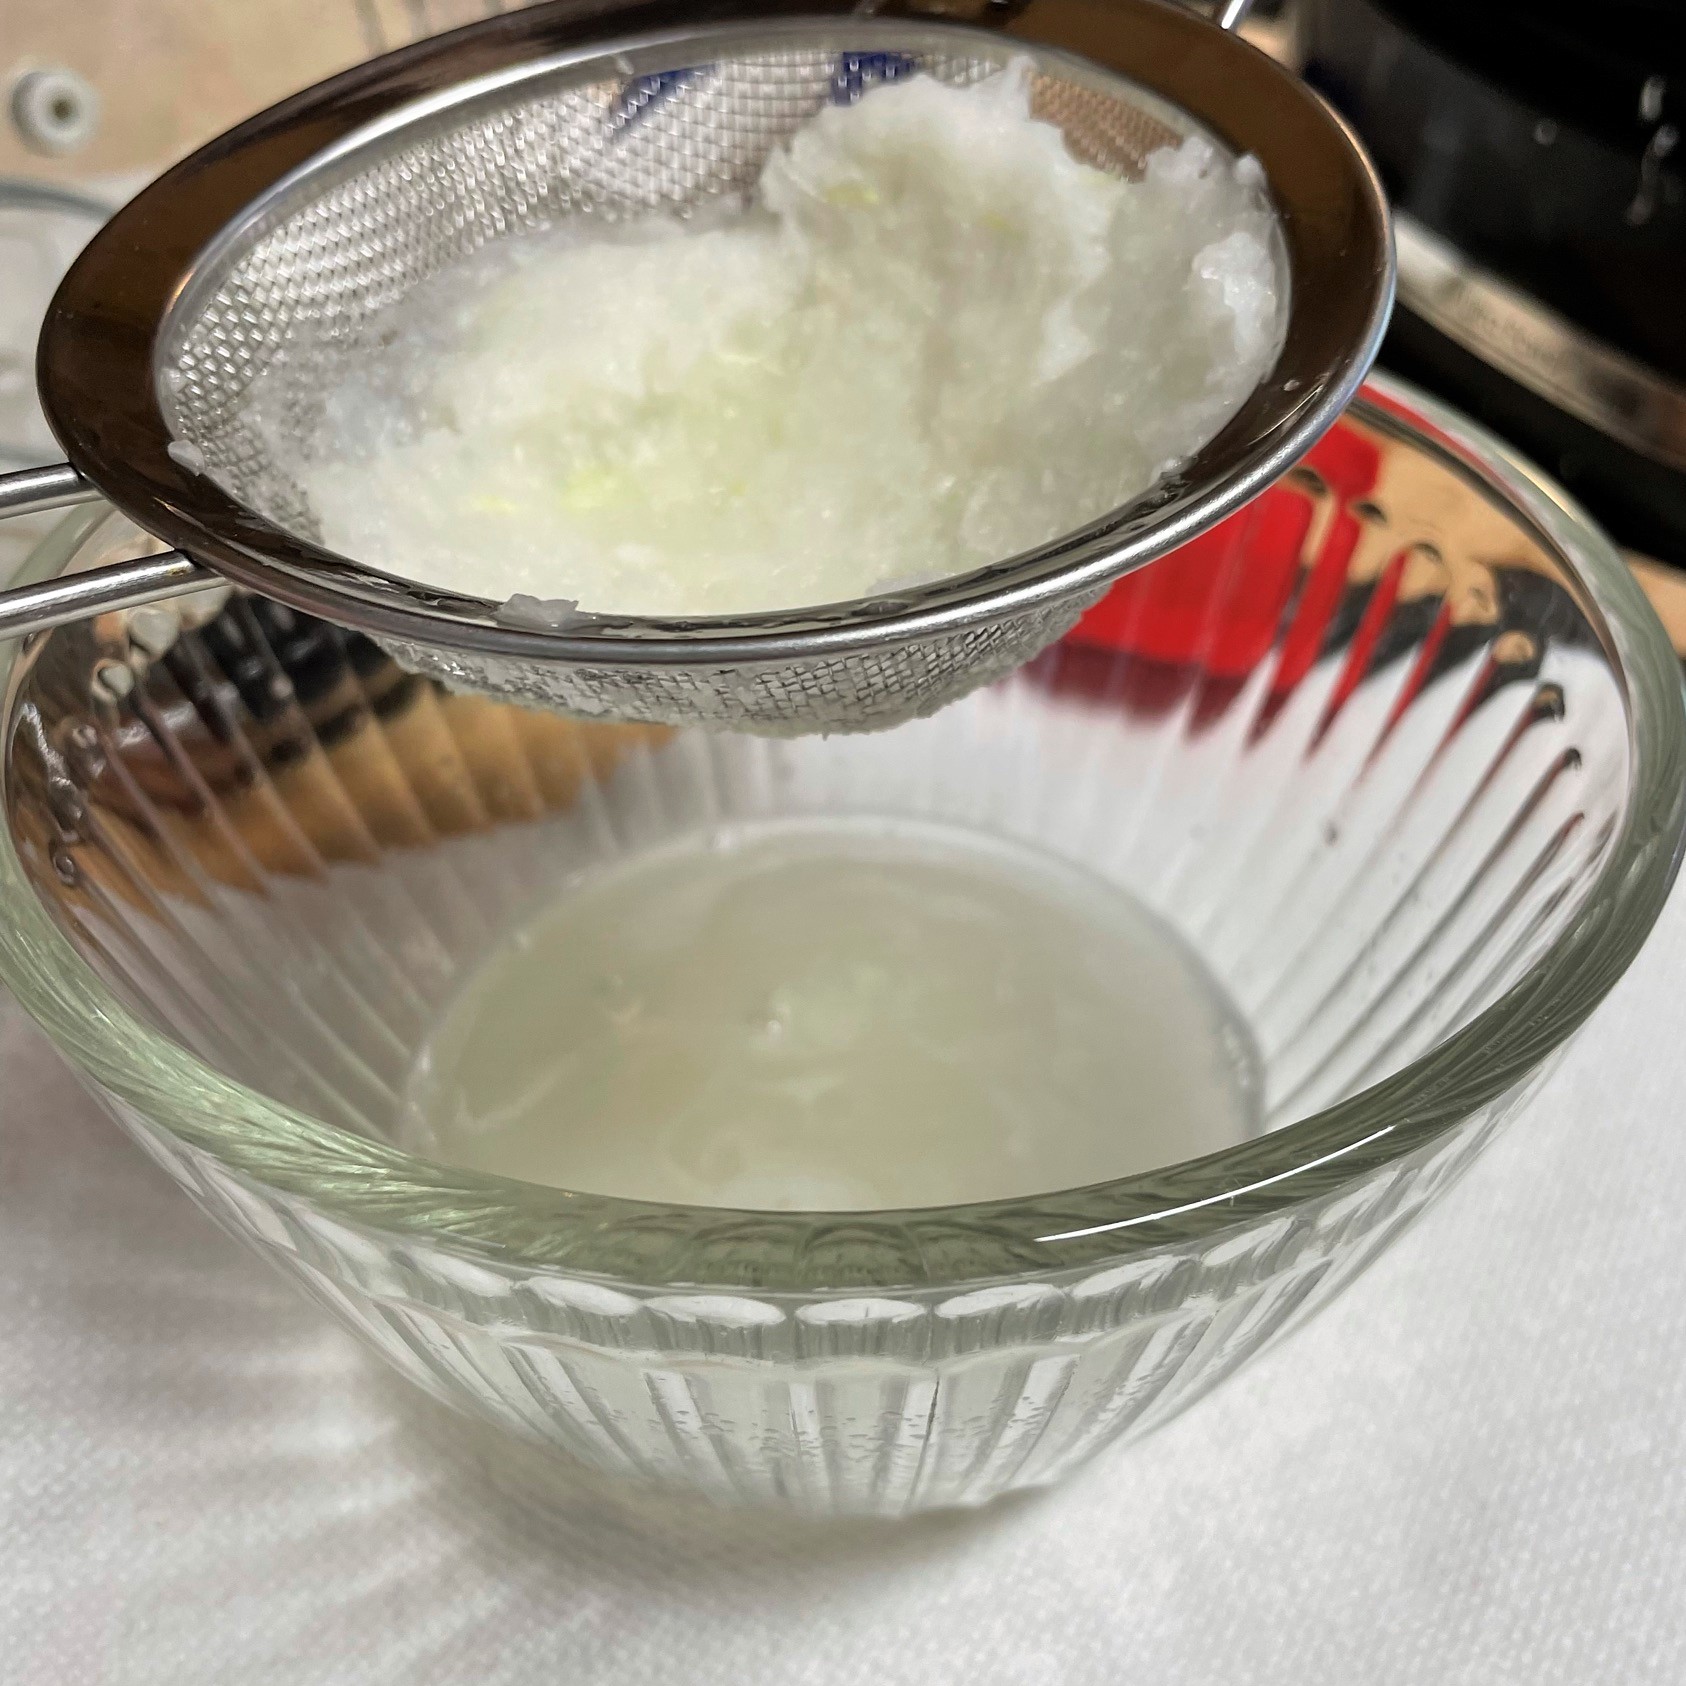
The shredded onions need to be drained, and I added those to the dressing rather than the salad itself because it blends better that way. I’ll save the onion juice for a bbq sauce. 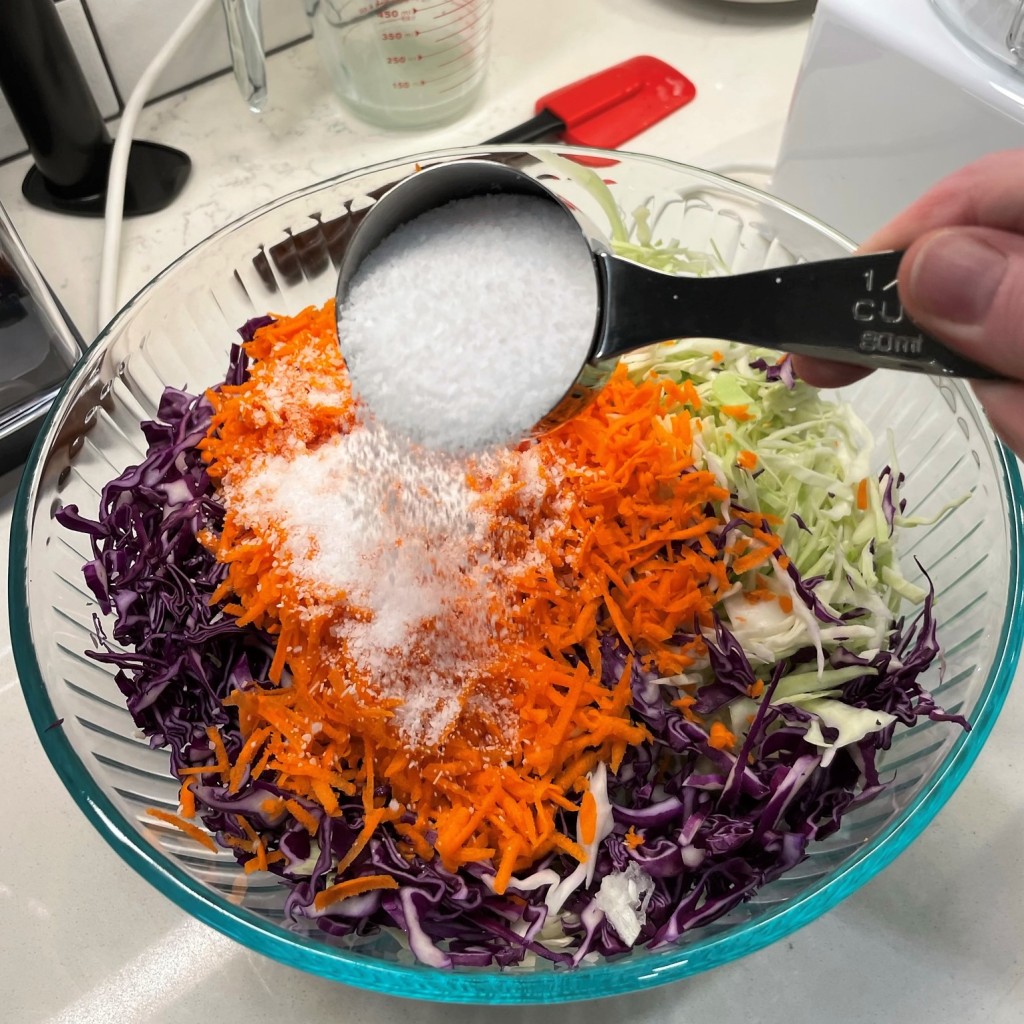
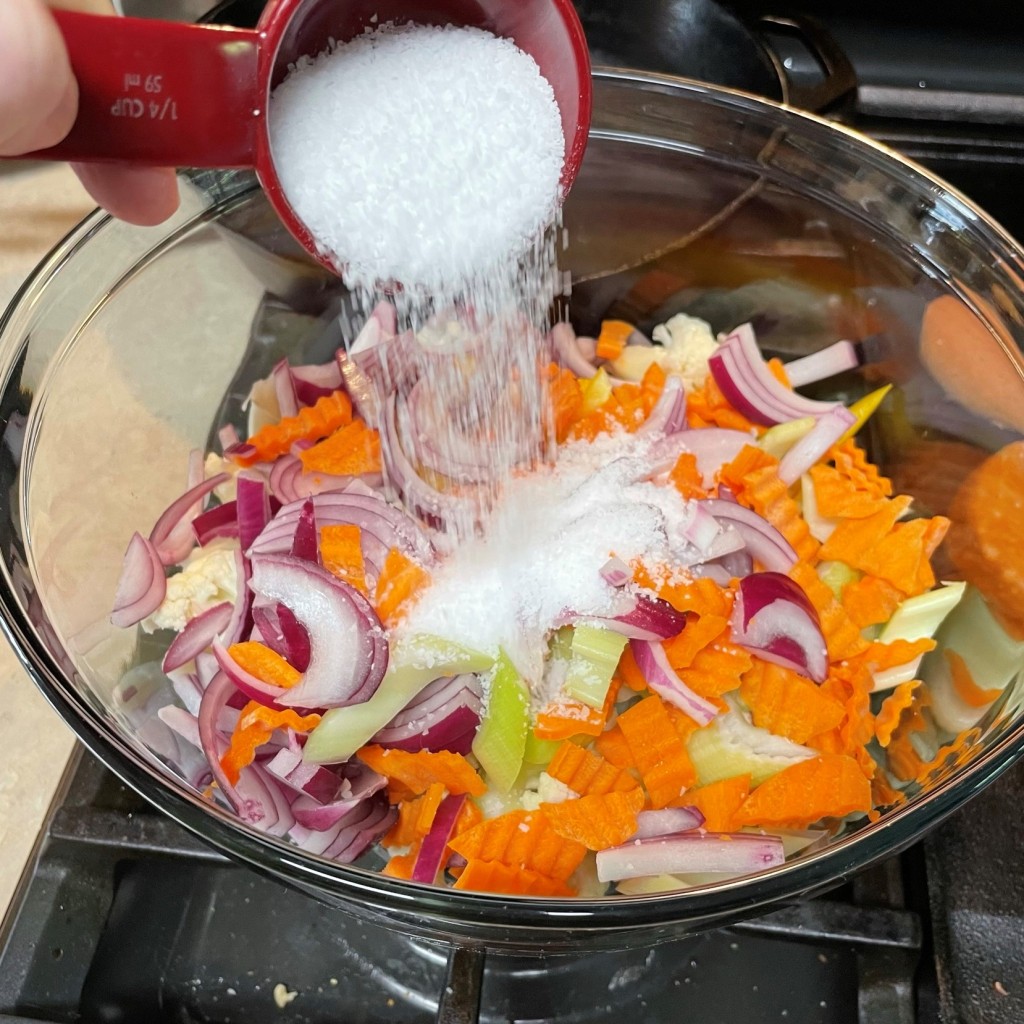
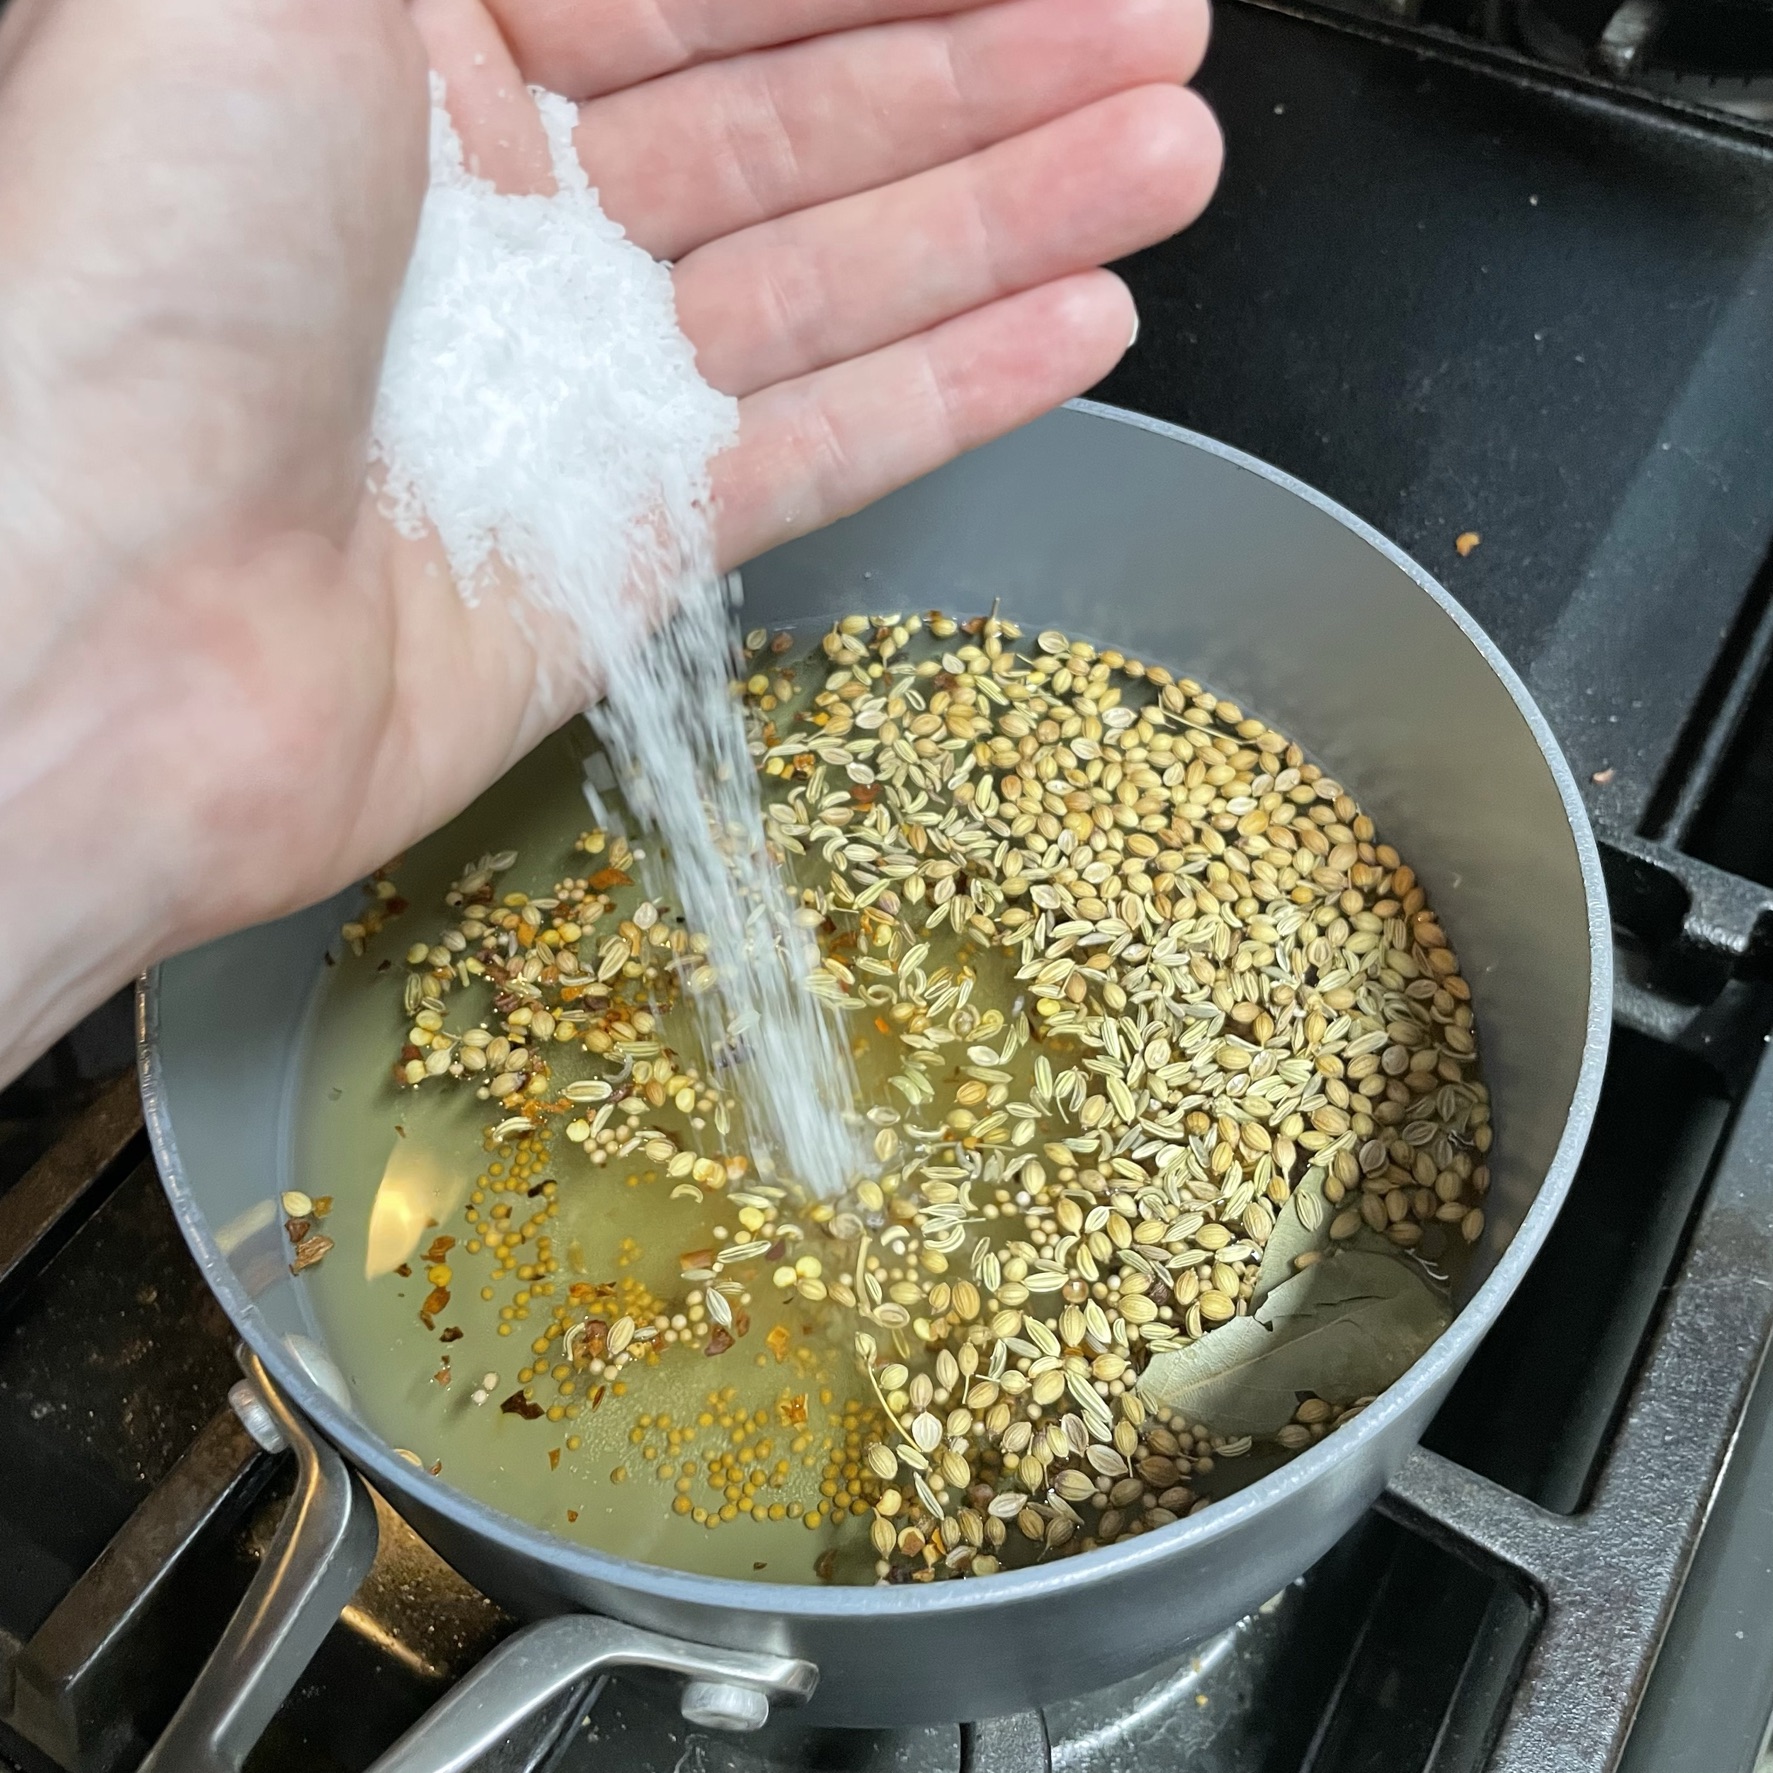
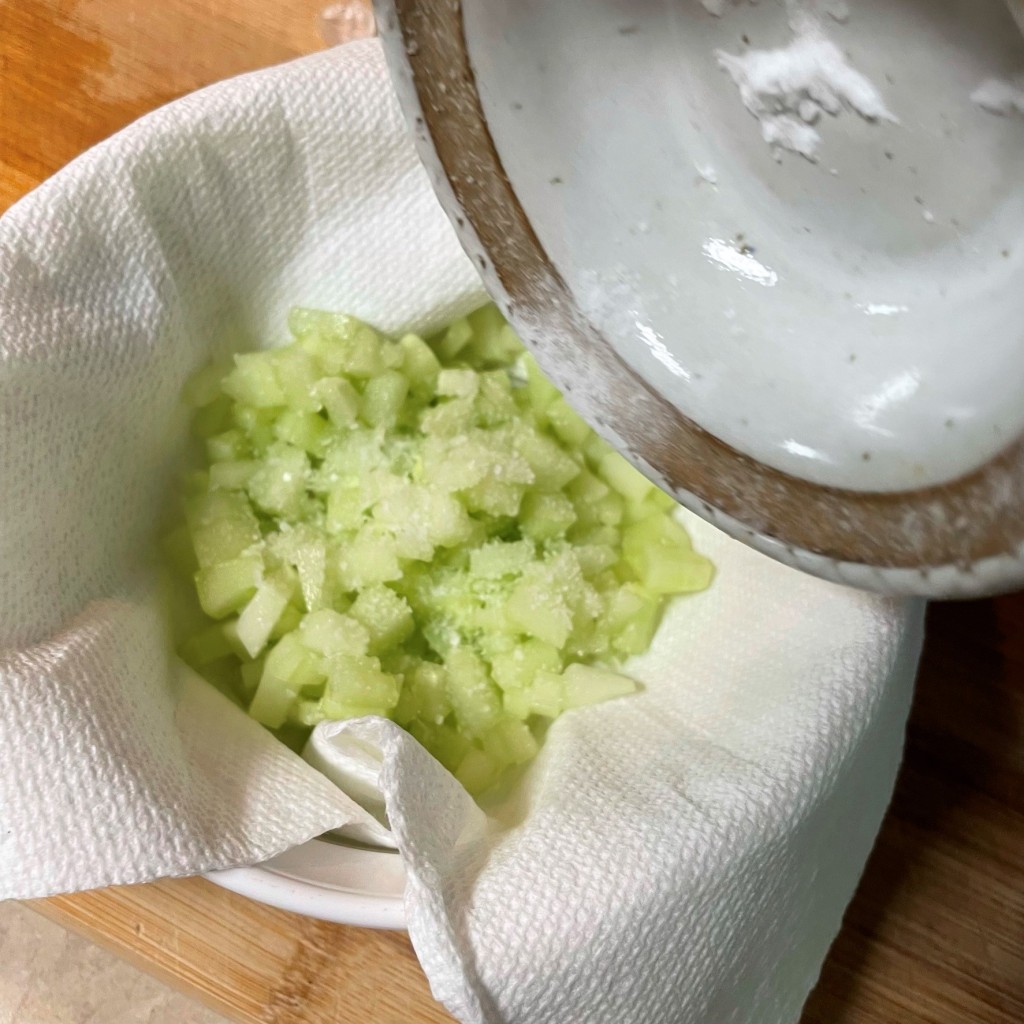
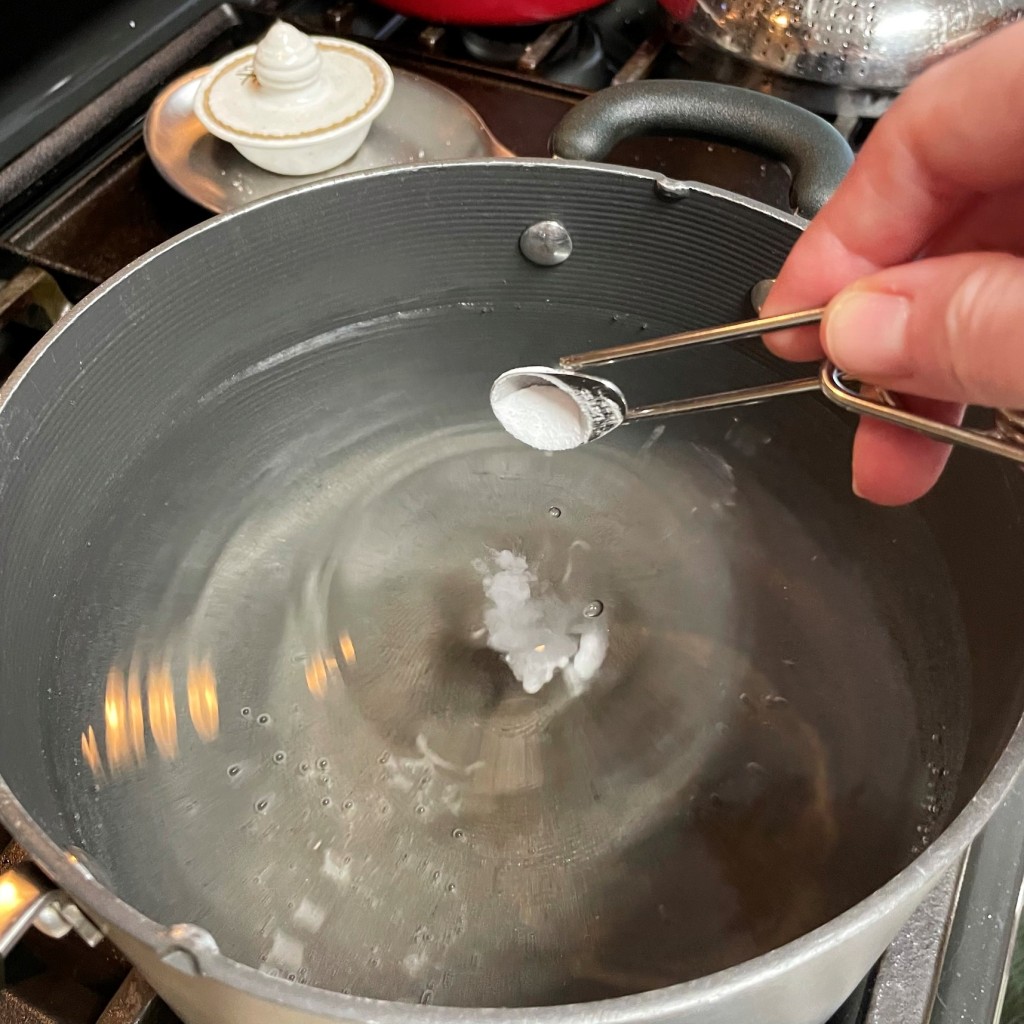
Here’s where the recipe gets risky. A generous scoop of kosher salt gets sprinkled over the shredded veggies. 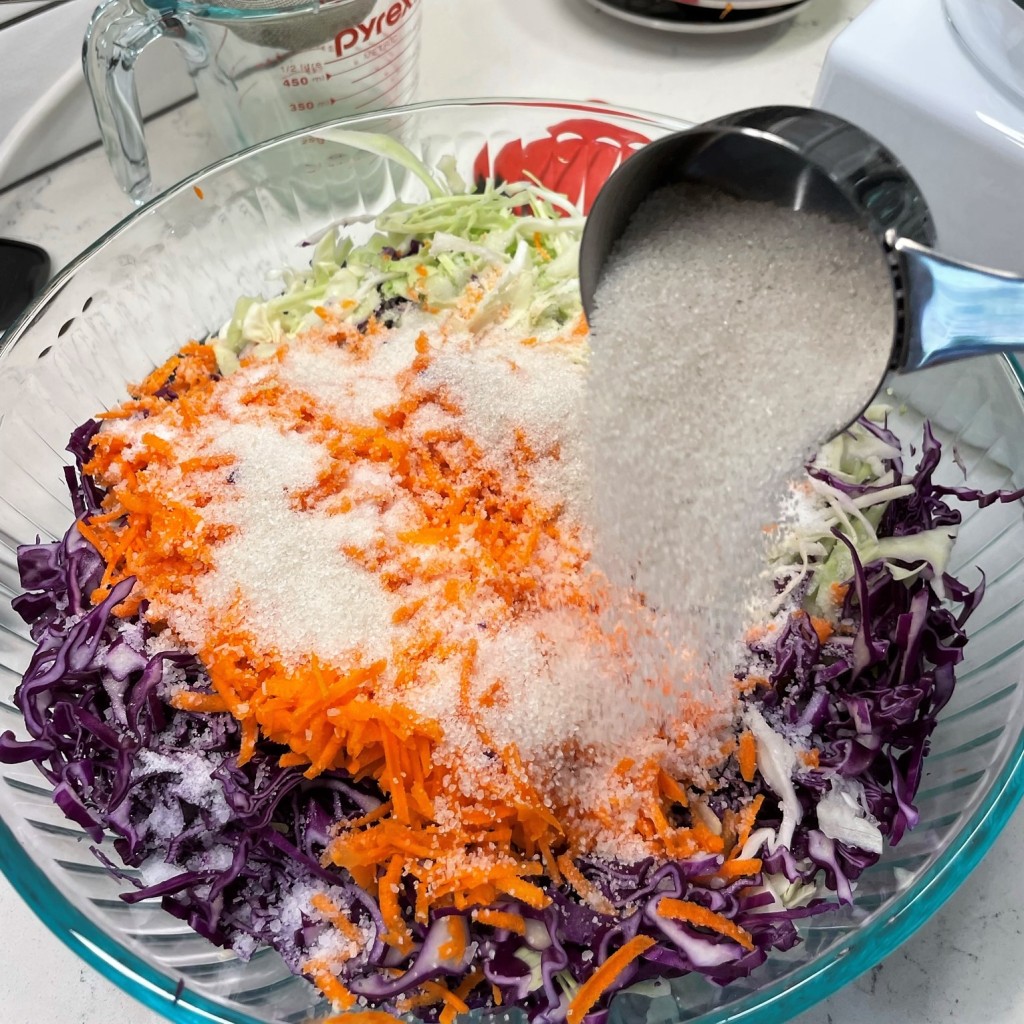
And a generous scoop of cane sugar, too. Together, these pantry ingredients are going to pull a ton of excess moisture out of the cabbage. 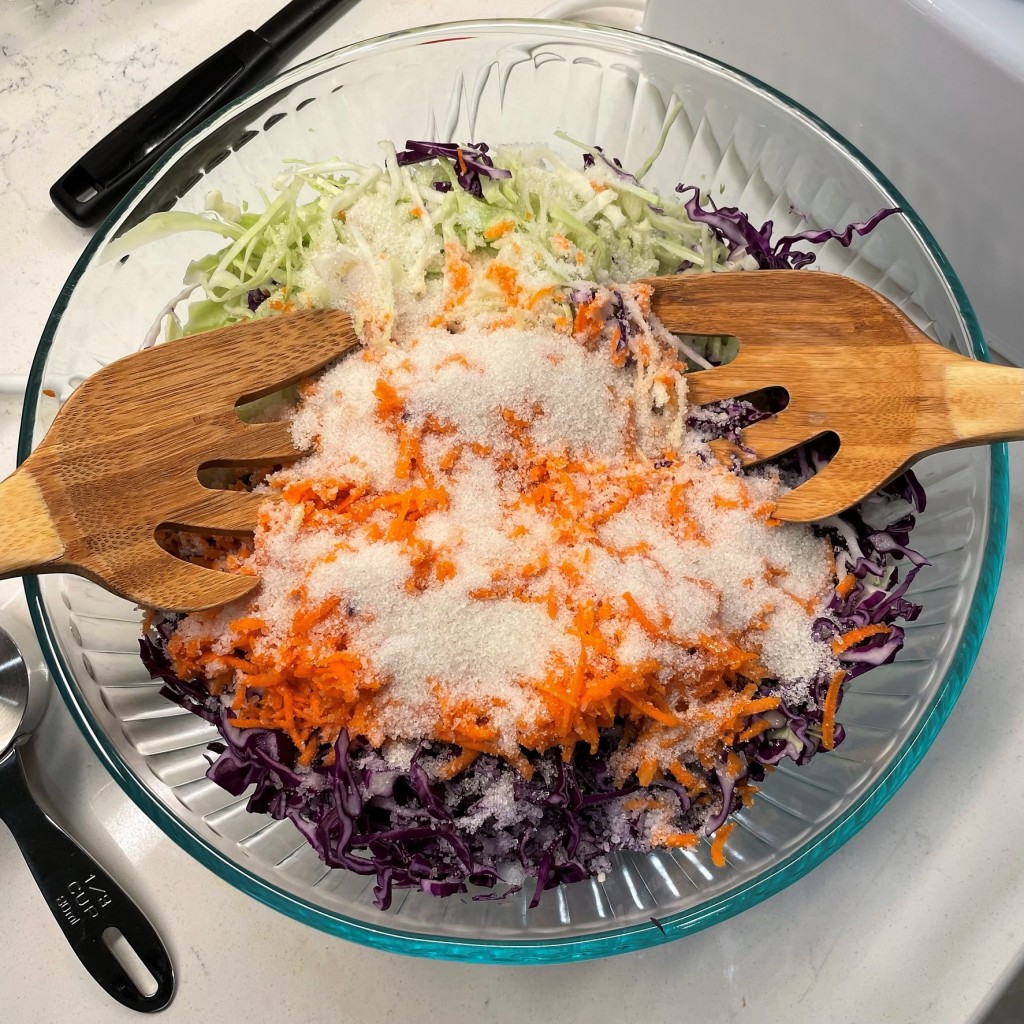
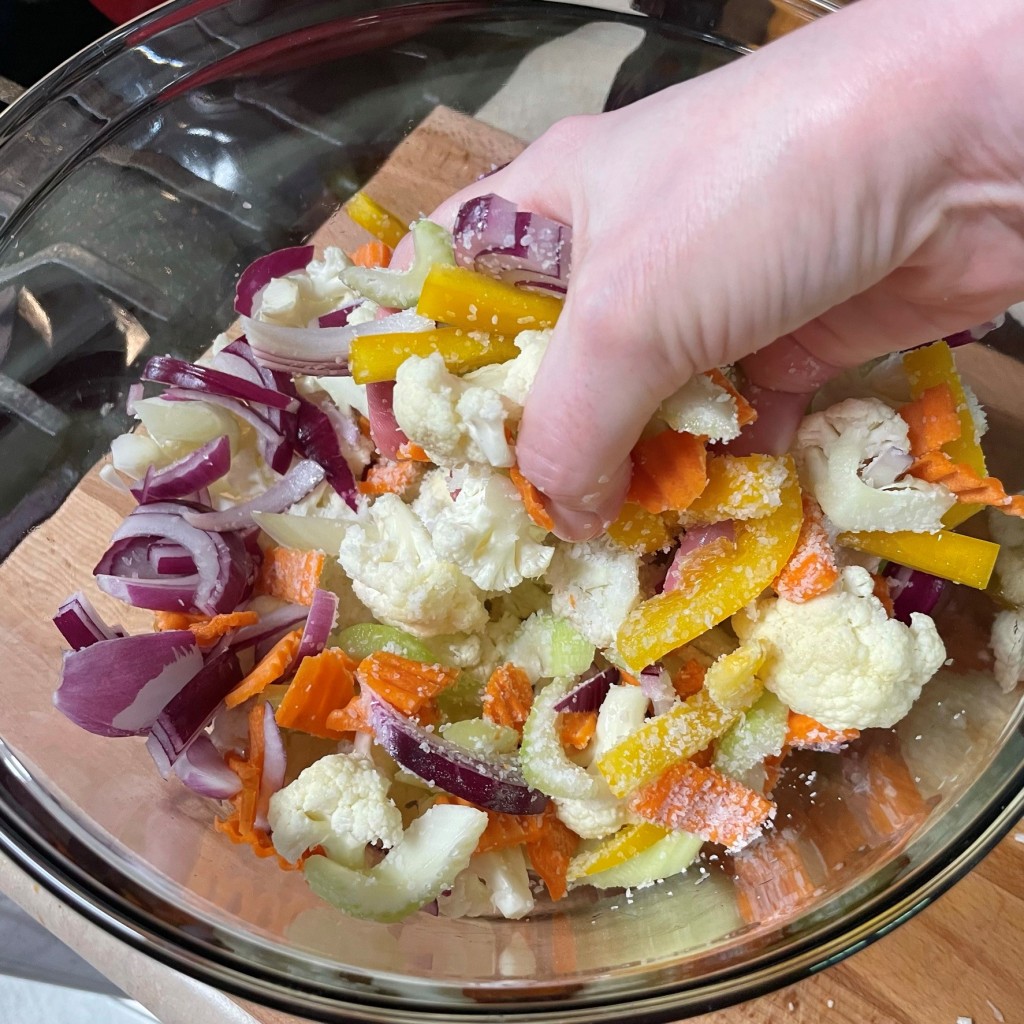
I know. It looks crazy. But toss the ingredients and let them rest for at least 5 minutes, up to 15. 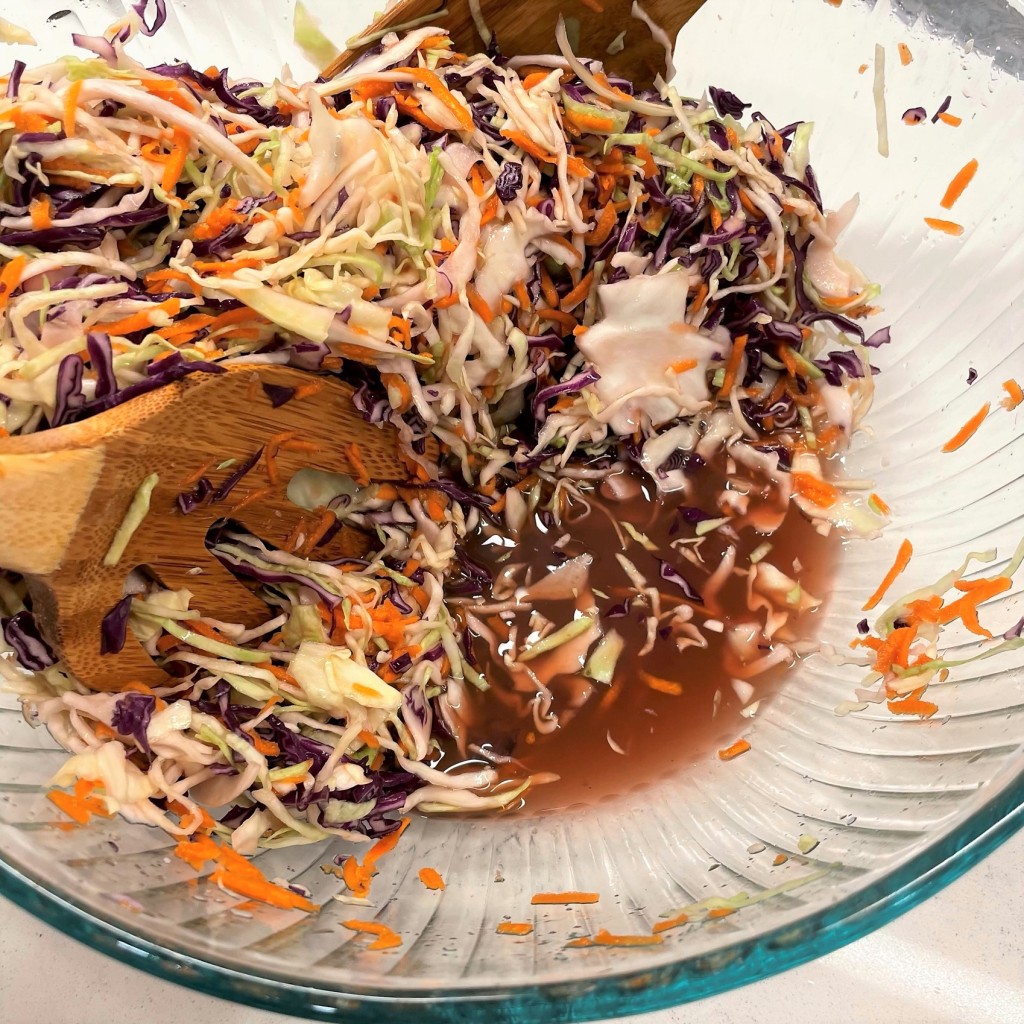
Look how much liquid was released from my shredded cabbage in just 15 minutes! 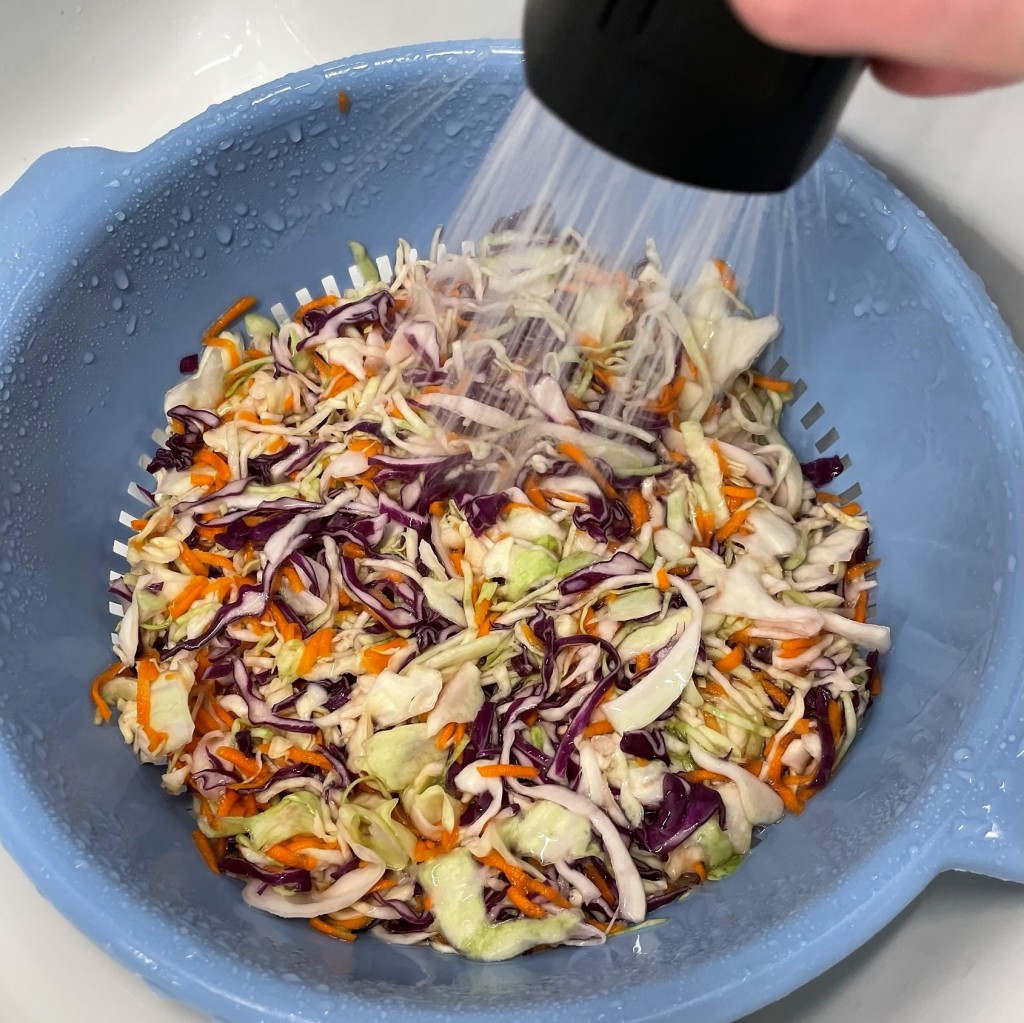
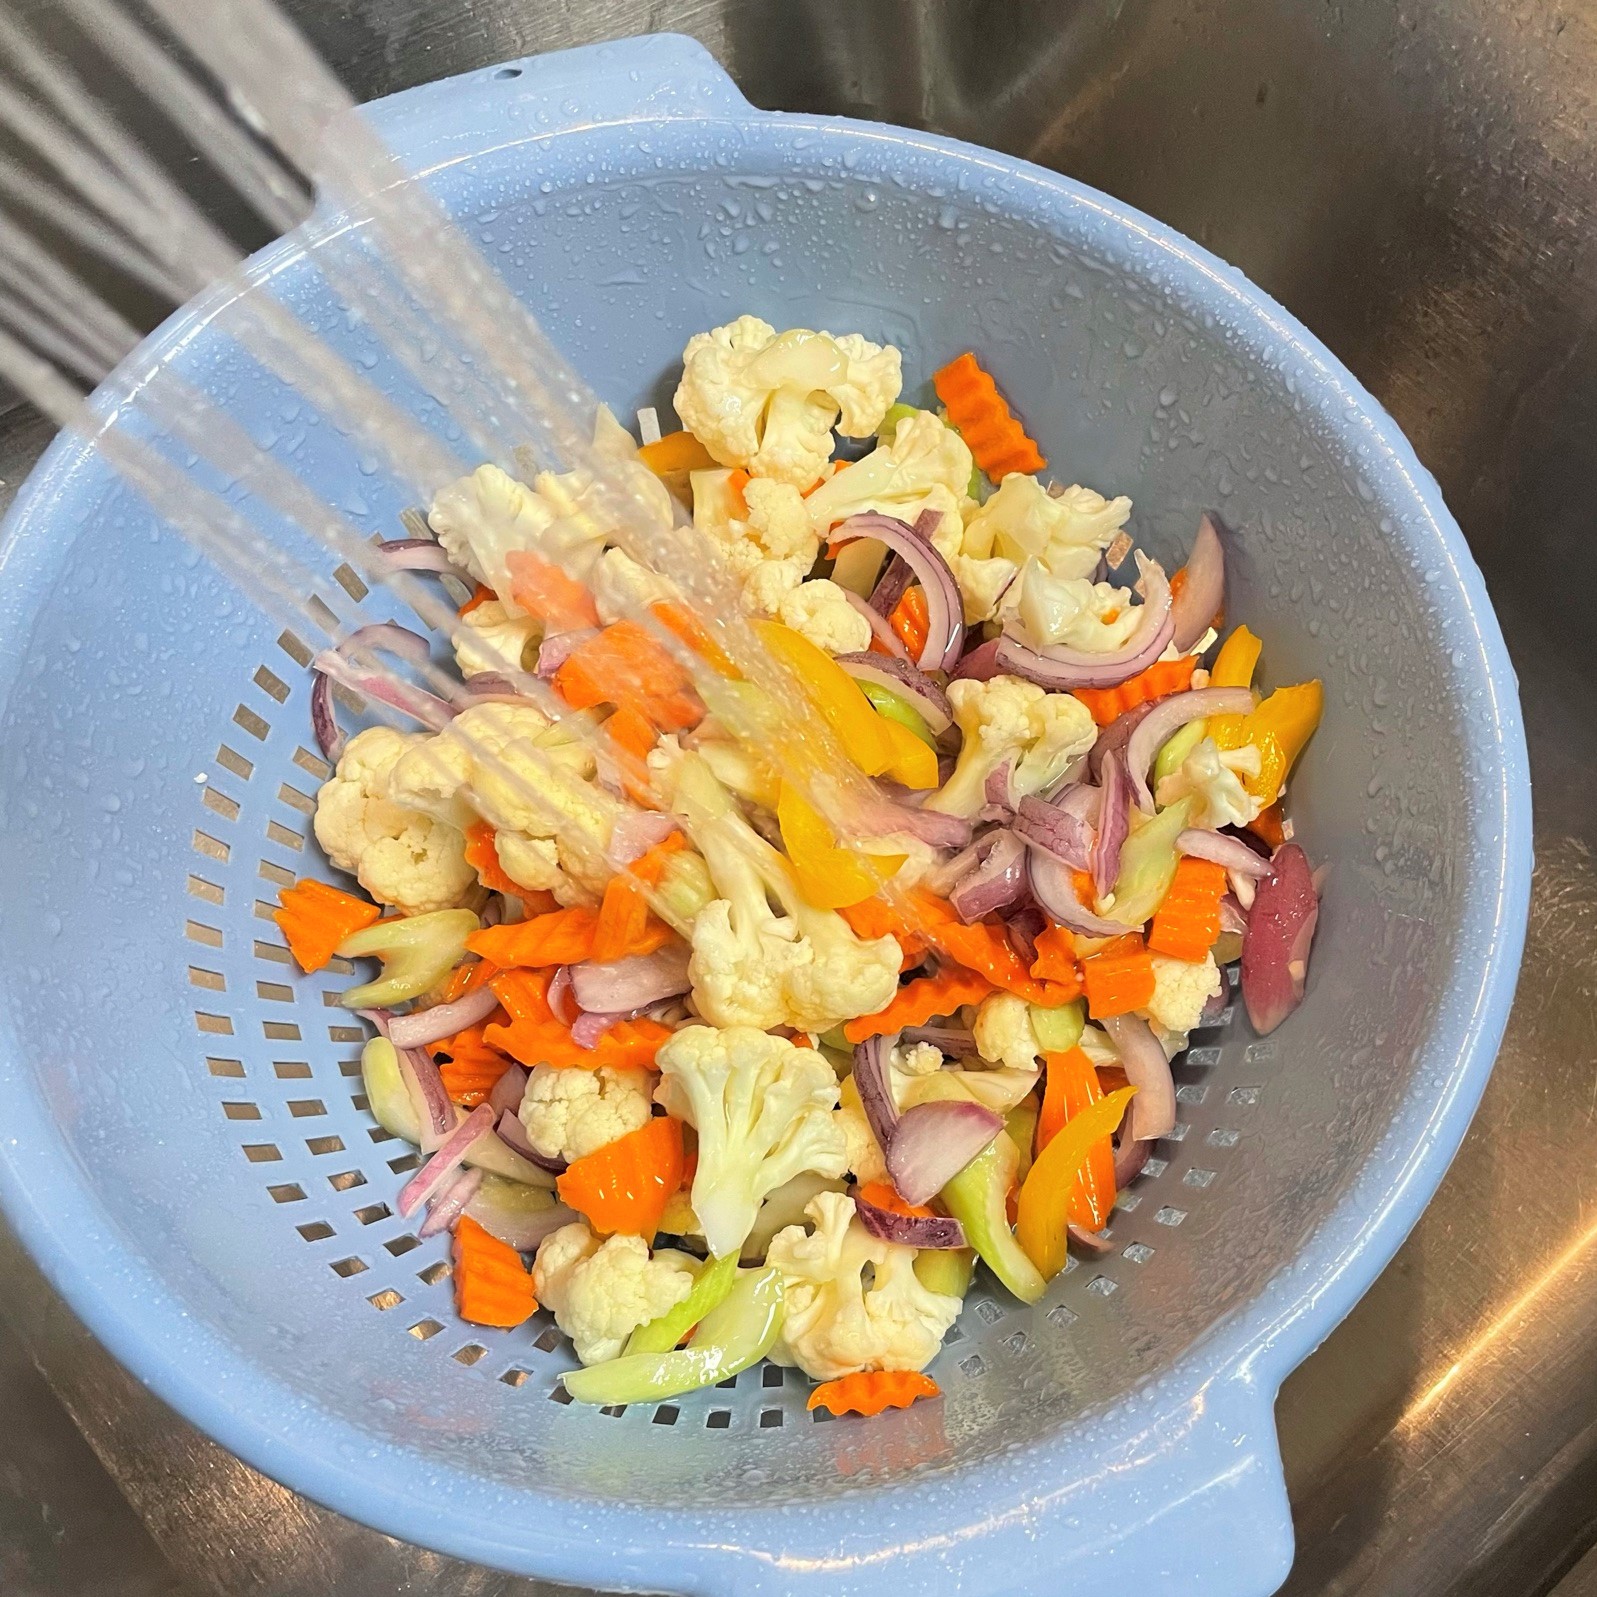
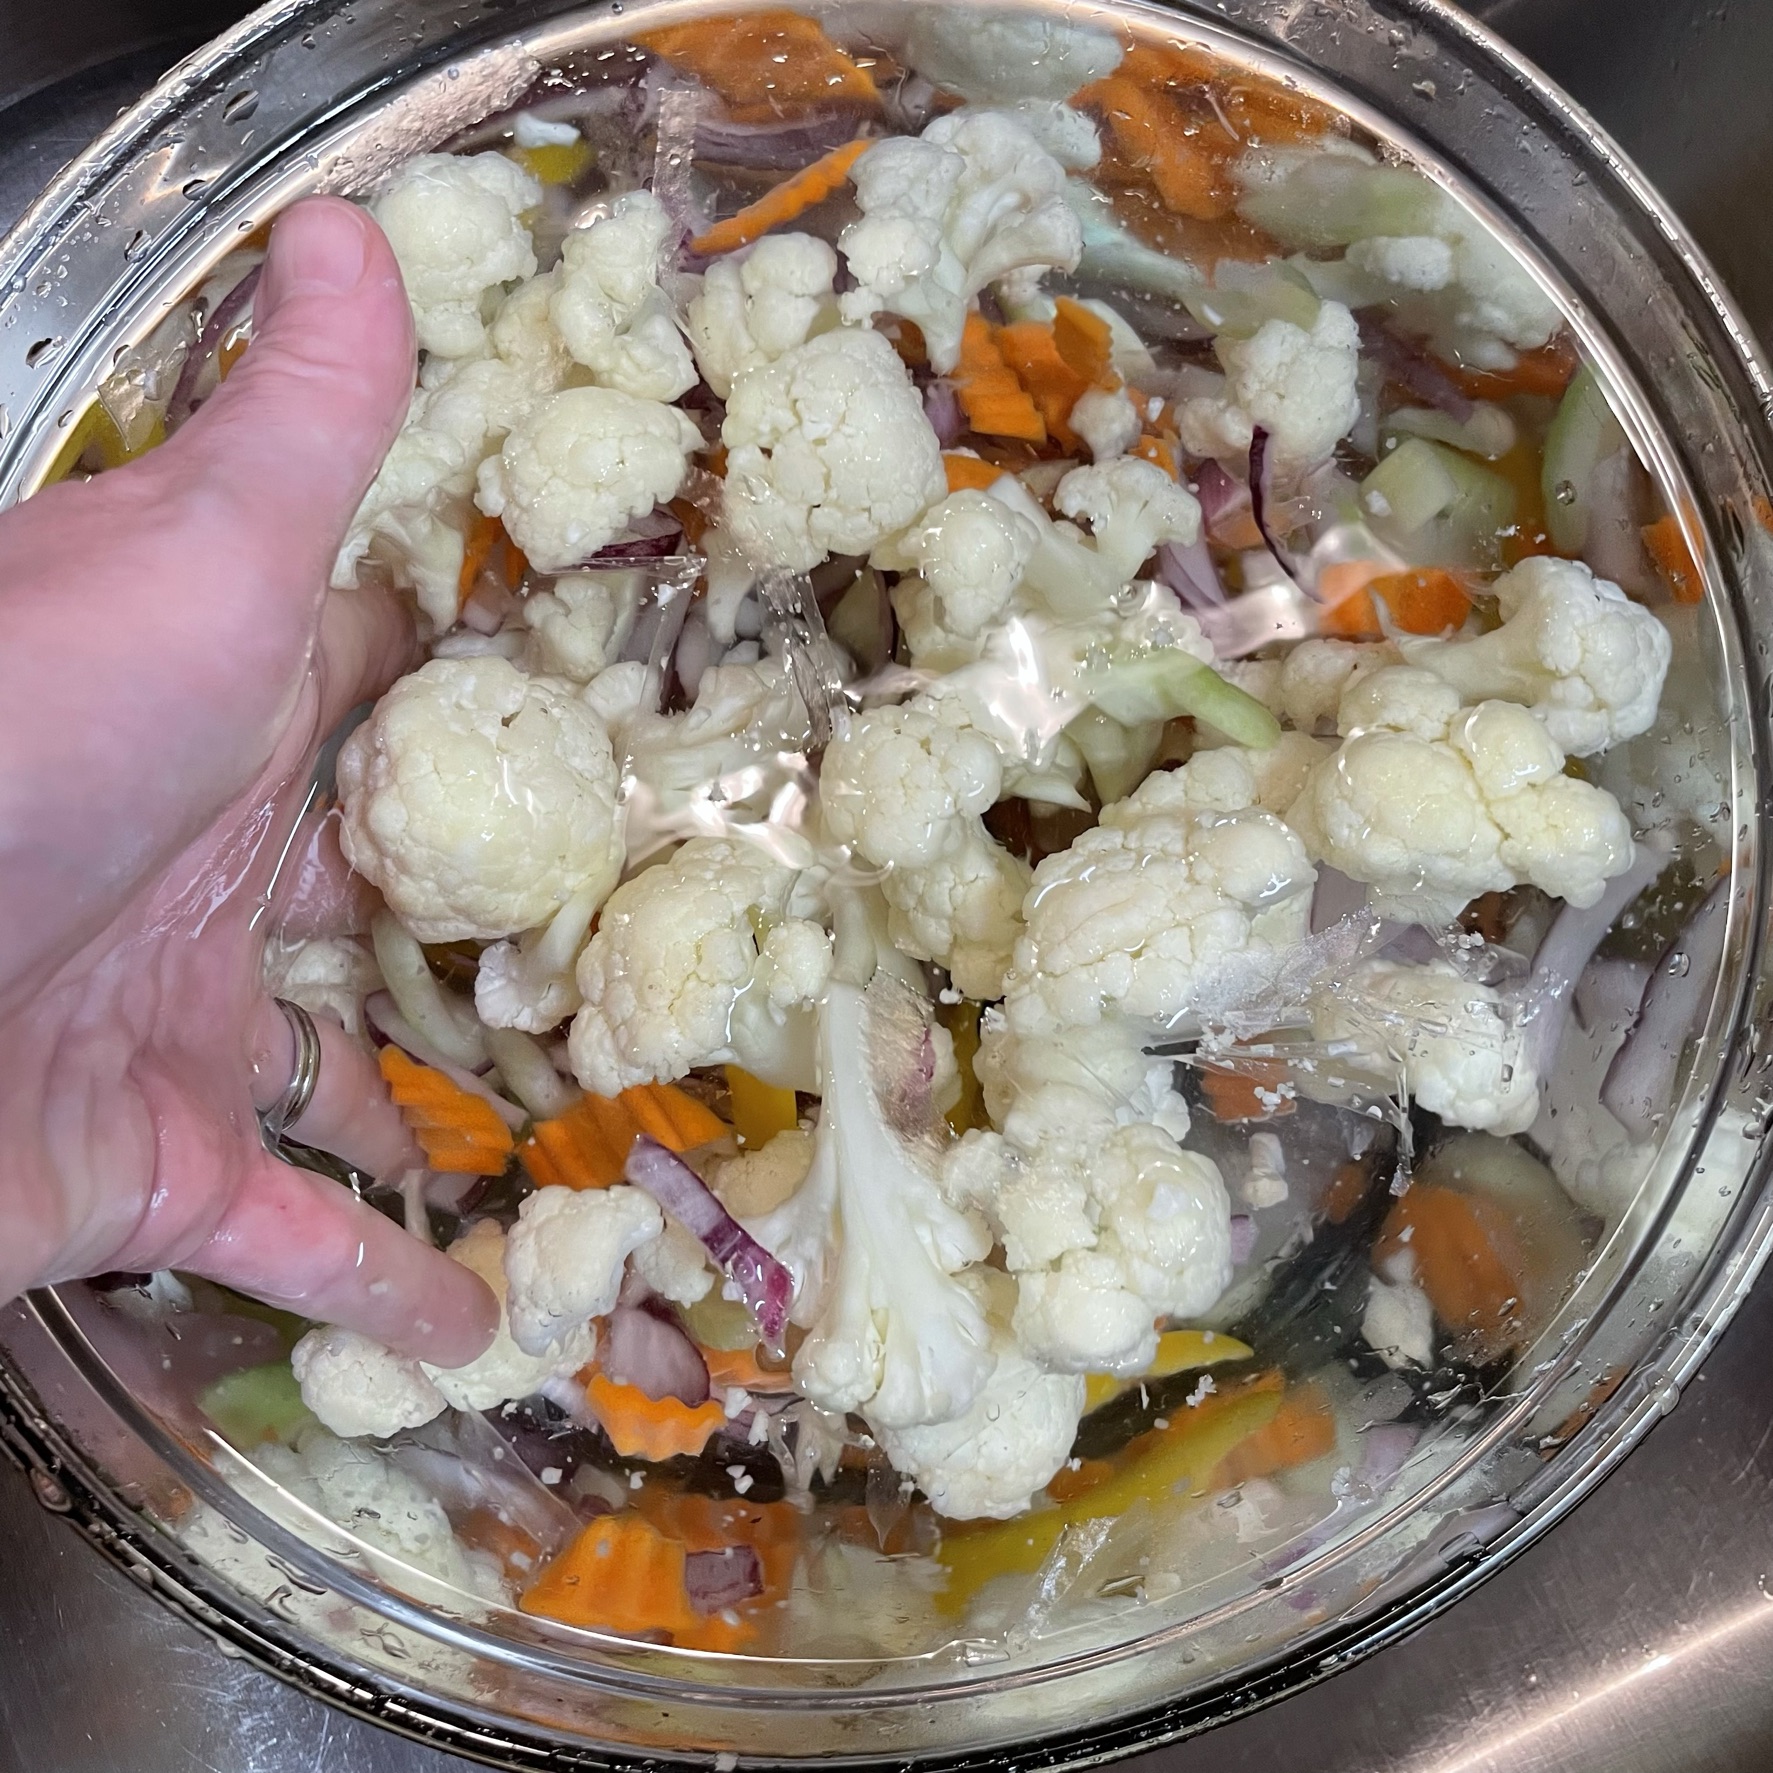
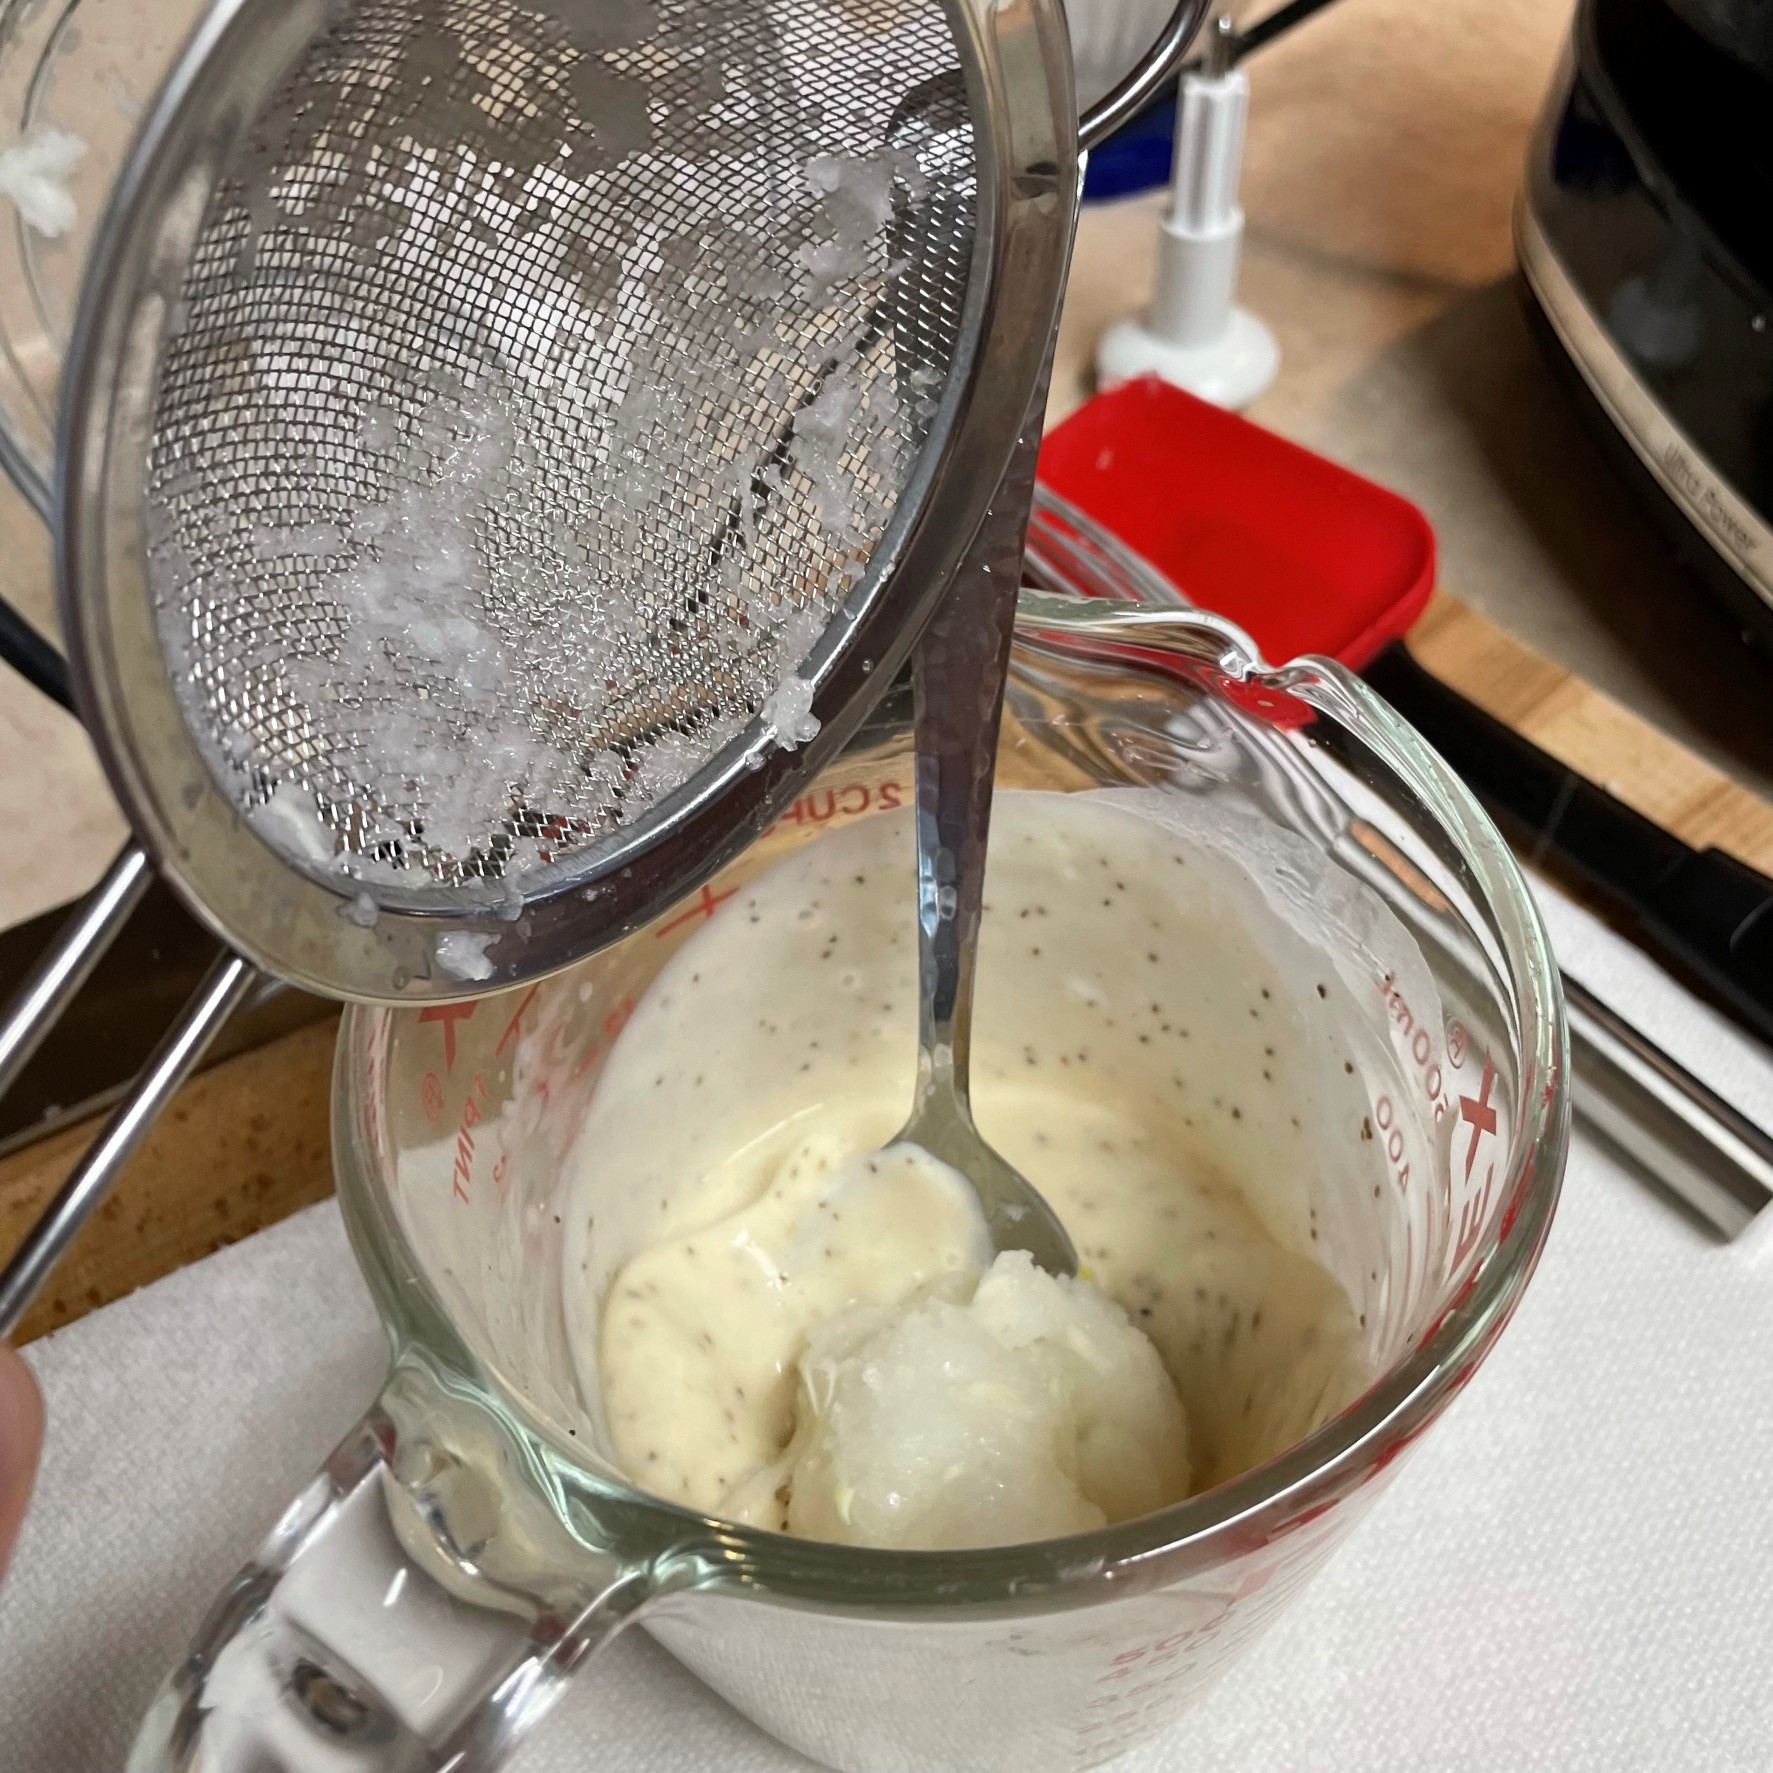
Transfer the cabbage blend to a colander and rinse under cold water for at least two minutes. Toss it gently to ensure even rinsing. 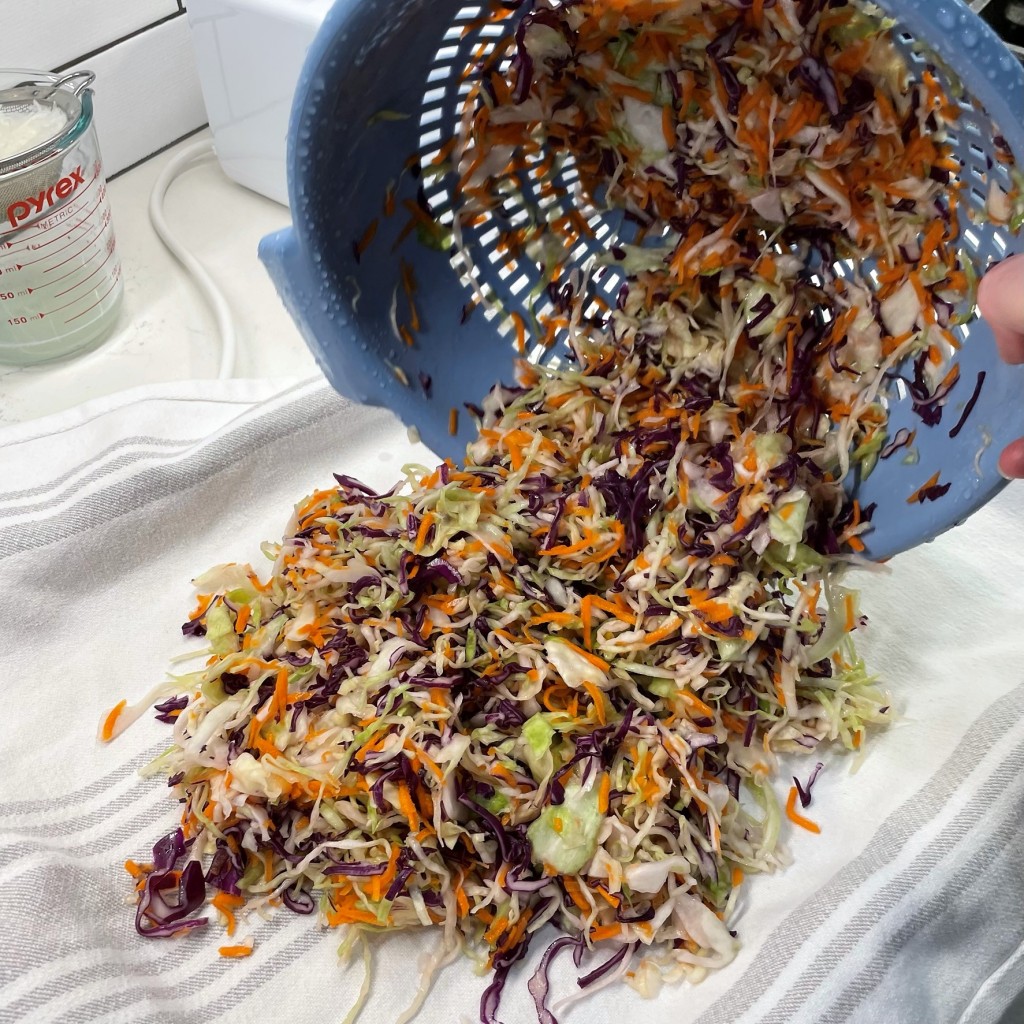
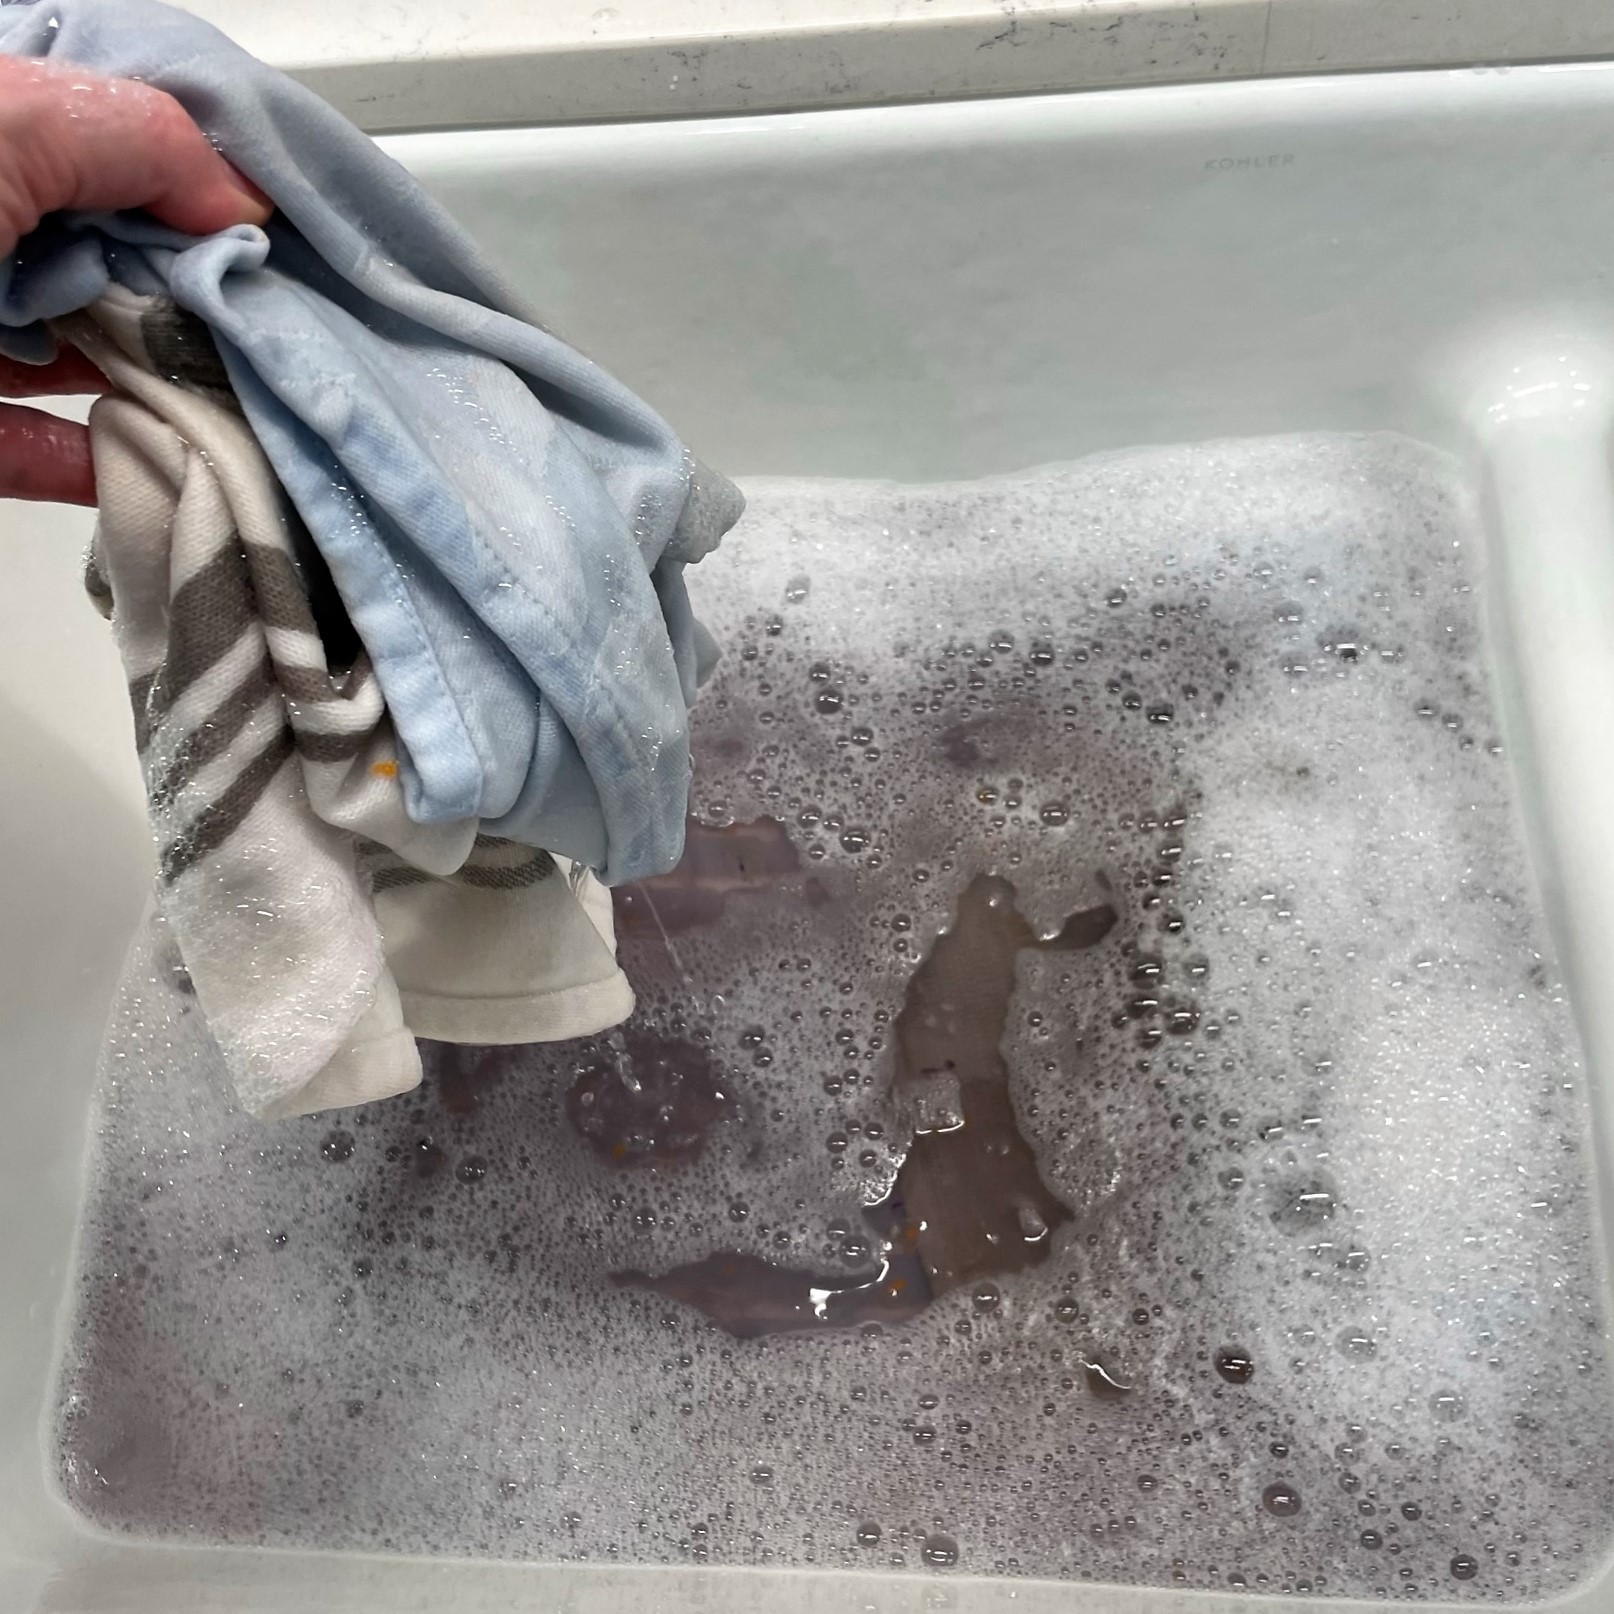
If you have a salad spinner, Kenji recommends drying it that way, in batches. I hate cleaning the spinner, so I went with plan B, spreading the cabbage out onto a clean kitchen towel. 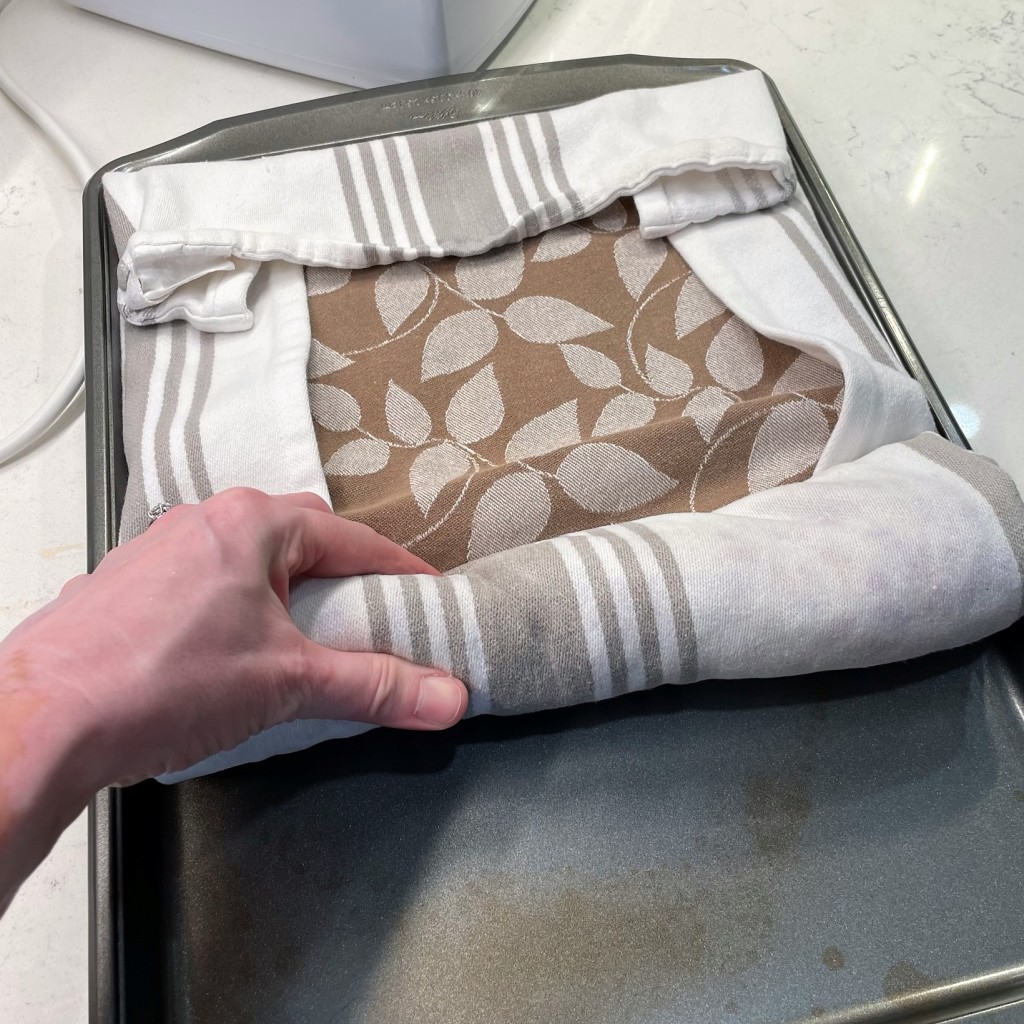
Place another towel over the cabbage and gently wrap it up to absorb excess water. This is a good time to mention that towels used in the kitchen should be washed with unscented detergent and no fabric softener. 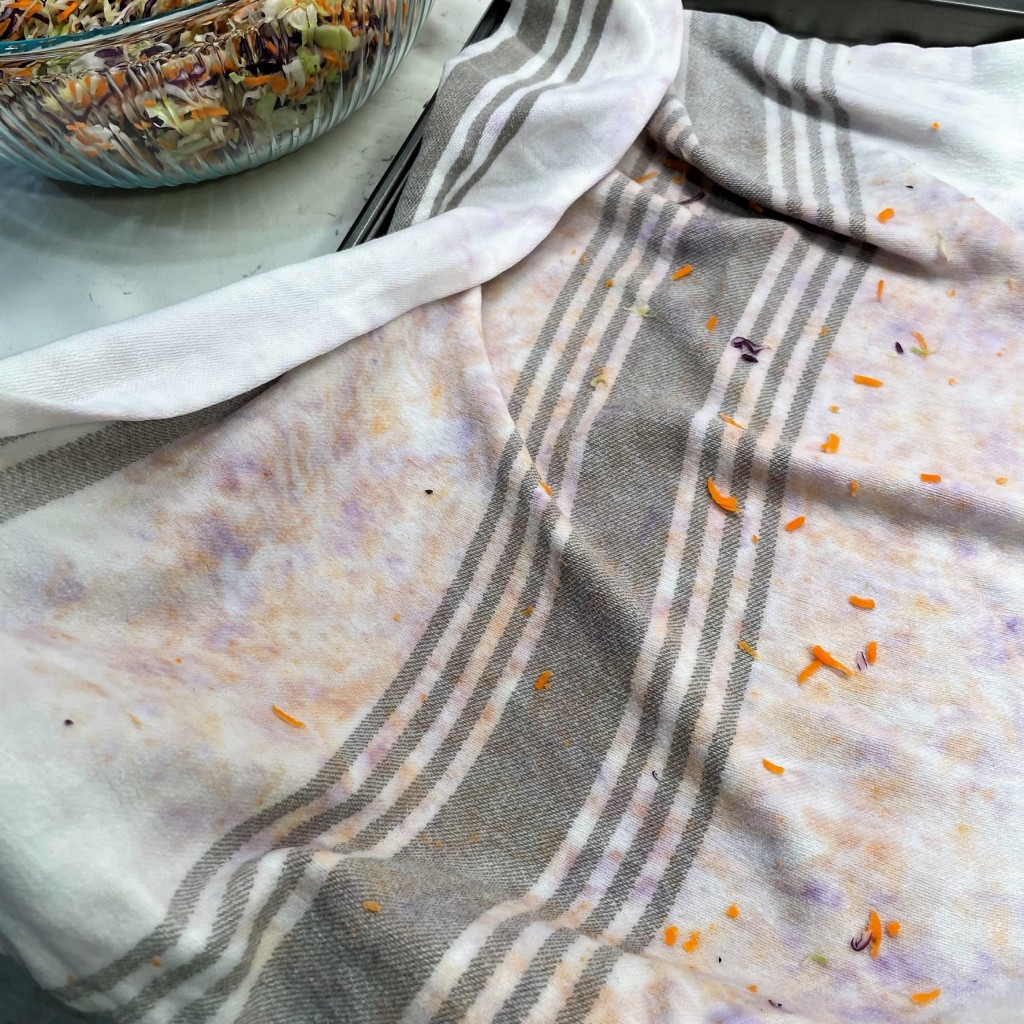
Oh, cool, a tie-dyed kitchen towel! (Don’t worry, it will rinse away.) 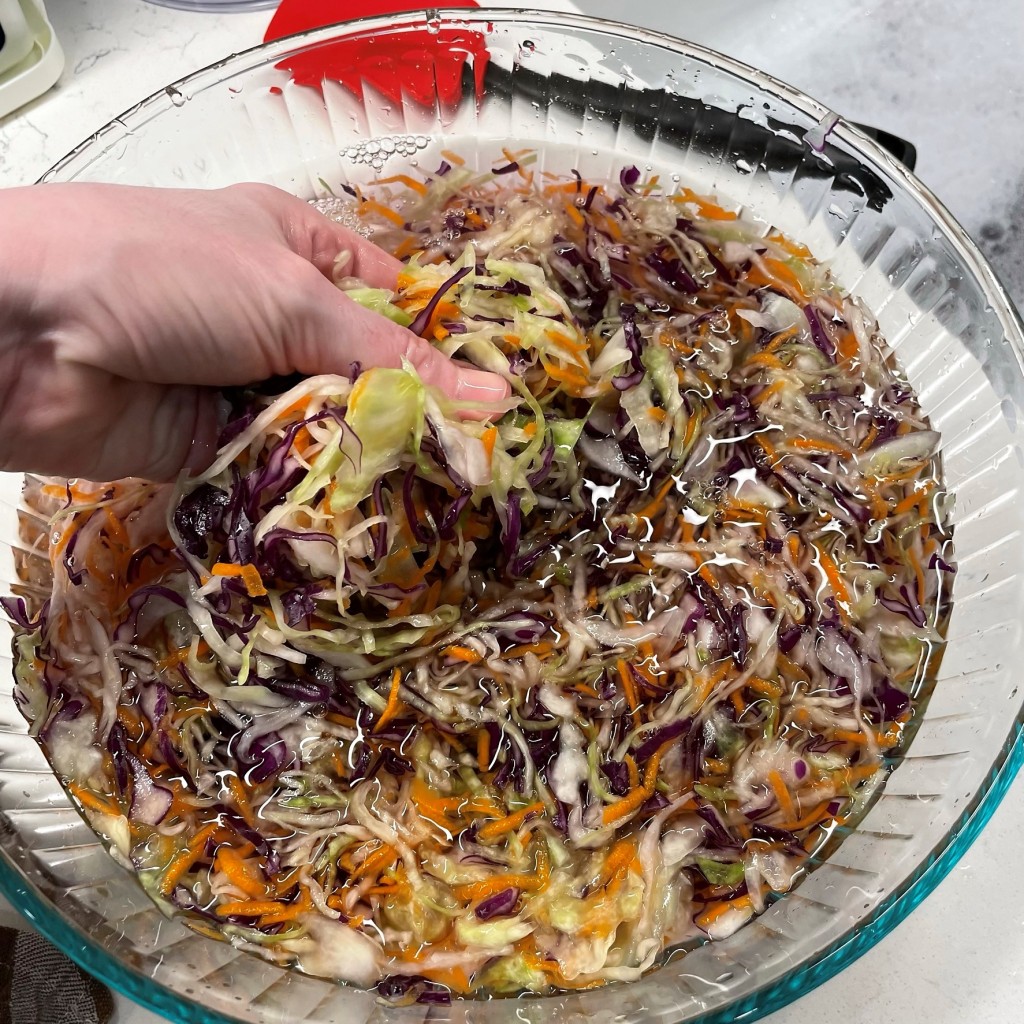
After a quick taste, it was obvious to me that I didn’t rinse long enough to remove that hefty dose of salt, so I gave it another rinse, this time in a bowl of cold water. 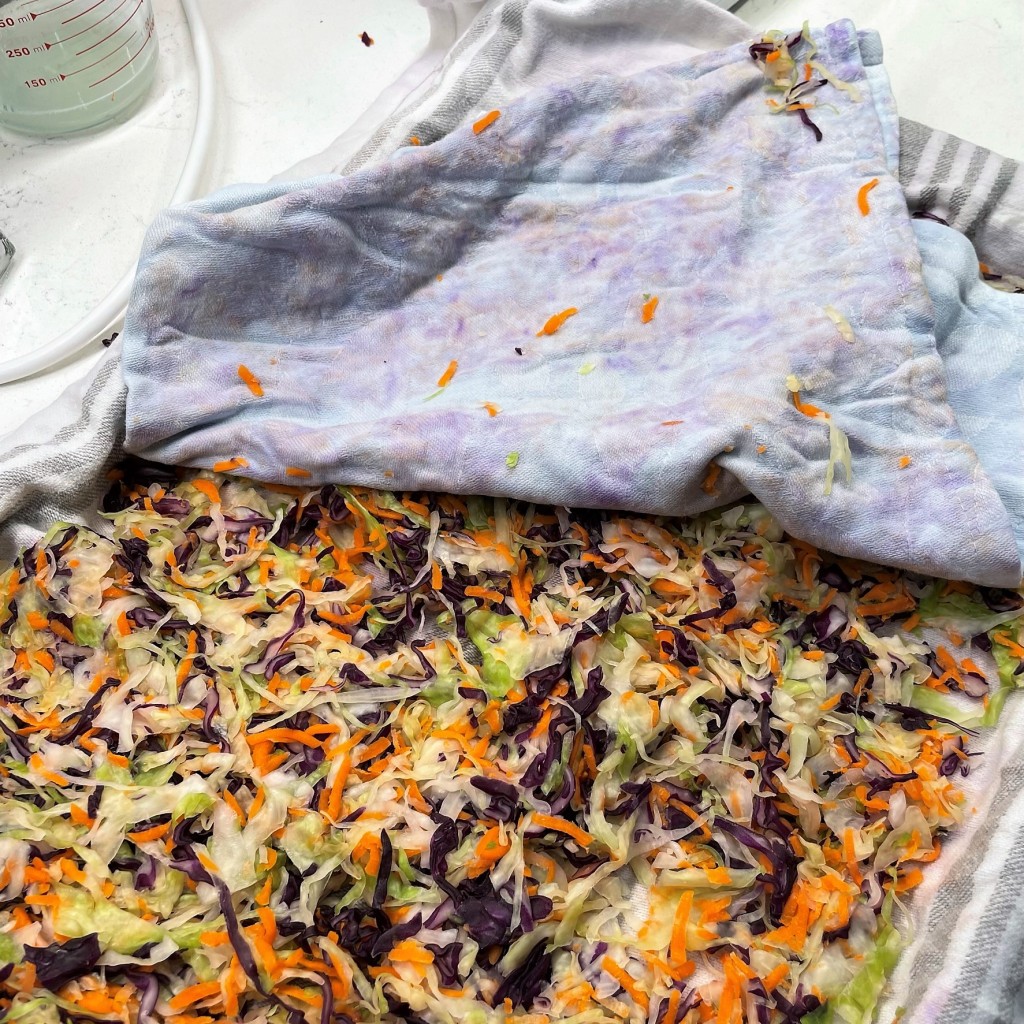
This time, the cabbage tasted perfect, and now I had TWO sets of tie-dyed kitchen towels. 🙂 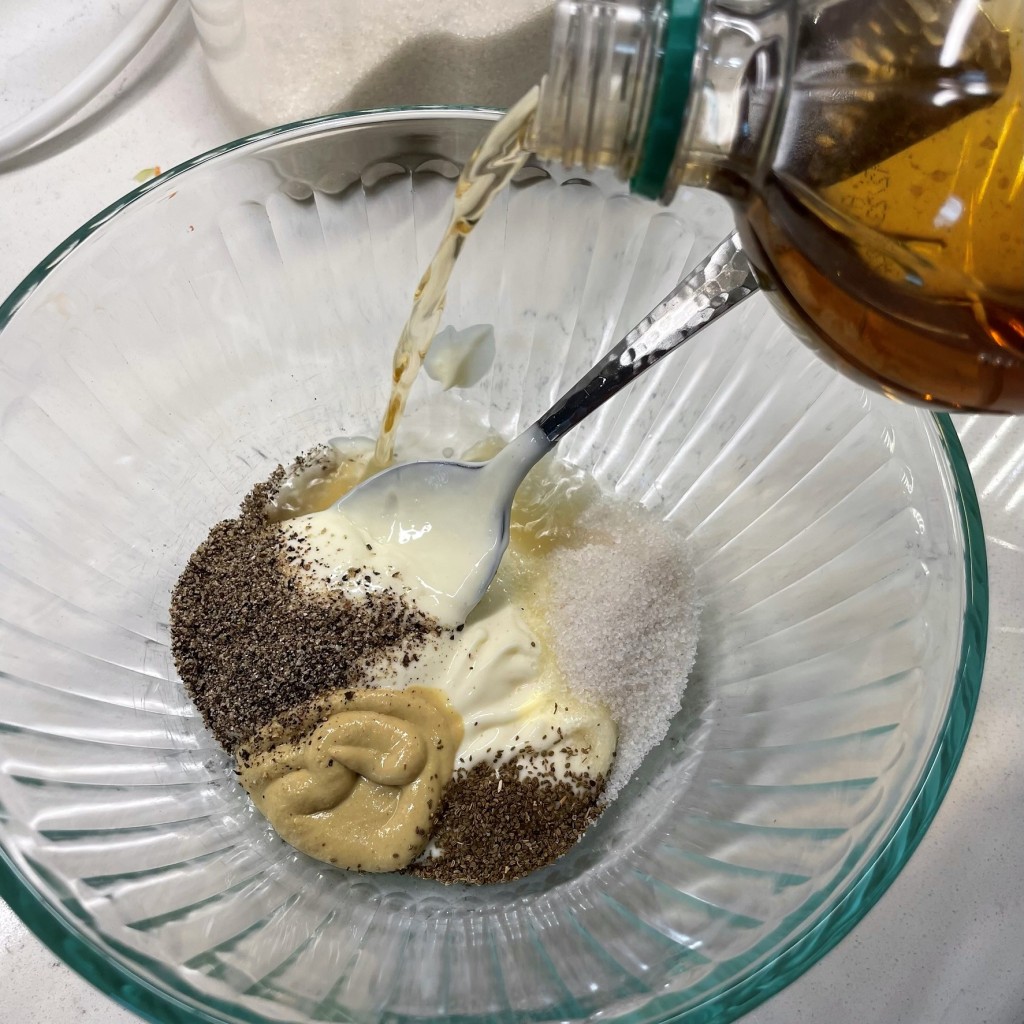
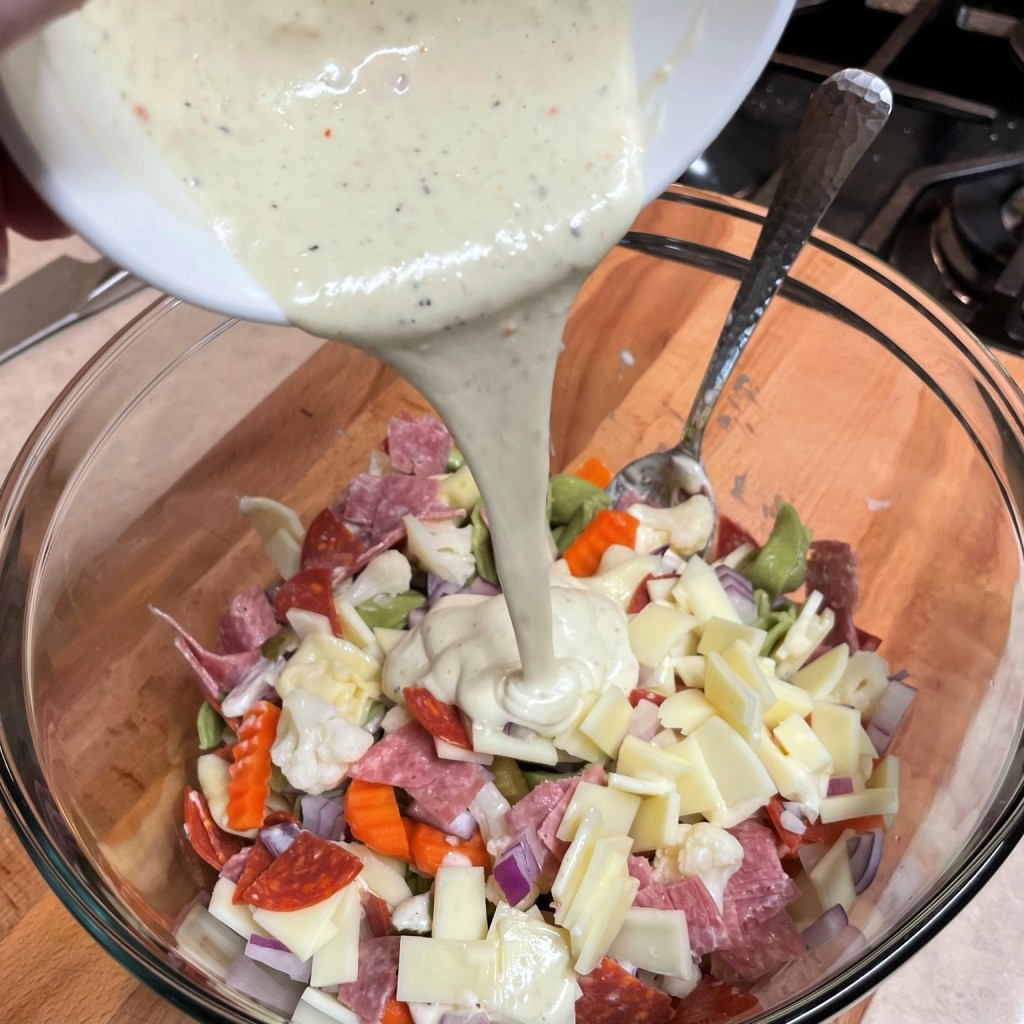
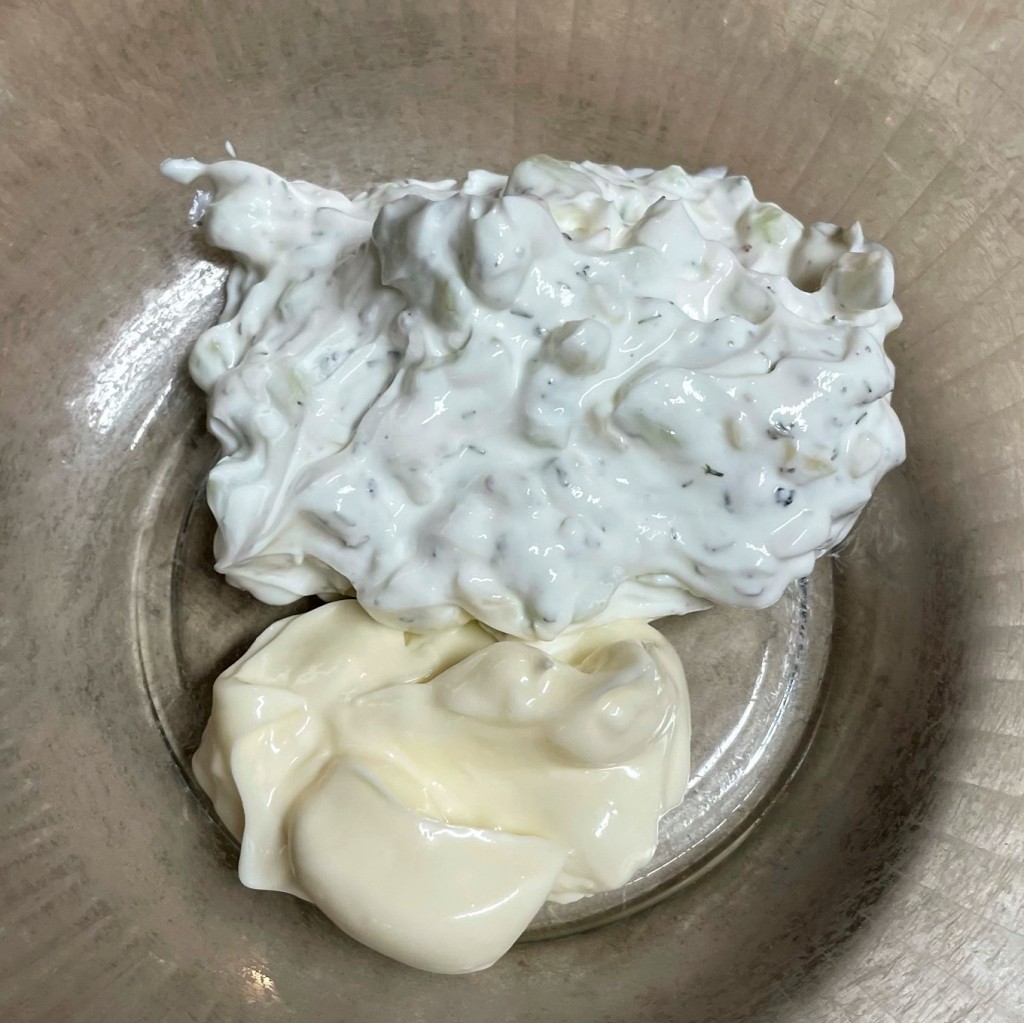
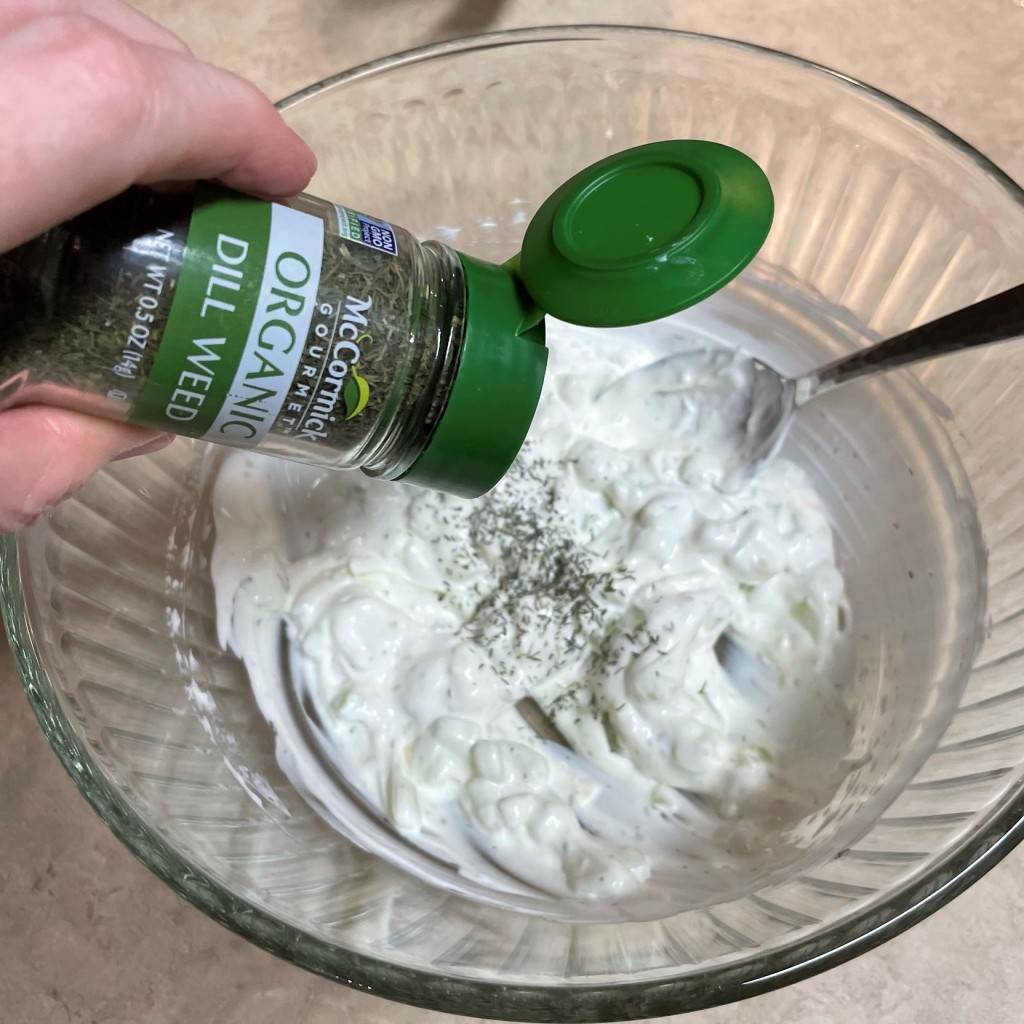
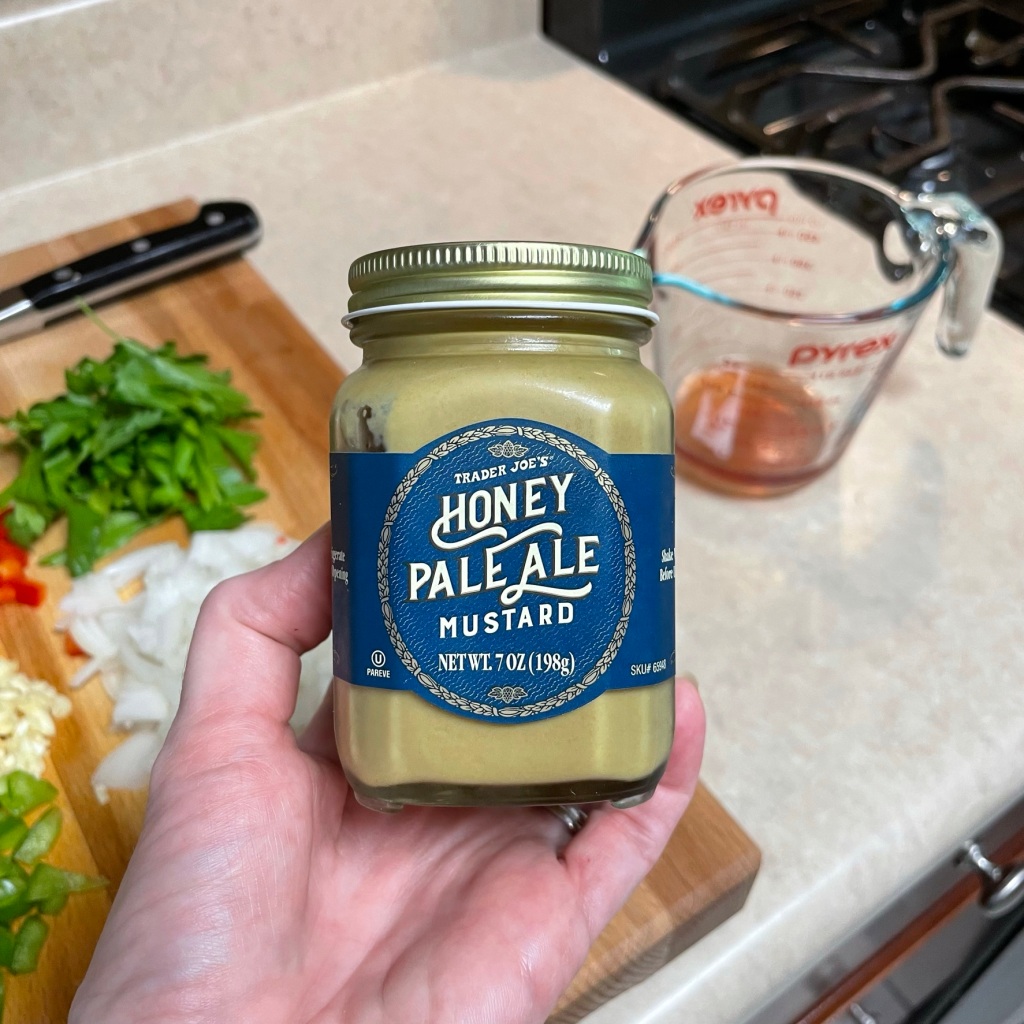
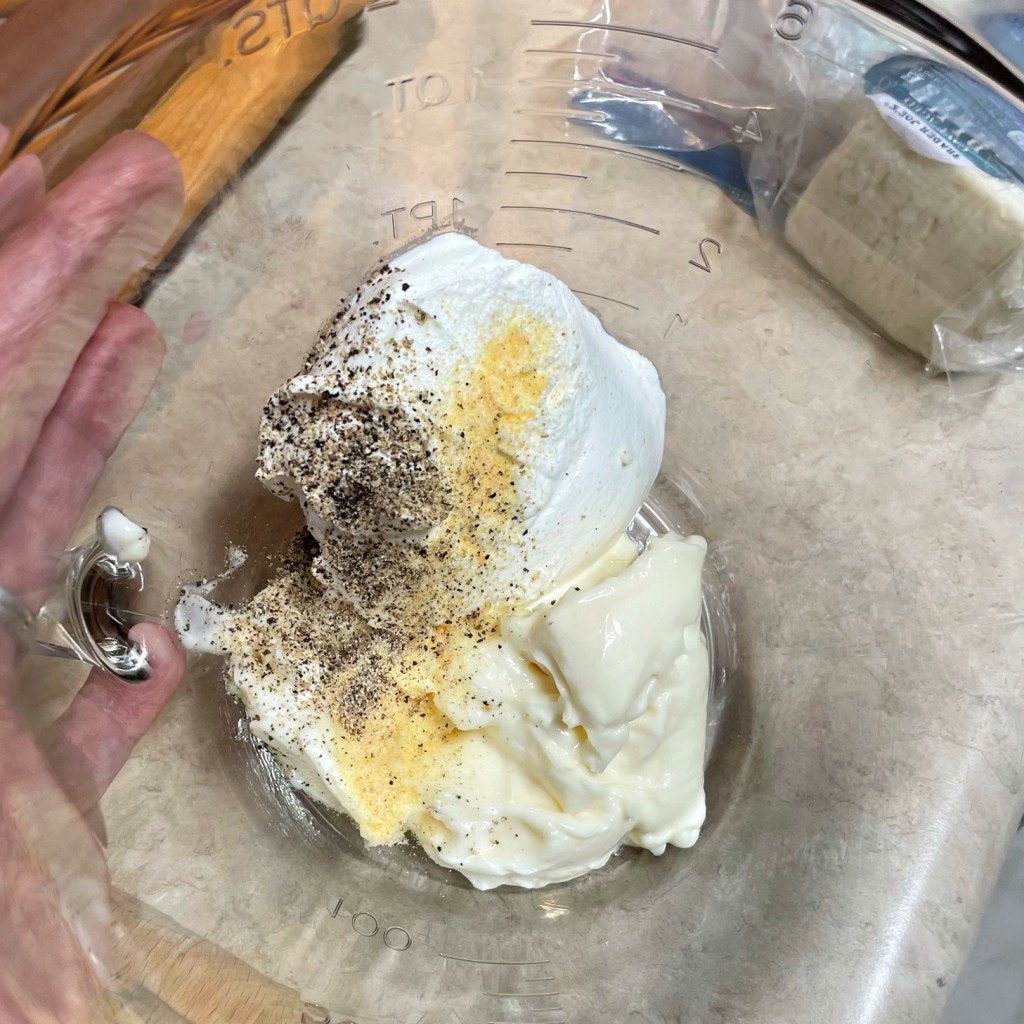
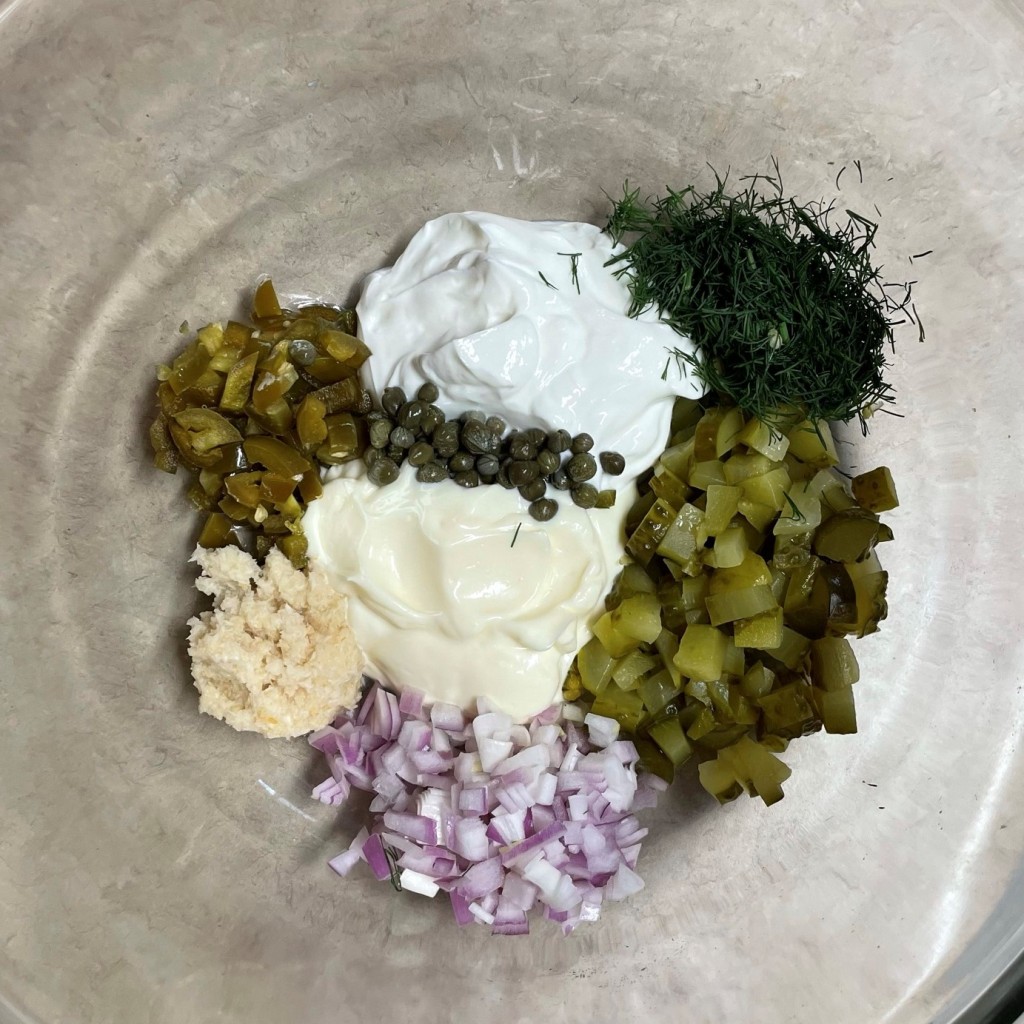
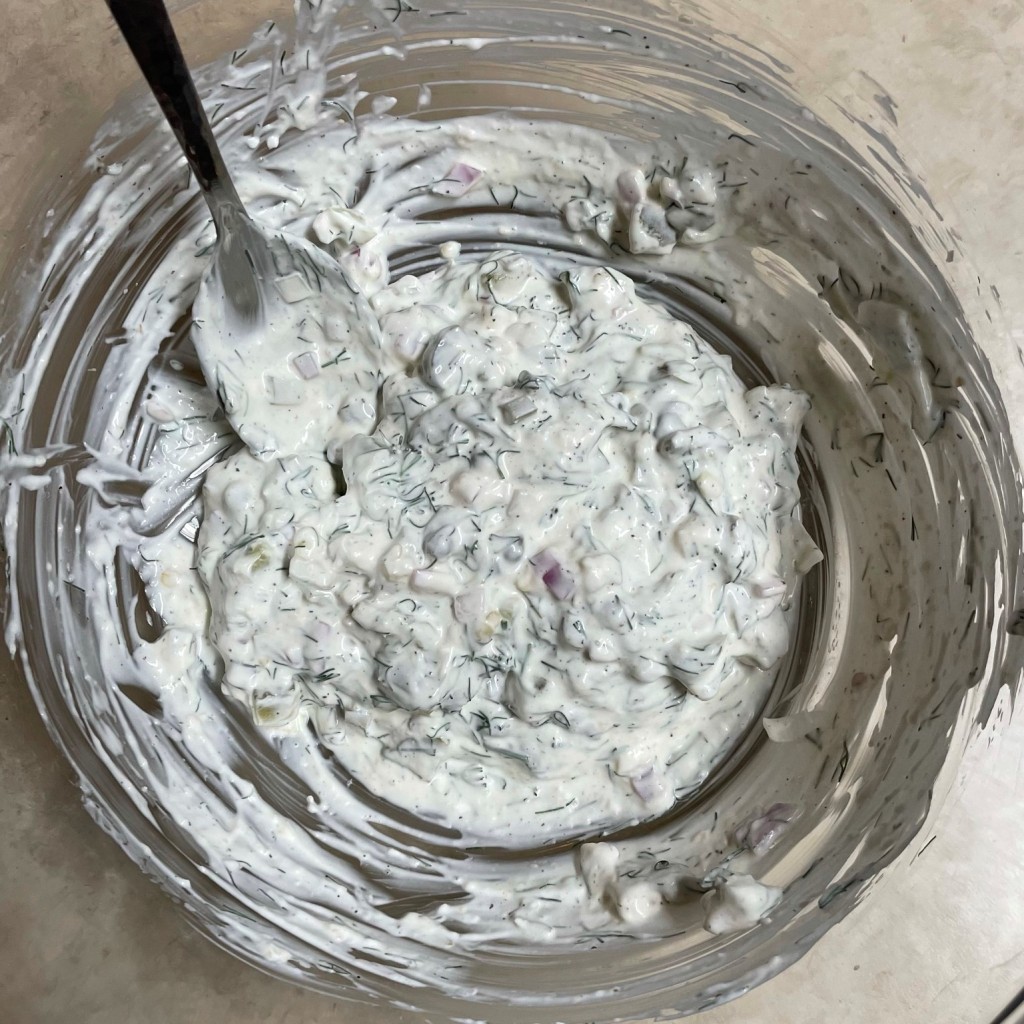
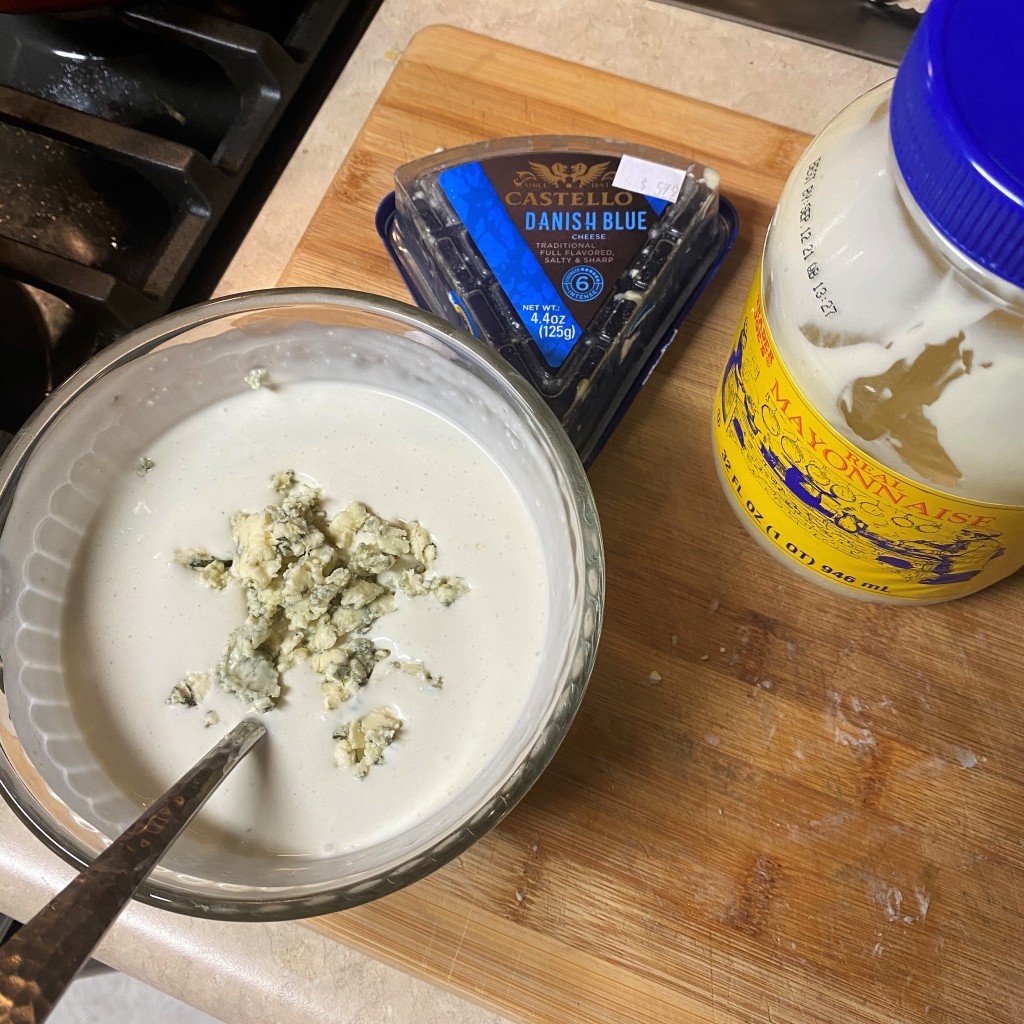
The slaw dressing is mayo, Dijon mustard, a teaspoon of sugar, celery seed, apple cider vinegar and a generous amount of black pepper. 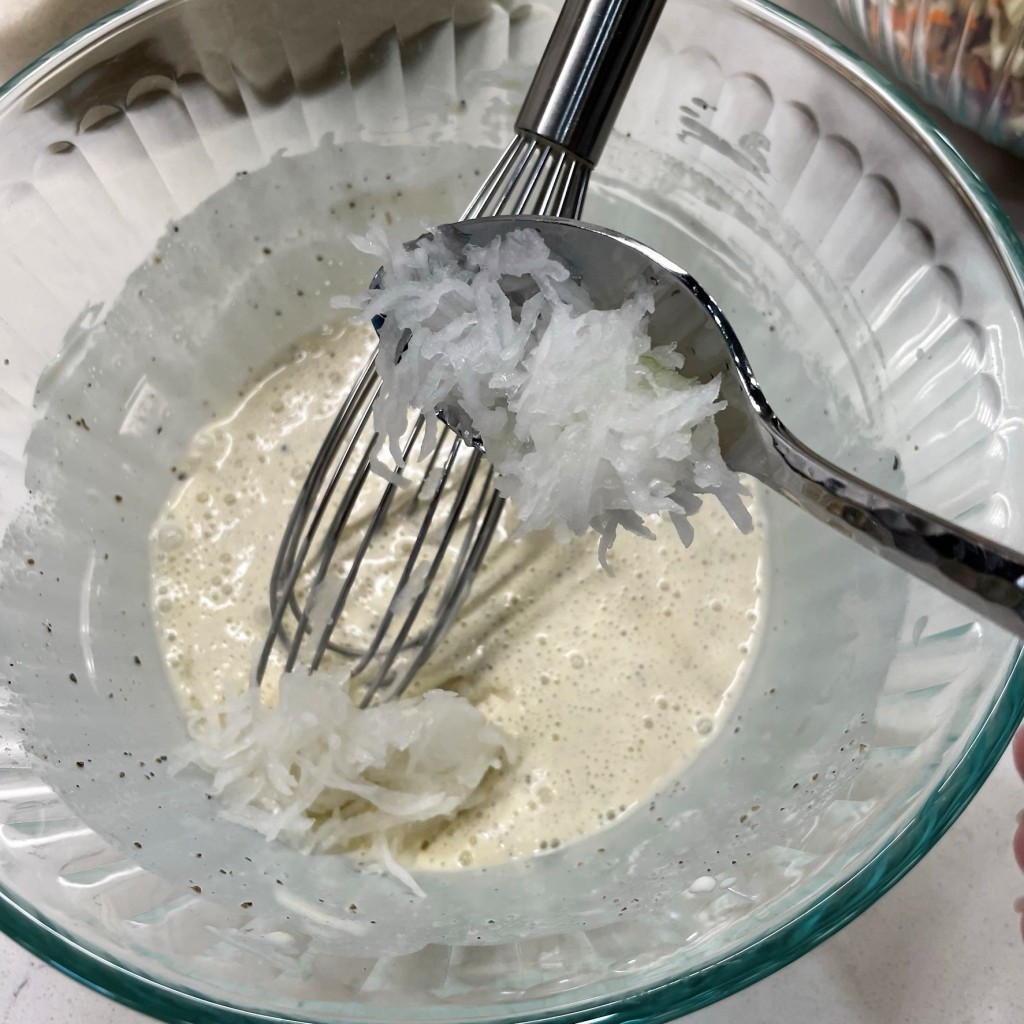
I find that wispy shreds of onion are easier to blend into a salad by way of the dressing, so I added them here. 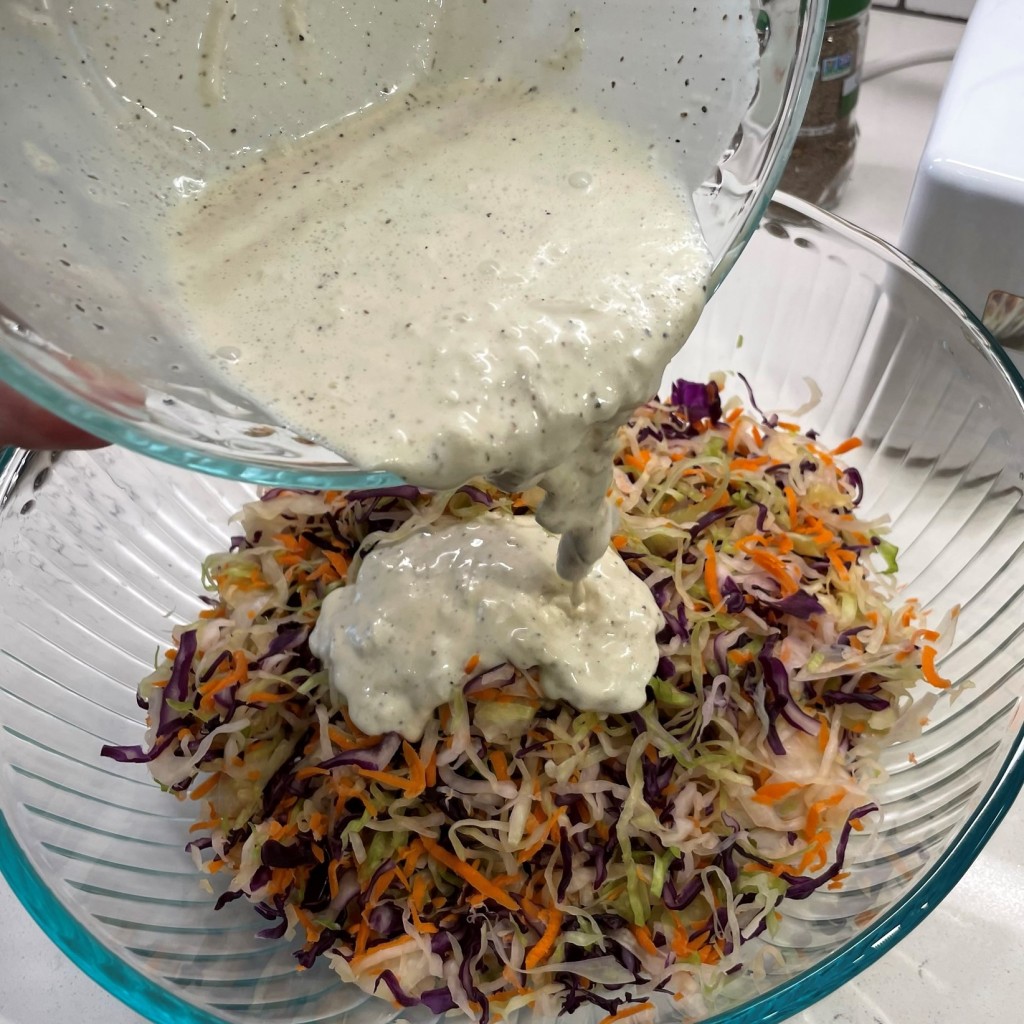
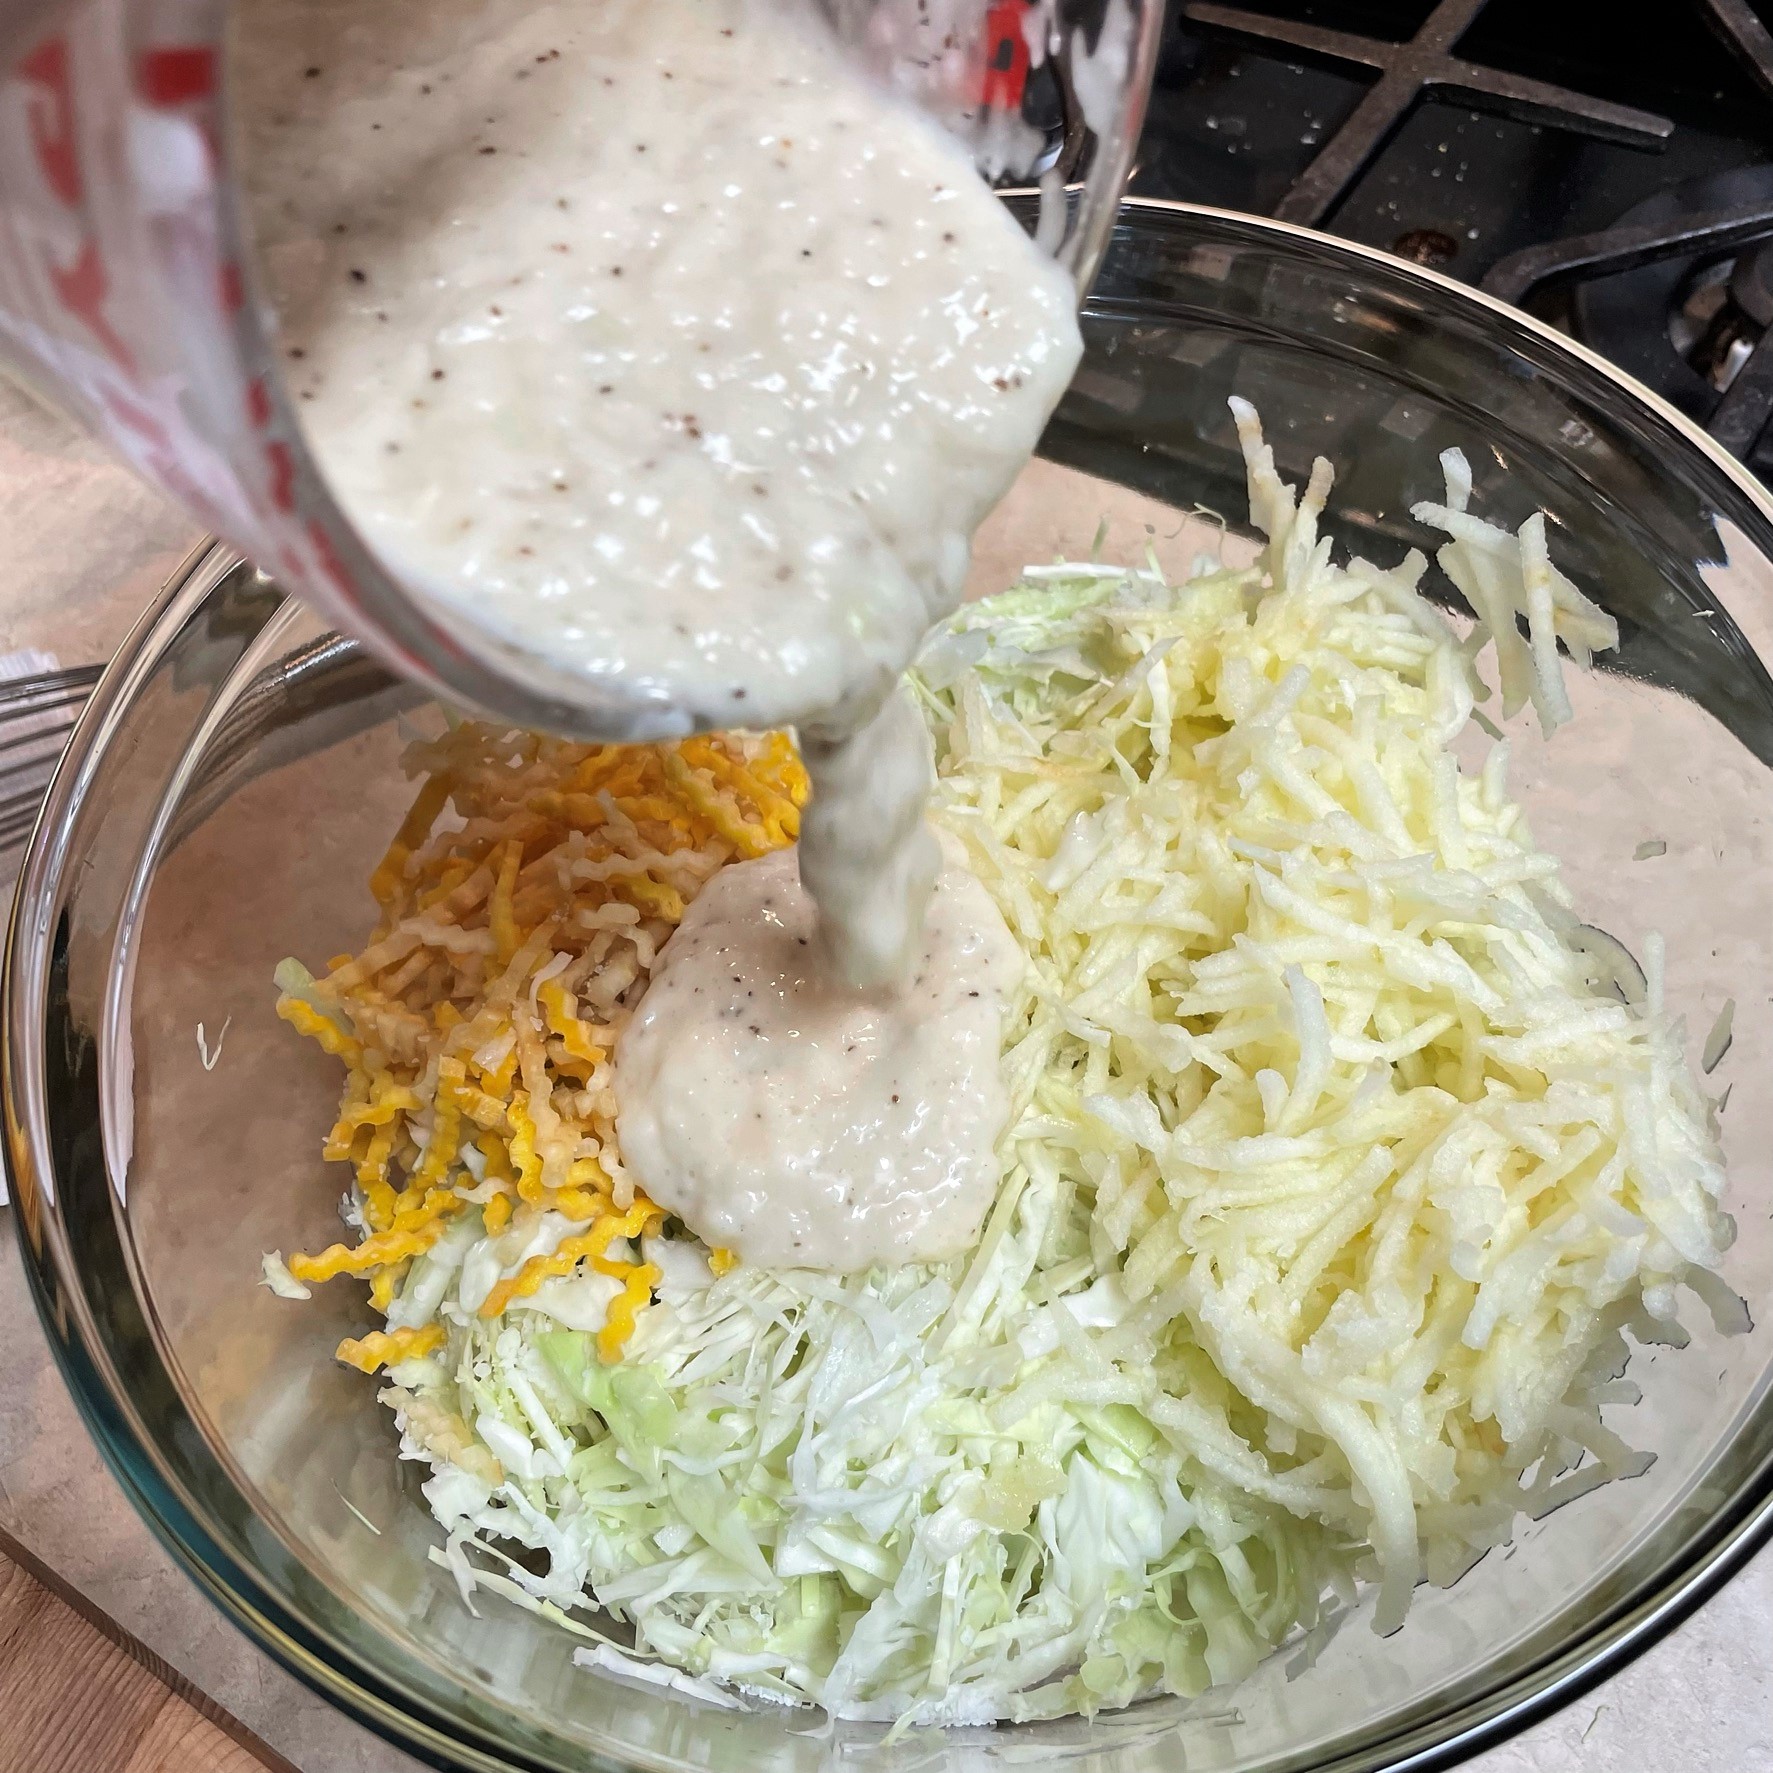
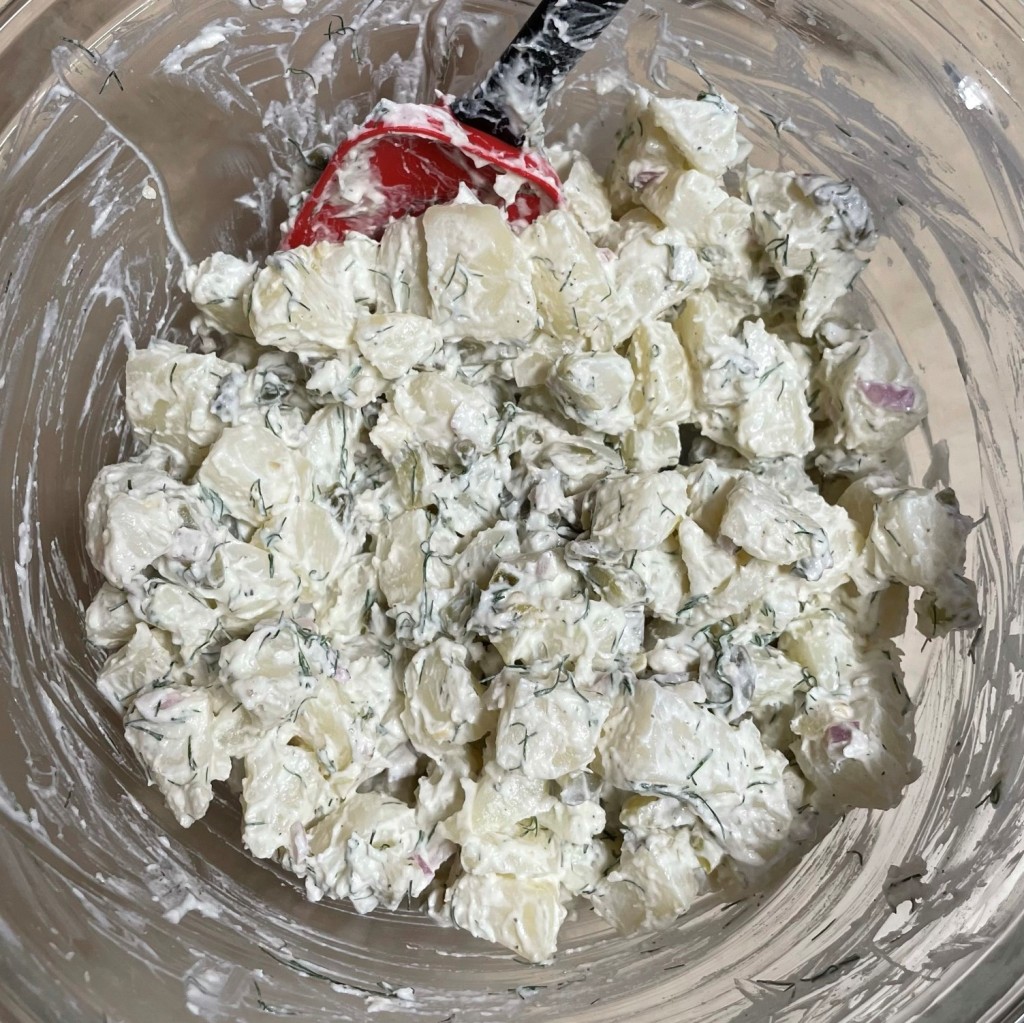
At first glance, this didn’t seem like enough dressing for so much cabbage, but it was perfect. Who else is in favor of LESS mayonnaise this summer? 🙂 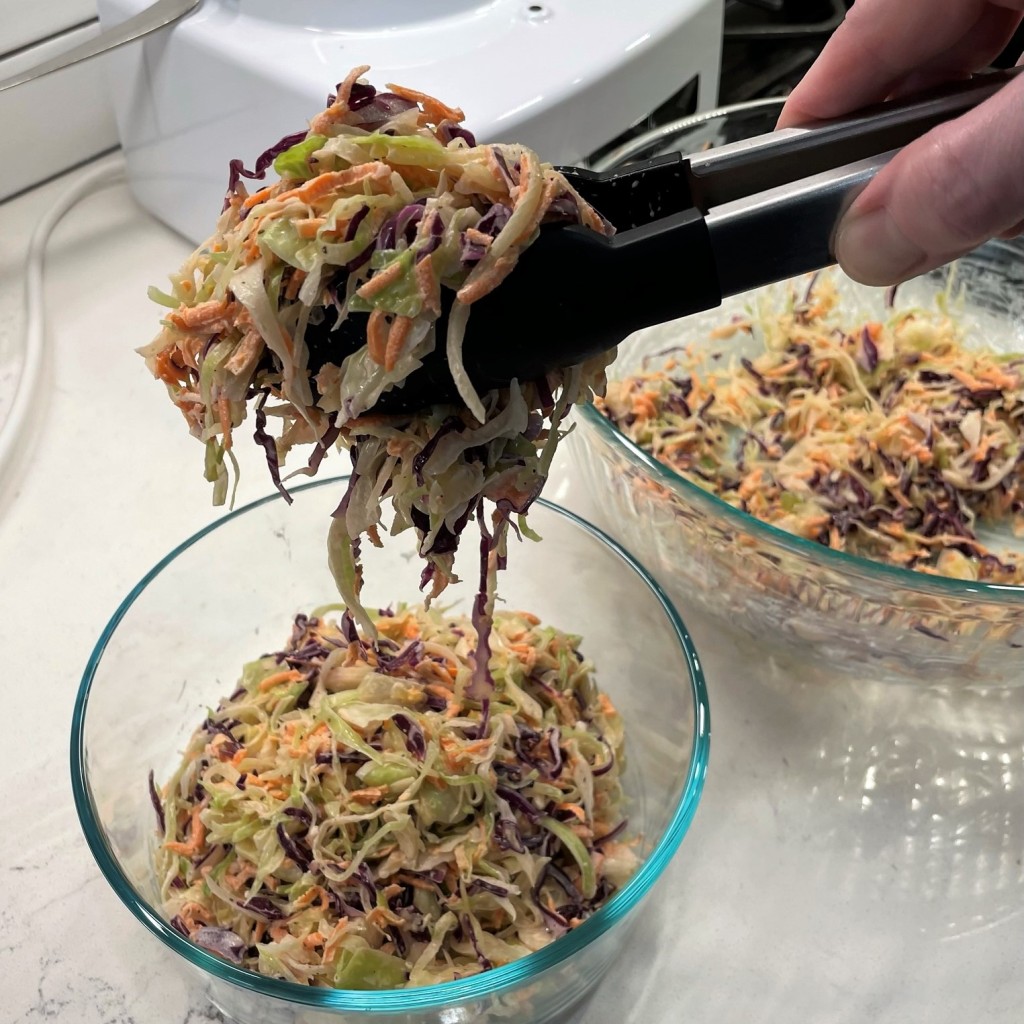
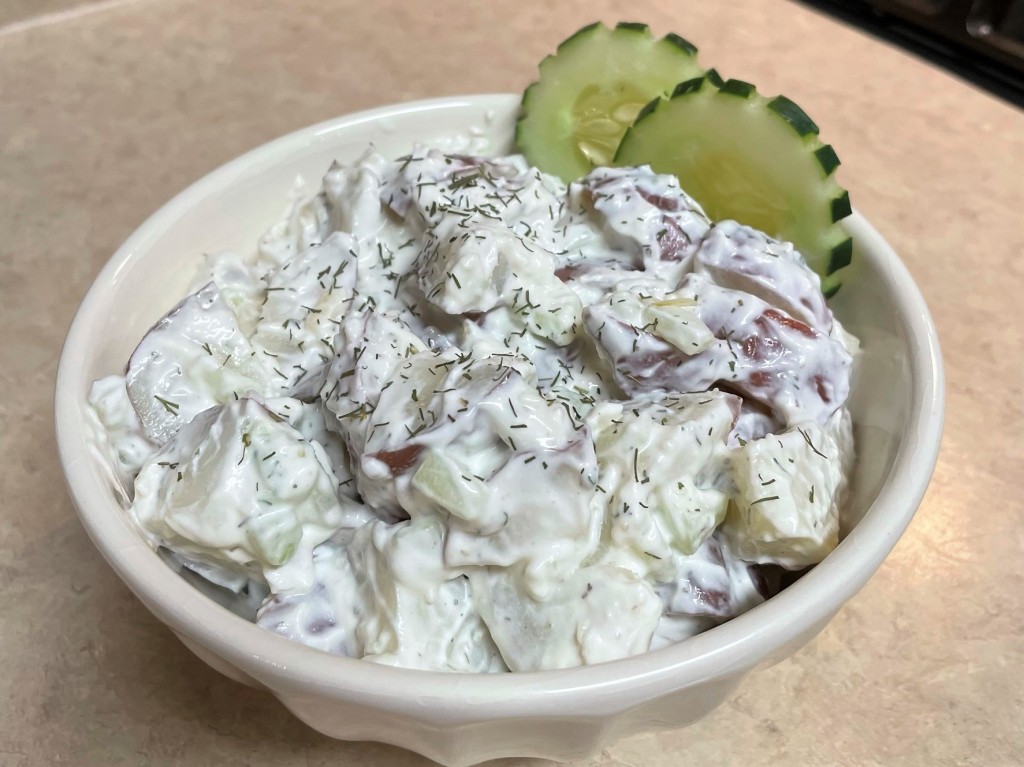
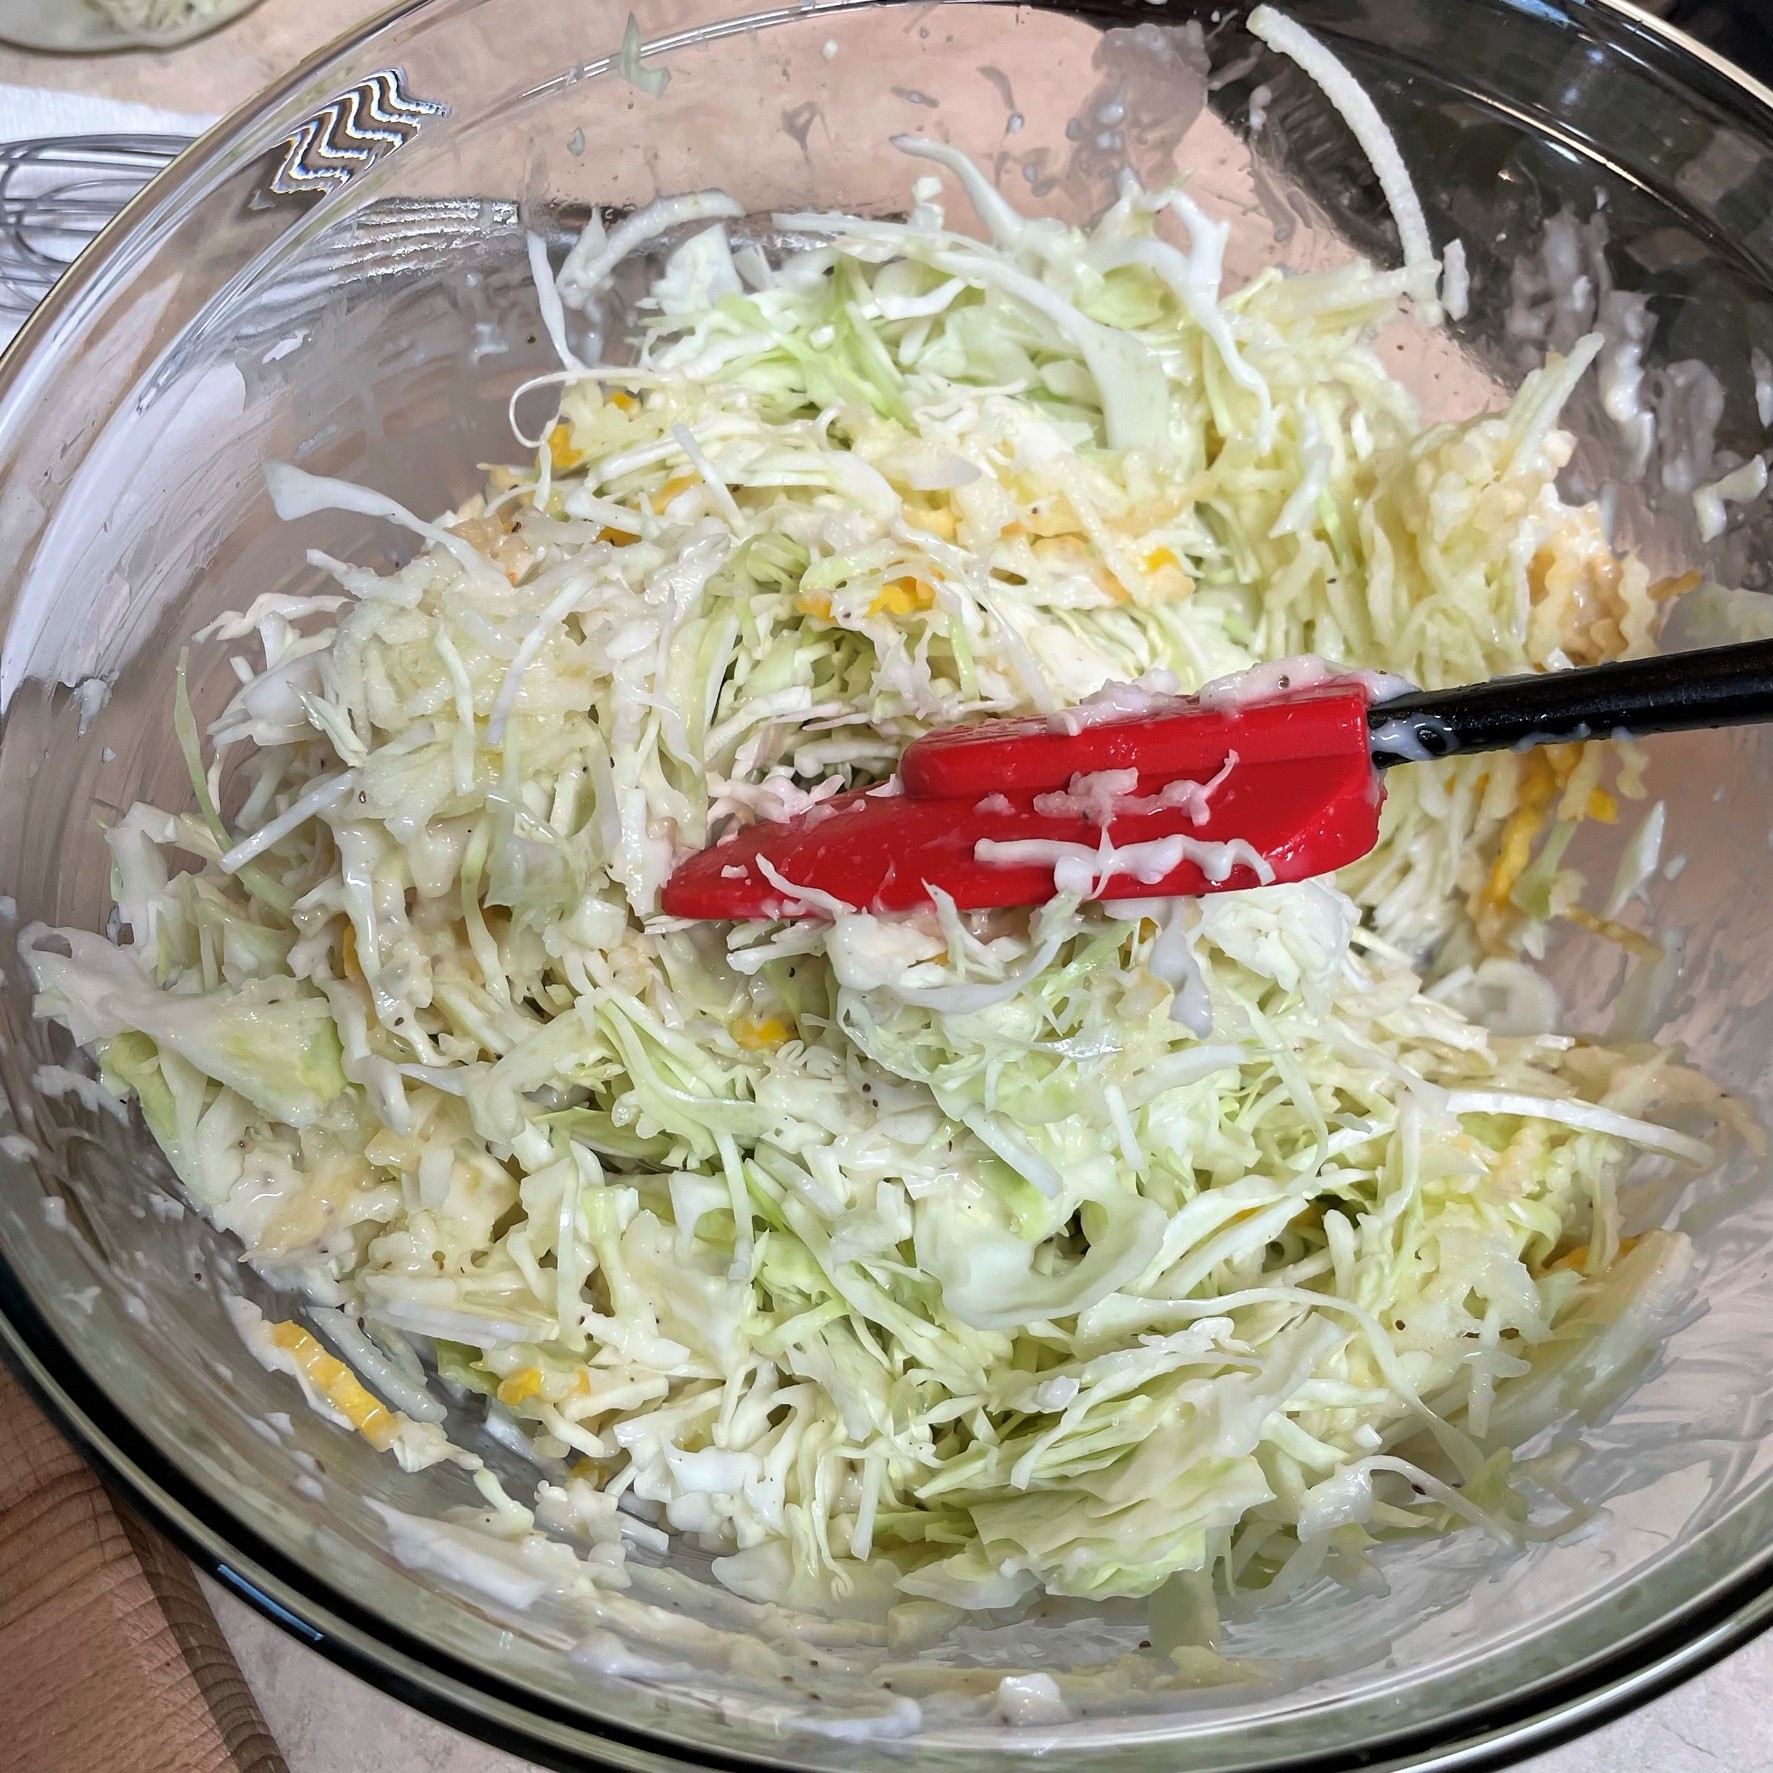
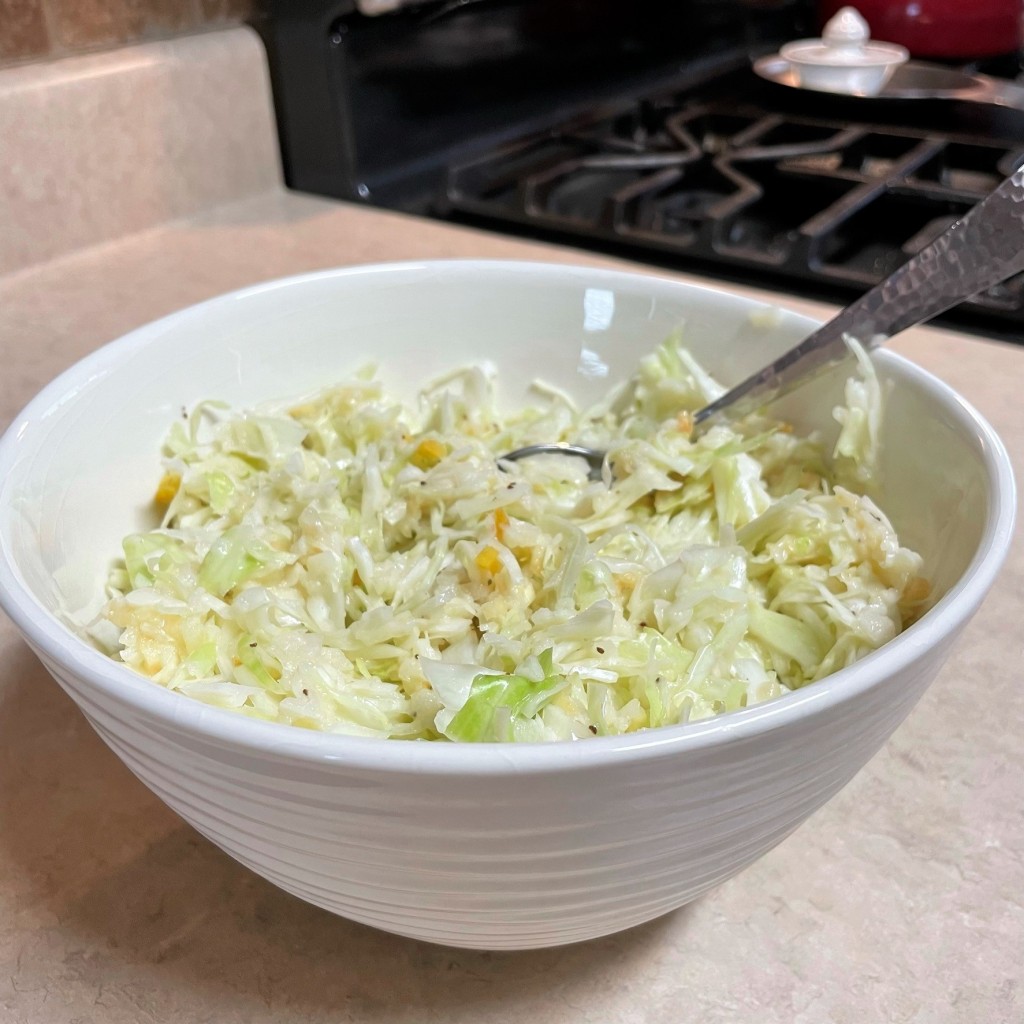
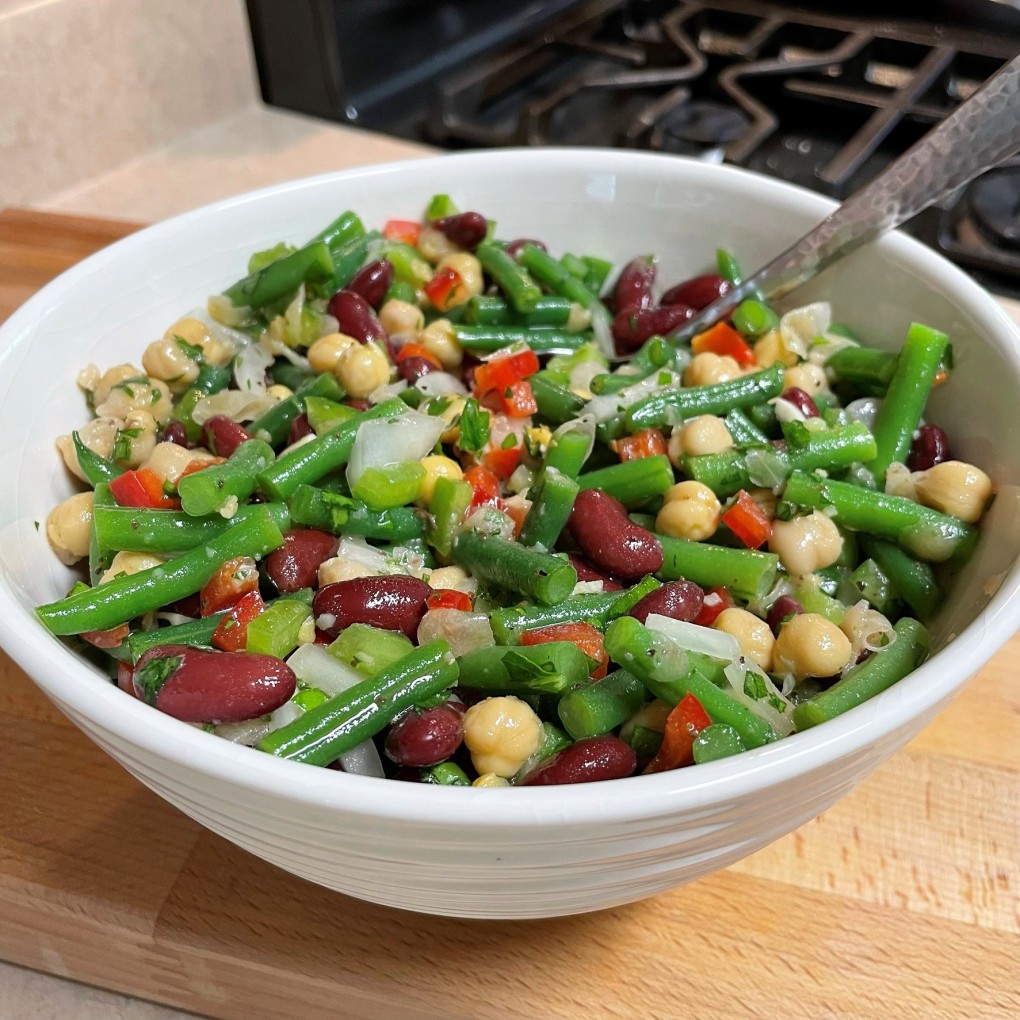
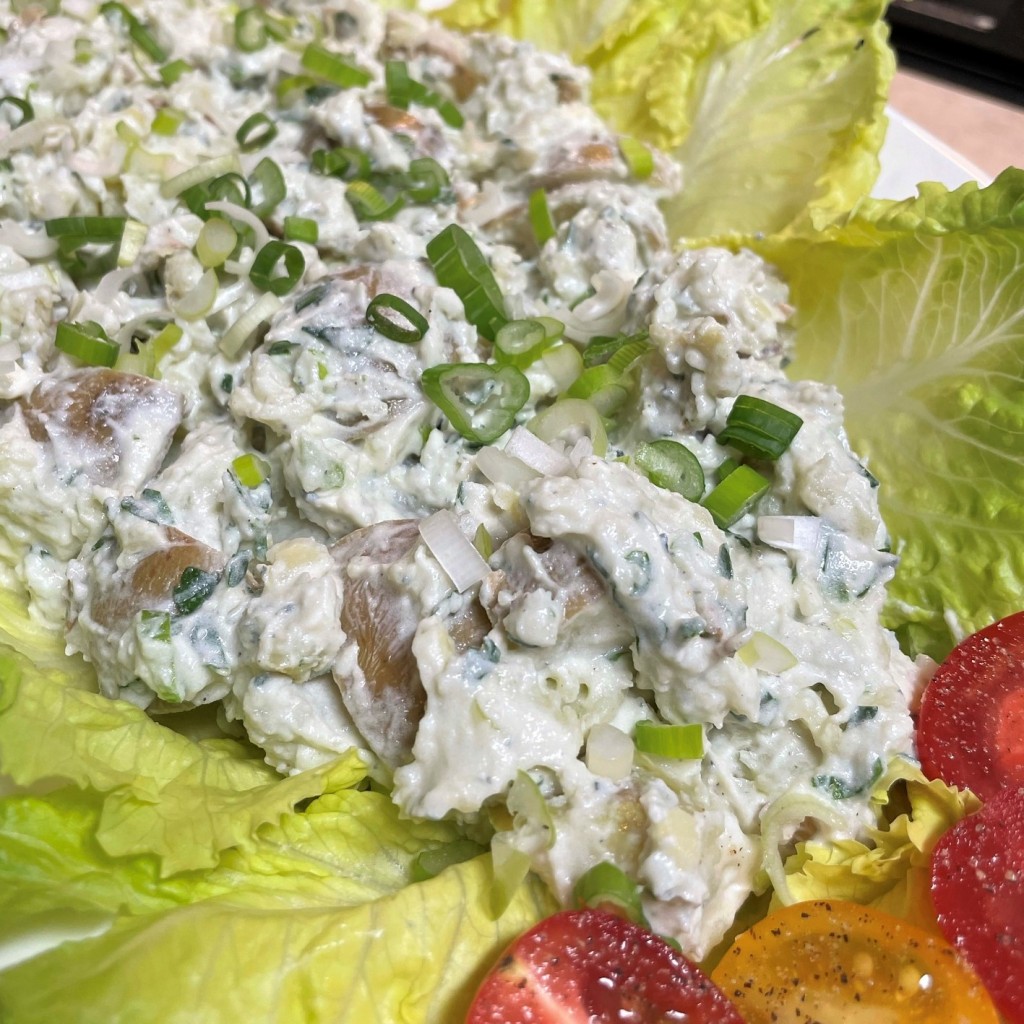
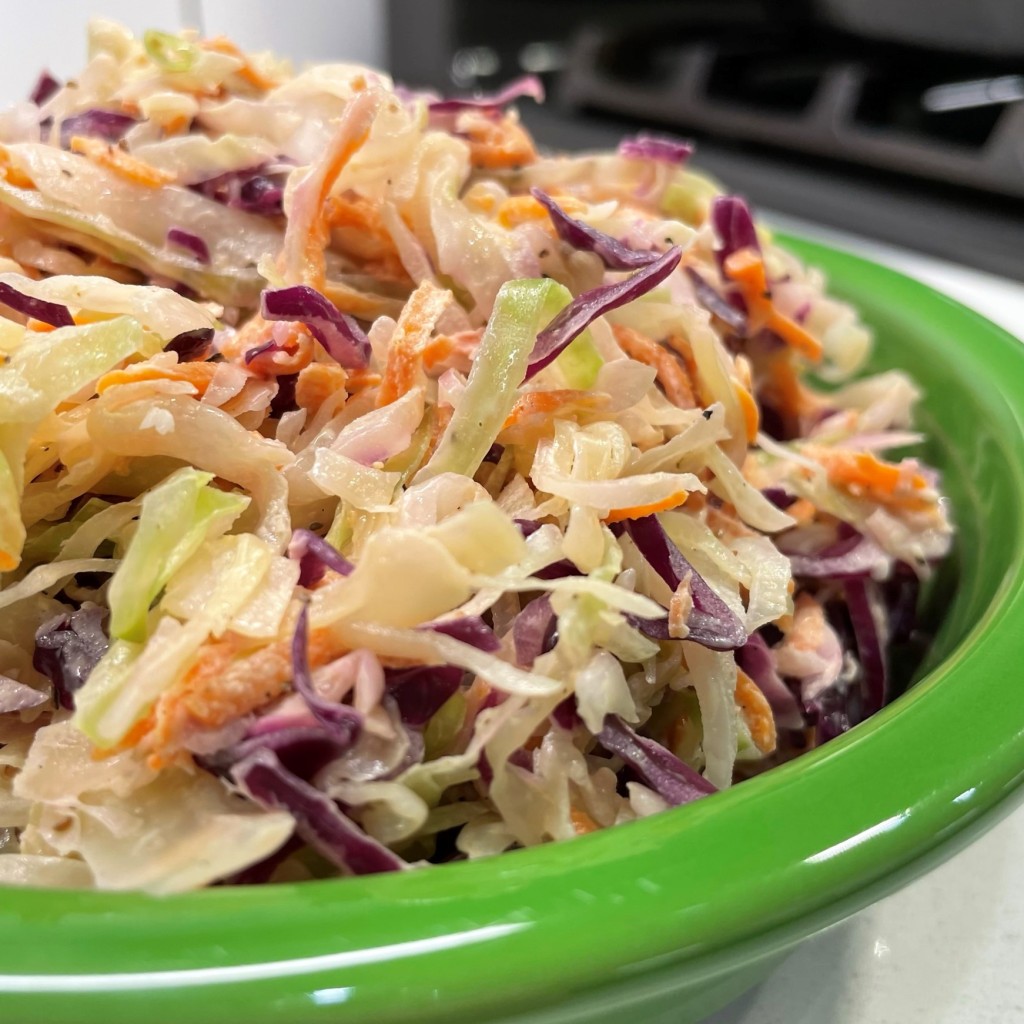
This slaw is perfectly dressed with an even coating of the creamy Dijon dressing, and to show you how un-soggy it is, I transferred it to a fridge bowl using my kitchen tongs. No drips! 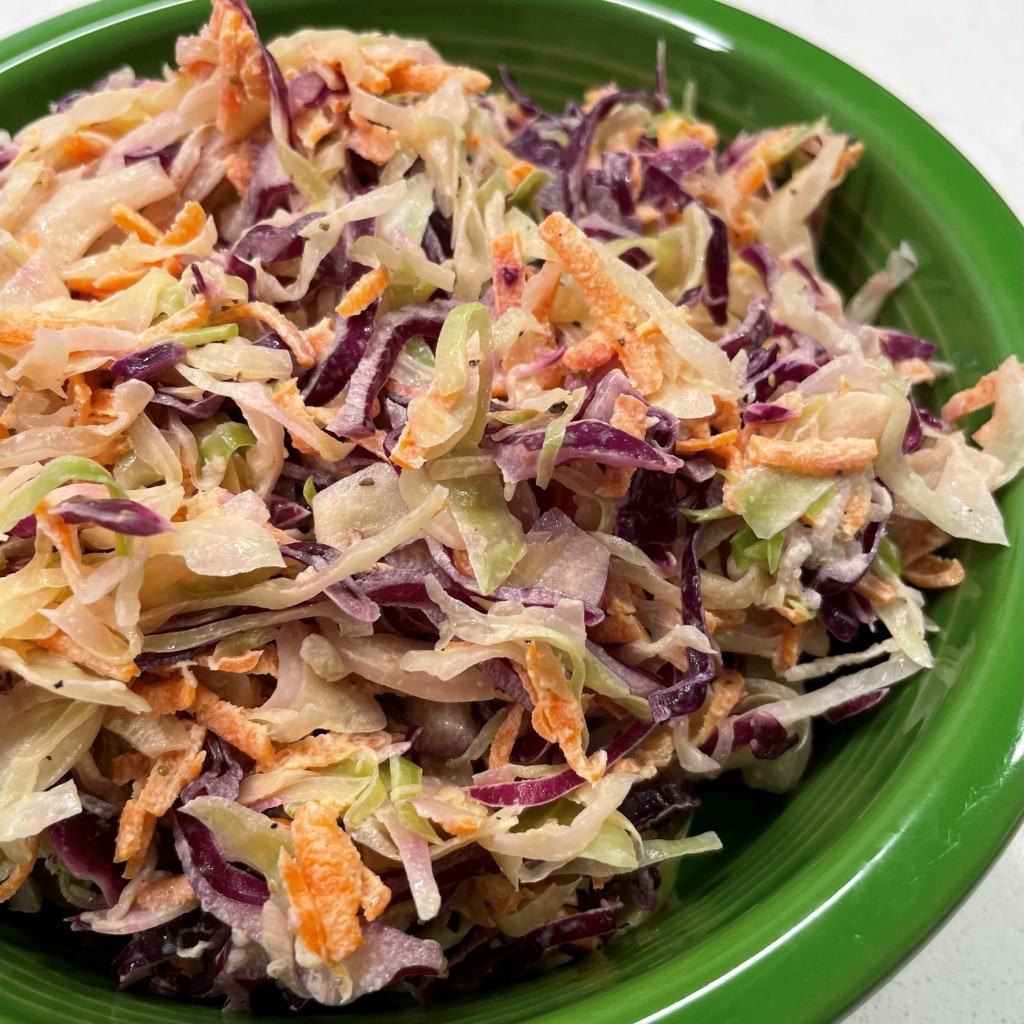
This salad was still delicious after several days in the fridge.
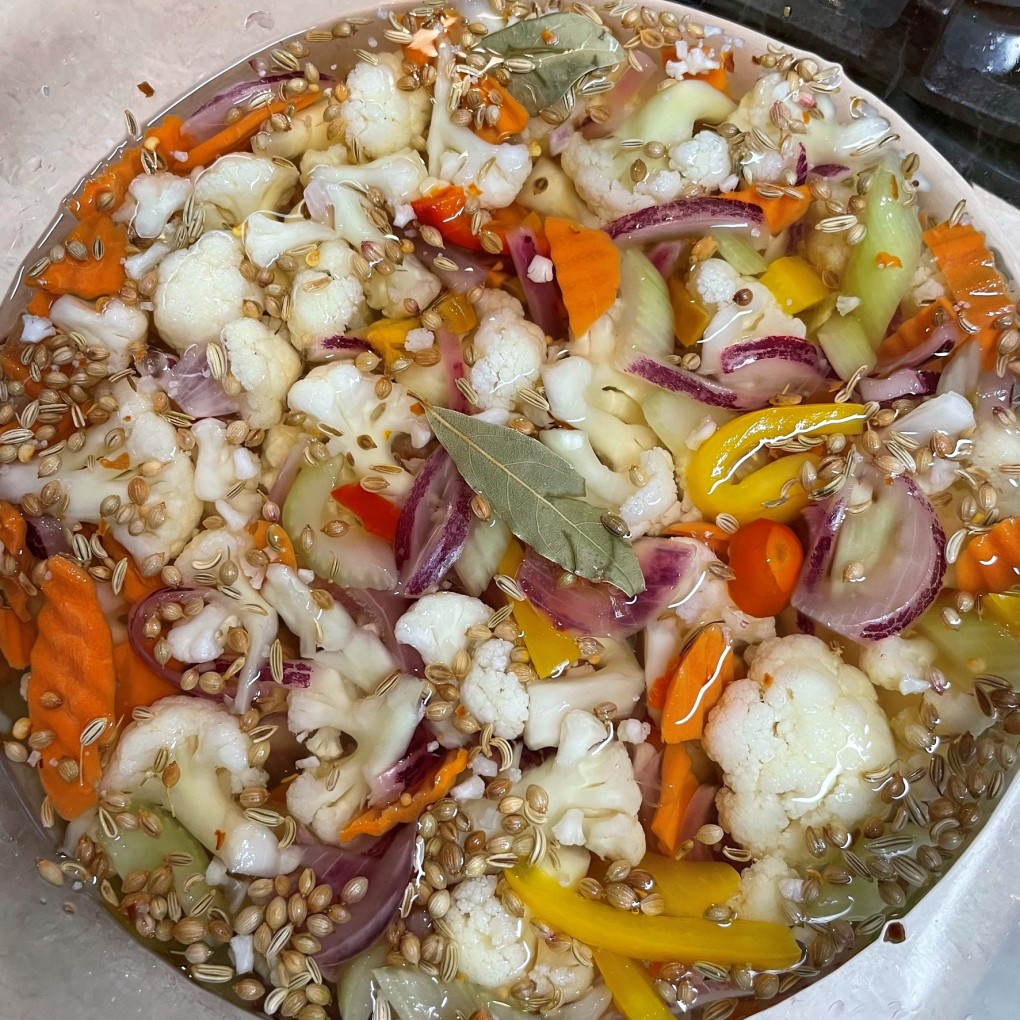
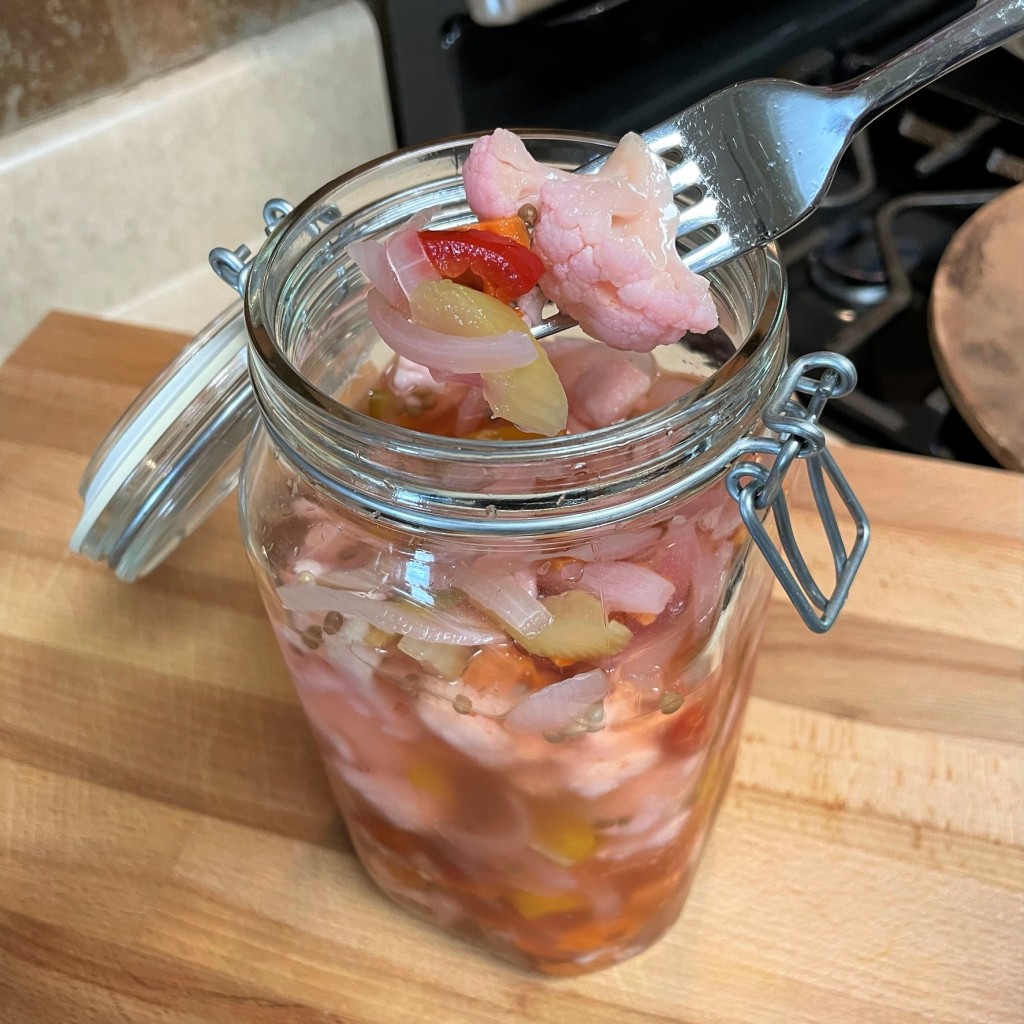
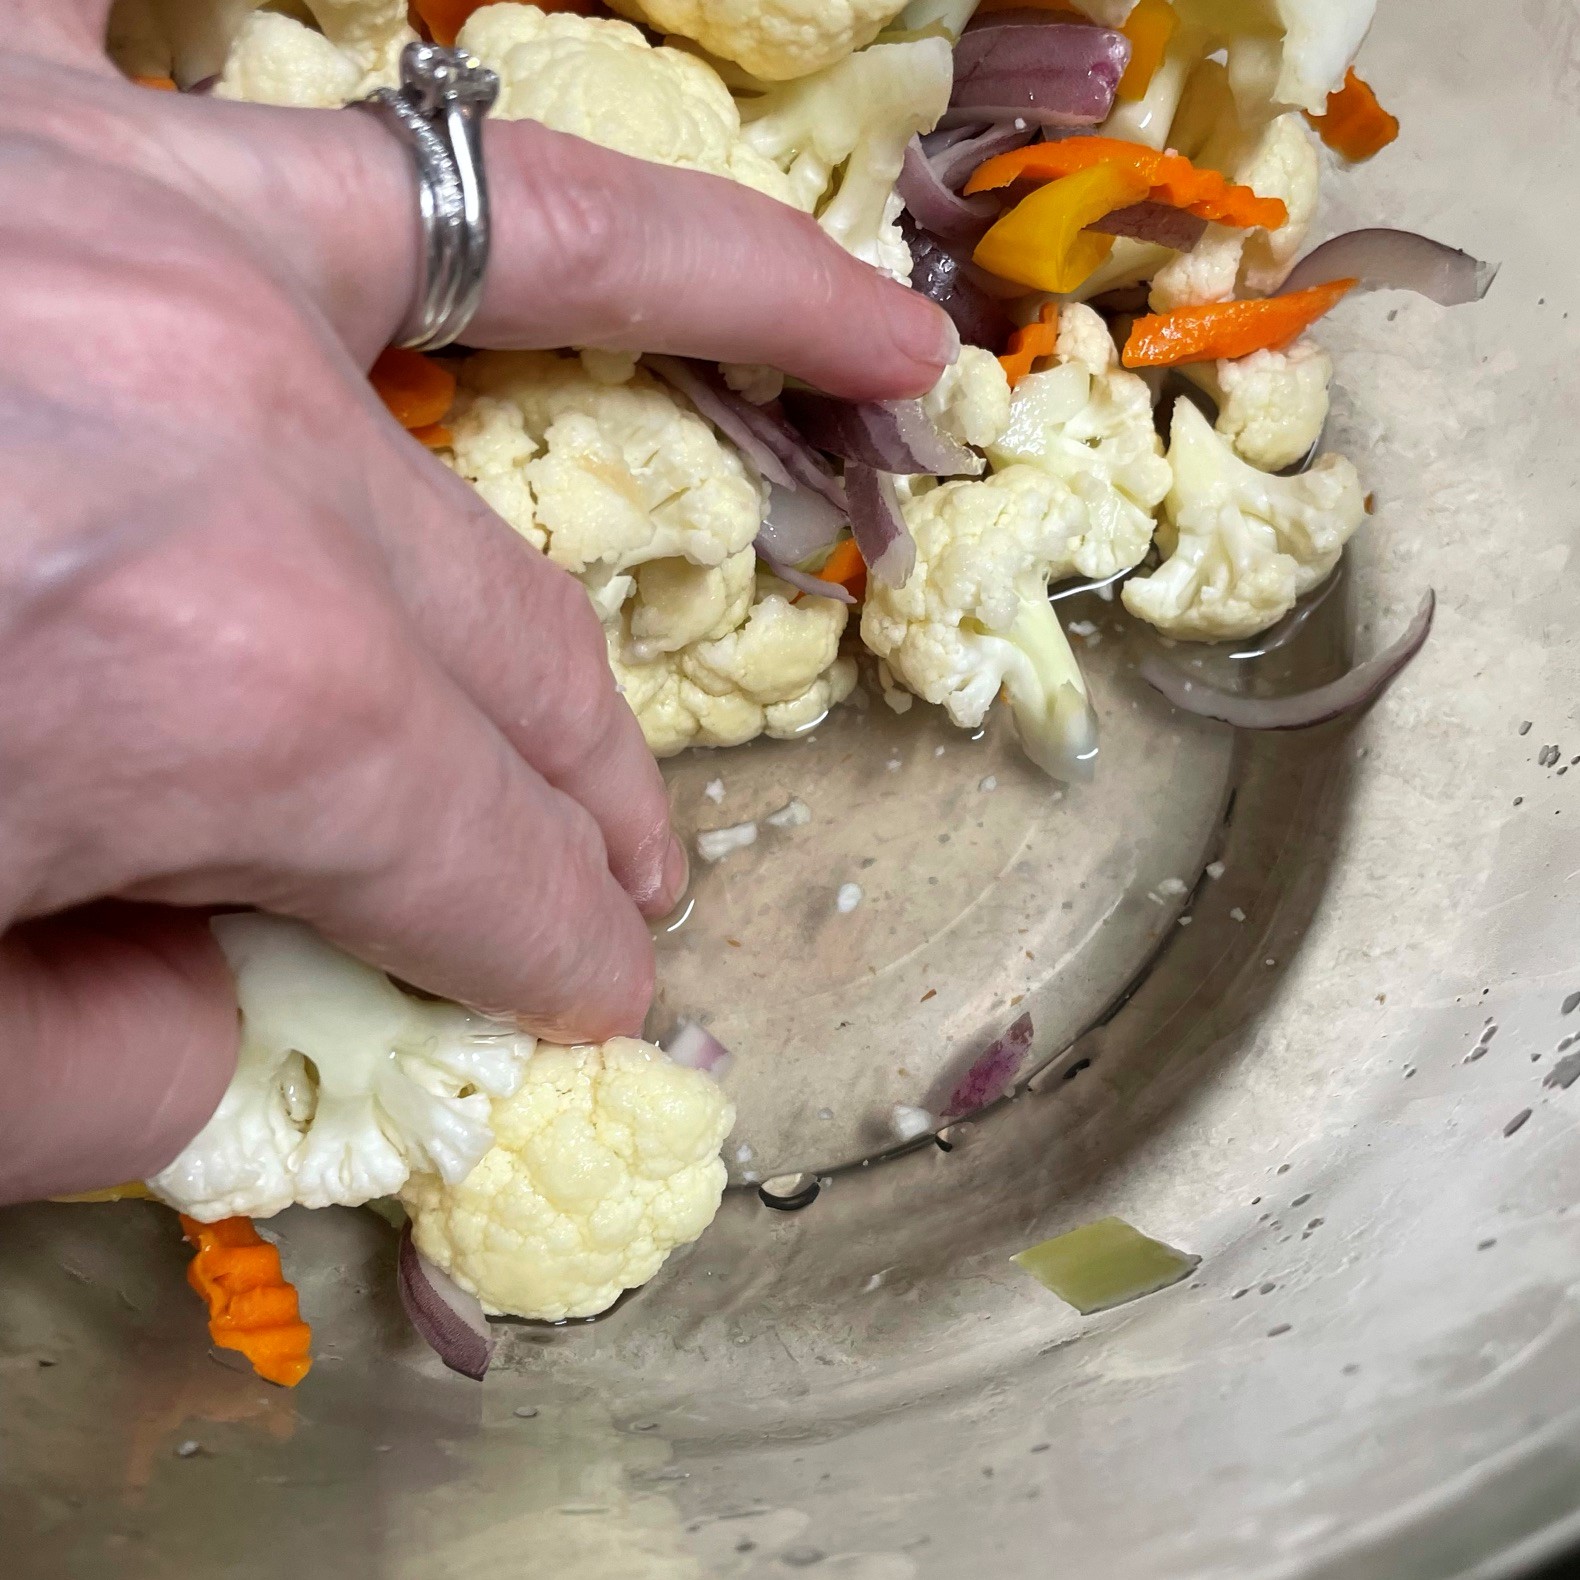
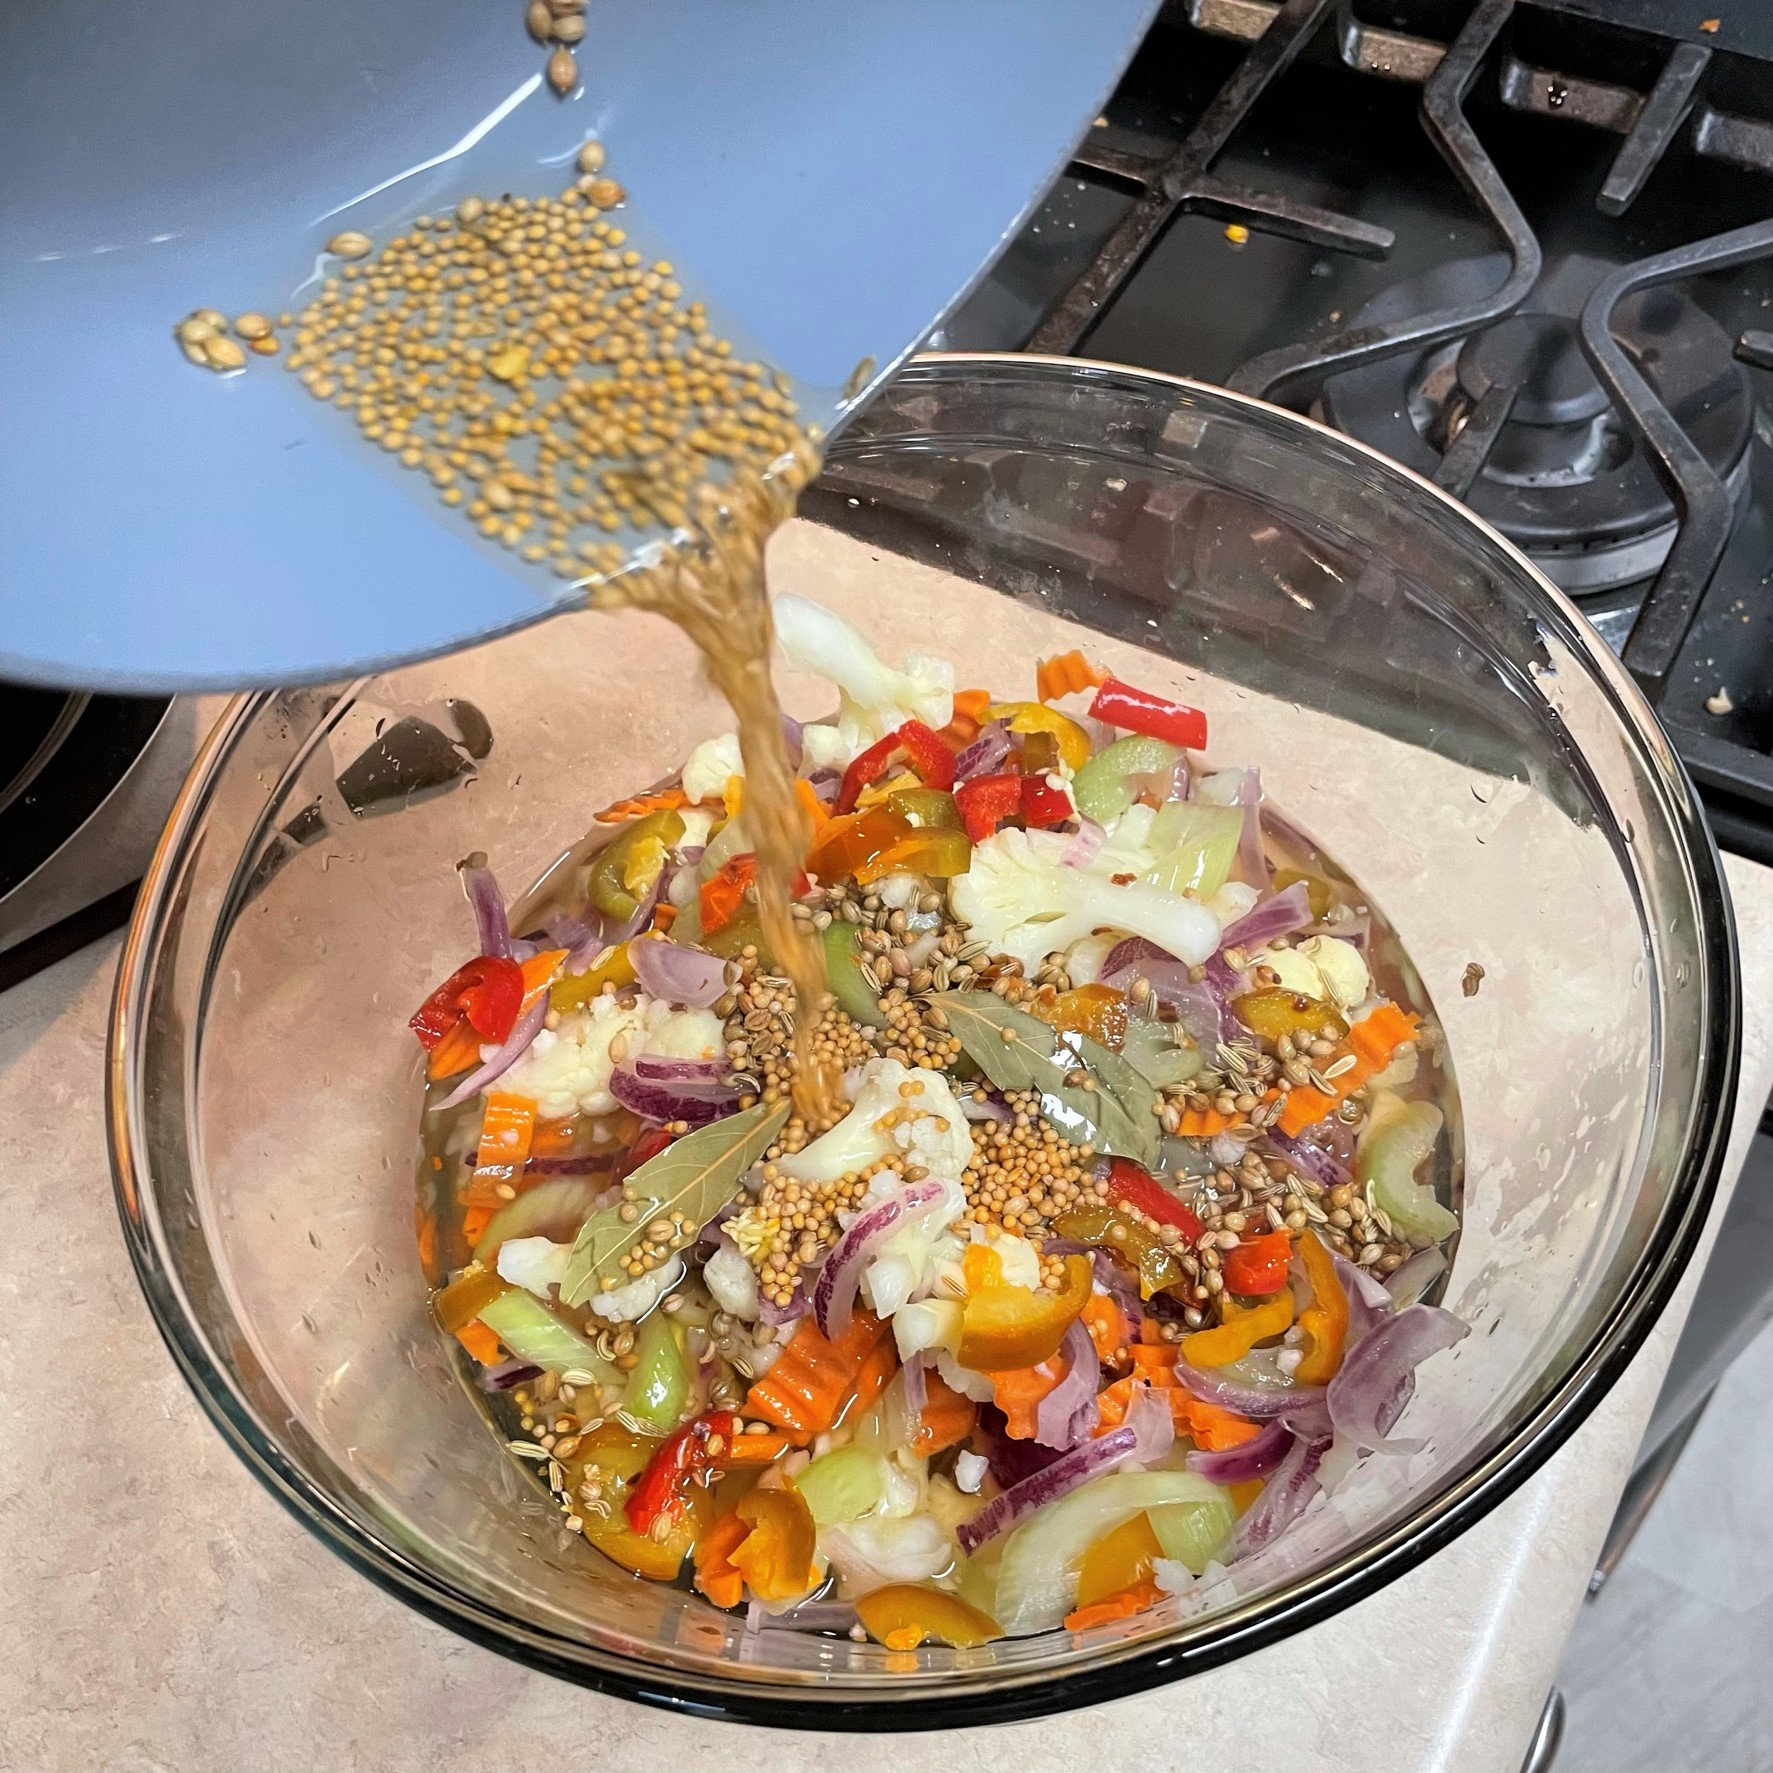
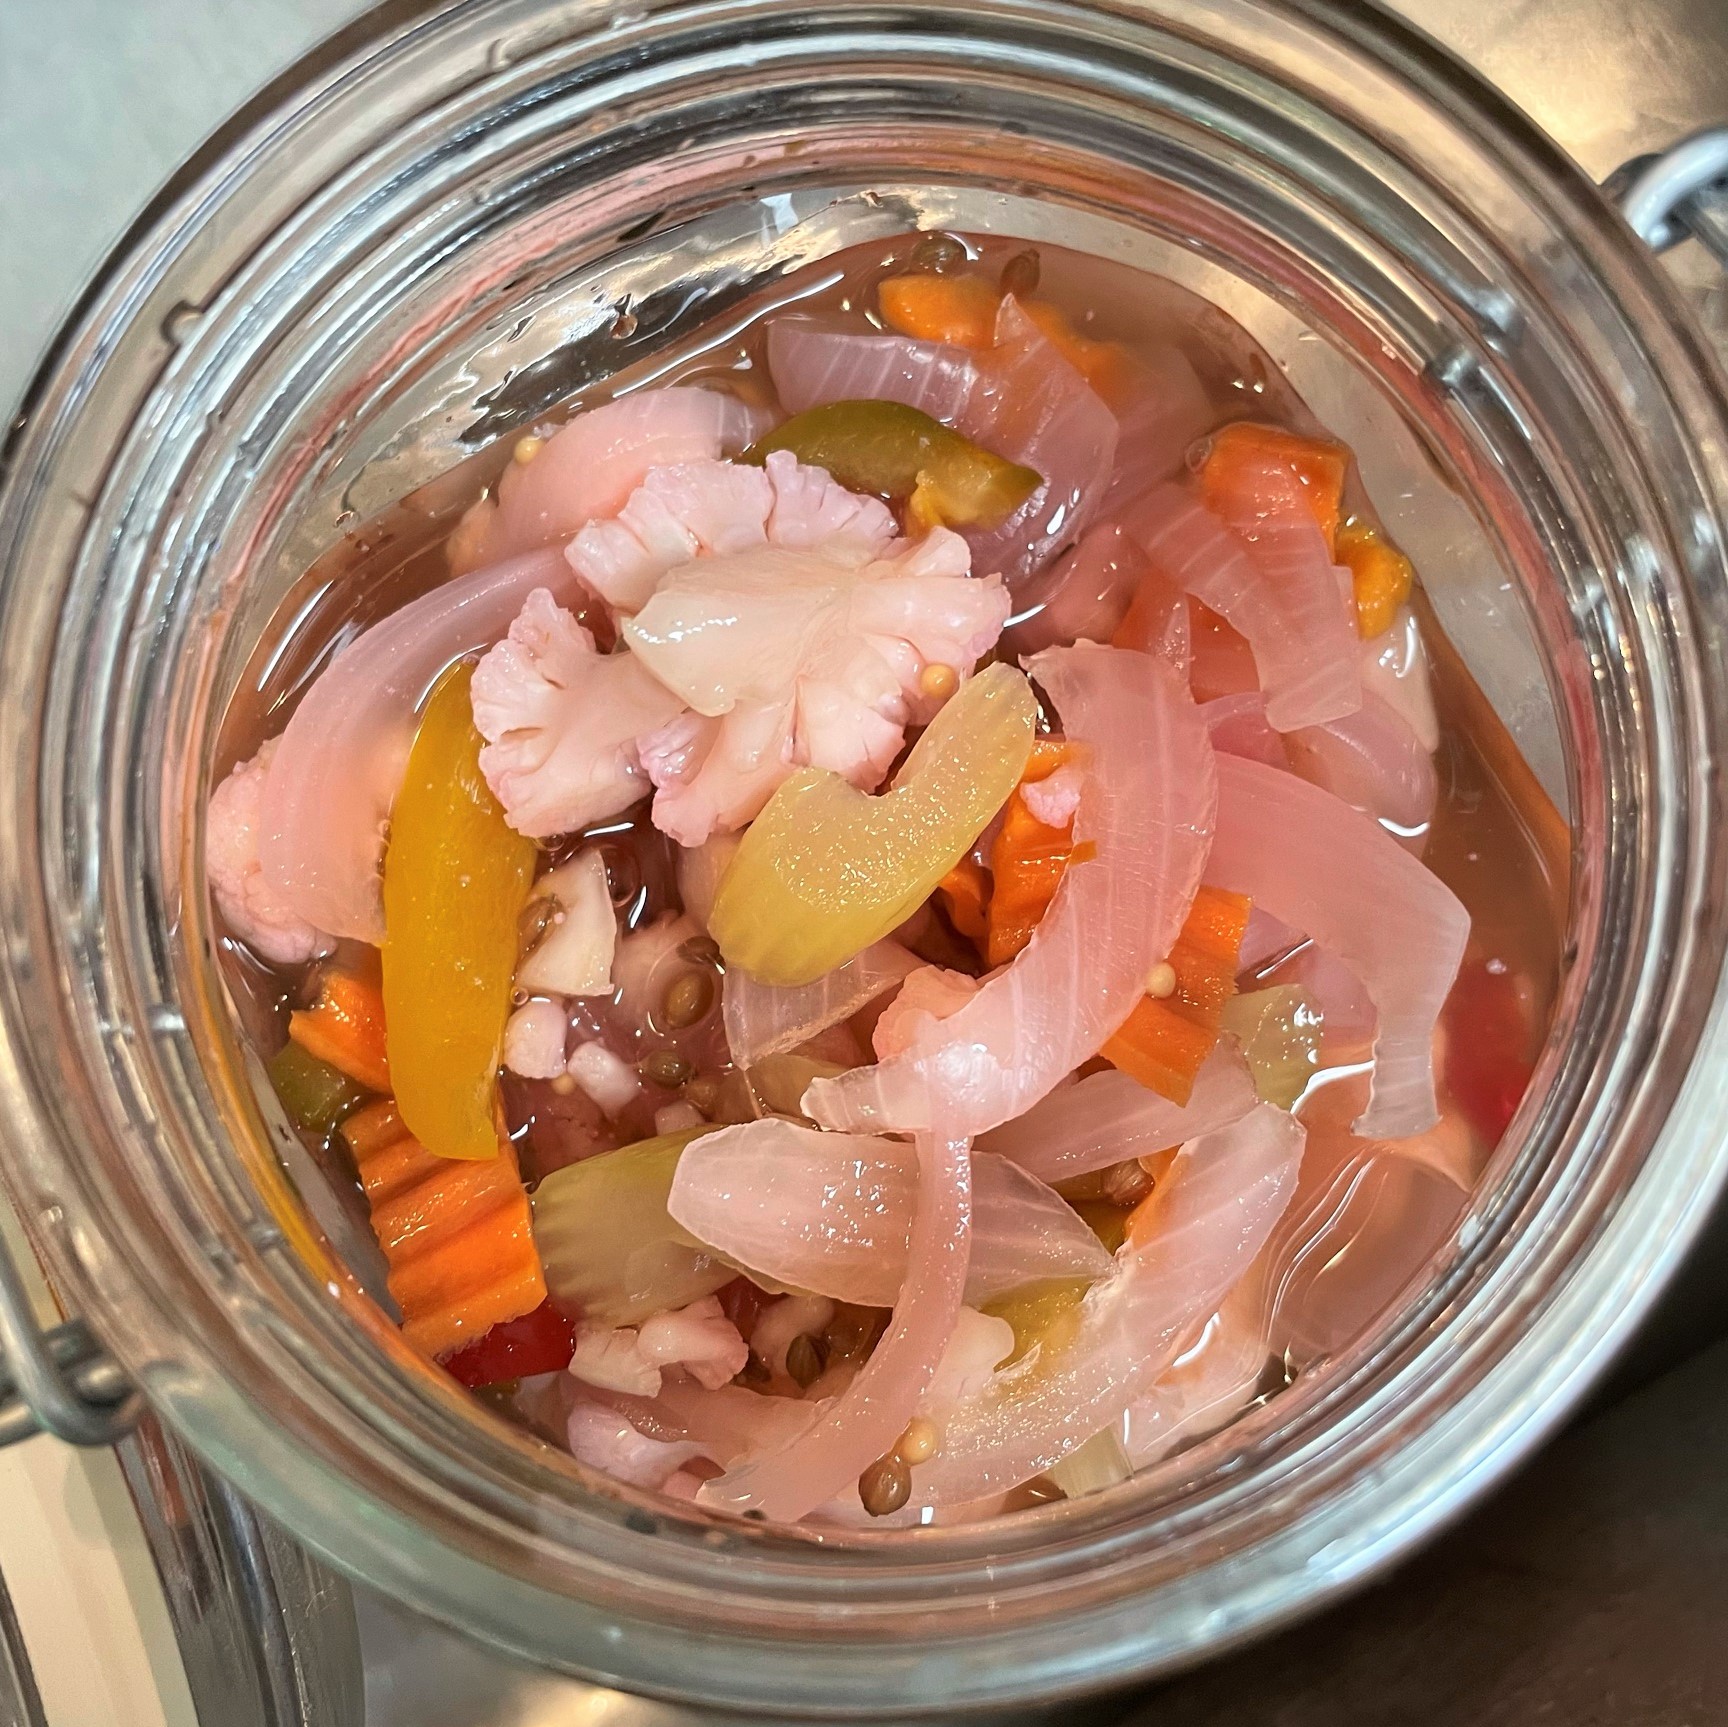
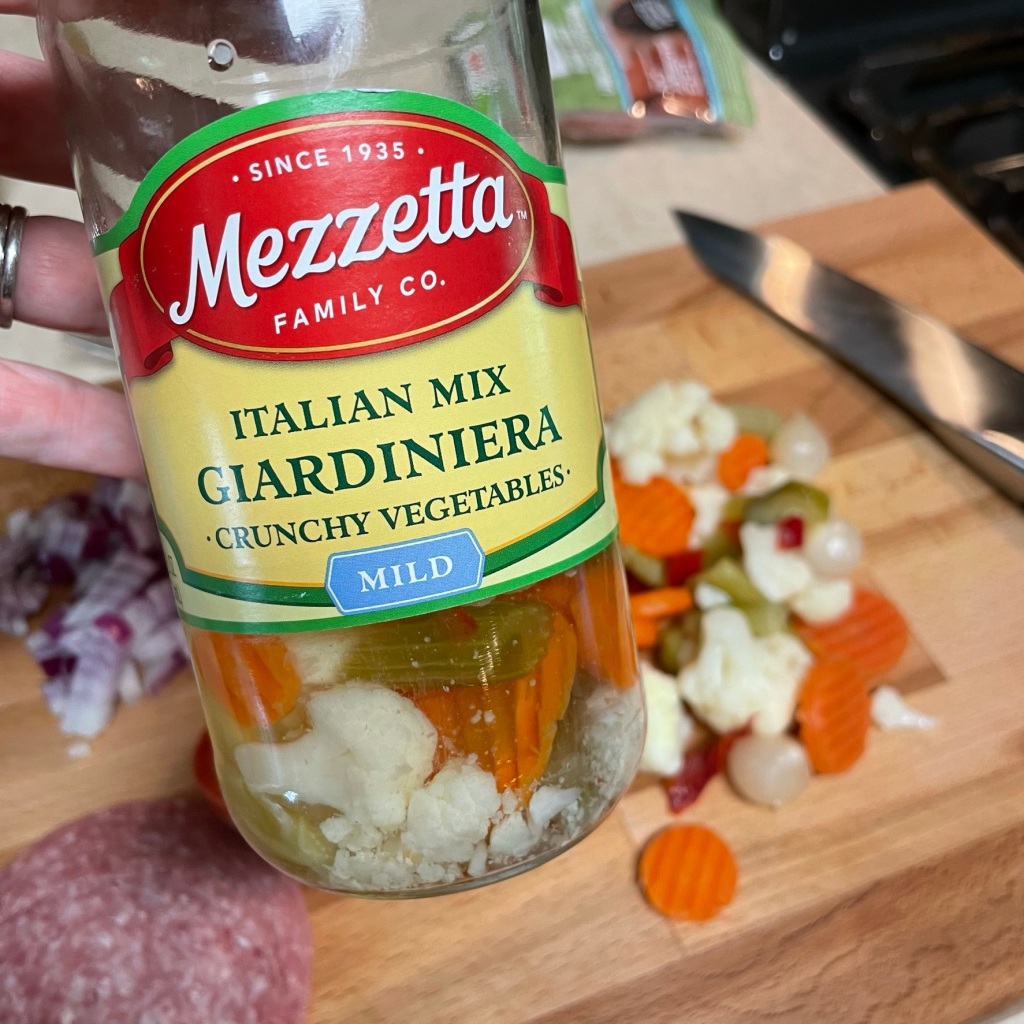
At the point that I noticed all that liquid resting in the bowl after the salt-and-sugar bath, it occurred to me that Kenji’s technique for cole slaw is basically the same one I use for making homemade giardiniera, and the outcome is similar, too—crunchy and firm, despite being soaked in a pickling liquid.
My inspiration for both the technique and dressing on this cole slaw comes directly from Kenji, and if you want to get geeked about the science behind it (as I already have), you may do so by linking to this article:
How To Make the Best Creamy Coleslaw | The Food Lab
Otherwise, just get straight to making it. 🙂
Creamy, Crunchy Dijon Cole Slaw

Ingredients
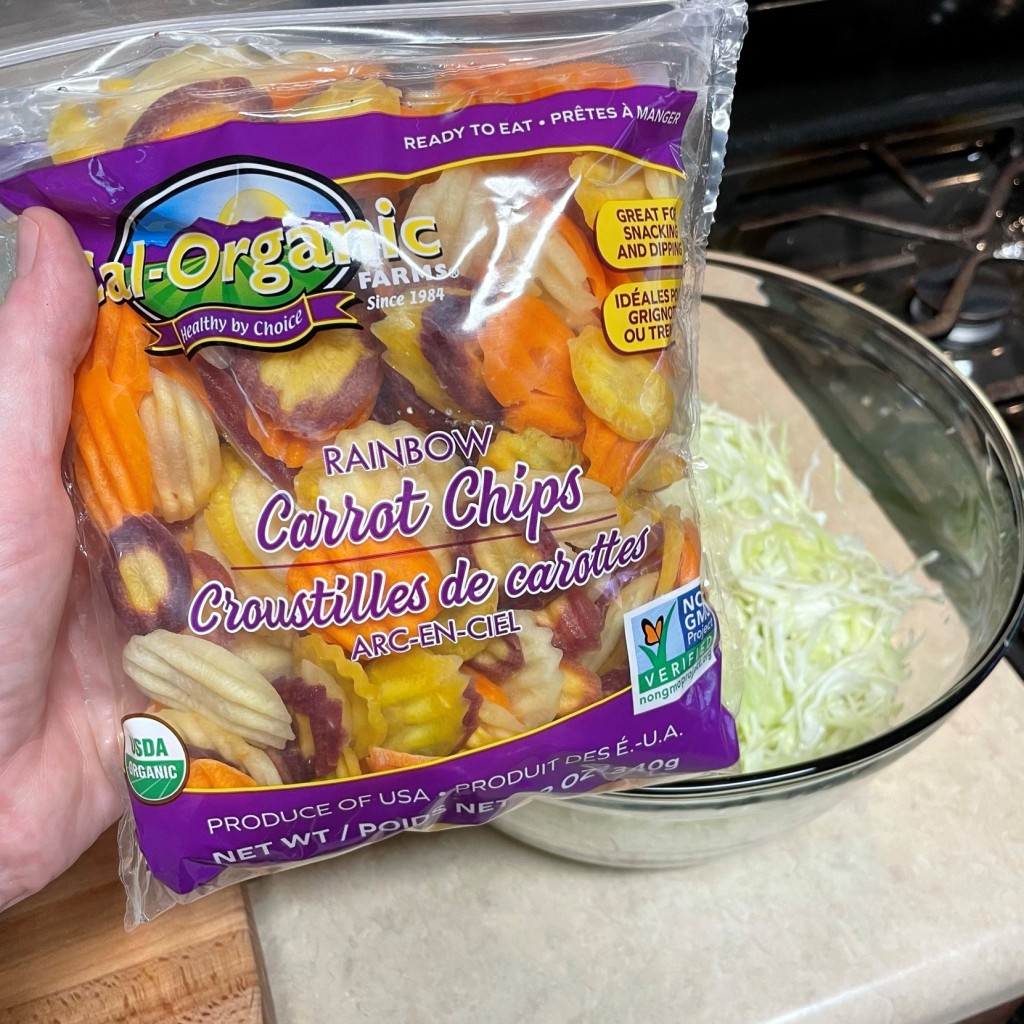
- 8 cups total, shredded green and red cabbage (fresh is best)
- 3 average sized carrots, peeled and shredded
- 1/4 cup kosher salt (for purging)
- 1/3 cup cane sugar (for purging)
Ingredients
- scant 1/2 cup mayonnaise
- 2 Tbsp. apple cider vinegar
- 1 Tbsp. prepared Dijon mustard
- 1 tsp. cane sugar
- 1/2 tsp. celery seed
- 1 heaping teaspoon freshly ground black pepper
- 1/2 medium yellow or sweet onion, finely shredded and drained
To make this cole slaw, you will need a large colander for draining the cabbage, and a salad spinner or clean, unscented towels for eliminating the excess moisture.
Directions
- Combine the shredded cabbage and carrots in a large bowl, with extra room for tossing. Pour the kosher salt and cane sugar all over the shreds and toss with salad forks or your clean hands to distribute throughout the cabbage mixture. Allow it to rest at least 5 minutes, or up to 15 minutes. The salt-sugar blend will coax the excess moisture from the cabbage.
- Transfer the mixture to a colander placed in the sink. You should notice a significant volume of liquid in the bottom of the bowl. Rinse the mixture really well under cold, running water. Toss it thoroughly as you rinse, and continue for about two minutes to get all the excess salt removed. Taste a piece or two. If they are too salty, rinse another couple of minutes.
- To dry the cabbage, use a salad spinner (in batches) or line a baking sheet with a clean kitchen towel or layers of paper towels. Place the cabbage on the towels, cover with another towel (or more layers of paper towels) and press heartily to soak up the moisture. I used kitchen towels and gently rolled up the cabbage to squeeze out the excess water. Transfer the cabbage to a large bowl for dressing.
- Combine the dressing ingredients, stirring in the drained, shredded onion after mixing. Pour over the cabbage blend and toss to coat.
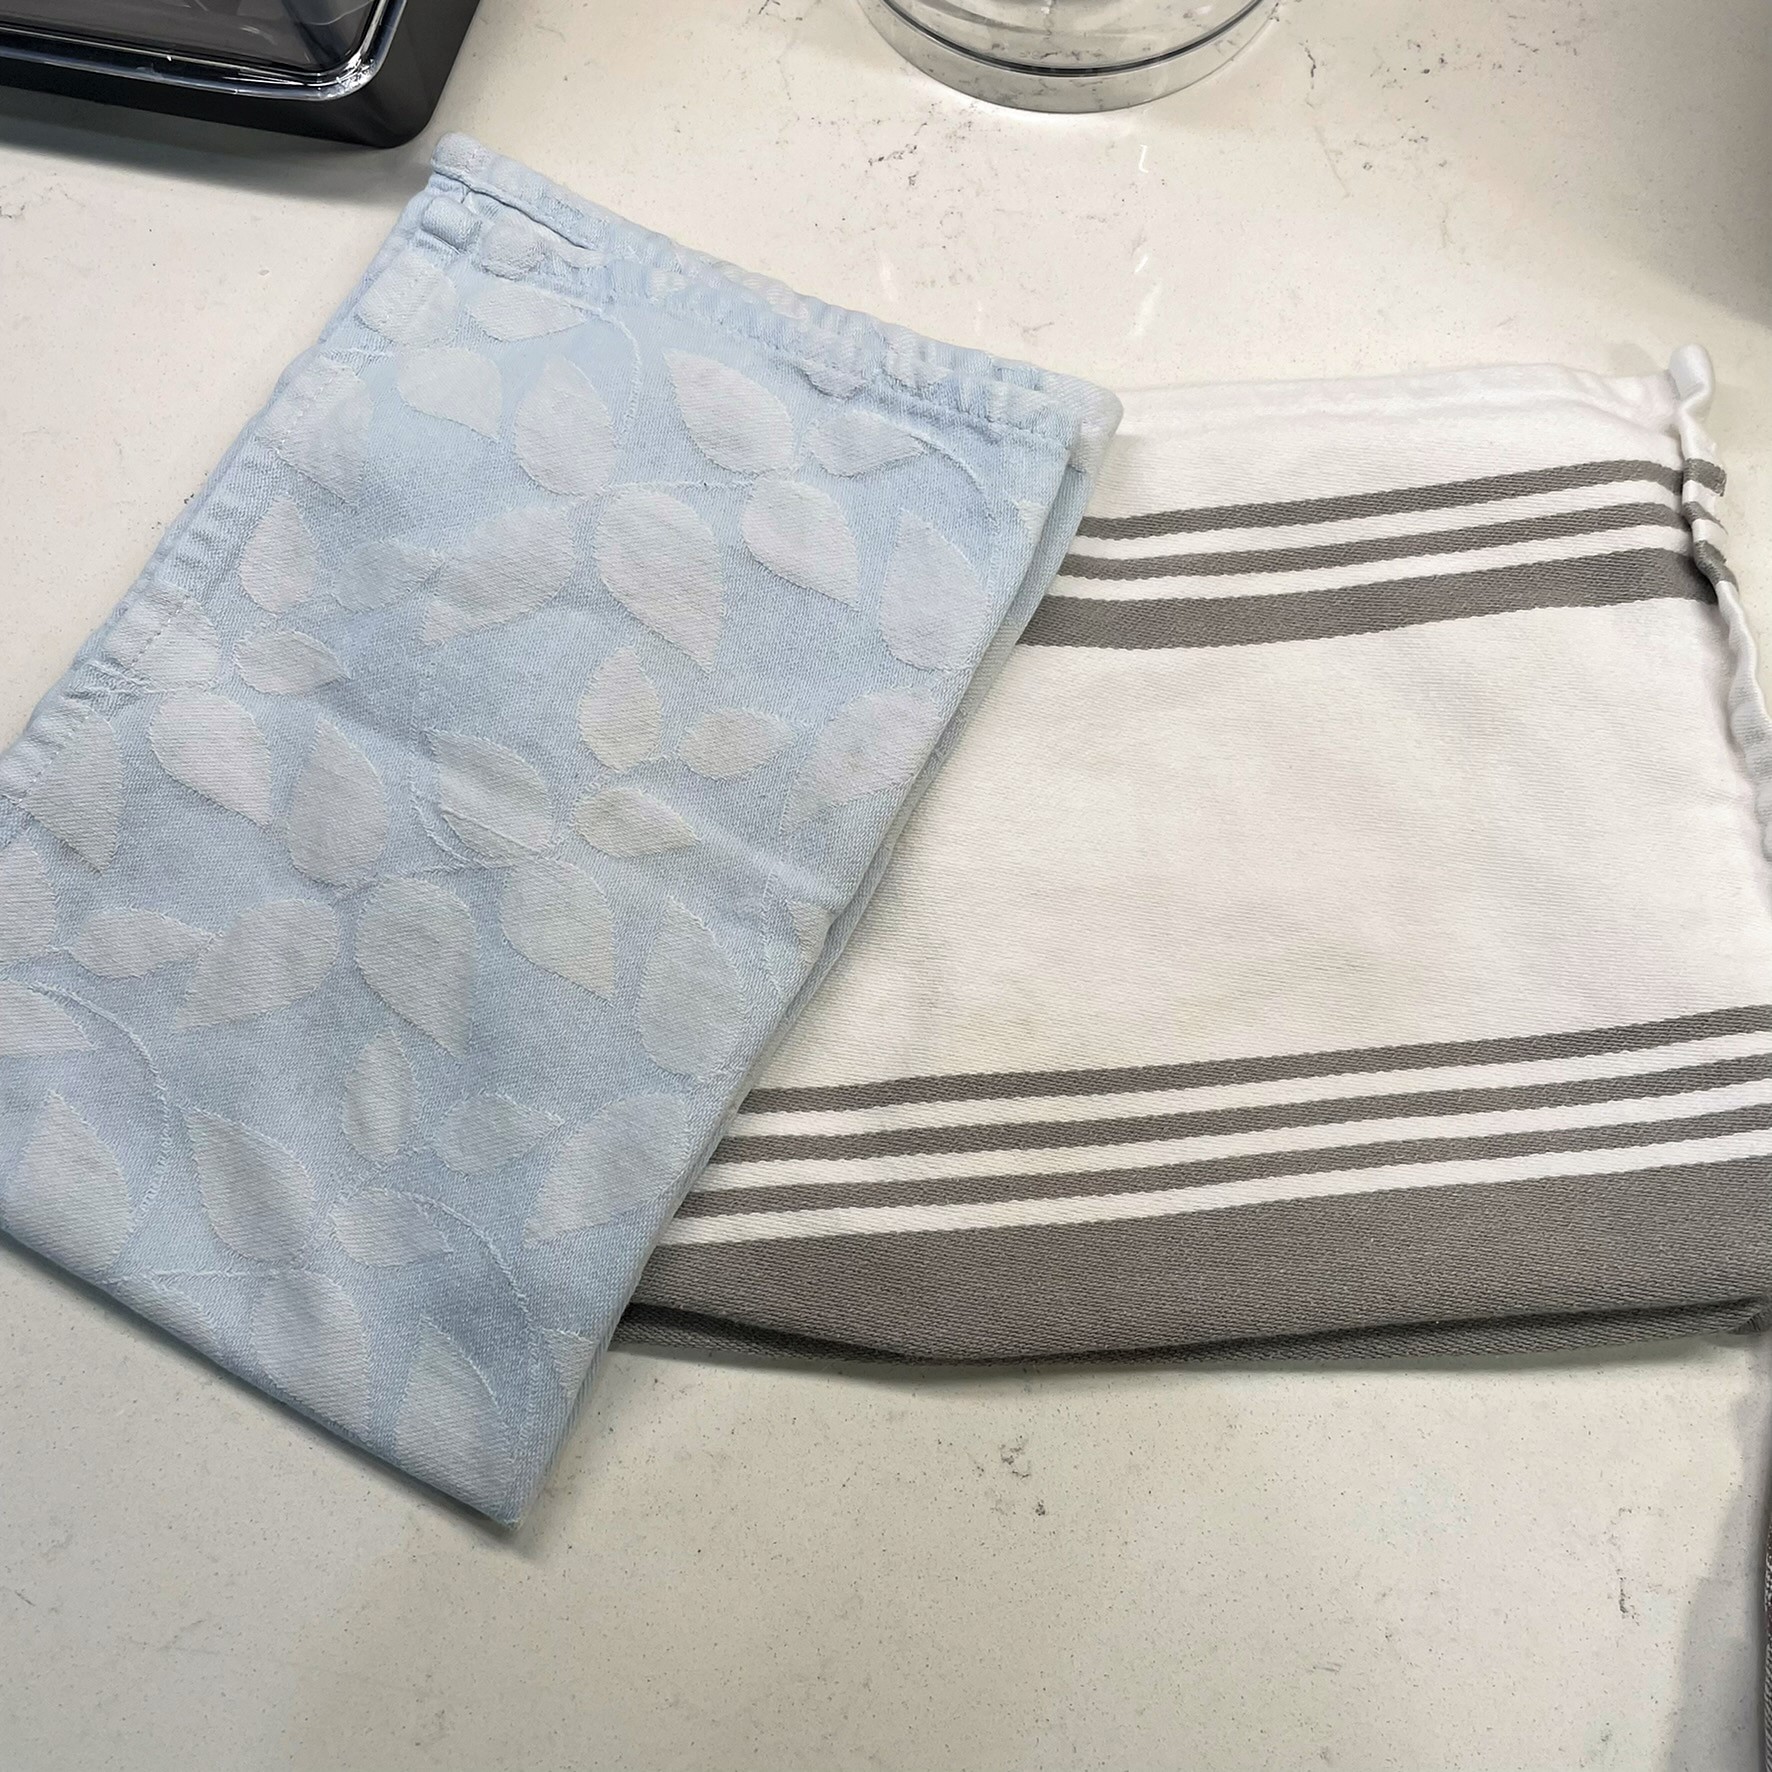
Have a safe Memorial Day weekend! And if you’re wondering what happened to my tie-dyed towels, never fear: