
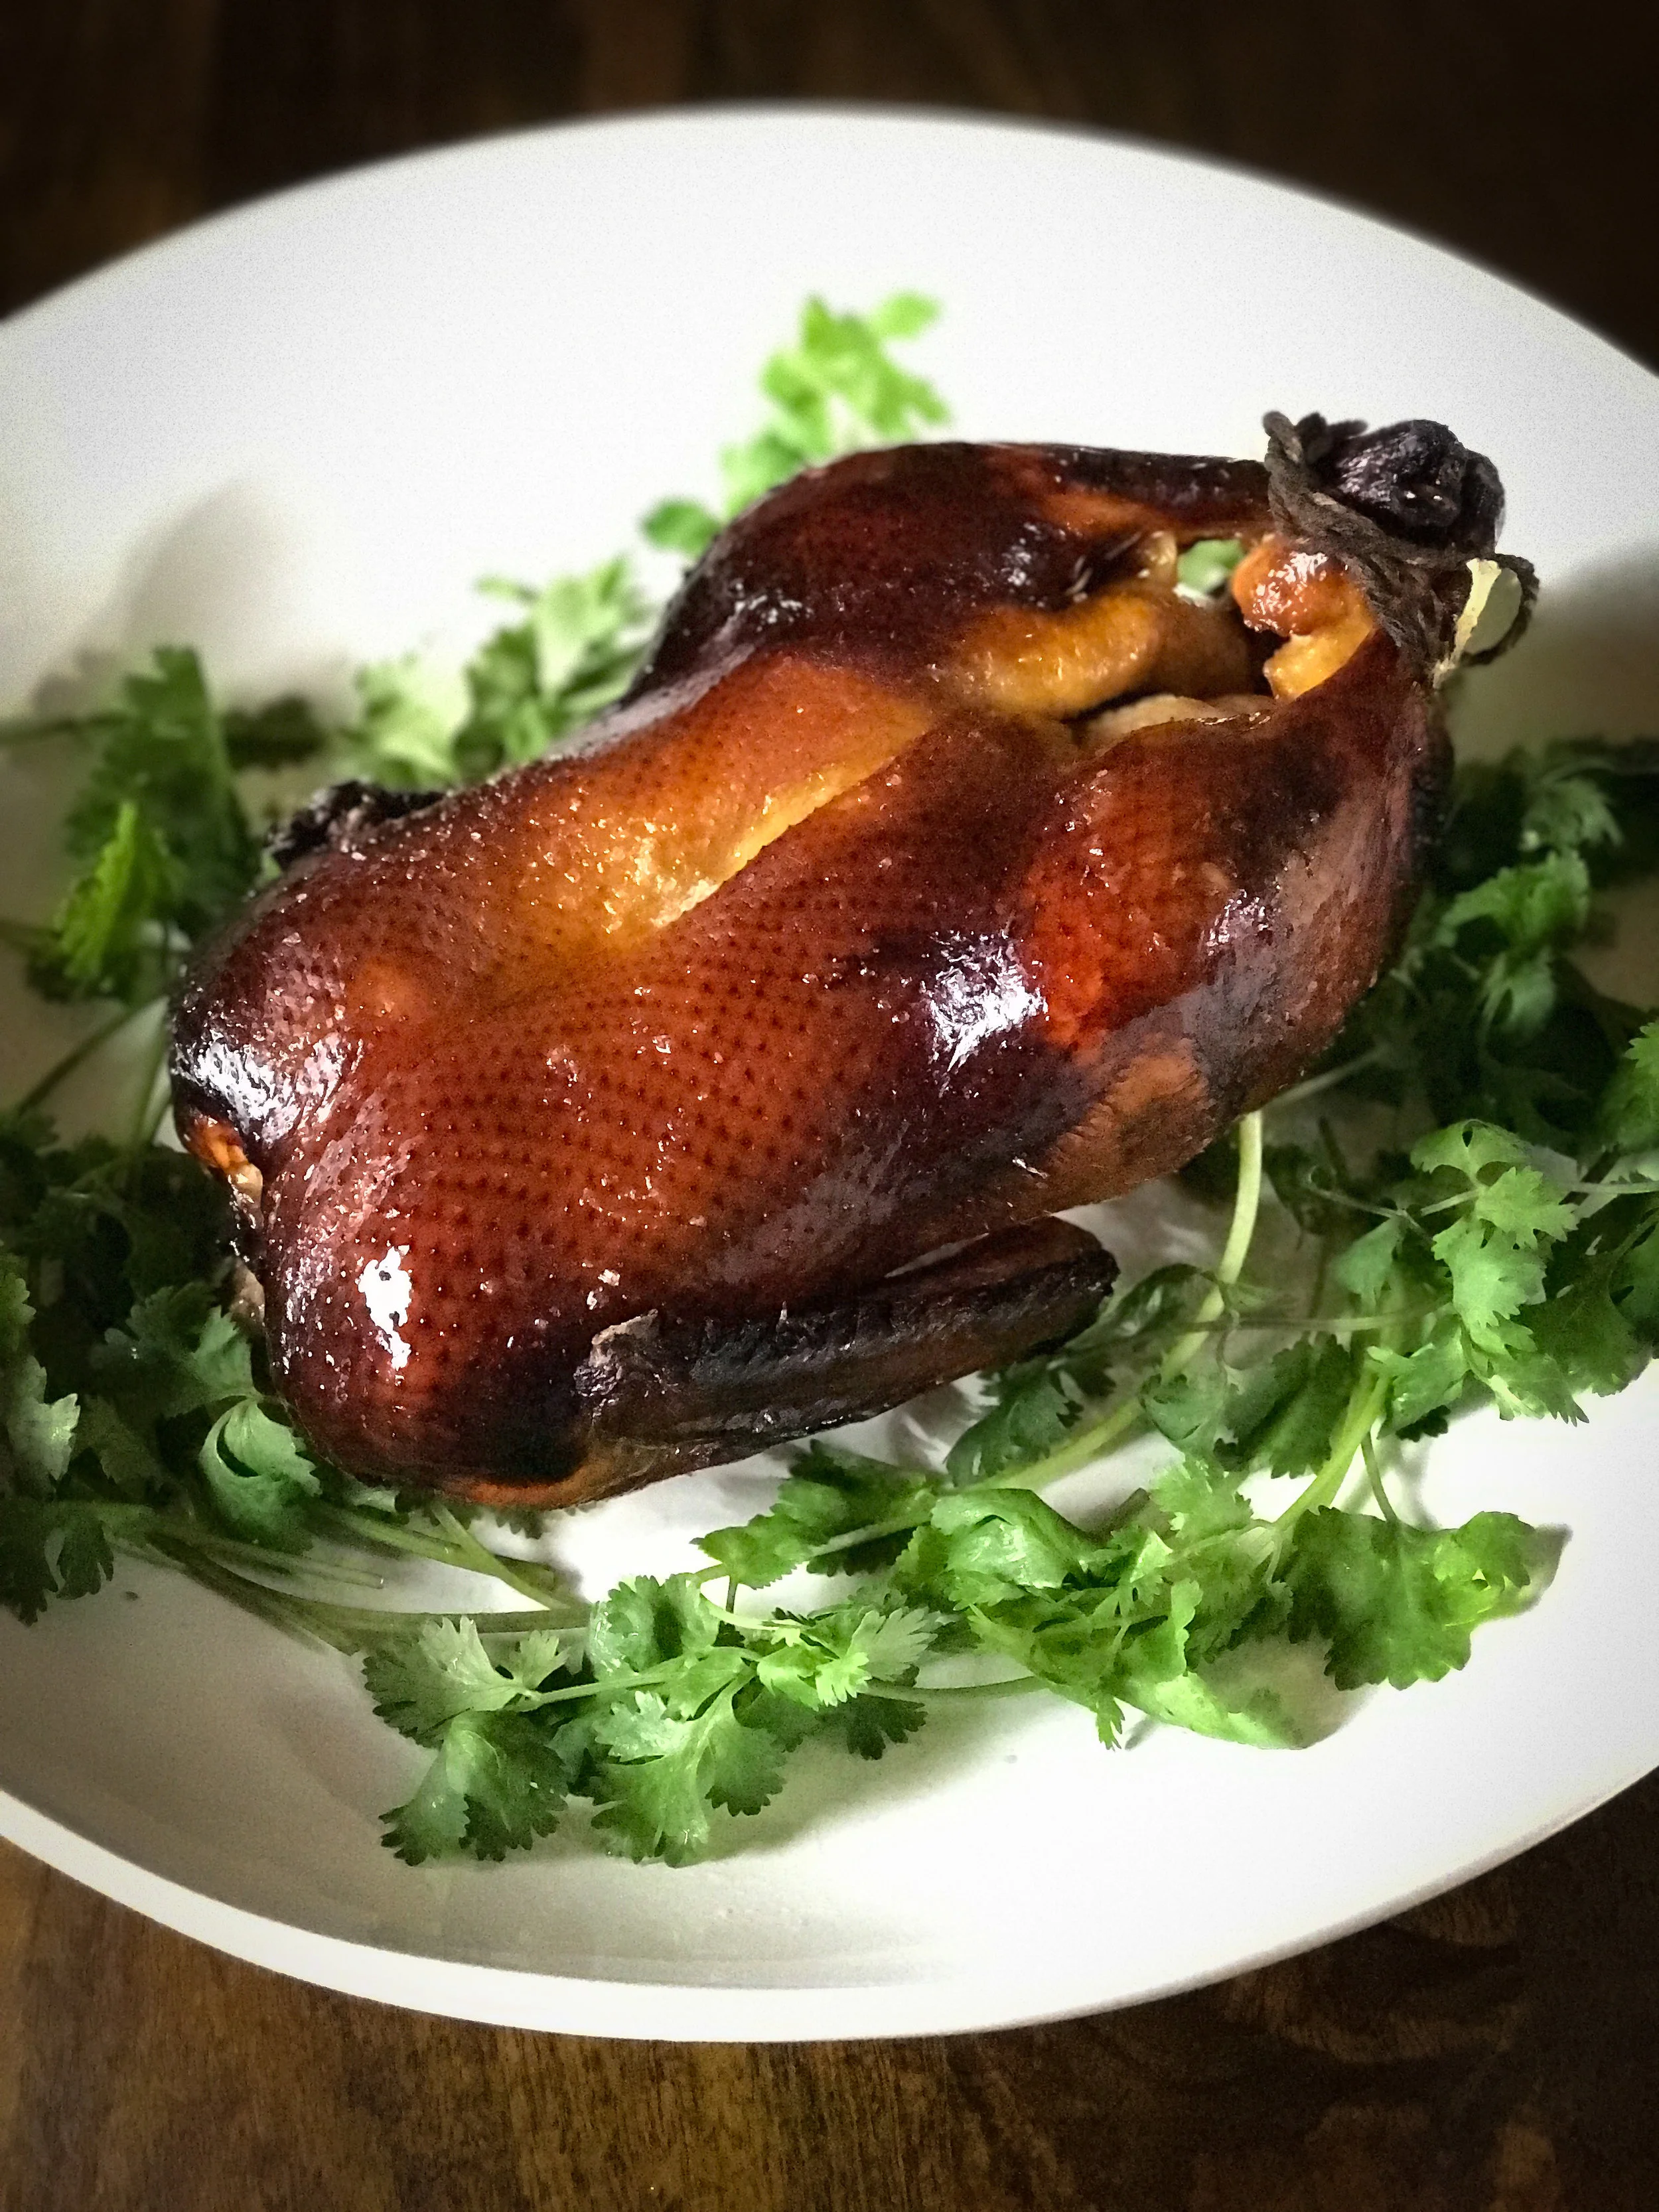
Glorious Lacquered Roast Duck
You will be amazed at how easily you can achieve this gorgeous, crisp-skinned, succulent roast duck. We’re a bit embarrassed by the inspiration for it. Years ago, we fell in love with a recipe in Lucky Peach’s cookbook for lacquered roast chicken. Then, in 2020 Lucky Peach’s co-founder and editor (and author of the cookbook in question), who had become Food editor at the Los Angeles Times, was forced to resign over allegations of sexual harassment and presiding over a toxic workplace.
Be that as it may, the technique for getting the chicken’s skin so shiny, crisp and delicious was really smart, and it led our friend Michalene to wonder, “Have you tried it on a duck?” Our Glorious Lacquered Roast Duck was born.
The recipe relies on a Chinese-style glaze, so naturally it makes a brilliant centerpiece for an Asian feast. (Bring on the Yangzhou Fried Rice and baby bok choy or Winter Greens Stir-Fry.) No sauce necessary – the duck is juicy and delicious on its own. But send it to the table with hoisin and steamed wheat buns, and it's a different kind of delicious.
But it's also great as the main event for a more Eurocentric or American-style celebration: Just serve it with sides like roasted potatoes or a sweet potato gratin, Brussels sprouts, rapini – even mac and cheese, if you want to go for pure comfort.
The directions here are for one duck – which serves two to three. Make two ducks and you've got a feast for four to six. Just double everything and make sure the two birds aren't too close together on the rack in the sheet pan. Ducks can be pricey, but if you buy them at Asian supermarkets, they can be a bargain. Most ducks you find will be about four and a half to five pounds. Frozen ducks are fine (they freeze really well); just be sure to allow time to defrost the bird in the fridge if you go that route.
You'll need to give the duck or ducks their first coat of glaze two days before you'll roast them, so plan accordingly. For instance, if you're serving duck Saturday night, you'll glaze it sometime Thursday — morning, afternoon or evening; it doesn't much matter when. The second coat will go on 24 hours later, then you'll roast the following day. Be sure to remove the neck, giblets and such from inside the duck, if necessary, and reserve them for another use.
Serves 2 - 3.
Ingredients
1 4 1/2- to 5-pound duck
3 teaspoons salt
3 tablespoons honey
3 tablespoons soy sauce
Instructions
1. Two days before you plan to serve the duck, place a rack onto a sheet pan or roasting pan and set the duck on it. Sprinkle the duck's cavity with about half a teaspoon of the salt.
2. Combine the honey and soy sauce, stirring well, in a small bowl or jar. Use a pastry brush to paint the entire surface of the duck, starting with the backside. Let it stand for about 15 minutes, then give the duck another coat. You will have some glaze leftover (reserve it, covered, in the fridge – you'll use it later), and some of the glaze will fall off the duck onto the baking sheet, but don't worry about it. Really. Now sprinkle the rest of salt all over the bird, concentrating on the breast and the legs and thighs. Set the duck breast-side up on the rack and put it, uncovered, in the fridge overnight.
3. The following day – about 24 hours later is great, but anytime is fine – paint the bird again, starting on the back side, with the remaining glaze, which will be a little thicker after being chilled. After you finish painting the breast and legs, set the duck breast-side up on the rack again, and refrigerate it, uncovered, overnight again. Discard leftover glaze, if any.
4. The following day, about 3 hours and 45 minutes before you plan to serve the duck, remove it from the fridge and place set it on a plate or cutting board. Clean the baking sheet (lots of glaze will have dripped onto it), line it with aluminum foil, and place the rack back on it. If you like, you can tie the duck's legs together at the ankles with butcher string; it gives it a neater look, but it's not necessary. Place the duck breast-side up on the rack and let it come to room temperature for an hour. If you're making two ducks, set them as far apart from each other on the rack as possible, so they'll brown evenly. Meanwhile, heat the oven to 450 degrees.
5. Roast the duck for 10-12 minutes, until it starts to brown. (After about 5 minutes, check the oven. You want the duck to is sizzling but not smoking. If it's smoking, turn the temperature down 20 or 25 degrees; if it's not sizzling, turn it up 20 or 25 degrees.)
6. Turn the oven down to 325 degrees and continue roasting for two more hours, or until the duck is gorgeously, evenly browned. If it looks like it's getting too browned in spots, you can tent it loosely with foil, but make sure it's loose, as you don't want it to steam. Remove the duck from the oven and transfer it to a board to rest for 20 minutes before carving. Strain the accumulated fat in the pan and reserve it, covered and refrigerated, for another use.

Glorious Lacquered Roast Duck
Ingredients
- 1 4 1/2- to 5-pound duck
- 3 teaspoons salt
- 3 tablespoons honey
- 3 tablespoons soy sauce
Instructions
- Two days before you plan to serve the duck, place a rack onto a sheet pan or roasting pan and set the duck on it. Sprinkle the duck's cavity with about half a teaspoon of the salt.
- Combine the honey and soy sauce, stirring well, in a small bowl or jar. Use a pastry brush to paint the entire surface of the duck, starting with the backside. Let it stand for about 15 minutes, then give the duck another coat. You will have some glaze leftover (reserve it, covered, in the fridge – you'll use it later), and some of the glaze will fall off the duck onto the baking sheet, but don't worry about it. Really. Now sprinkle the rest of salt all over the bird, concentrating on the breast and the legs and thighs. Set the duck breast-side up on the rack and put it, uncovered, in the fridge overnight.
- The following day – about 24 hours later is great, but anytime is fine – paint the bird again, starting on the back side, with the remaining glaze, which will be a little thicker after being chilled. After you finish painting the breast and legs, set the duck breast-side up on the rack again, and refrigerate it, uncovered, overnight again. Discard leftover glaze, if any.
- The following day, about 3 hours and 45 minutes before you plan to serve the duck, remove it from the fridge and place set it on a plate or cutting board. Clean the baking sheet (lots of glaze will have dripped onto it), line it with aluminum foil, and place the rack back on it. If you like, you can tie the duck's legs together at the ankles with butcher string; it gives it a neater look, but it's not necessary. Place the duck breast-side up on the rack and let it come to room temperature for an hour. If you're making two ducks, set them as far apart from each other on the rack as possible, so they'll brown evenly. Meanwhile, heat the oven to 450 degrees.
- Roast the duck for 10-12 minutes, until it starts to brown. (After about 5 minutes, check the oven. You want the duck to is sizzling but not smoking. If it's smoking, turn the temperature down 20 or 25 degrees; if it's not sizzling, turn it up 20 or 25 degrees.)
- Turn the oven down to 325 degrees and continue roasting for two more hours, or until the duck is gorgeously, evenly browned. If it looks like it's getting too browned in spots, you can tent it loosely with foil, but make sure it's loose, as you don't want it to steam. Remove the duck from the oven and transfer it to a board to rest for 20 minutes before carving. Strain the accumulated fat in the pan and reserve it, covered and refrigerated, for another use.