
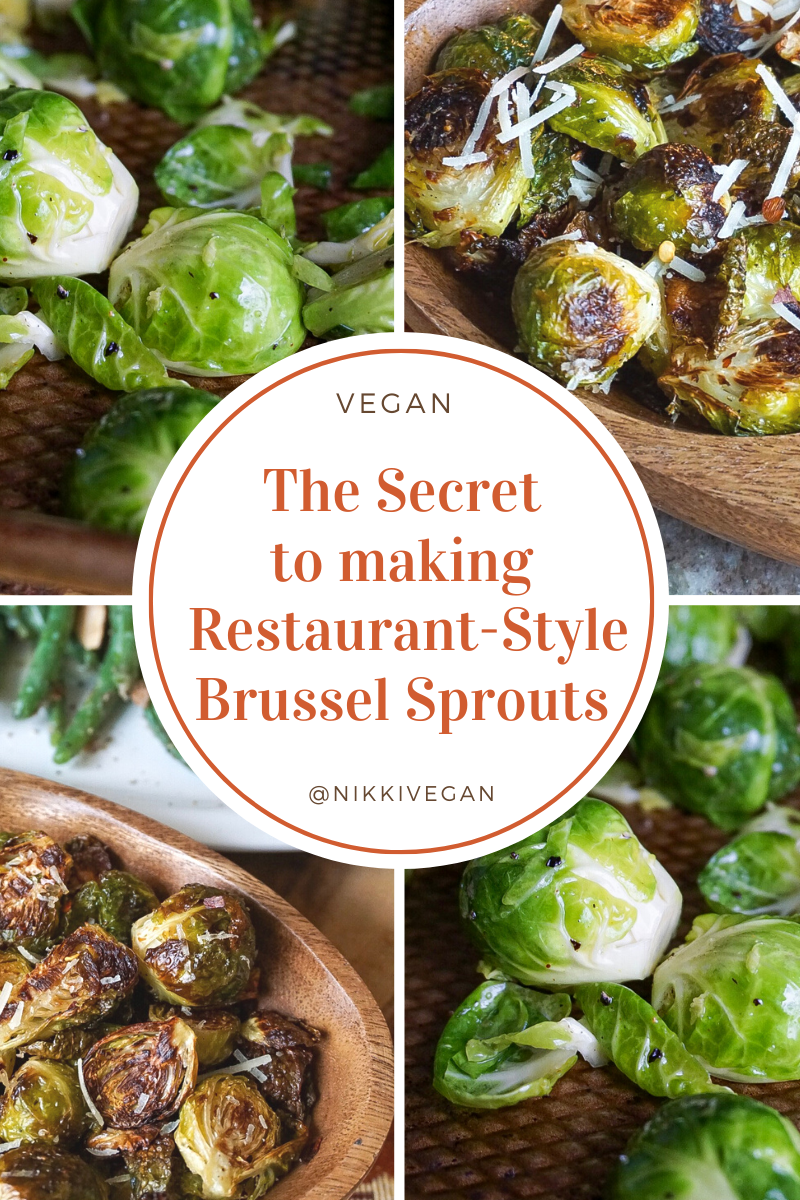
Restaurant Brussel Sprouts are generally delicious. Salty and savory, with charred, crispy edges and a super caramelized exterior that almost makes you forget that you’re eating a vegetable.
But how?? How do they do it? 🤔
I was beginning to think that it was some kind of weird law of nature, like gravity, or the one that says that the winged eyeliner on your right eye will NEVER match the left!
This particular law seem to state: Restaurant Brussel Sprouts are good, and homemade Brussel sprouts are soggy, flavorless wannabes that will never live up to their professionally made counterparts – which feels a bit like “Nature” shrugged and mumbled “deal with it” under its breath…😏
So I’ve been under the assumption that “that’s just the way it goes” until recently, when I stumbled upon this video, which taught me that the kind of pan you use is key because surface area is everything (Like learning how to do the Scotch-tape trick to achieve even eyeliner on both eyes, everything!)
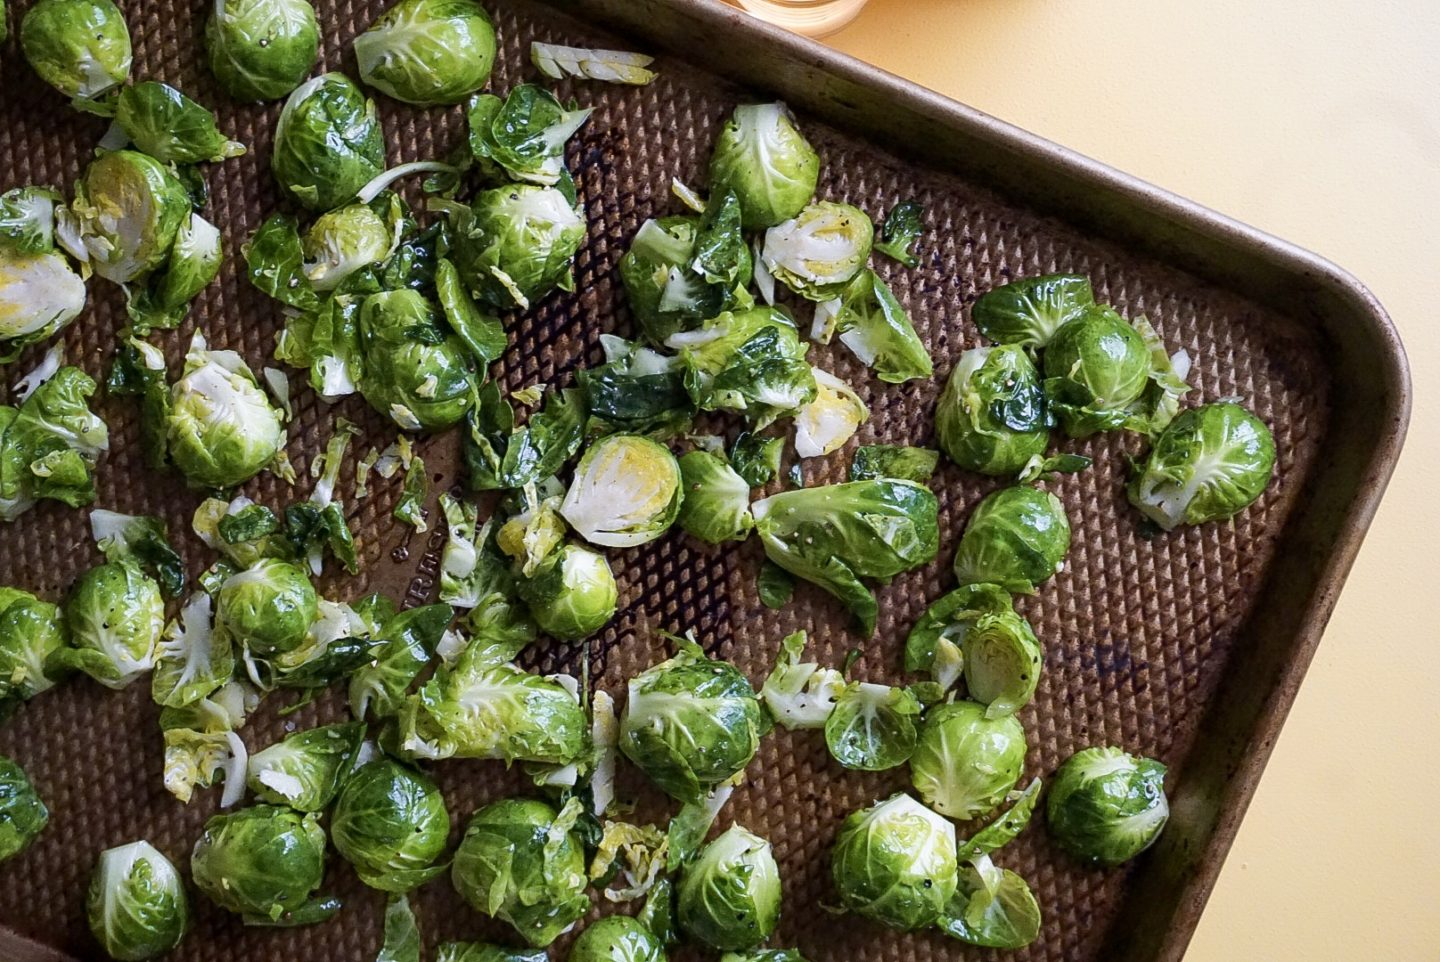
Immediate contact with a very hot, flat pan is what it’s all about, and the best way to do this is to place a cookie sheet inside the oven before pre-heating it to 400 degrees. This allows the pan to become very hot before ever coming into contact with the Brussel Sprouts.
The initial interaction between the sprouts and the searing hot surface of the pan helps to caramelize the edges and ultimately leads to better flavor and a more enjoyable texture. The combination of techniques, searing then roasting, is what gives restaurant Brussel Sprouts the upper hand on the until-now pathetic homemade variety. Eureka!

- Avoid using a glass baking dish with very high sides, as this will trap moisture inside the pan, causing the sprouts to steam rather than roast. A cookie sheet is ideal because it allows air to circulate properly. This small change makes a HUGE difference!
- Use Fresh. Frozen veggies like peas and cauliflower rice are typically as good as fresh, if not better, but frozen sprouts are always going to be mushy. Read that again: always going to be mushy.
- Make sure your Brussel Sprouts are dry before seasoning them. This goes for any veggie you plan on roasting 🙂
- A very hot oven is more important than you might think! I’ve found that a 400 degree oven produces a significantly better outcome than one set to 350, for example, because it allows the outside to get really crispy while the inside remains tender and juicy.
- Keep an eye on the oven! Give ’em a look every 15-20 minutes or so, stirring if needed, to prevent burning. This is a “your nose knows” situation, so you’ll be able to smell when they’re getting close to done. Trust those instincts 🙂
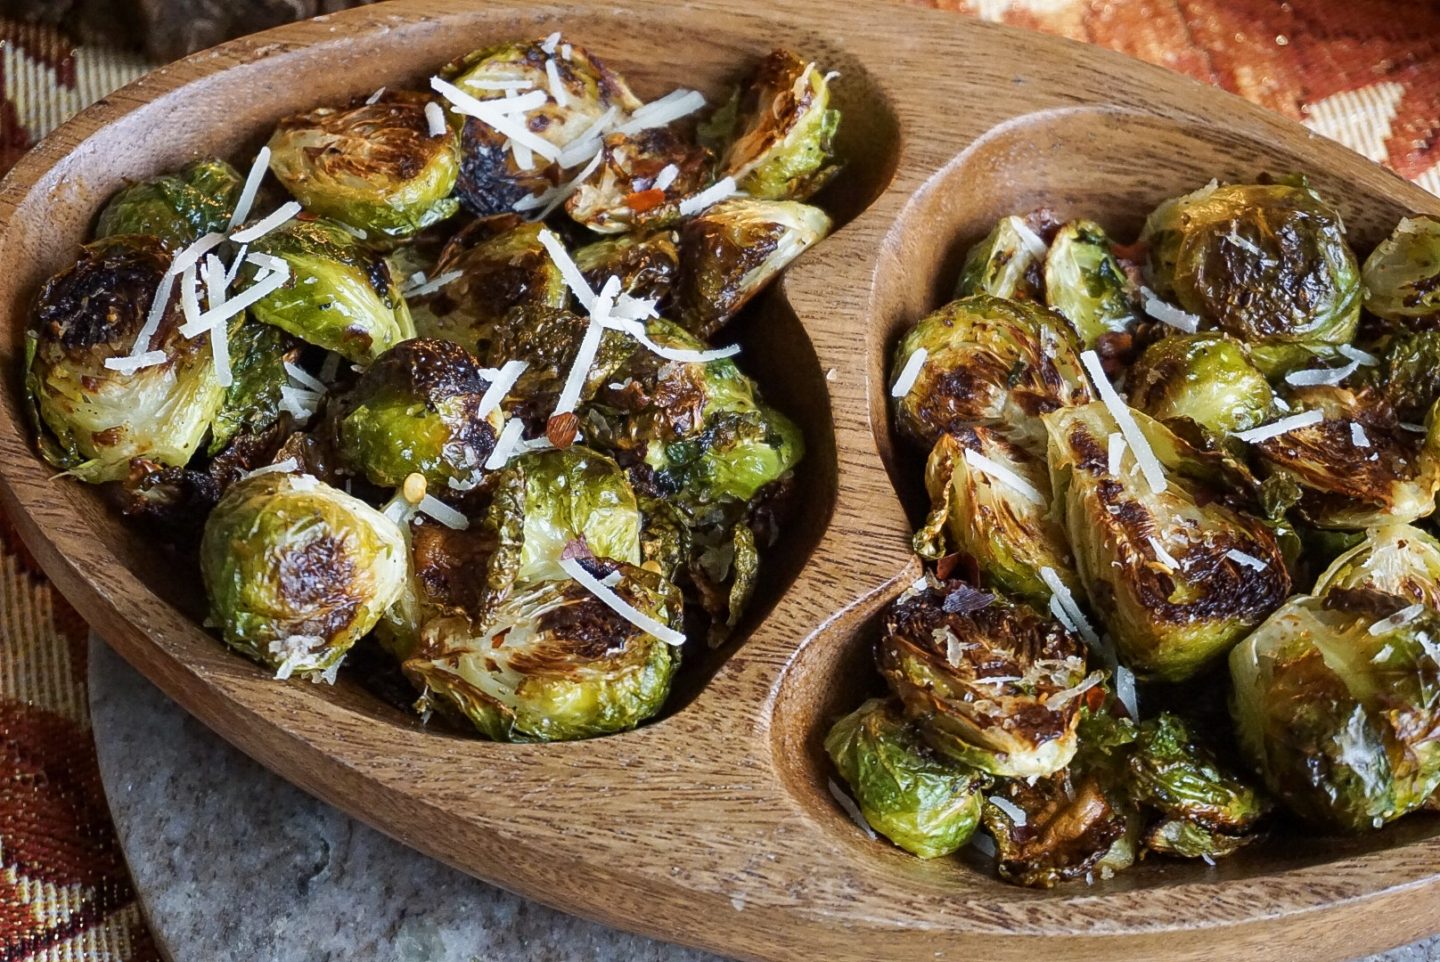
Below you’ll find the full recipe, which is a veganized restaurant classic: Roasted Brussel Sprouts with Parmesan. Nothing novel, no new spices or sauces, or fancy anything…just simple, delicious, CRIPSY Brussel spouts that actually taste good.


Serves 6 as a side dish
- 1 pound of medium sized Brussel Sprouts
- 2.5 tbsp grapeseed or olive oil
- 1/2 tsp sea salt
- 4-5 dashes of cayenne pepper
- 5 grinds of black pepper
- 3 tbsp of vegan parmesan cheese (I used VioLife for this + feel free to use more cheese if desired)

- Place a cookie sheet into the oven and pre-heat to 400 degrees.
- Wash and dry the Brussel Sprouts and cut in half.
- Then add to a bowl with oil, salt, cayenne, and black pepper. Massage for 2 minutes to ensure that they are well coated.
- Carefully remove the hot cookie sheet from the oven and transfer the seasoned sprouts to the pan, cut side down.
- Roast for 30-40 minutes, stirring occasionally when needed (cooking time will differ depending on the size of your sprouts, so roast until they look good to you 🙂 )
- Remove the sprouts from the oven and immediately sprinkle with vegan parmesan. Stir one more time.
- Serve with an extra sprinkle of vegan parmesan and red pepper flakes if desired.
Hey! I’m Nicole and I make practical vegan recipes for REAL life. I cook with simple, easy to find ingredients and I’m passionate about creating delicious plant-based meals that everyone will love!
I hope you enjoy my recipes and videos :) Happy Cooking!
Find me on: Instagram


So so so glad I seen this, as I was planning on making brussel sprouts for dinner with my vegan meatloaf!!! Yay!!! Thanks for the awesome tips and recipe! Much love sista <3 <3 <3
Author
mmmm sounds great! I love vegan meatloaf! Do you have a recipe you’d recommend? I’d love to try it!
I just loveeeee your blog! I usually skip over the intro and notes but the way you describe everything genuinely feels like you are talking and giving me directions! I’m making these for Thanksgiving tomorrow. Thank you Nikki!
Author
Aw thanks!! It’s nice to know that you like that part! Thank you so much for letting me know 🙂
Can’t wait to make these. Should I have parchment paper on the baking tray?
Author
Nope! You want direct contact for the caramelization 🙂
I am excited to try this, I wanted to make a honey balsamic glaze for them, when would I incorporate that into this recipe for the most flavor?
Author
Right at the end before serving 🙂 Enjoy!