
Last week I took a dive into the office life of yesteryear with Microsoft Works 3.0 for DOS. Now I’m exploring some more retro business software, this time delving into the ancient database management system known as Borland dBase. dBase was THE first commercially successful DBMS for microcomputers, and in fact it is still active today, which would give it one of the longest lifespans of any major application software. It began its life in 1978 as a software package for PTDOS and CP/M dubbed Vulcan. It was later bought by Ashton-Tate, renamed dBase, and ported to the Apple II line and to DOS. During the 80’s and 90’s it went through several vastly different versions and was copied by many different software companies, soon being acquired again by Borland Software, who created a third version known as dBase III. dBase is now on its eleventh incarnation, last released by dBase LLC in early 2017.
The version I have installed is Borland dBase IV 2.0, released in 1993 and billed as being geared towards programmers, in contrast to earlier versions of the software which were marketed to the general user population. Indeed dBase does have a full-fledged scripting language, which is used to create applications for managing databases in much the same way one would use VBA to create applications for Microsoft Access. As far as I know, the dBase programming language is nothing like SQL and is a complete and self-contained language that is unique to dBase and its clones. But I haven’t gotten as far as programming dBase yet. So instead of speculating, I’m going to talk about what I actually did work on, which is the card catalog database and associated terminal interface that I’ve created for keeping track of all the books in my personal library.
Like most of the other DOS software I use, I downloaded dBase from WinWorldPC.com. Various versions are also available from the Vetusware abandonware archive, though the latter source is not always reliable and has some bogus downloads on it. I installed it over MS-DOS 6.22 running in VirtualBox as usual.
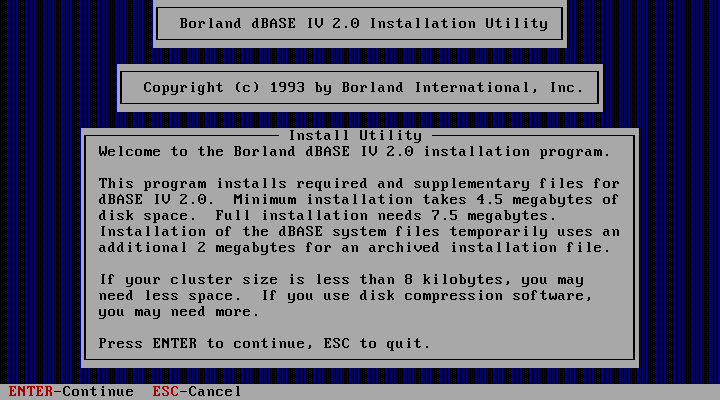
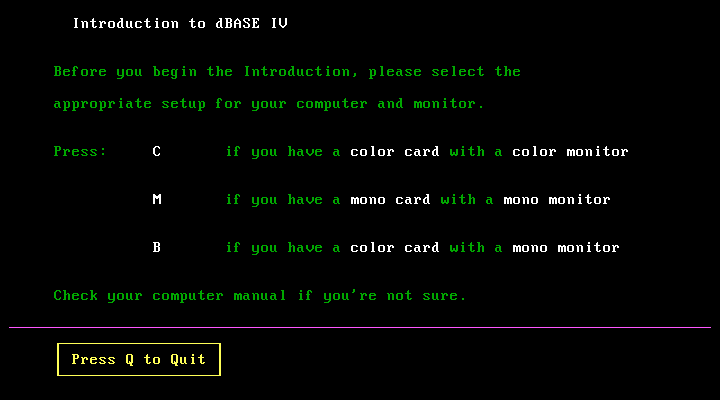
While I was entering my information I was prompted for a serial number, so I did a quick web search and got what I needed. Use the code in the screenshot if you want to try this software yourself.

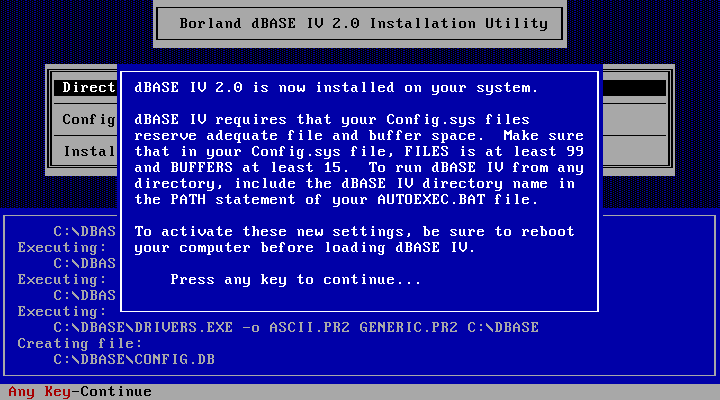
I had to make some modifications to the CONFIG.SYS file. Weird, because usually the setup program will modify those files for you. This time I had to do it by hand.
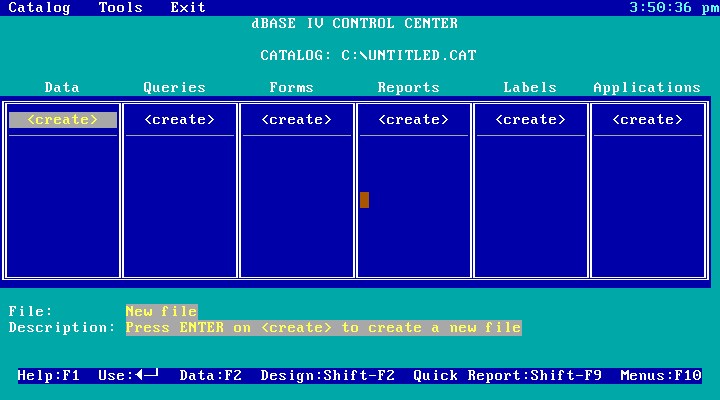
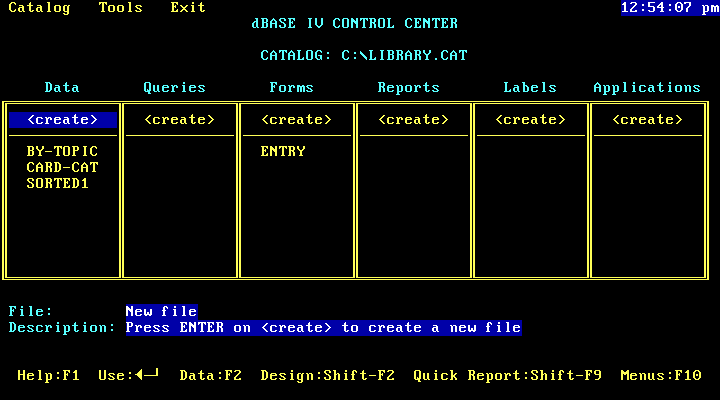
Once you open dBase, the home screen looks something like this:
The decision to create a card catalog as my first database in dBase was a pretty obvious one for me. As with the Microsoft Works spreadsheet, I wanted to use this program for something at least semi-practical, rather than just playing with random controls to create pointless “example” files that I would never actually use. I was inspired by the card catalog program that my family’s local library used to use waaayyyyy back in the mid-90’s when I was a little kid. Some of my earliest memories of the library are of searching for books on a monochrome green-screen terminal where we interfaced with the central card catalog database using a rather rudimentary, text-only catalog program. I wanted to emulate the look and feel of those card catalog terminals from my early childhood that I only remember very vaguely, yet still vividly enough that seeing a monochrome CRT display is enough to make me wax nostalgic. I eventually opted for a multicolored look for my card catalog interface, though I kept the black background.
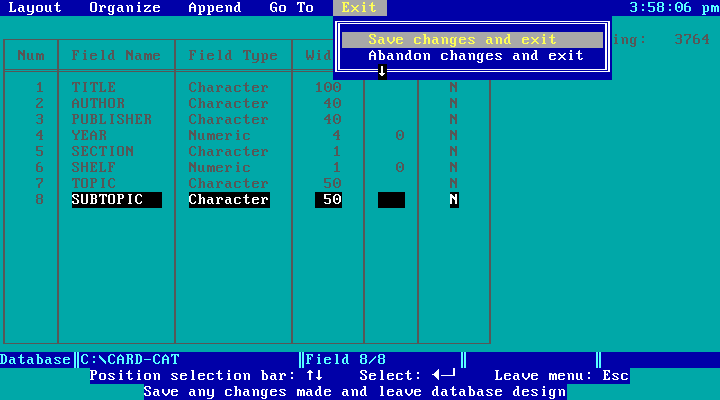
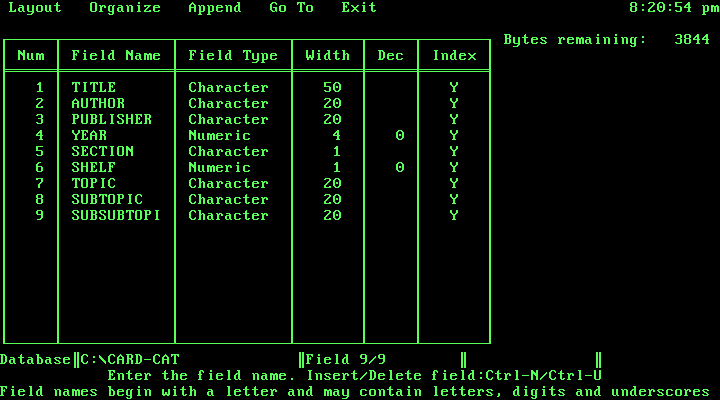
Selecting the “create” option at the top of the Data column in the dBase home screen brings you to an interface where you can edit the layout or metadata for a database table. So far this is not too much different from MySQL, with string and numeric data types, fixed widths for fields, and the ability to index certain columns.
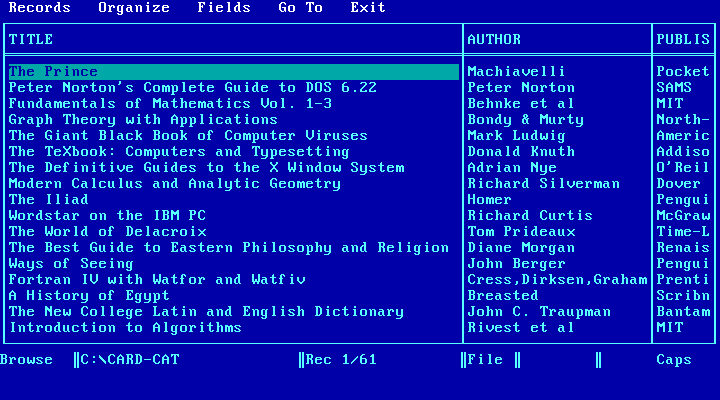
Once you specify the columns for a database table, you can open up the table and start entering data. I basically entered all 280+ books in my library in two sessions of feverish typing.
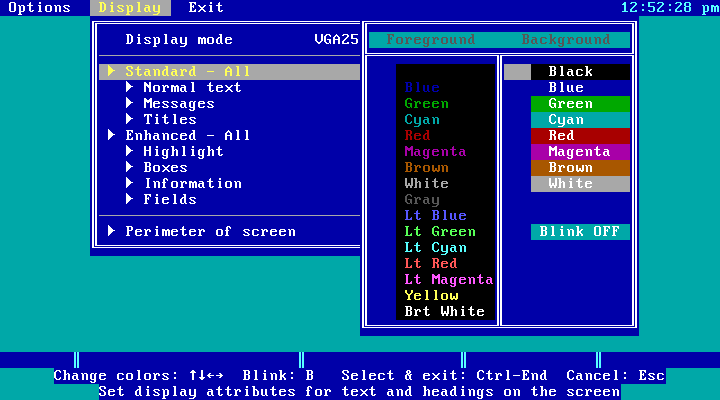
I also found the feature that lets you change the colorscheme. Very important for the whole “look and feel” emulation I was talking about earlier.
I set the colorscheme to monochrome green for a while so that I could relive that mid-90’s library terminal experience.
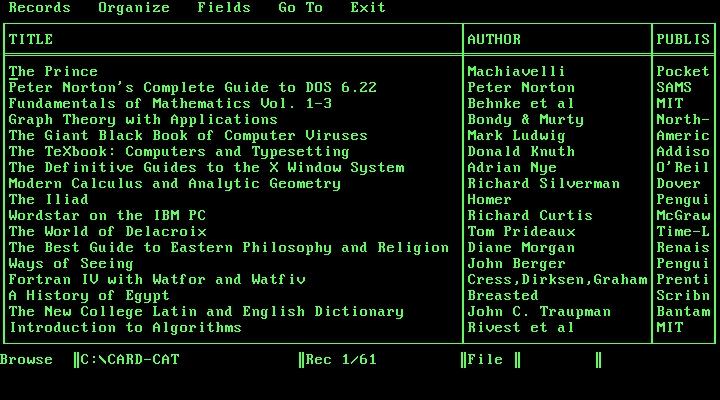
I also made some cool “nerd porn” by screencapping the VirtualBox window and then running the screenshot through the “softglow” filter in GIMP to make it look like an old-school CRT.

Once I had created the card catalog table and played around with the colors for a while, I took a look at some of the companion programs that are also included with the installation. Like this handy tutorial:
And this equally handy info program that displays the contents of all config files relevant to dBase:
After going through the tutorial, and armed with new knowledge on how to create queries, forms, and reports, I returned to dBase to attempt to create a more versatile and realistic card catalog interface, one that would emulate that authentic “index card” look that was used by the card catalog programs of old. There were two things I wanted to accomplish: First, I wanted to index my books by topic and subtopic so that I could find books on a certain subject more conveniently (there was no order as of yet). Second, I wanted to display each entry of the database table on a separate “card”, and be able to flip through the cards using the keys on my keyboard.
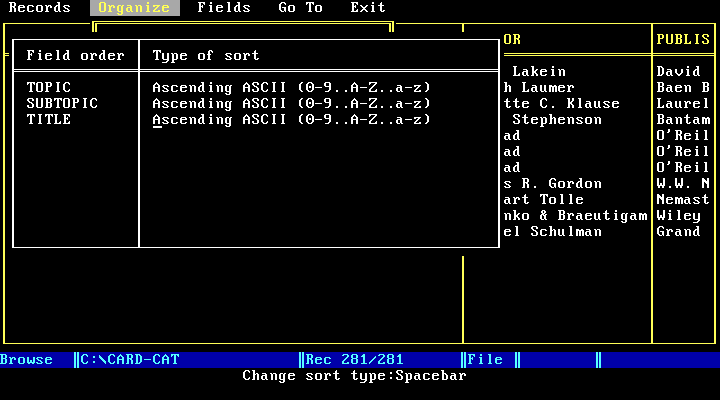
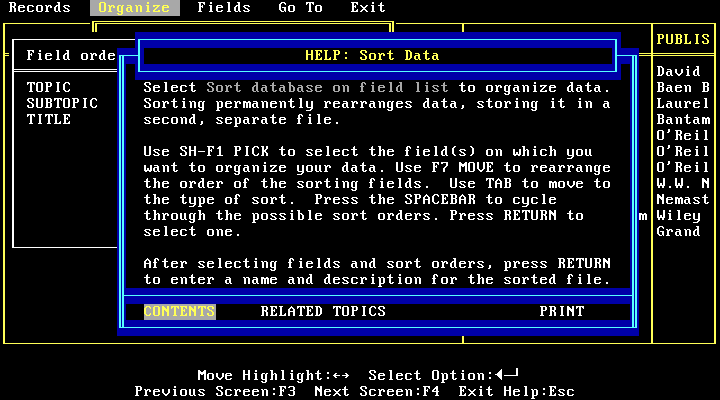
To accomplish the former task, I went into the table view and consulted the Organize menu for options. There’s a command that allows you to basically create a ranking of fields to sort by, so I told it to sort by TOPIC, then SUBTOPIC, and finally by TITLE. I had some difficulty remembering the proper keystroke to save my work, but fortunately the Help is trivial to navigate.
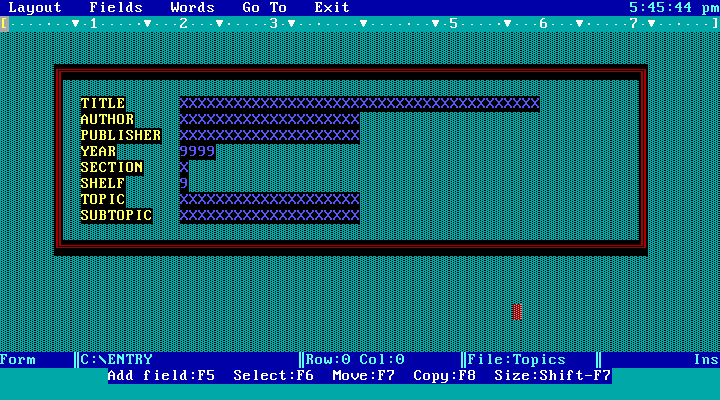
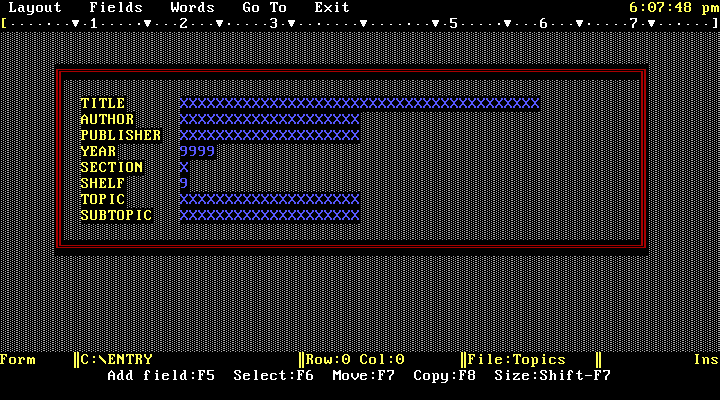
Next I go to the Forms column on the home screen and create a form for the card catalog interface. Forms allow you to create a custom interface for entering and viewing data, providing the ability to reposition the fields, change the text and background colors, or draw a box around the entire form. The next two screenshots are of the form editing screen before and after I changed the background color.
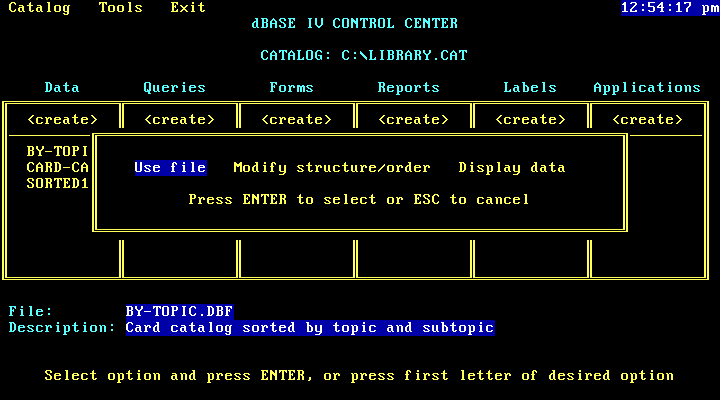
After setting up the sorted table and the form I go back to my home screen, select the BY-TOPIC table and tell dBase to use that file, then I go into the form I’ve just created and tell it to display the data.
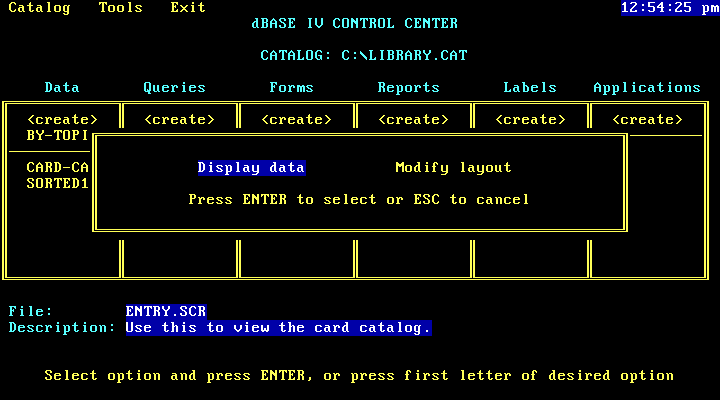
This brings me to an interface where I can tab through all my cards one-by-one using the Page Up and Page Down keys on my keyboard.
So that’s what I’ve done with Borland dBase IV 2.0 so far. In the future I plan to learn the programming language that it comes with and try to think of some ideas for nifty dBase applications I can build with it.

I love retro computing, and I have a soft spot in my heart for CP/M machines. Some of my earliest computing was done on a CP/M machine (An NEC PC-8001, though it was a Z80 CP/M machine, not an IBM PC clone.) in Z80 assembly language. I did, however cut my database teeth on dBase for CP/M, and later, on an original IBM PC my college library purchased on the educational institution discount program. I was working part time at the library, and I was a computer nerd, so they put me in charge of it. I had to set it up and everything, then used dBase II and a spreadsheet I want to say was Lotus 1-2-3, but might have been Supercalc. That WAS in the ’80s, after all.
A couple of years ago, I ran across a website for a gentleman making a clone of the venerable Altair 8800. The front panel was a faithful reproduction, using LEDs for lights and similar toggle switches. But the heart of the machine was an Arduino Due, running an emulation of an 8080 processor running CP/M. You could connect your PC to it via a USB cable, and use a terminal software package like Tera Term or PuTTY to communicate with it. Floppy disk drives and hard drive volumes — a large set of each — were stored as images on a single microSD card.
This is an awesome little machine, and is now even more awesome with a “plus” package that includes an acrylic case in the original blue and white, instead of a shallow bamboo box behind the famous faceplate. It’s called the Altair-Duino, and is available as a kit (requiring soldering and everything) at https://adwaterandstir.com/.
But last winter, I ran across a very exciting little retro computer. It is an ACTUAL CP/M machine, not an emulation of one. The operating system runs directly on the processor. But instead of a Z80 or 8080, it uses a more modern Z180 processor, which is compatible with the original Z80, but has more resources. It took me an evening to solder up and get running, with only a handful of components on an index-card sized printed circuit board. The assembled kit is approximately 11cm (4.5″) x 7.5cm (3″) x 2.5cm (1″), in a nifty little case with screen-printed end plates. Case and end plates are available in a number of colors. I chose blue end plates, and a translucent blue case.
It is connected to your PC with, and powered by, a USB cable connected to a small FTDI serial converter board. It has a microSD card slot on the back plate, which acts as multiple floppy and hard disk drives, similar to the arrangement on the Altair-Duino. But since it doesn’t have an involved toggle-switch interface (which is actually usable on the Altair-Duino to program it in 8080 machine code), it gets away with 3 LED status lights, a pushbutton, and your terminal access through a terminal program. I use one called ExtraPuTTY, a fork of the PuTTY project that adds a lot of features, including built-in file transfer protocols, so you can send software to the CP/M machine from your desktop PC. It draws so little power, and is utterly silent, so I just leave mine connected all the time, with the terminal window minimized.
I’ve had uptimes in the hundreds of hours without a reboot. It came with a “floppy drive” loaded with a bunch of common utility programs, and several copies of BASIC. Since the Z180 chip has a much larger memory space, multiple operating systems are supported, and can be selected from a start menu when you start it up. I downloaded a bunch of other programs, but the most important were Turbo Pascal and dBase. Both work perfectly.
This little gem of a computer is called the SC130, and is lovingly documented here: https://smallcomputercentral.wordpress.com/sc131-z180-pocket-computer/
I purchased it for around $76 as an unassembled kit from: https://www.tindie.com/products/tindiescx/sc131-pocket-sized-z180-romwbw-cpm-computer-kit/ It’s listed as $73 on that page, but the translucent case increased it by $3. Shipping is additional and starts at $8 for the US. I’ve found it worth every penny, if only for nostalgia value!
LikeLiked by 1 person
I’ve always wanted to get into the hardware side of retrocomputing, and I’ve discovered a number of computer kits online, including the Replica I (clone of the Apple I) and the Altair8800micro. I never heard of the ones based on Arduino or the Z180. Basically all my retrocomputing experience so far has been either running old operating systems in VirtualBox or programming my C64 that I got off Ebay. I’m not old enough to have experienced the original vintage computers in their prime, but my older brother who was the first person in our family to own a computer had a used Apple ][c in the mid-90’s. That was really what got me into computers in the first place. Another thing I’ve seen that’s on my bucket list is a lot of people will buy Z80 processors and build fully functional 8-bit computers from scratch using a giant protoboard. At the moment, the main reason I haven’t gotten into hardware is because I haven’t been able to afford it. Doing stuff with software is so much easier because you don’t have to pay for physical components; you can just rely on open source. And I’ll have to check out that ExtraPuTTY program sometime.
LikeLike