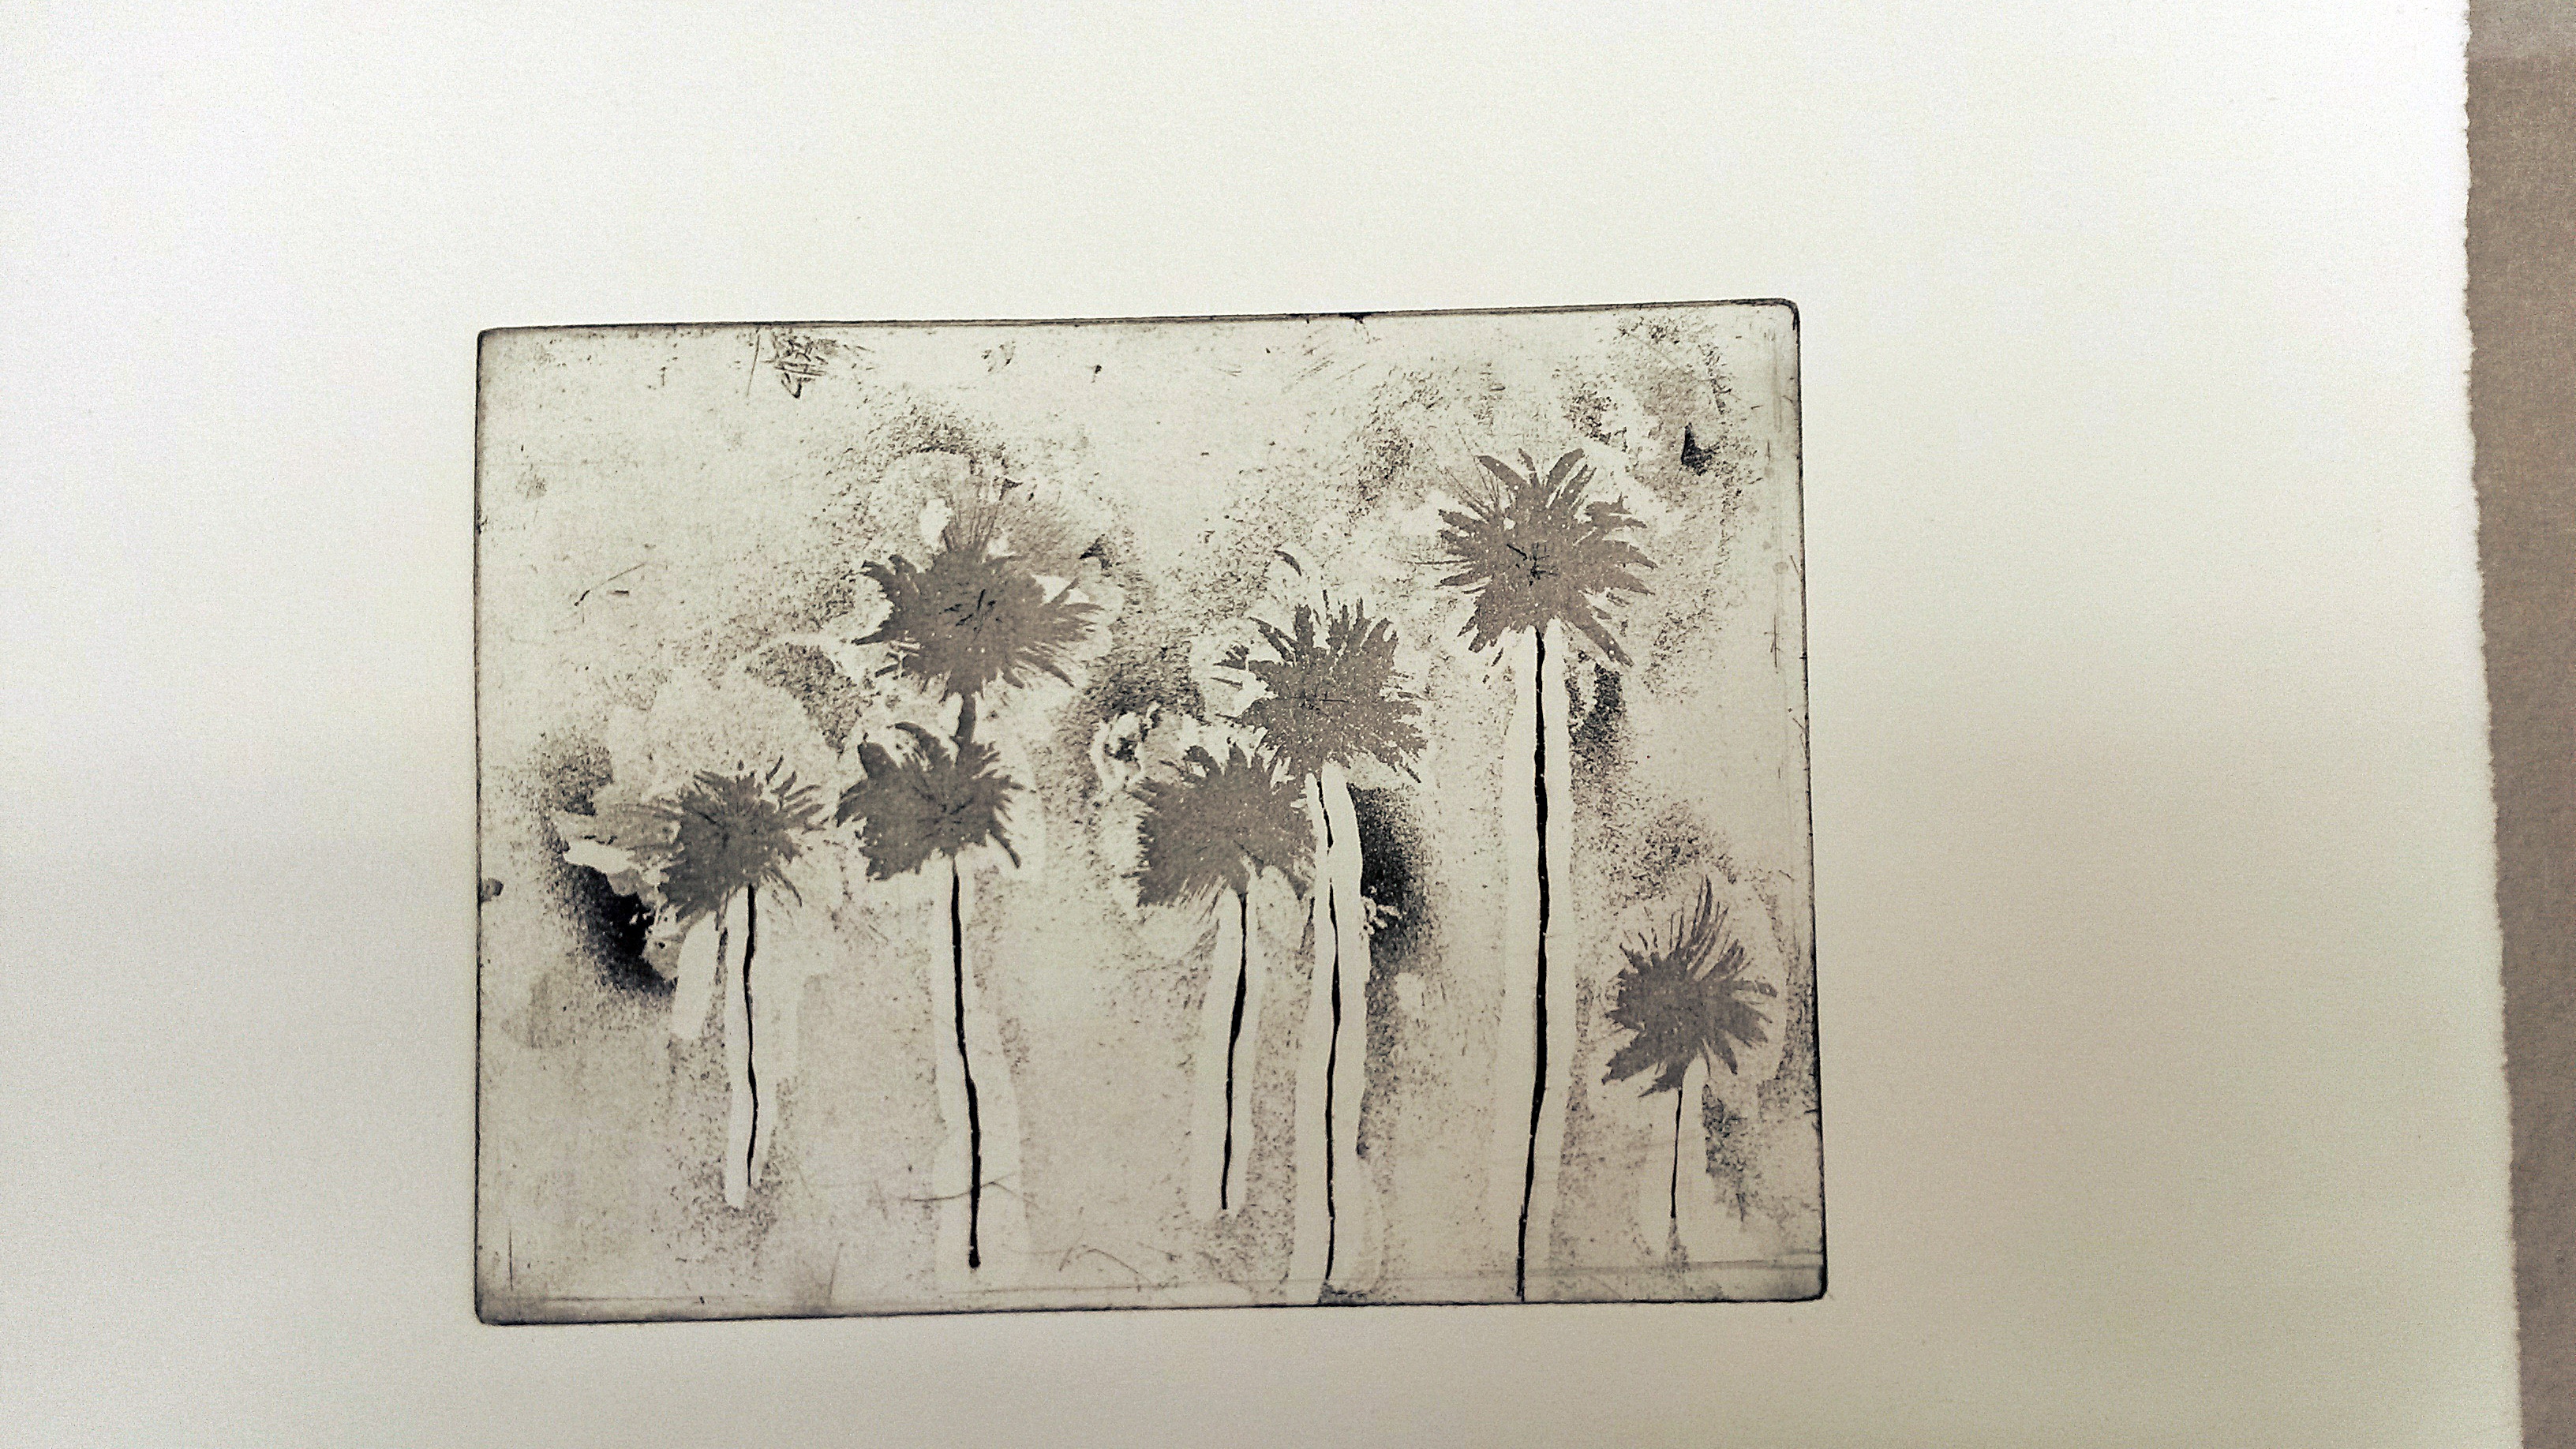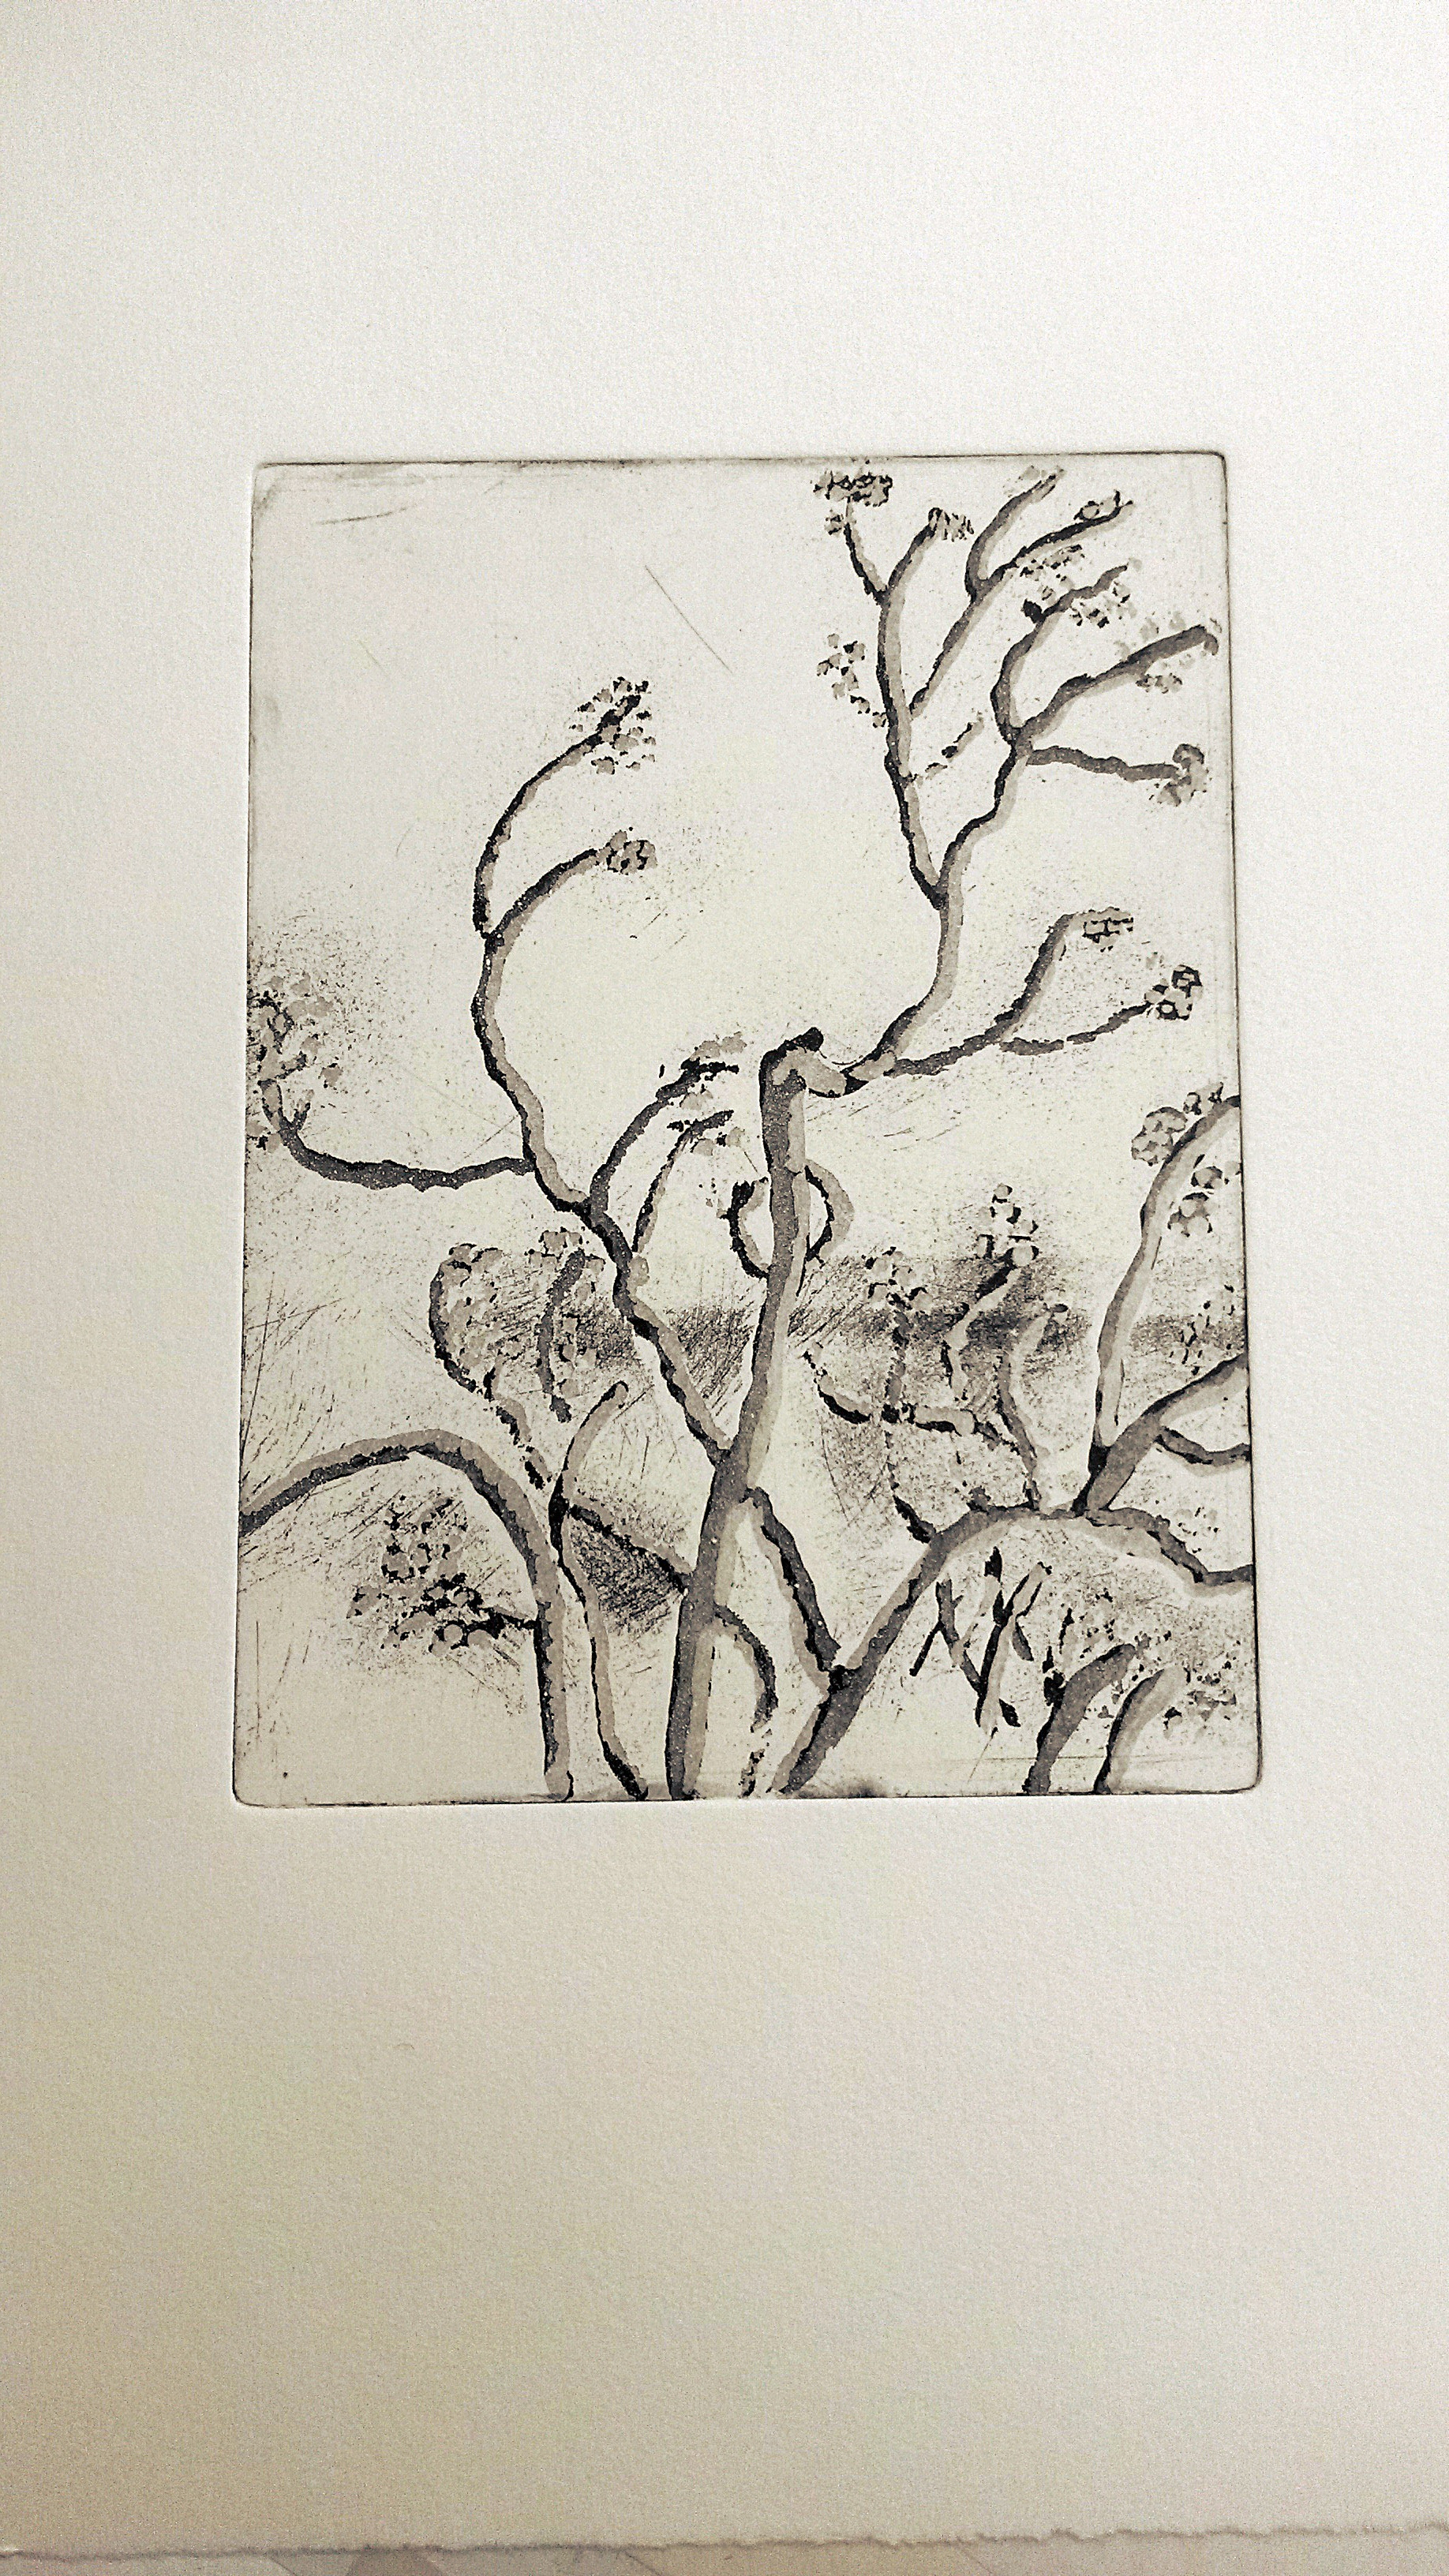
‘Approaching Harris’. Aquatint etching, 8×5.8″ on Hahnemuhle paper.
Above, my first attempt at aquatint etching!
This was from the workshop I attended on Saturday at the Printmaker’s Workshop in 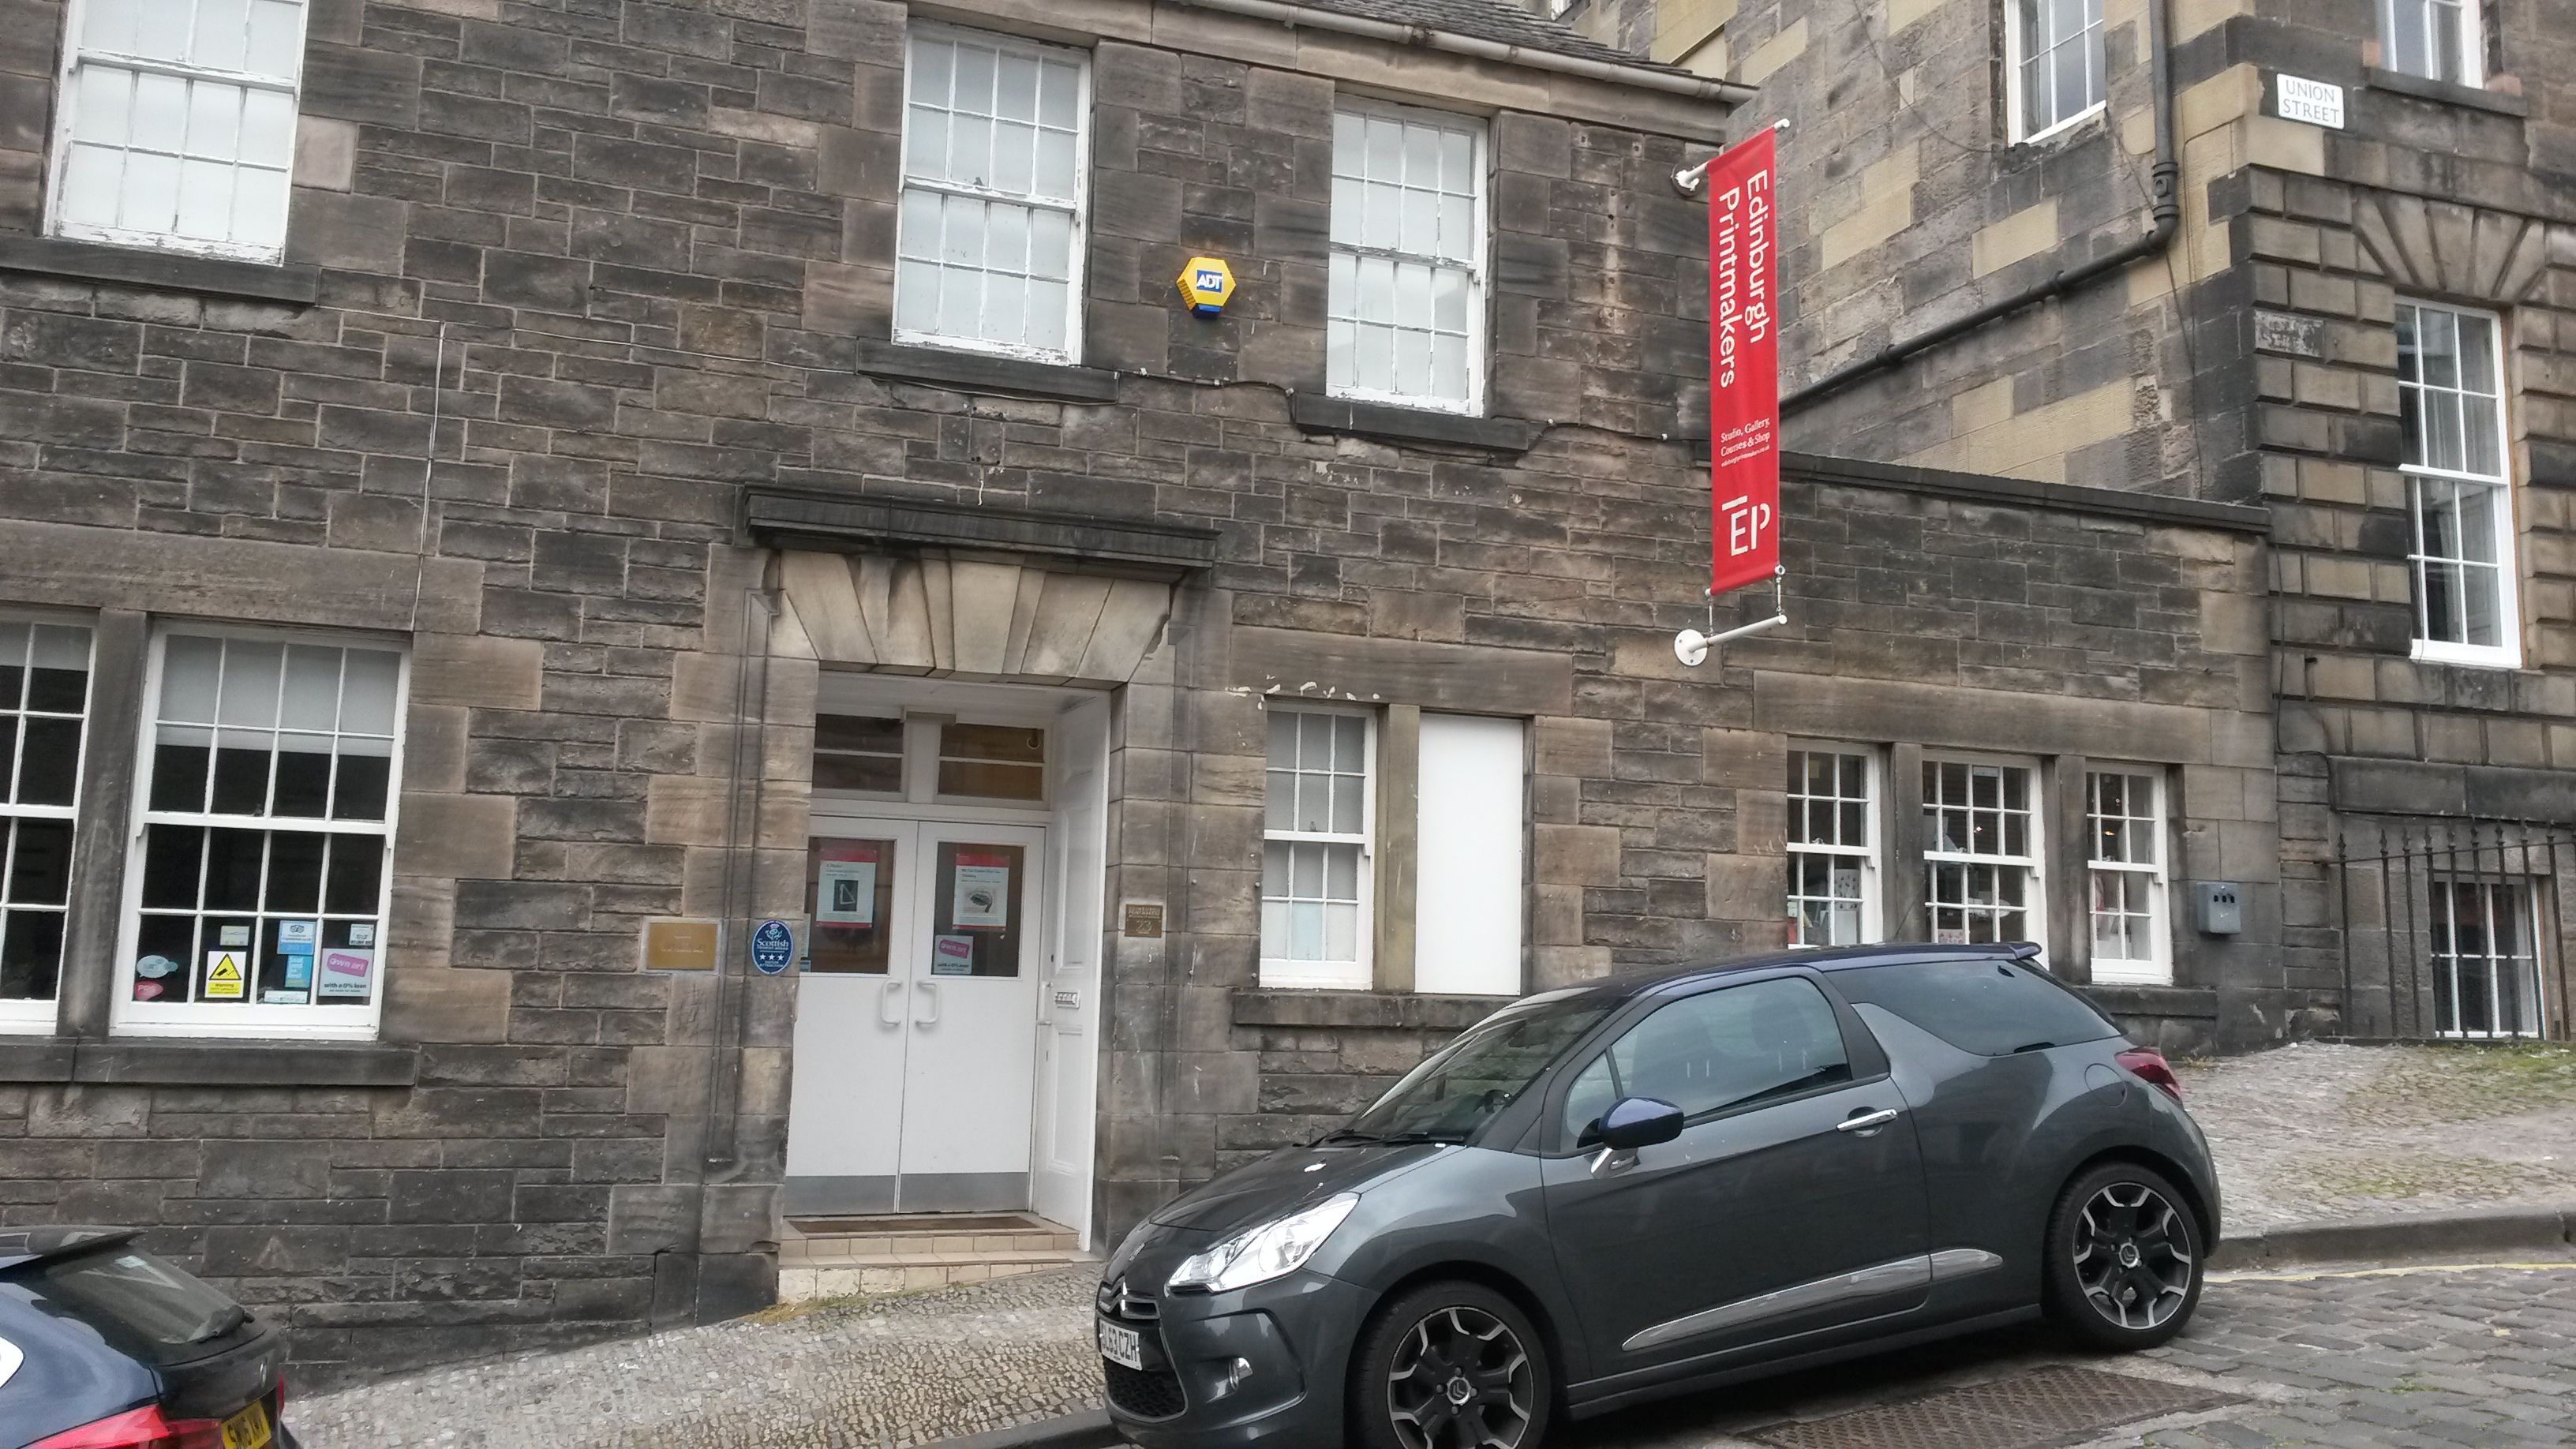
 Edinburgh, led by Jessica Crisp – who managed to guide us all through the complicated process in six hours without any mishap with acid baths and so on!
Etching is basically a process where you etch acid into a metal plate, then fill in the etched lines or areas with ink, then print it on to paper.
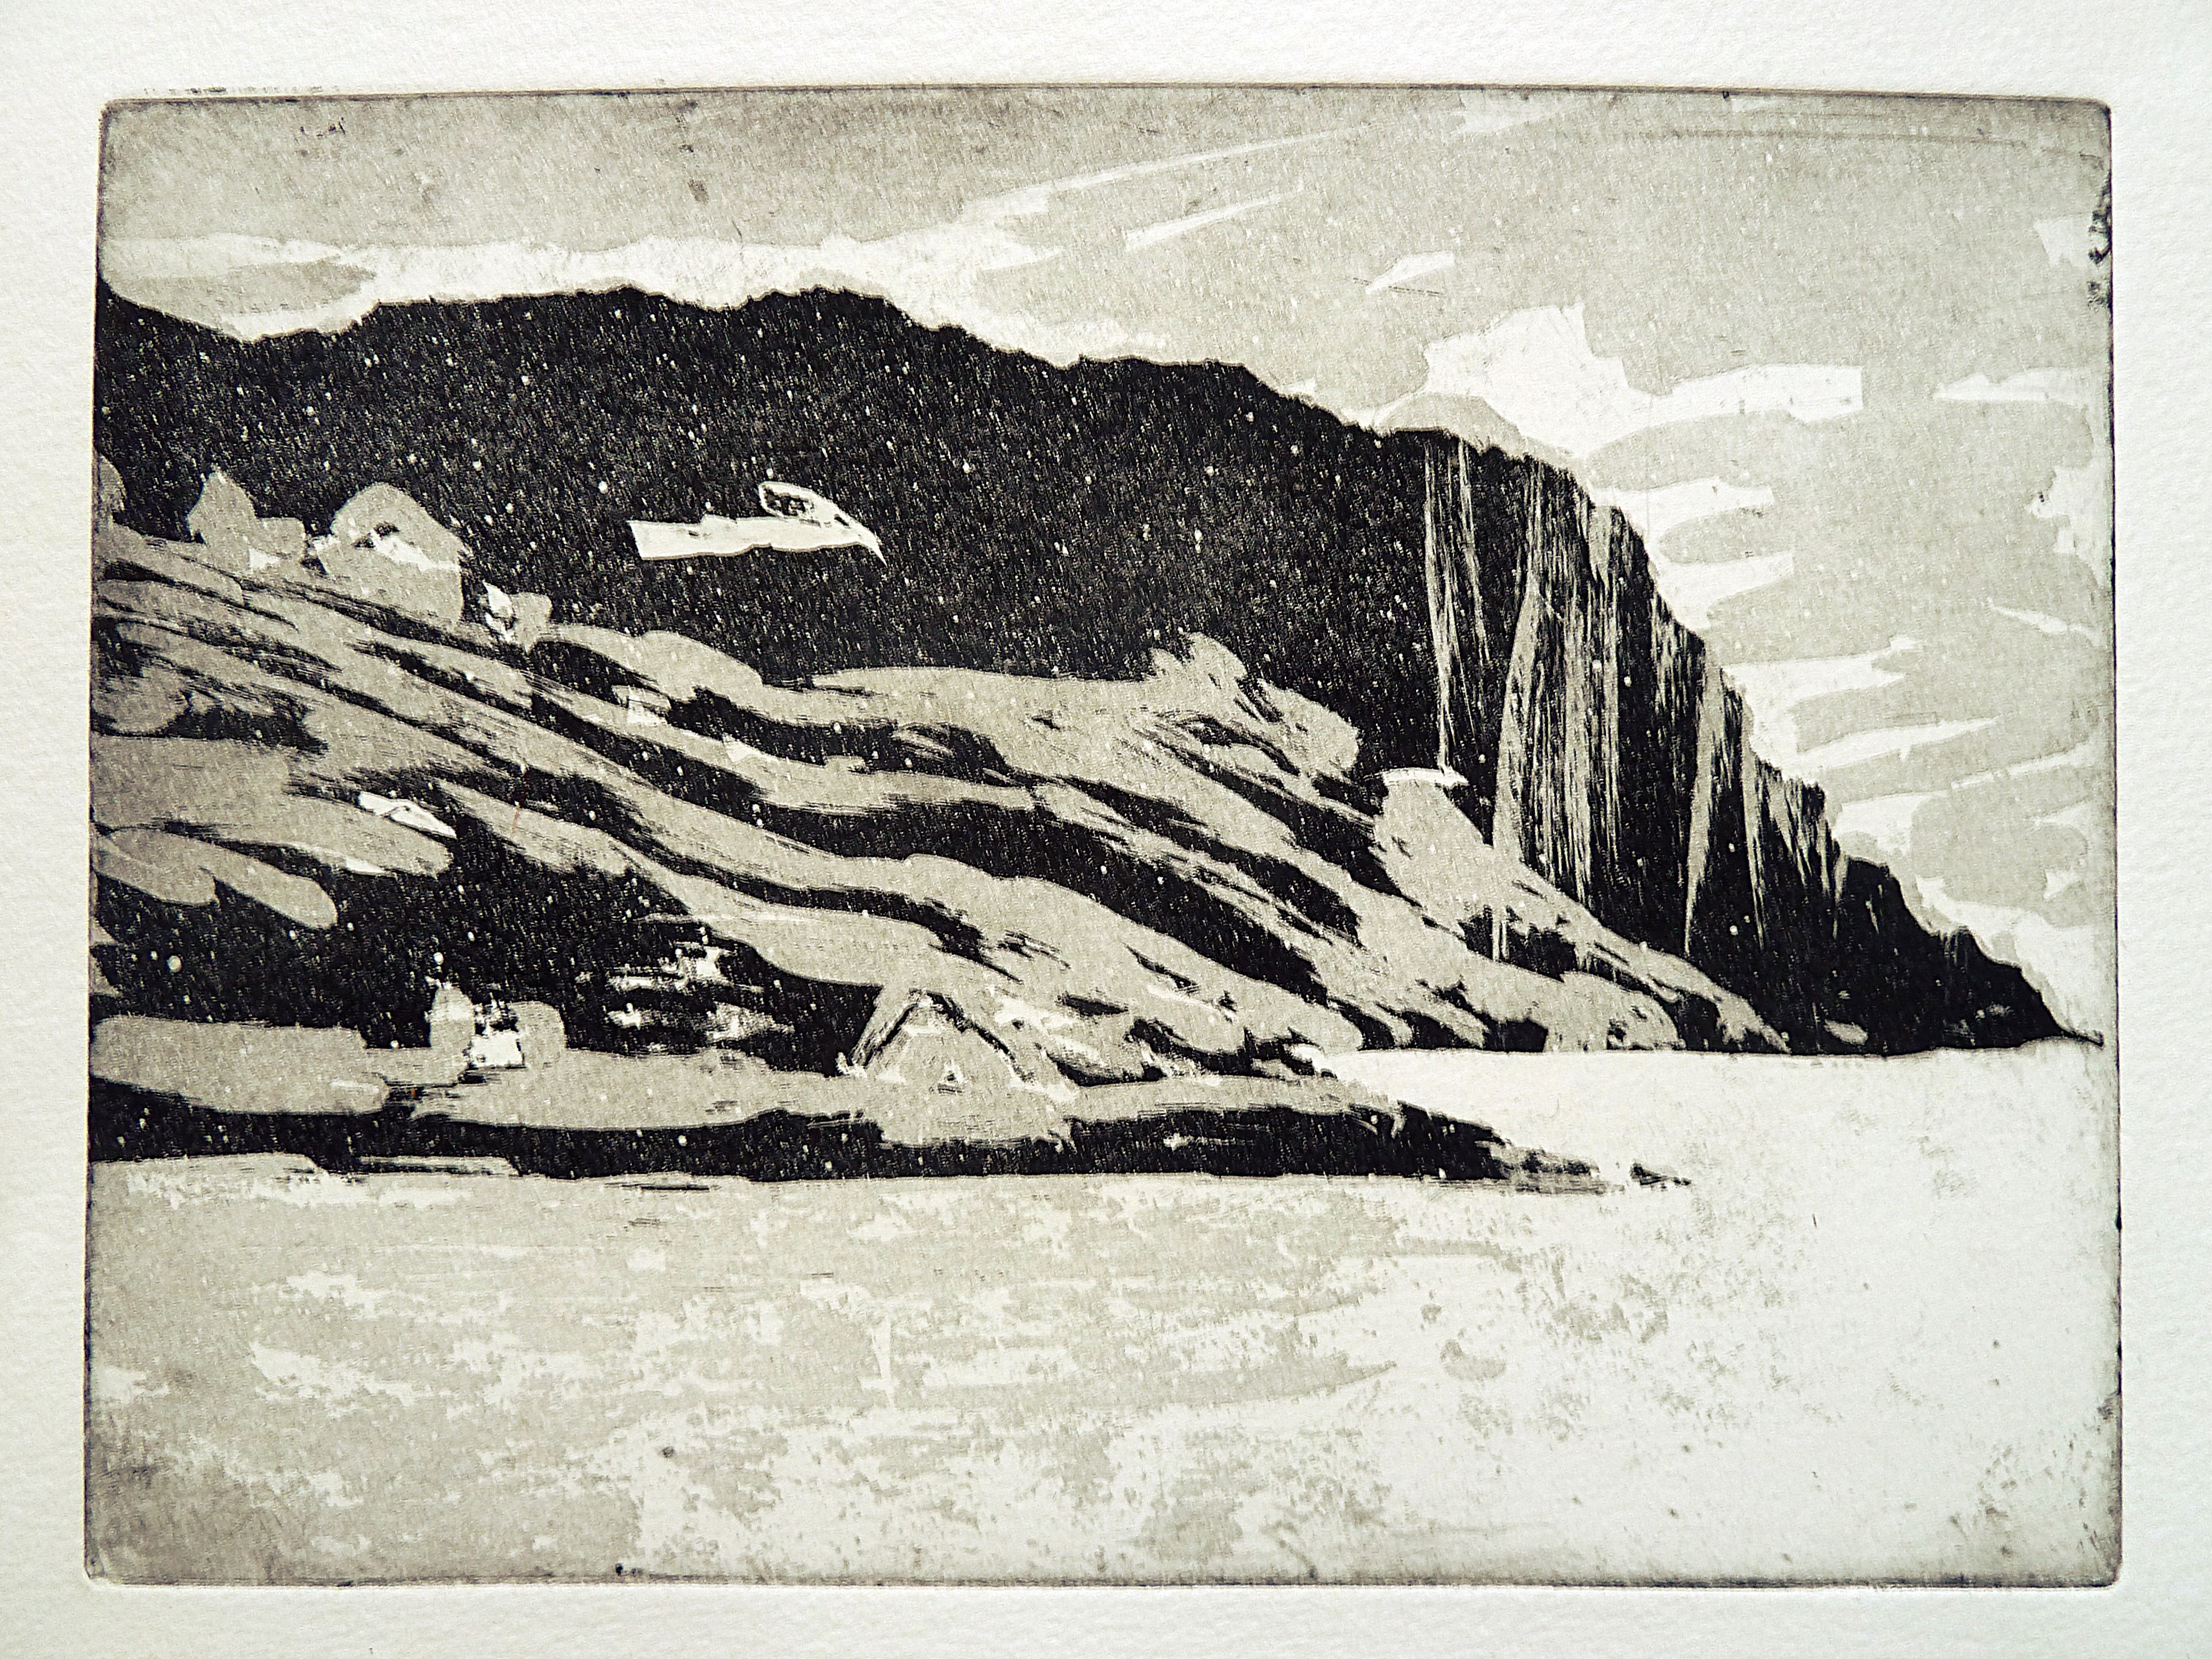
I kept my design fairly simple and high contrast but aquatint etching can create some incredibly atmospheric effects. Here are a couple by artist Norman Ackroyd, showing the beautiful subtlety of tones, textures and dramatic atmosphere you can create…
‘Holy Island, Arran’. Norman Ackroyd.

‘Shetland’. Norman Ackroyd
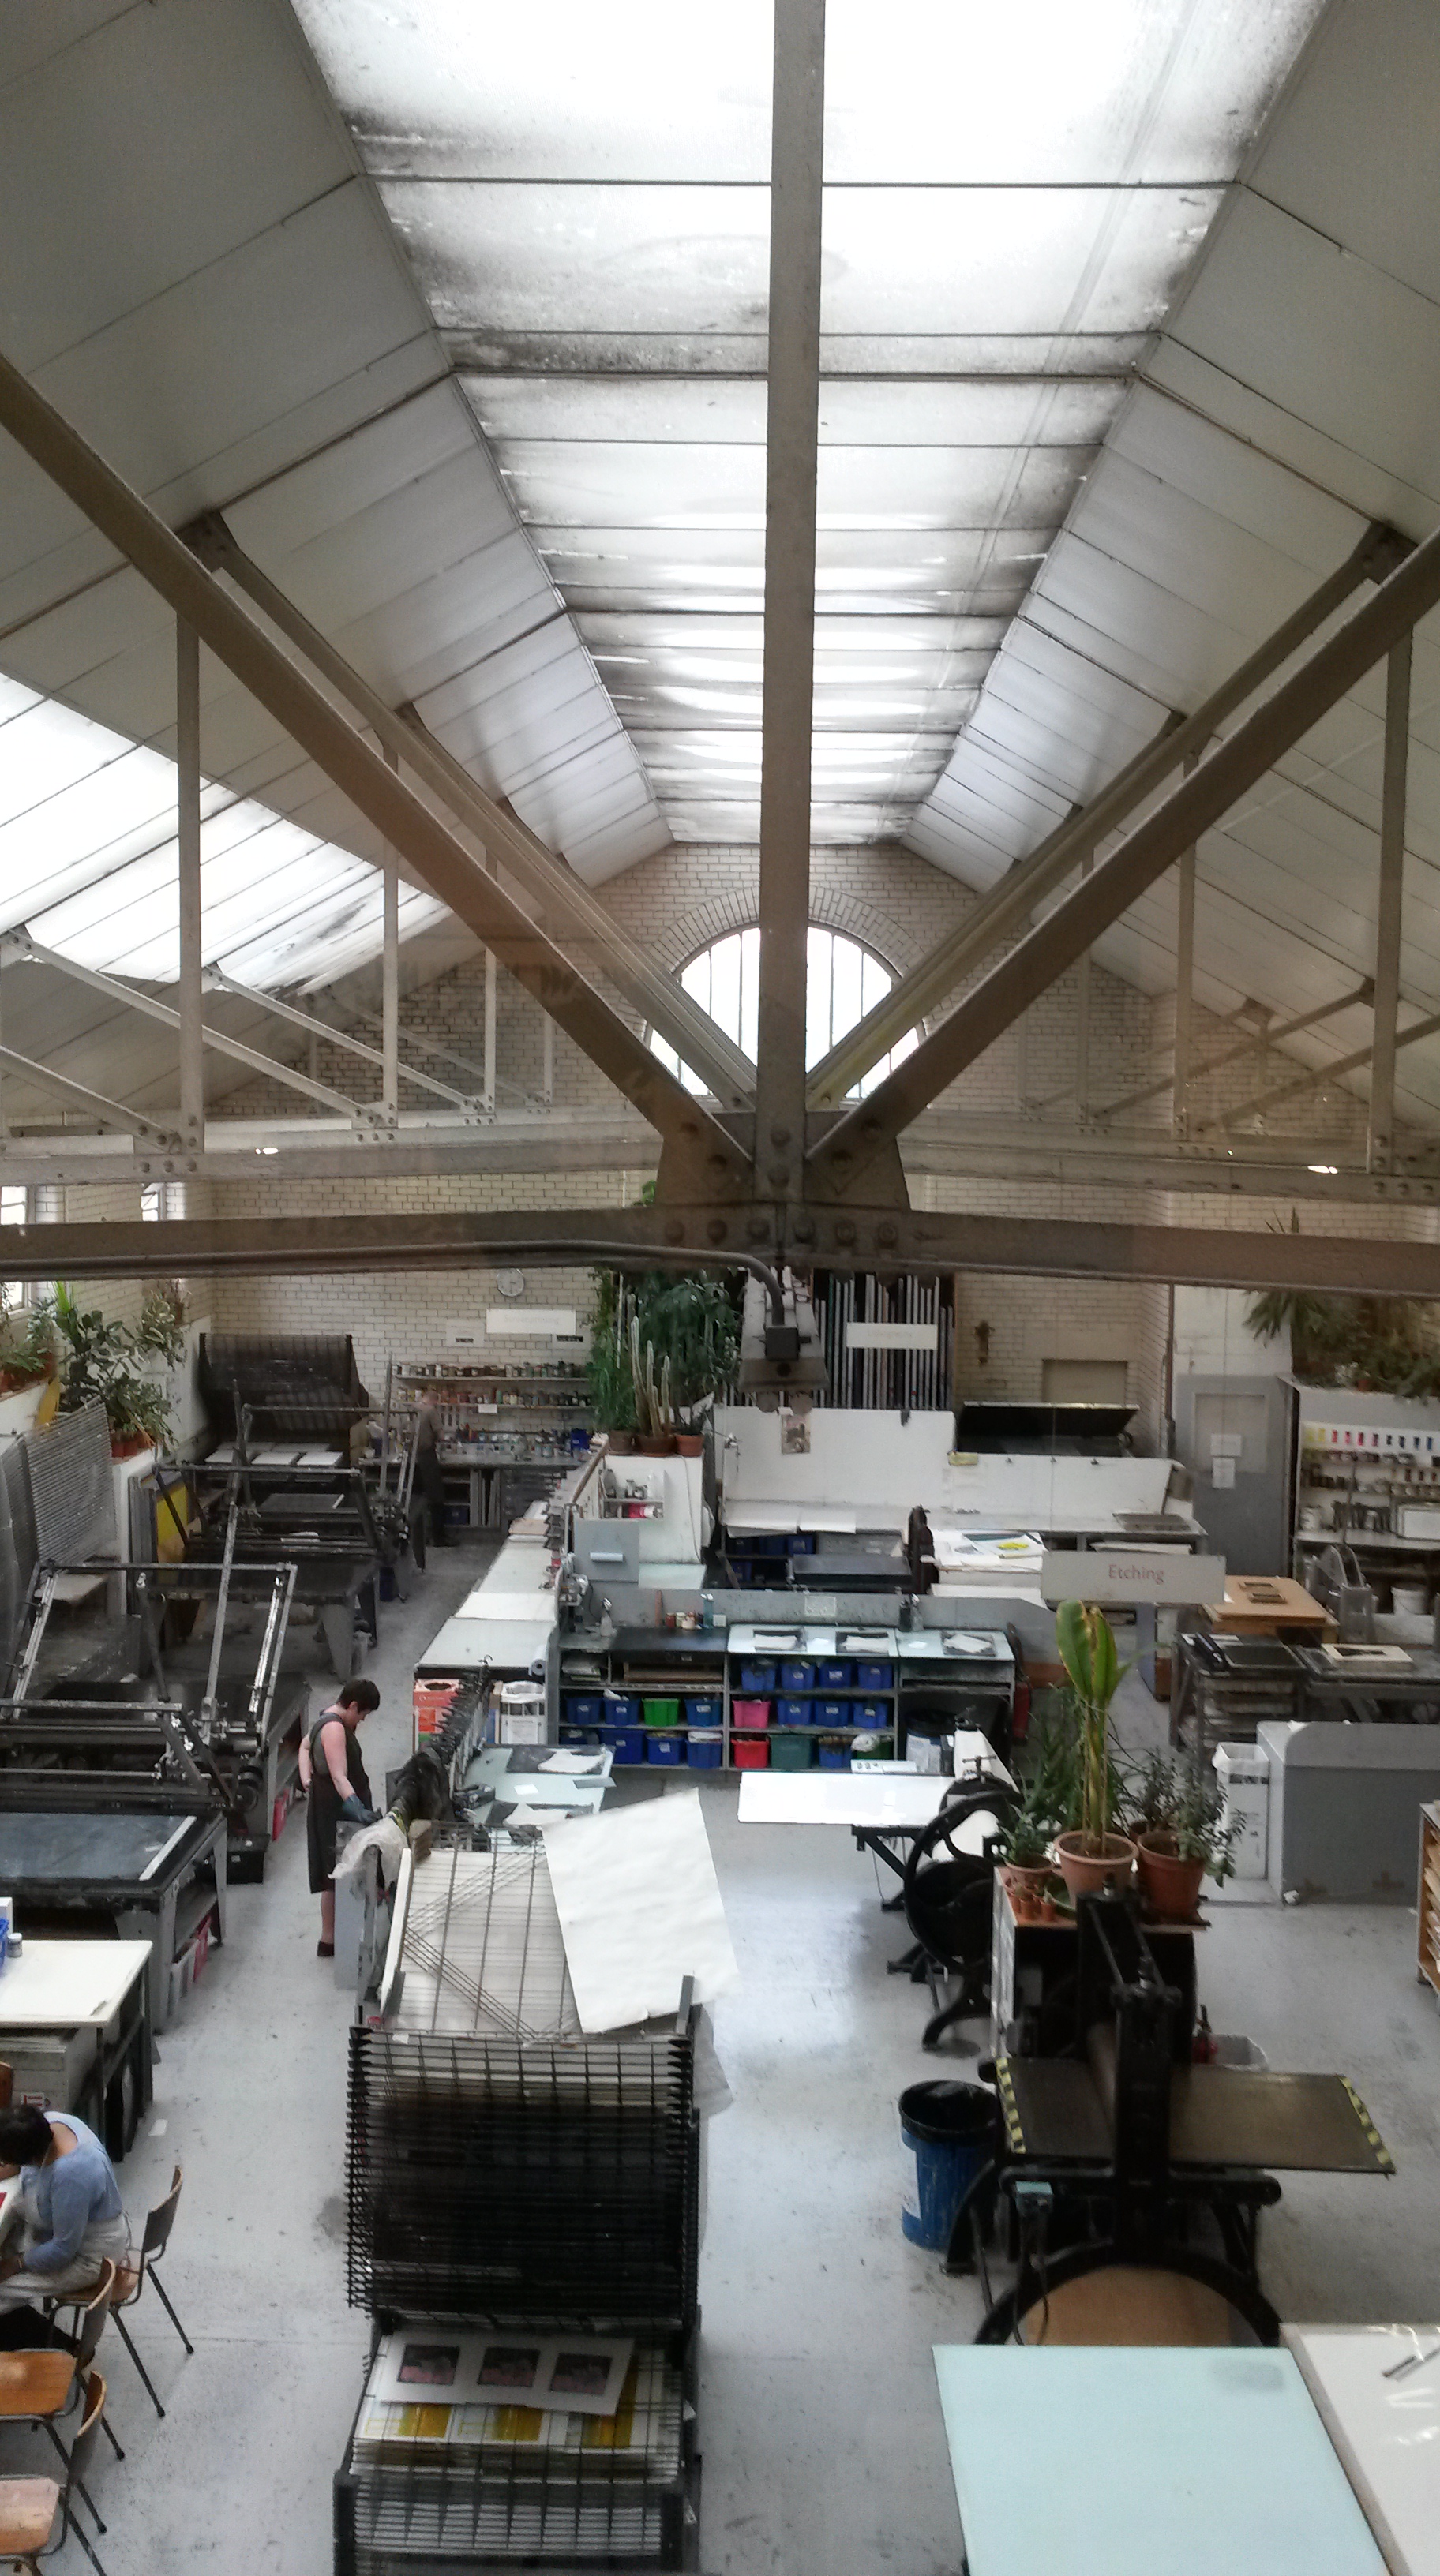
I took photos of the process throughout the day (below) mostly so I won’t forget, then I can go back and make more prints from the original plate, or etch it more. Also, I think the process is visually interesting – it’s quite messy and hands on (well, I was quite messy – with a bit of practice I wouldn’t end up with black fingernails!)…
Here’s how it’s done..
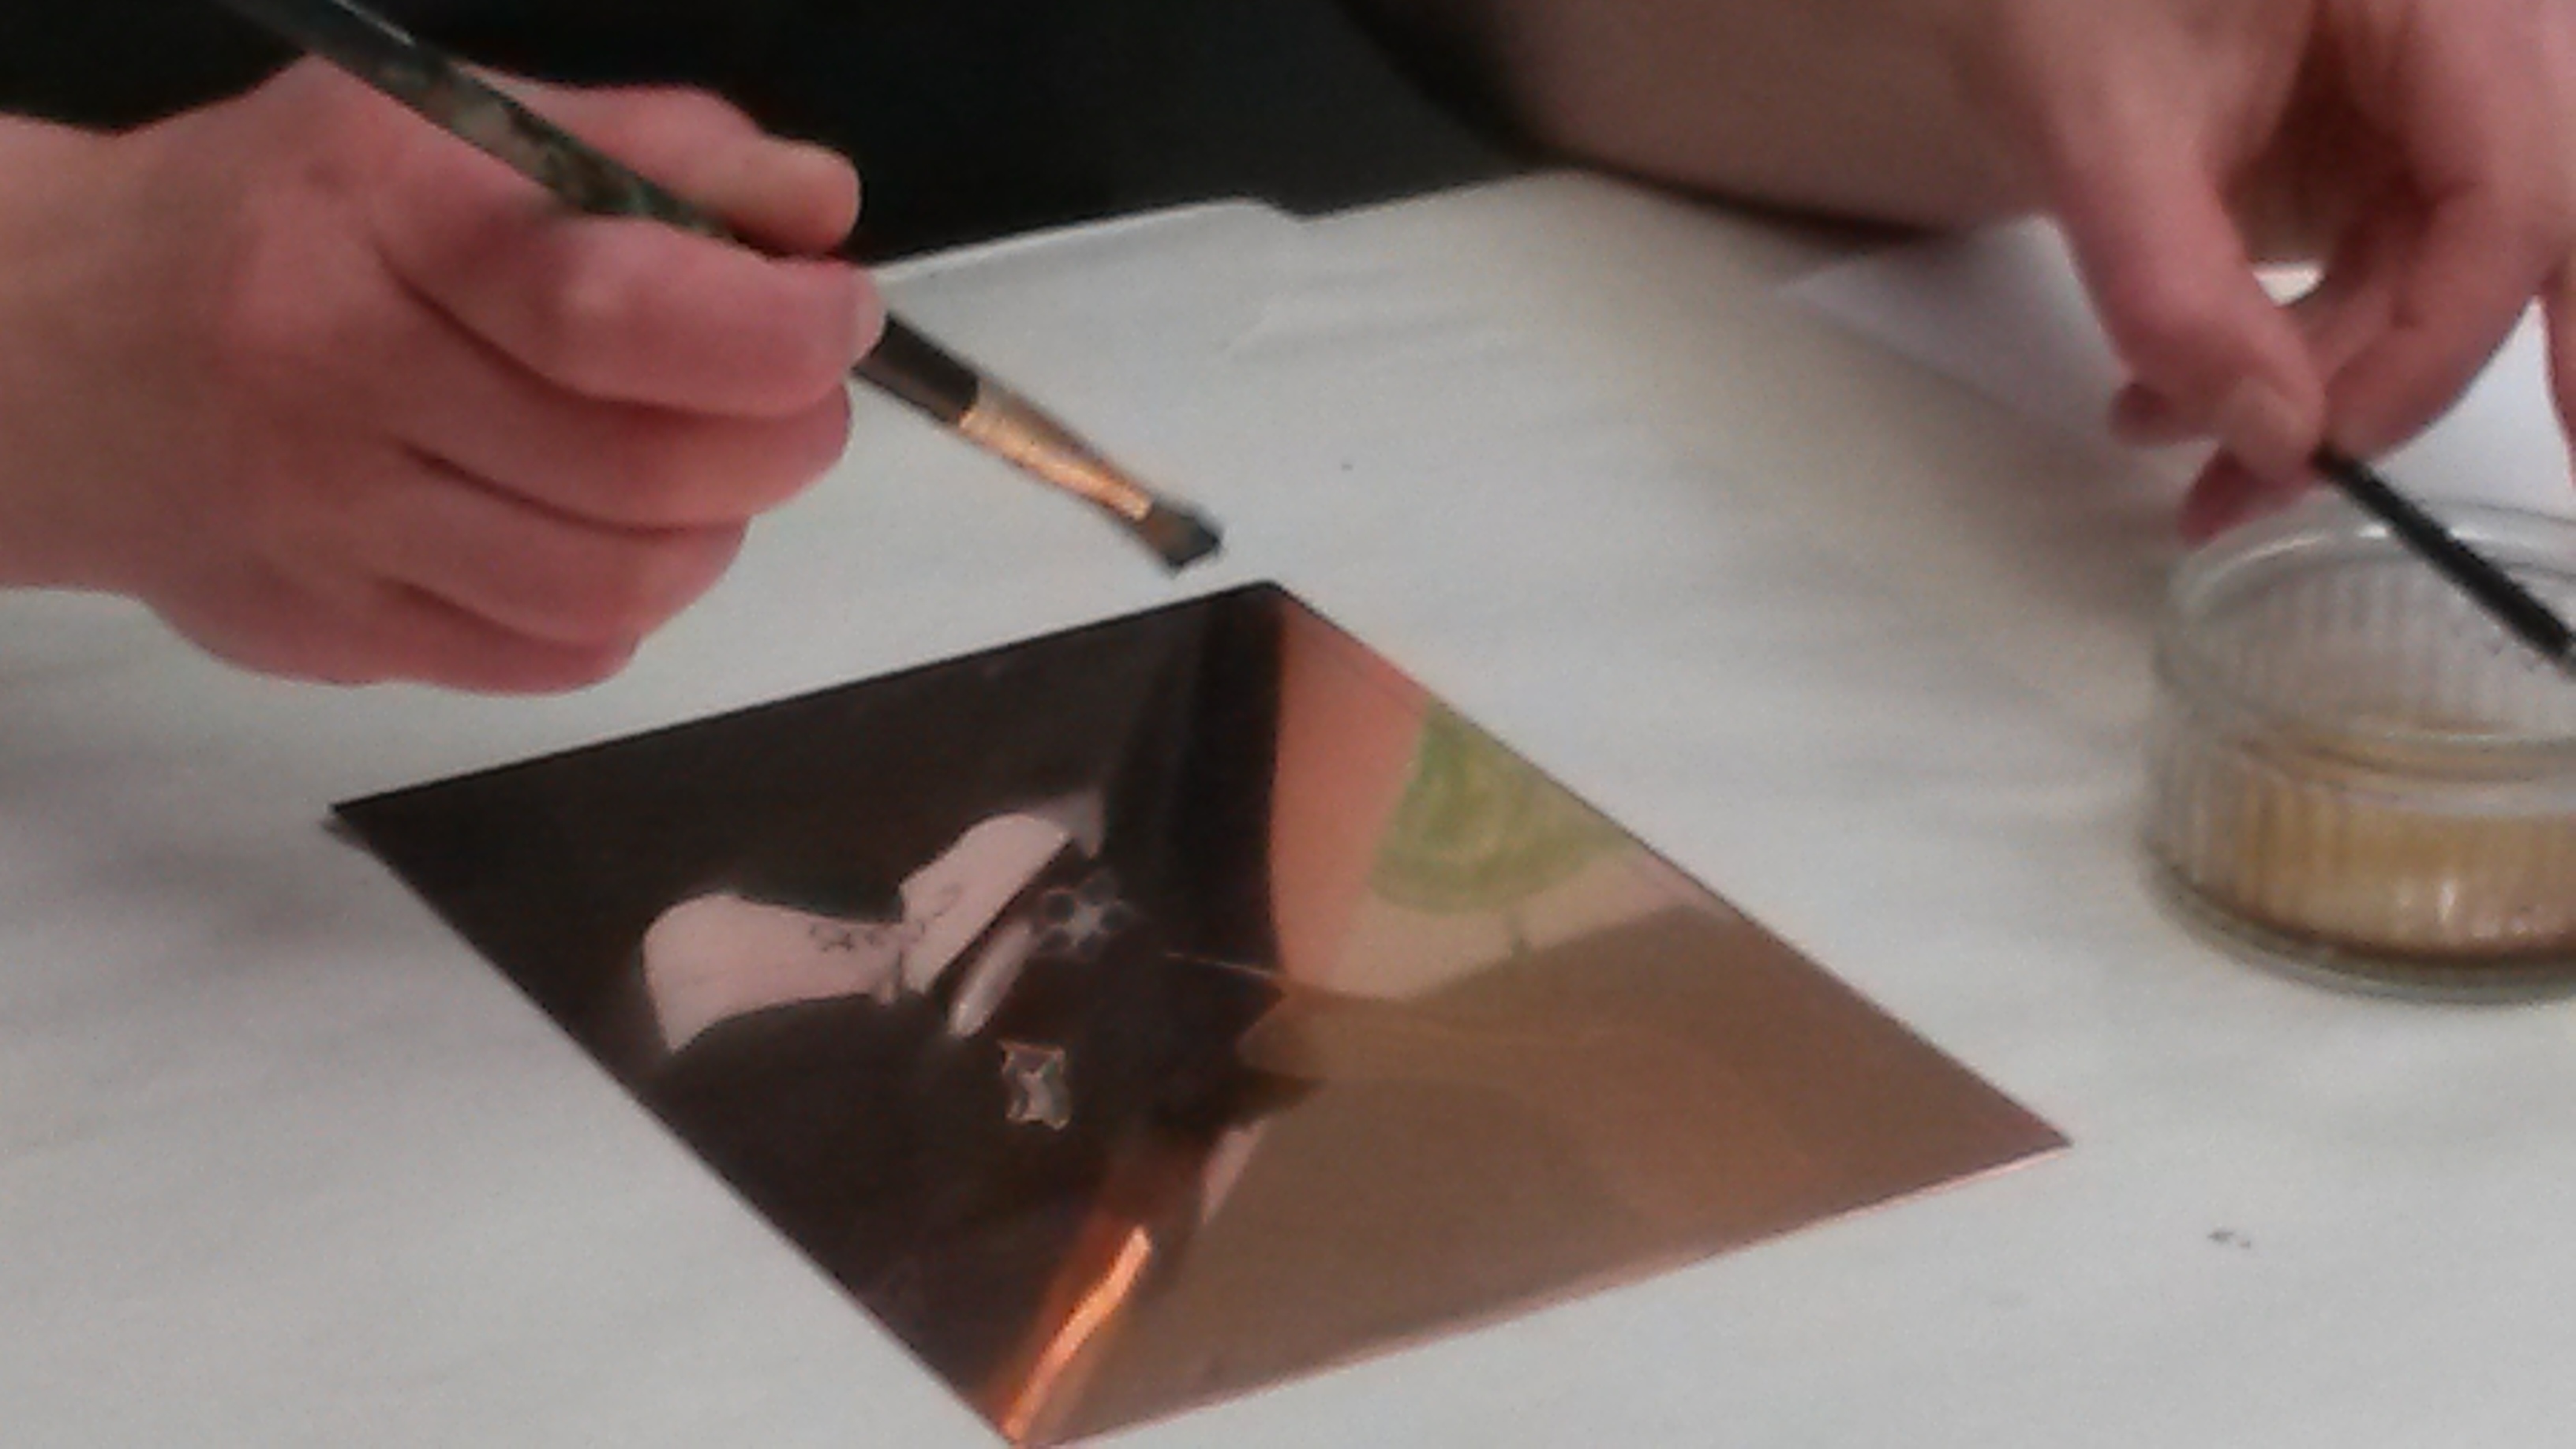
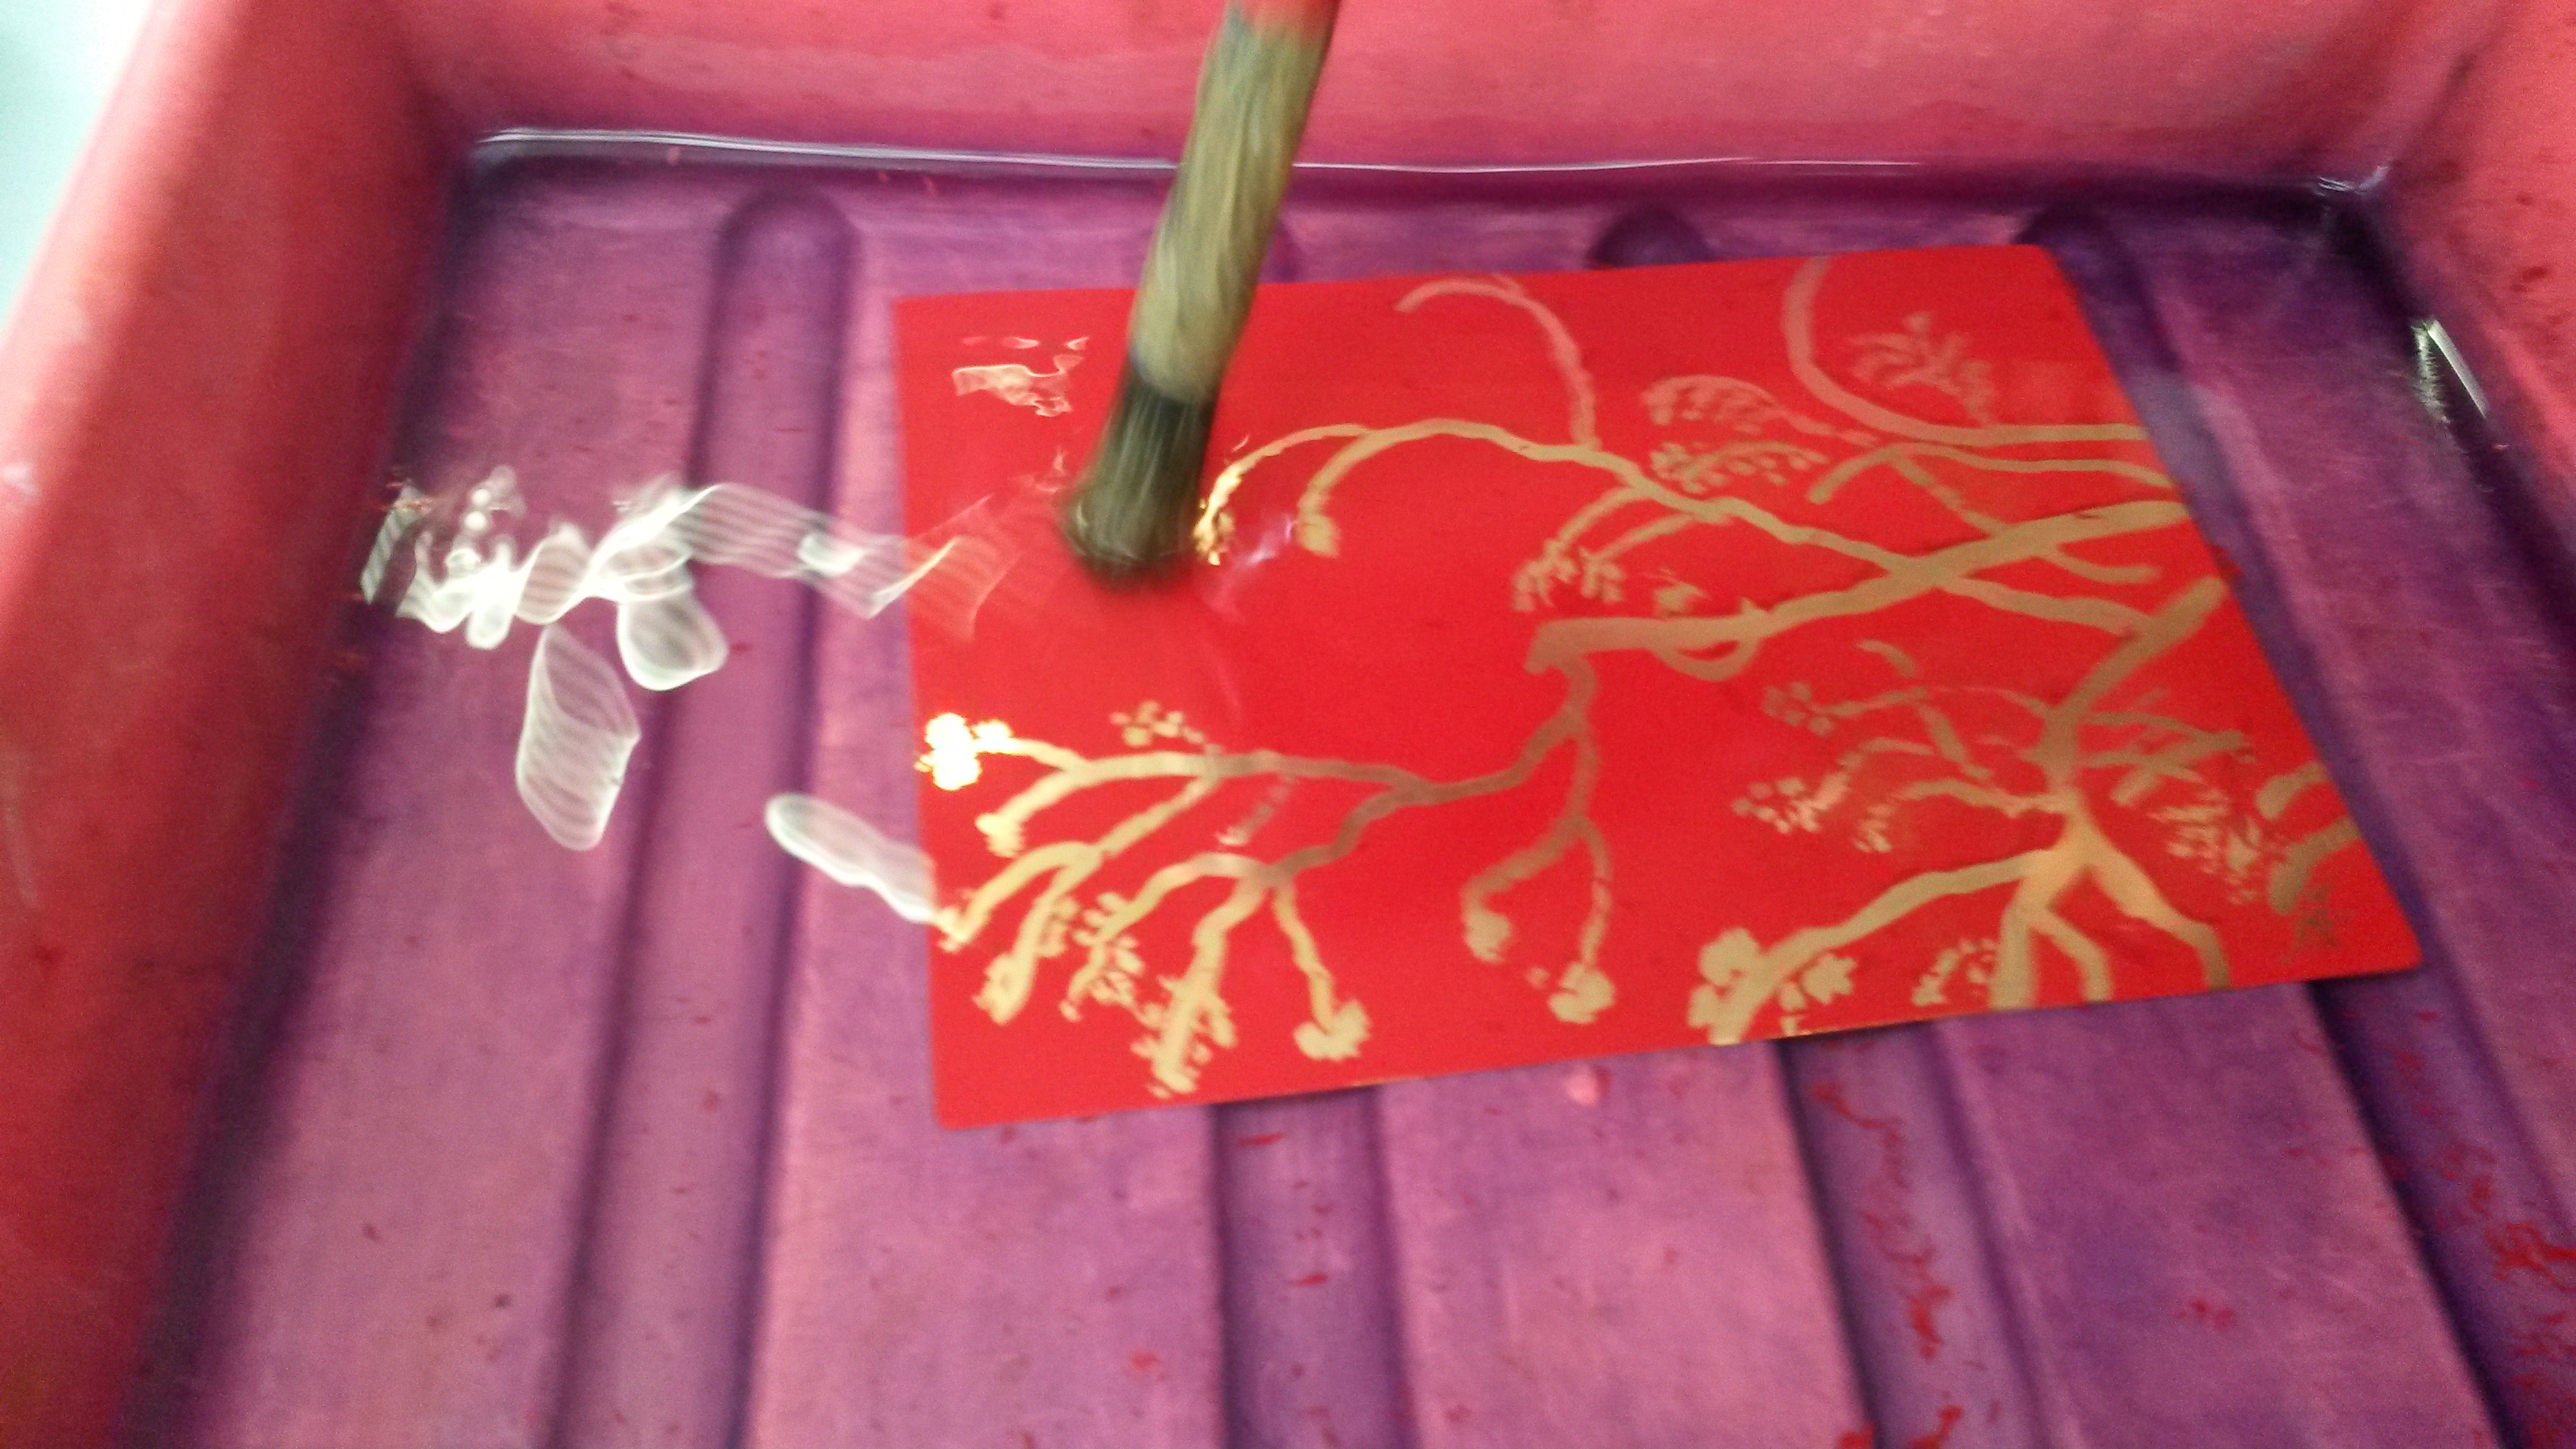
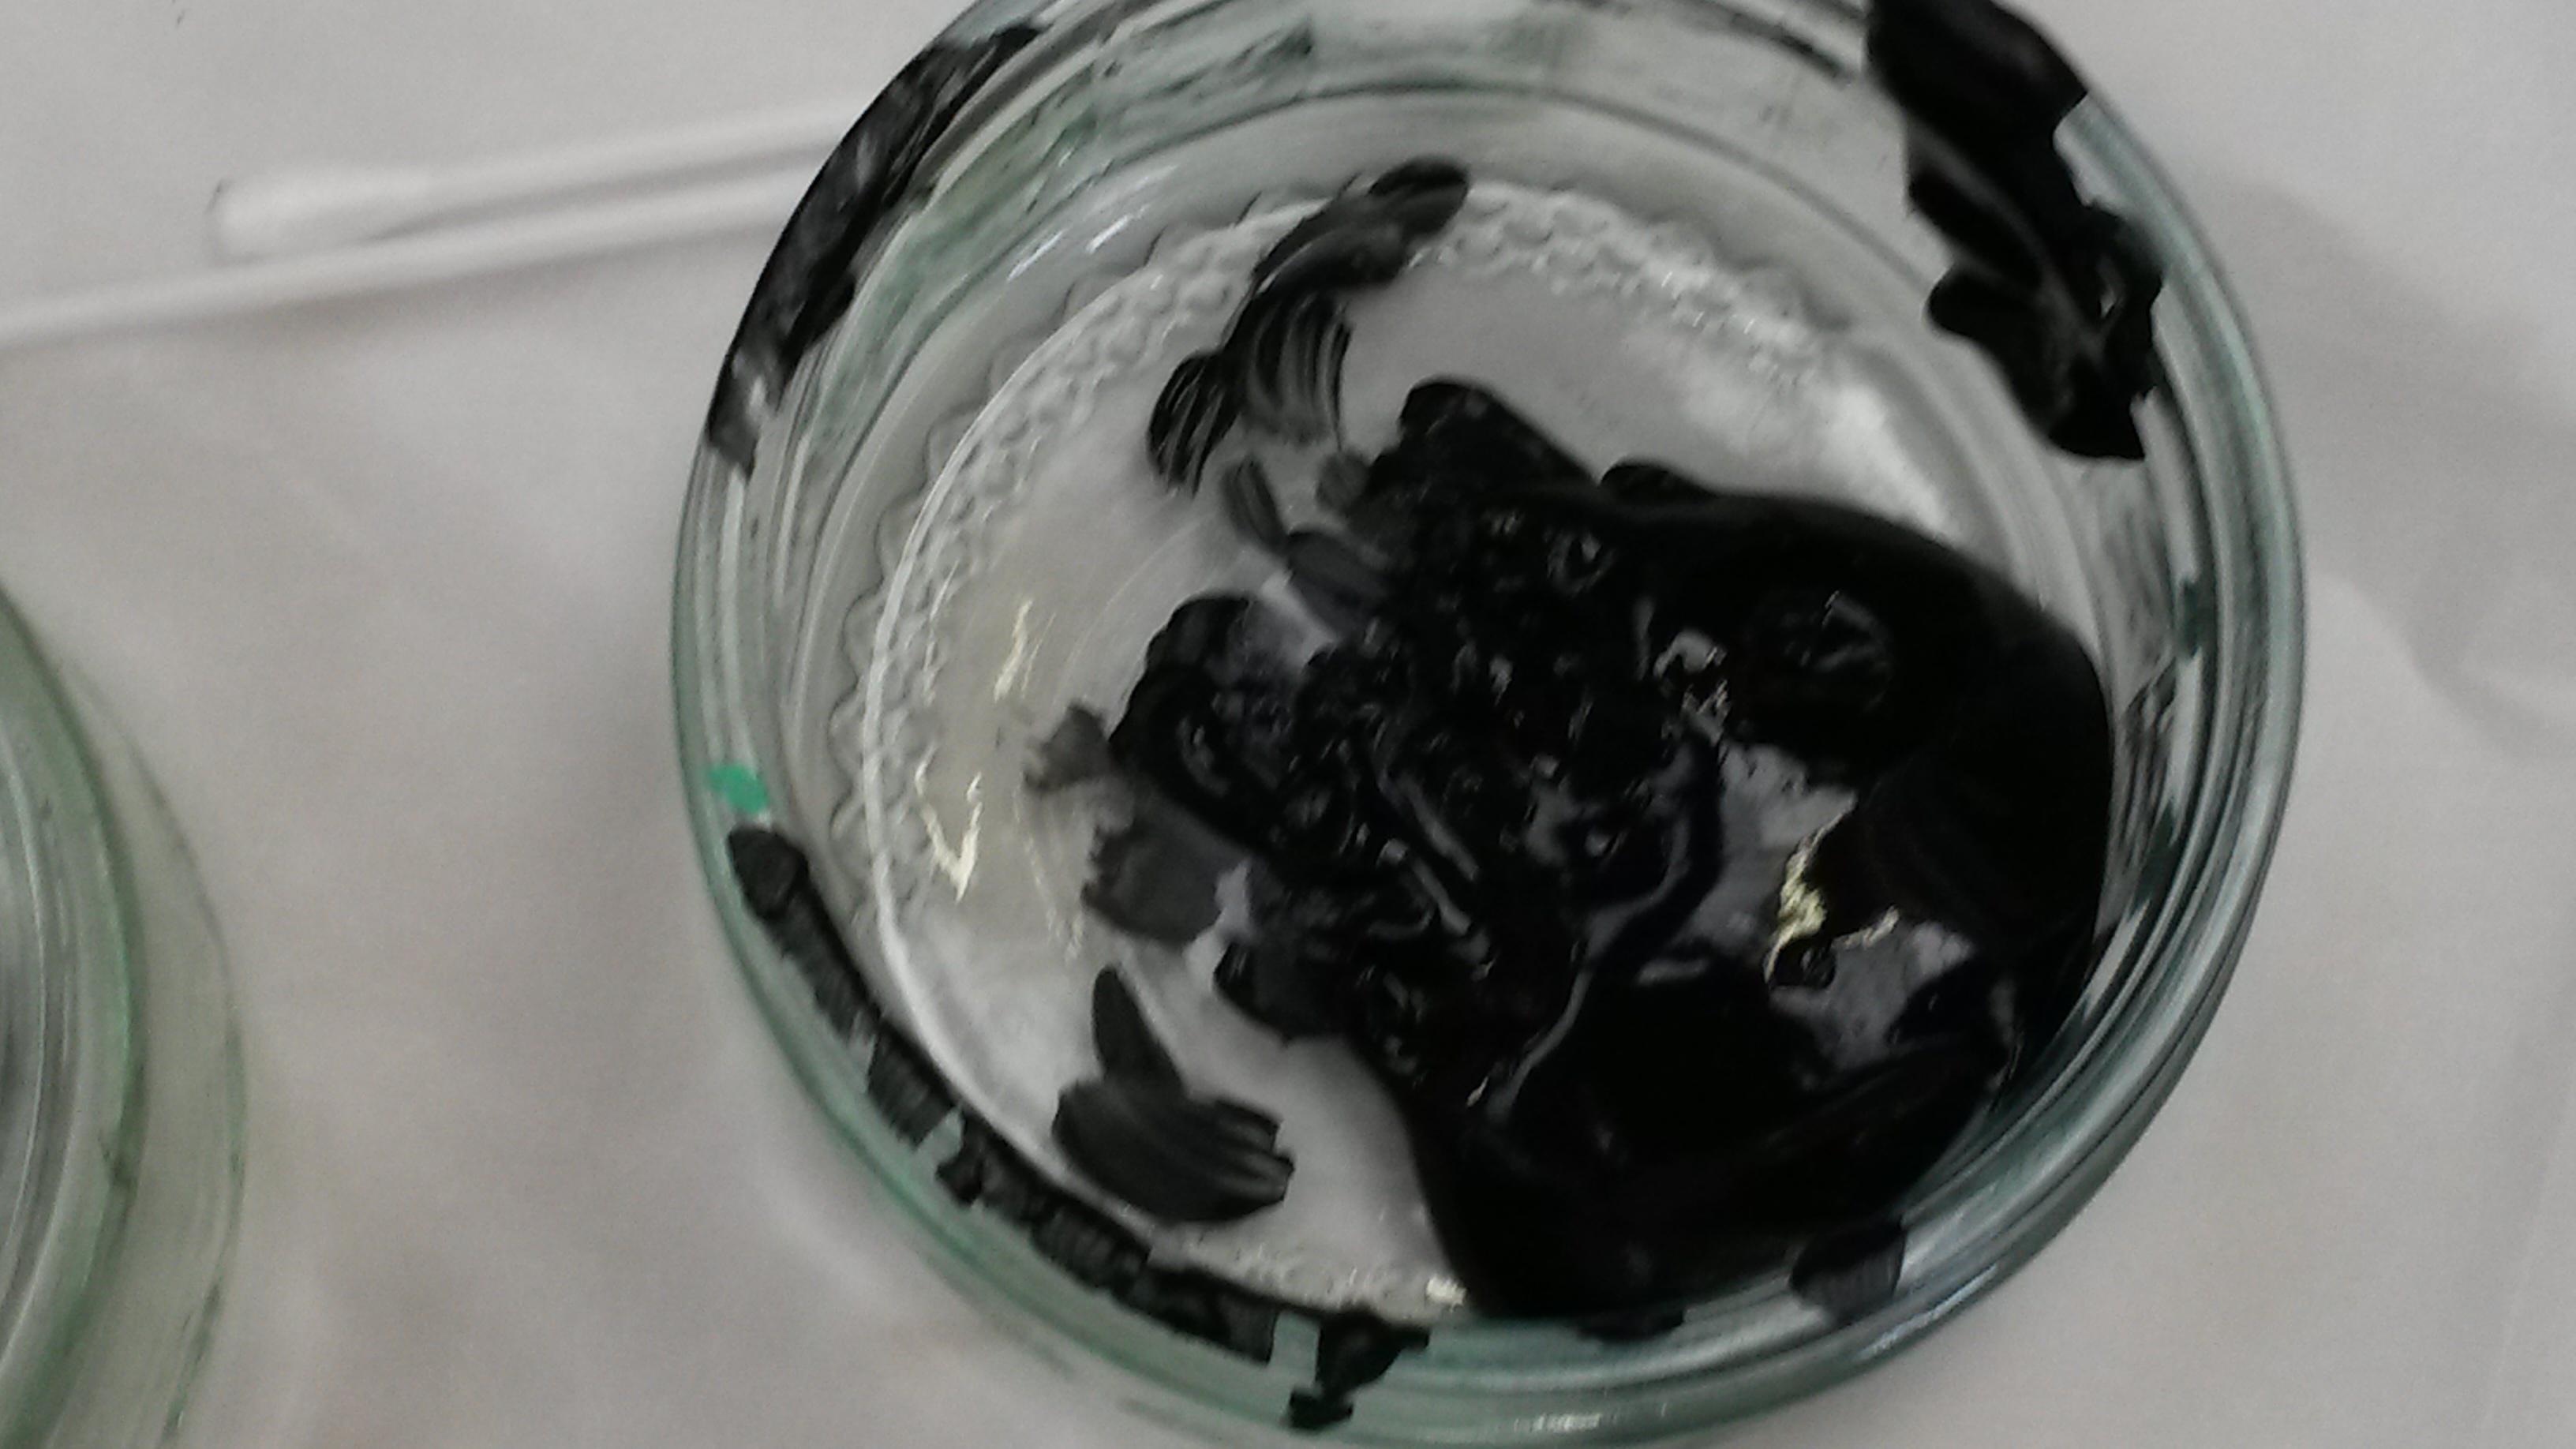
After de-greasing the copper plate, you start by painting your image onto your plate with a solution of coffee (traditionally sugar solution was used). This is called ‘sugar-lift’. Then you dry this on a heat plate..

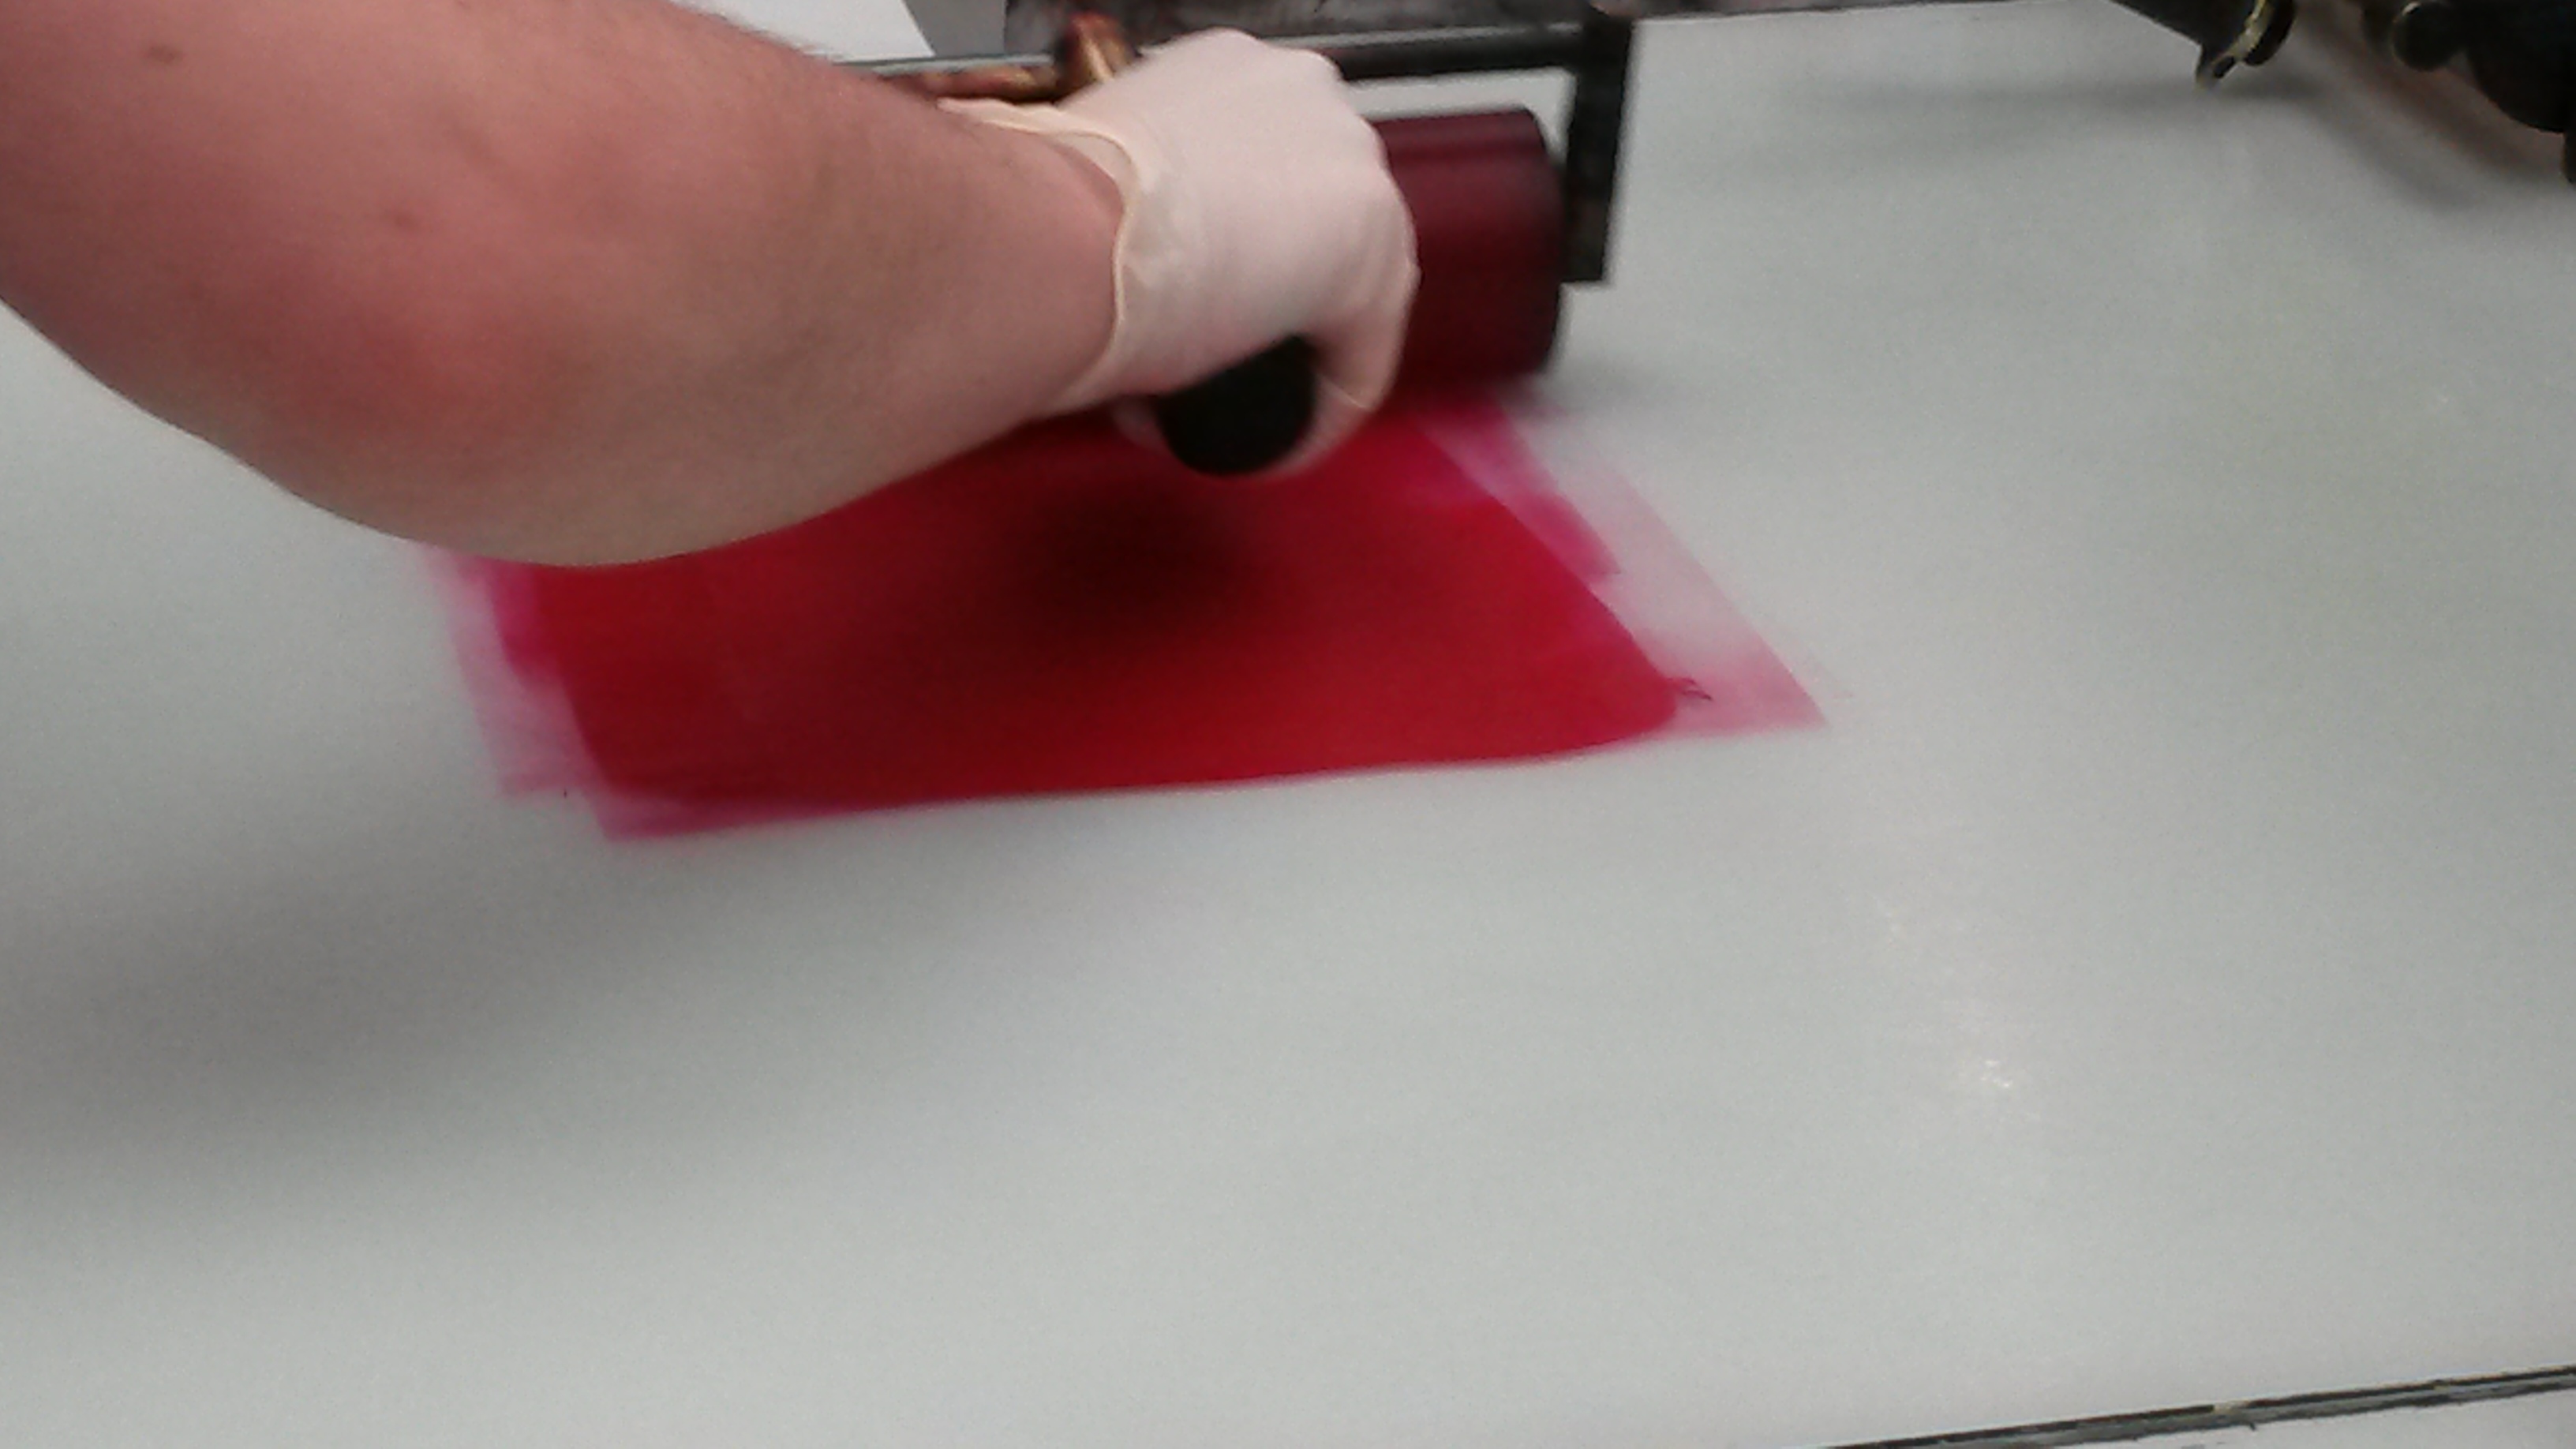
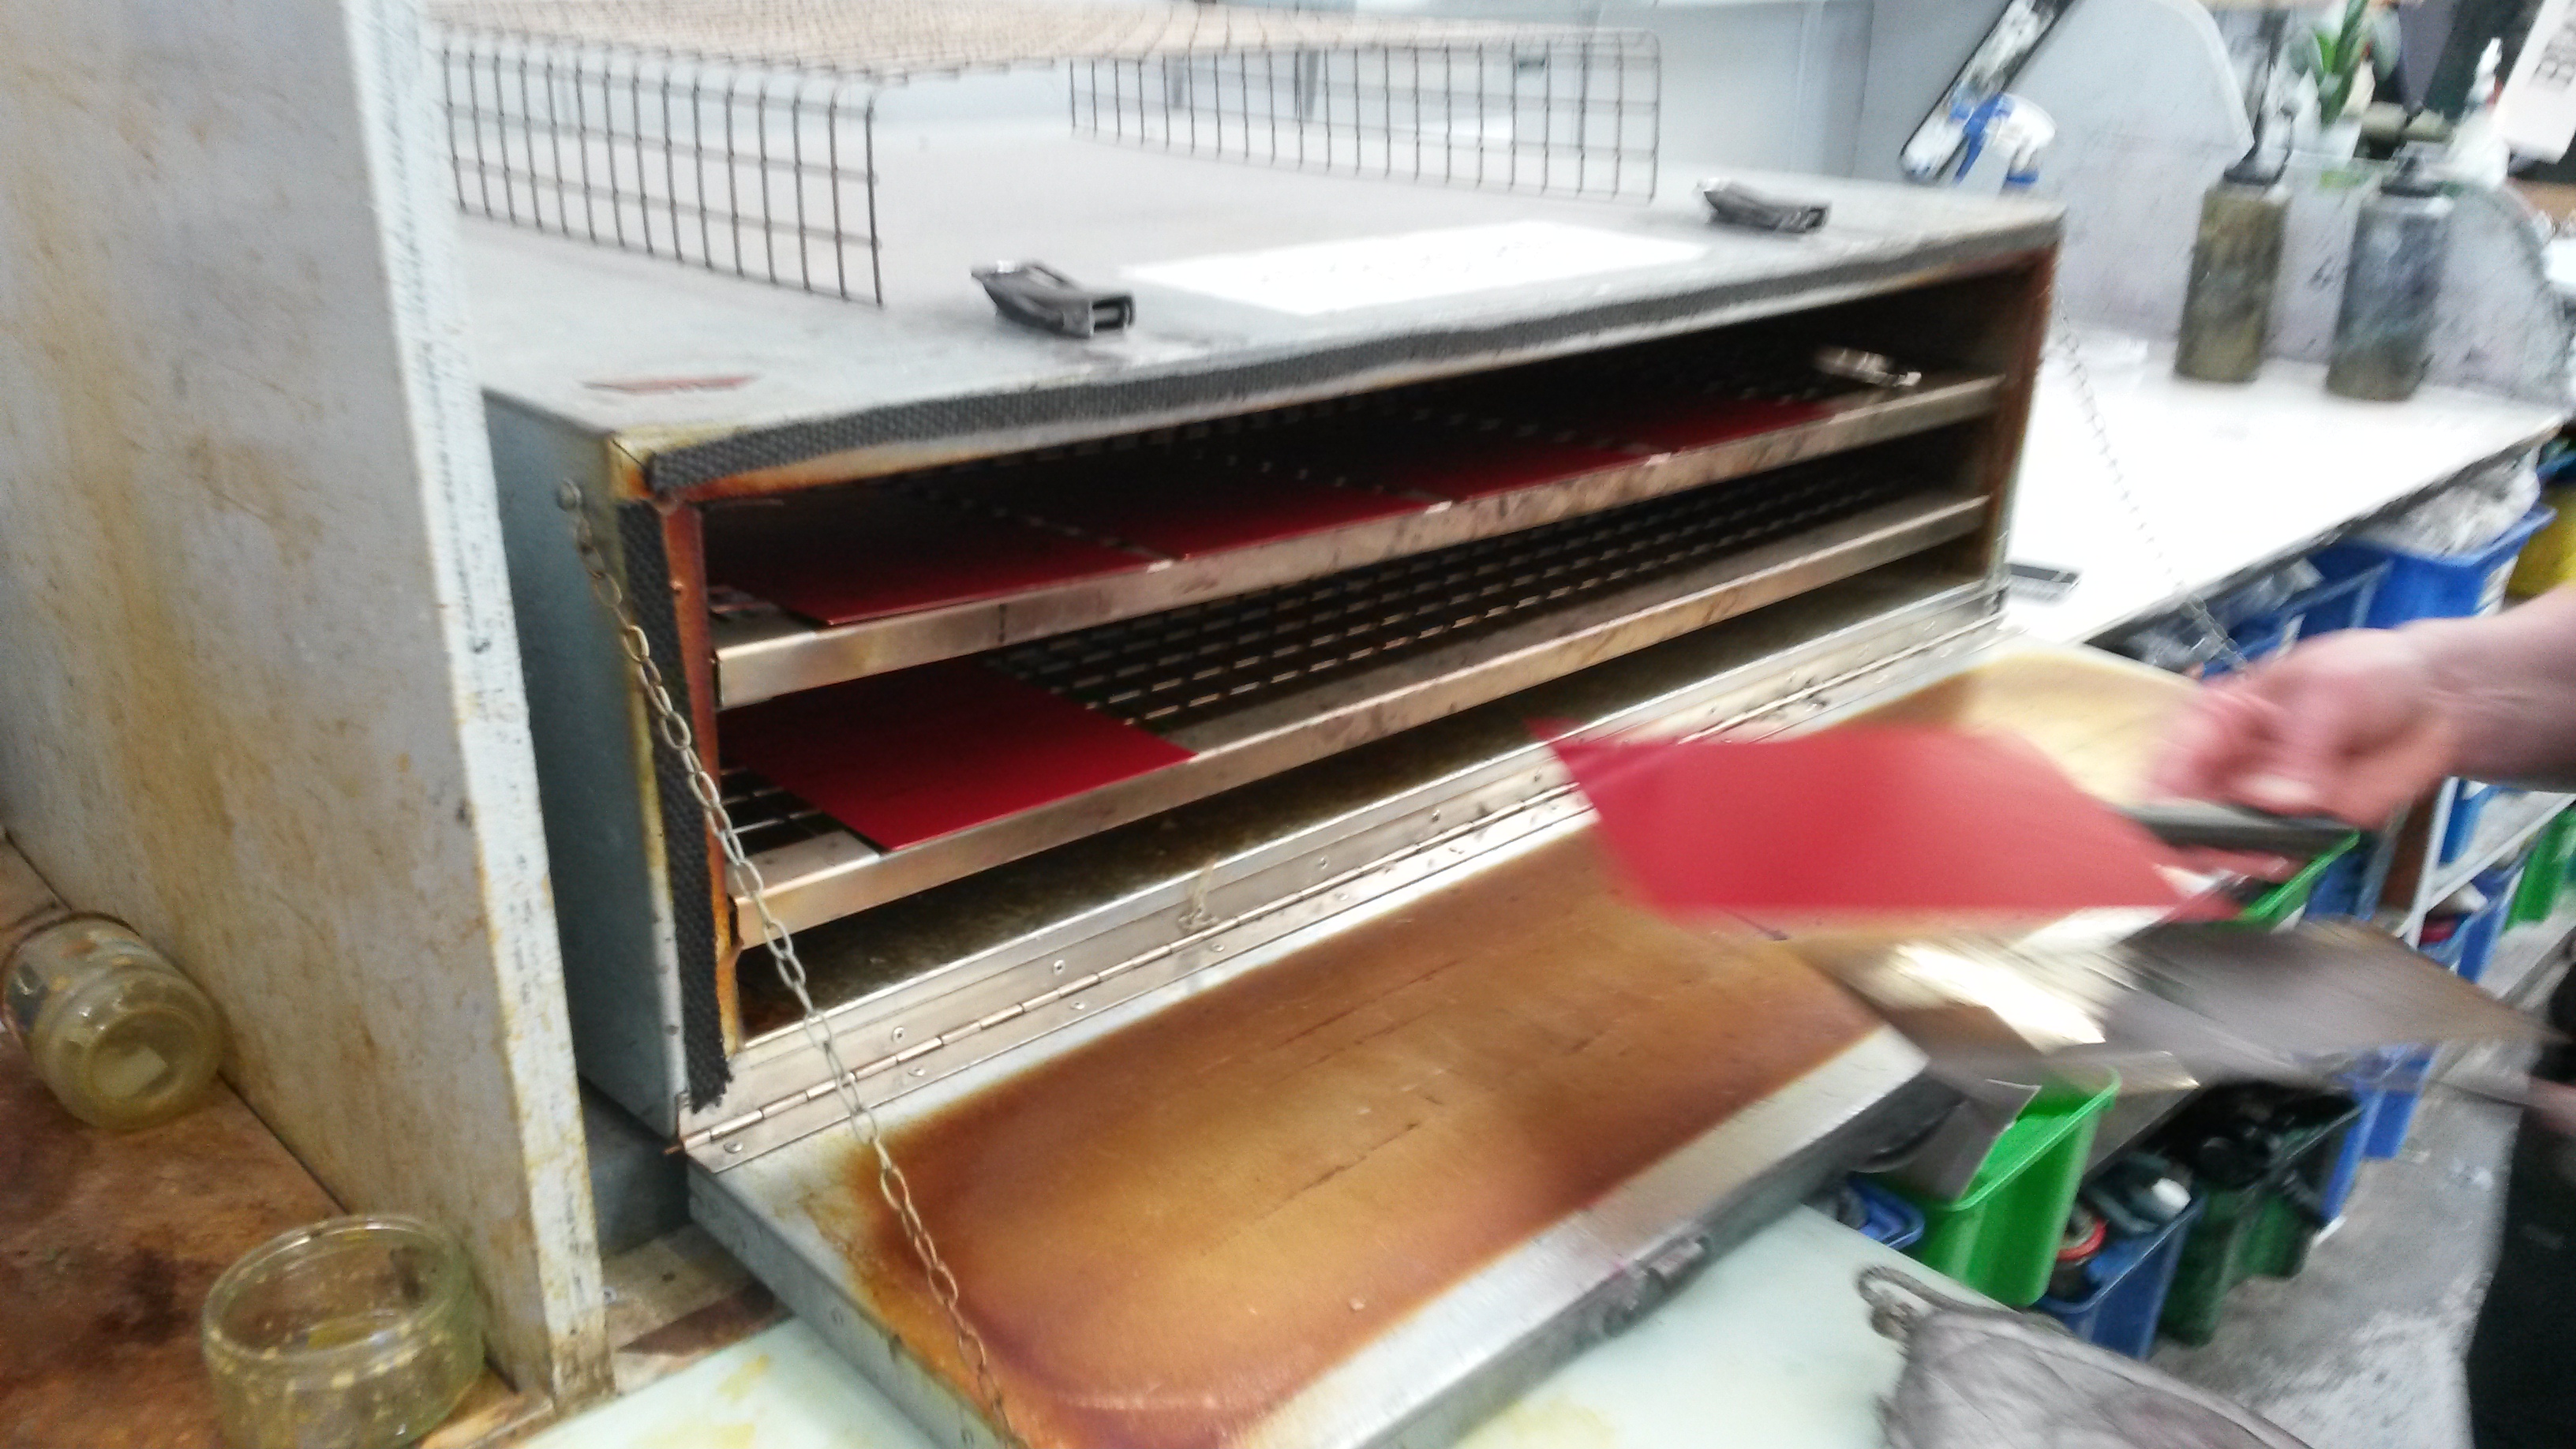
Next you roll on a thin layer of ink ground (we used B.I.B – Baldwin’s ink ground) which is then heated in an oven (in this case 8 minutes)
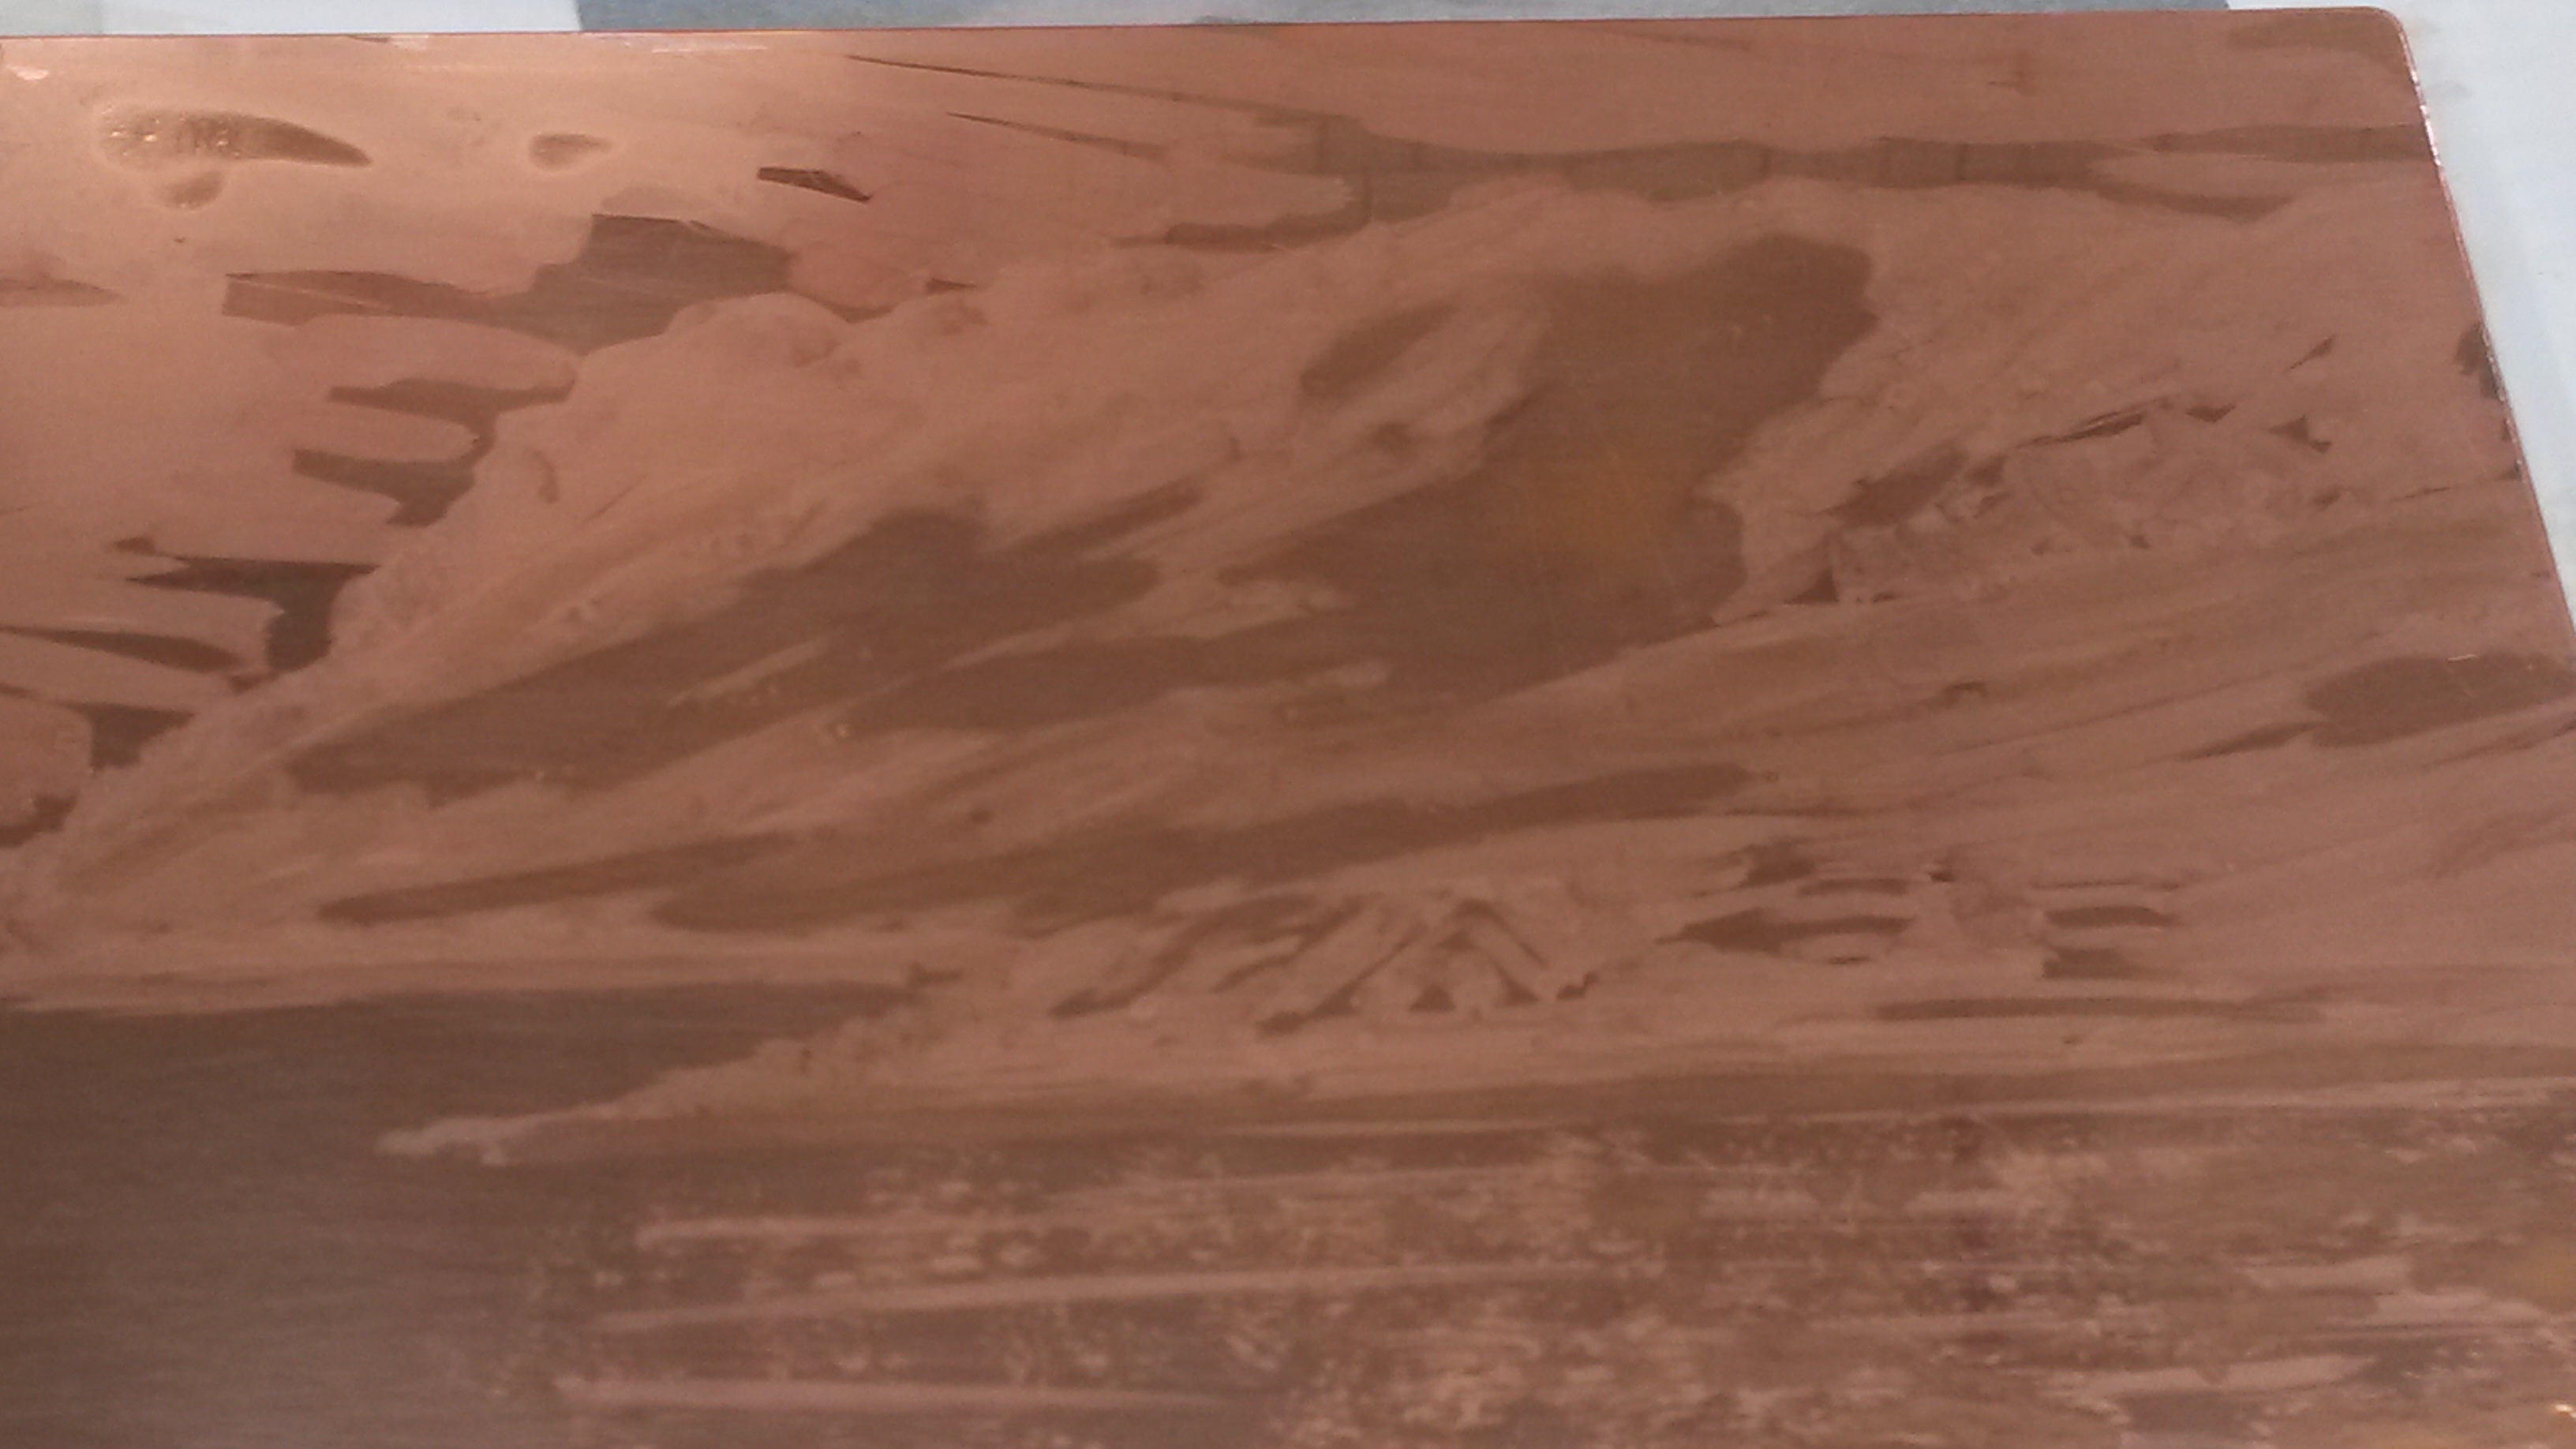
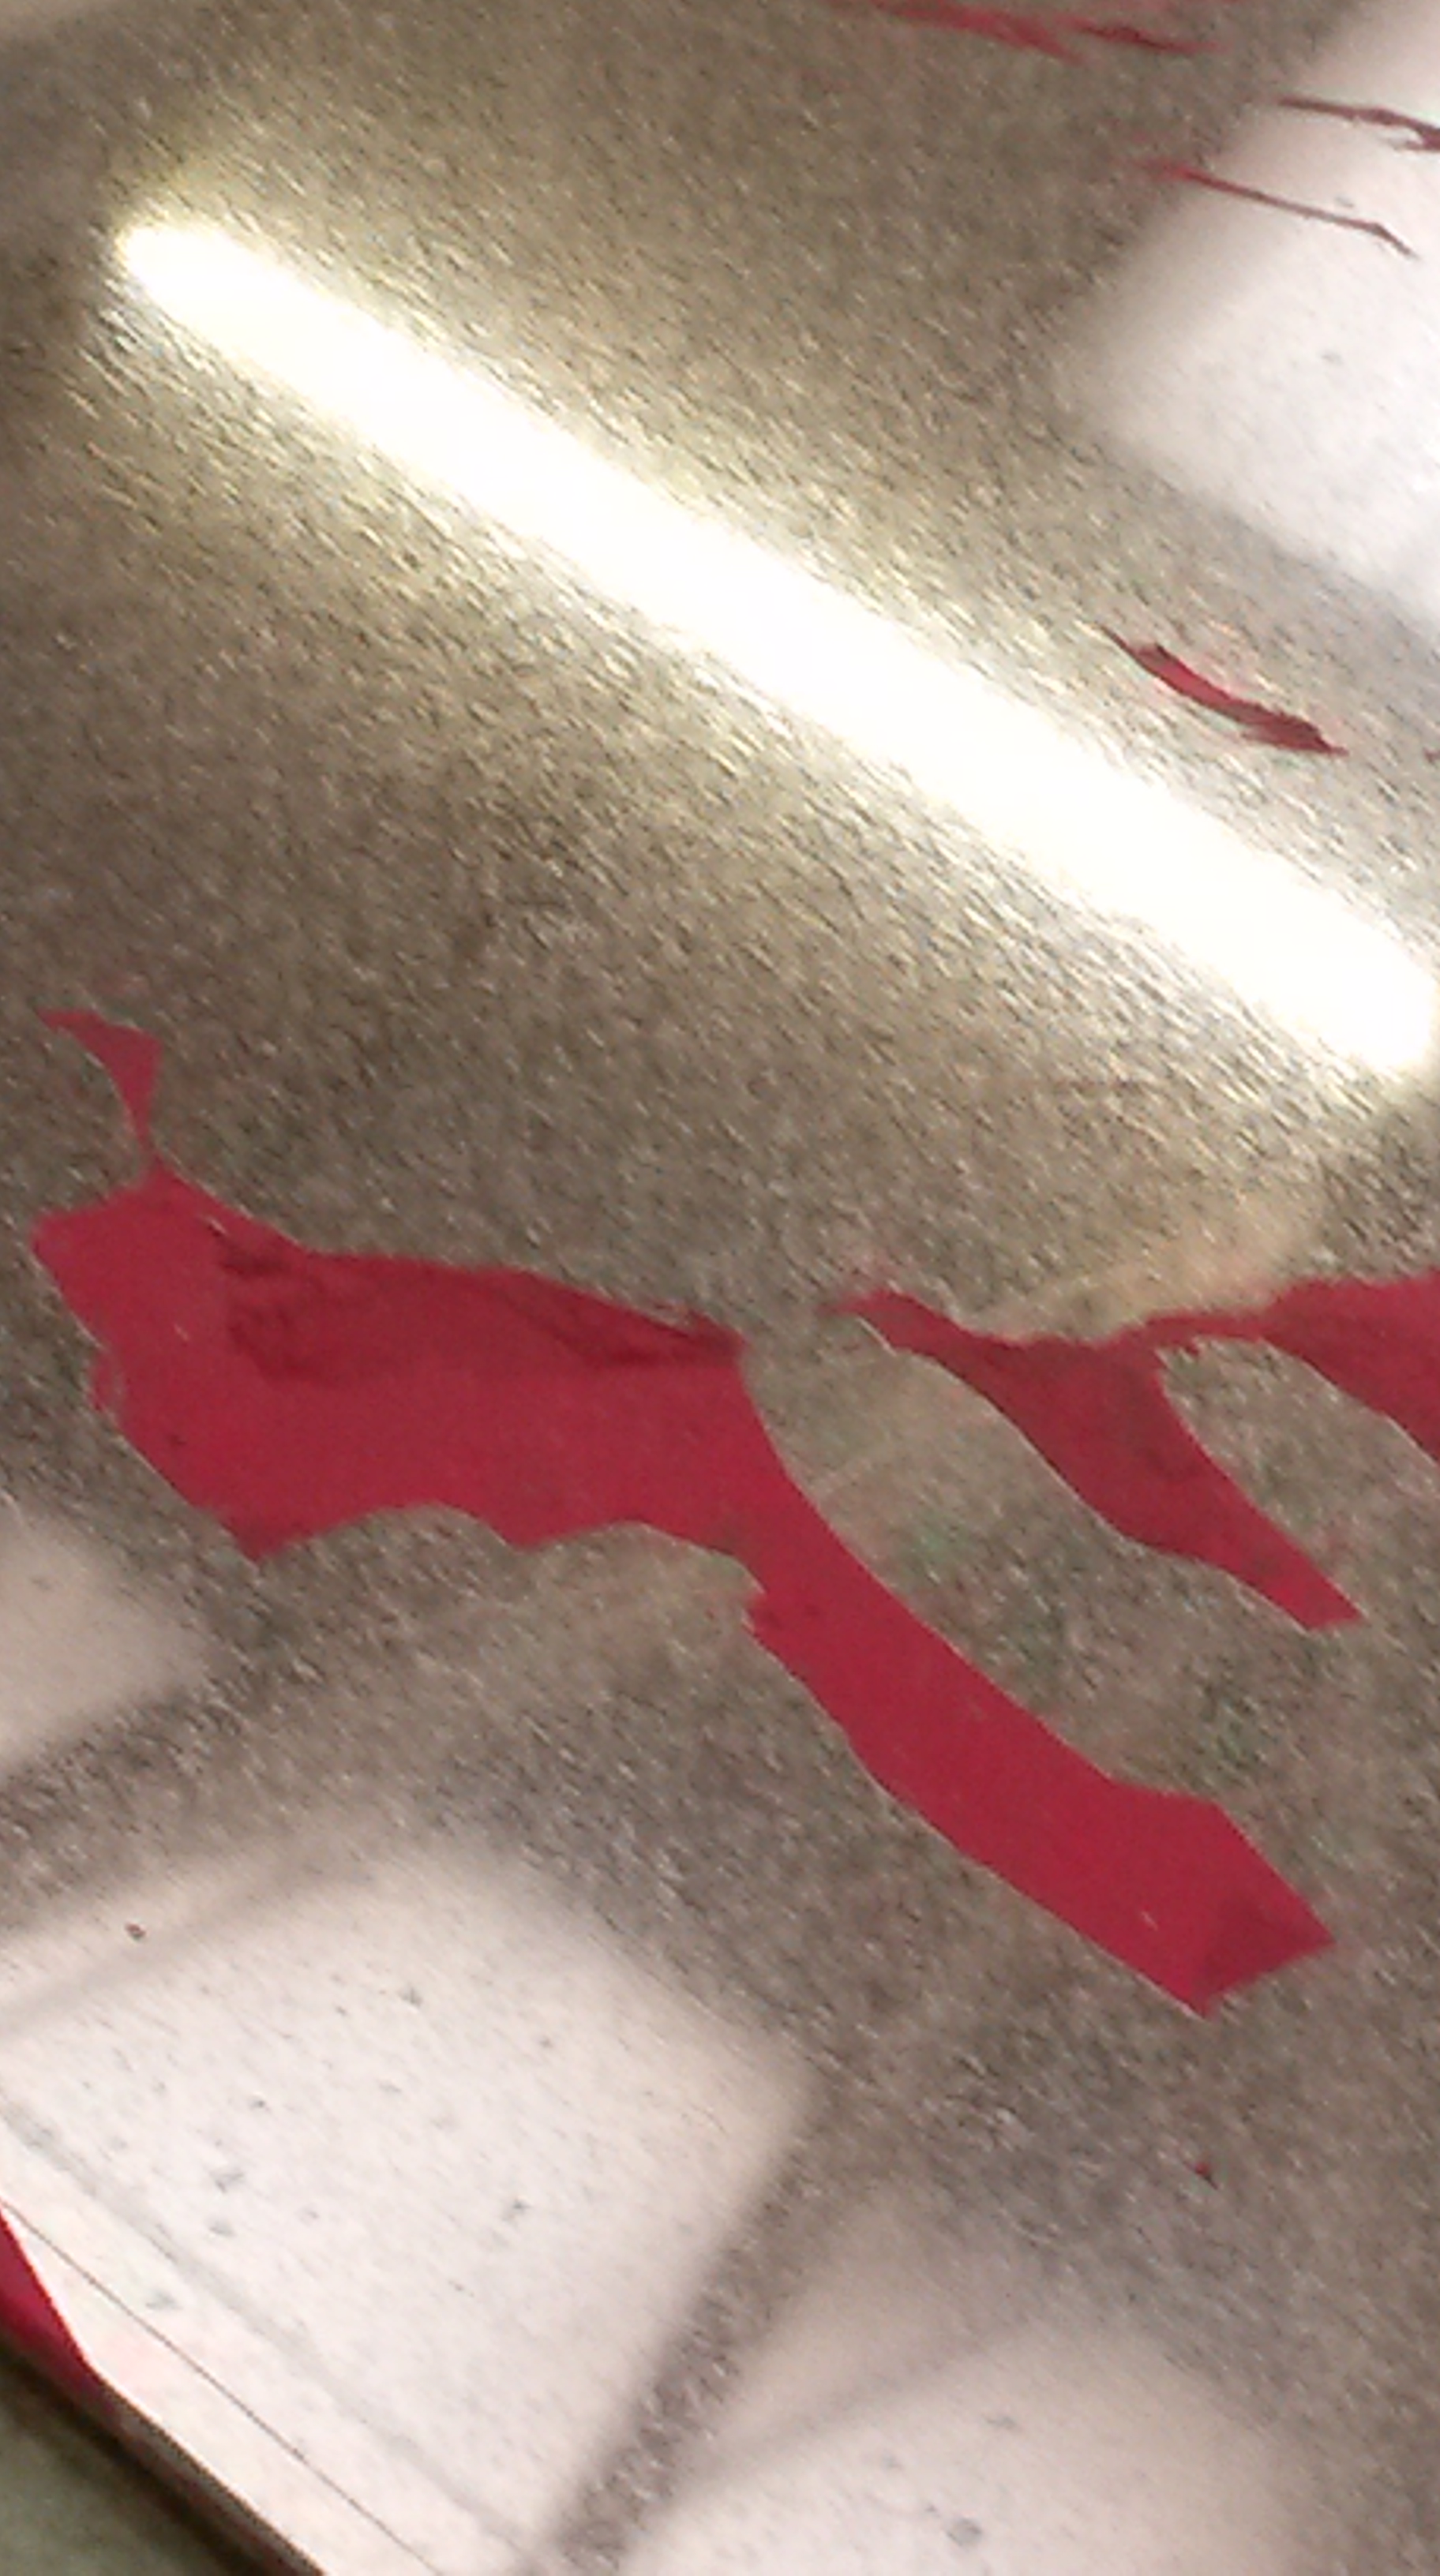
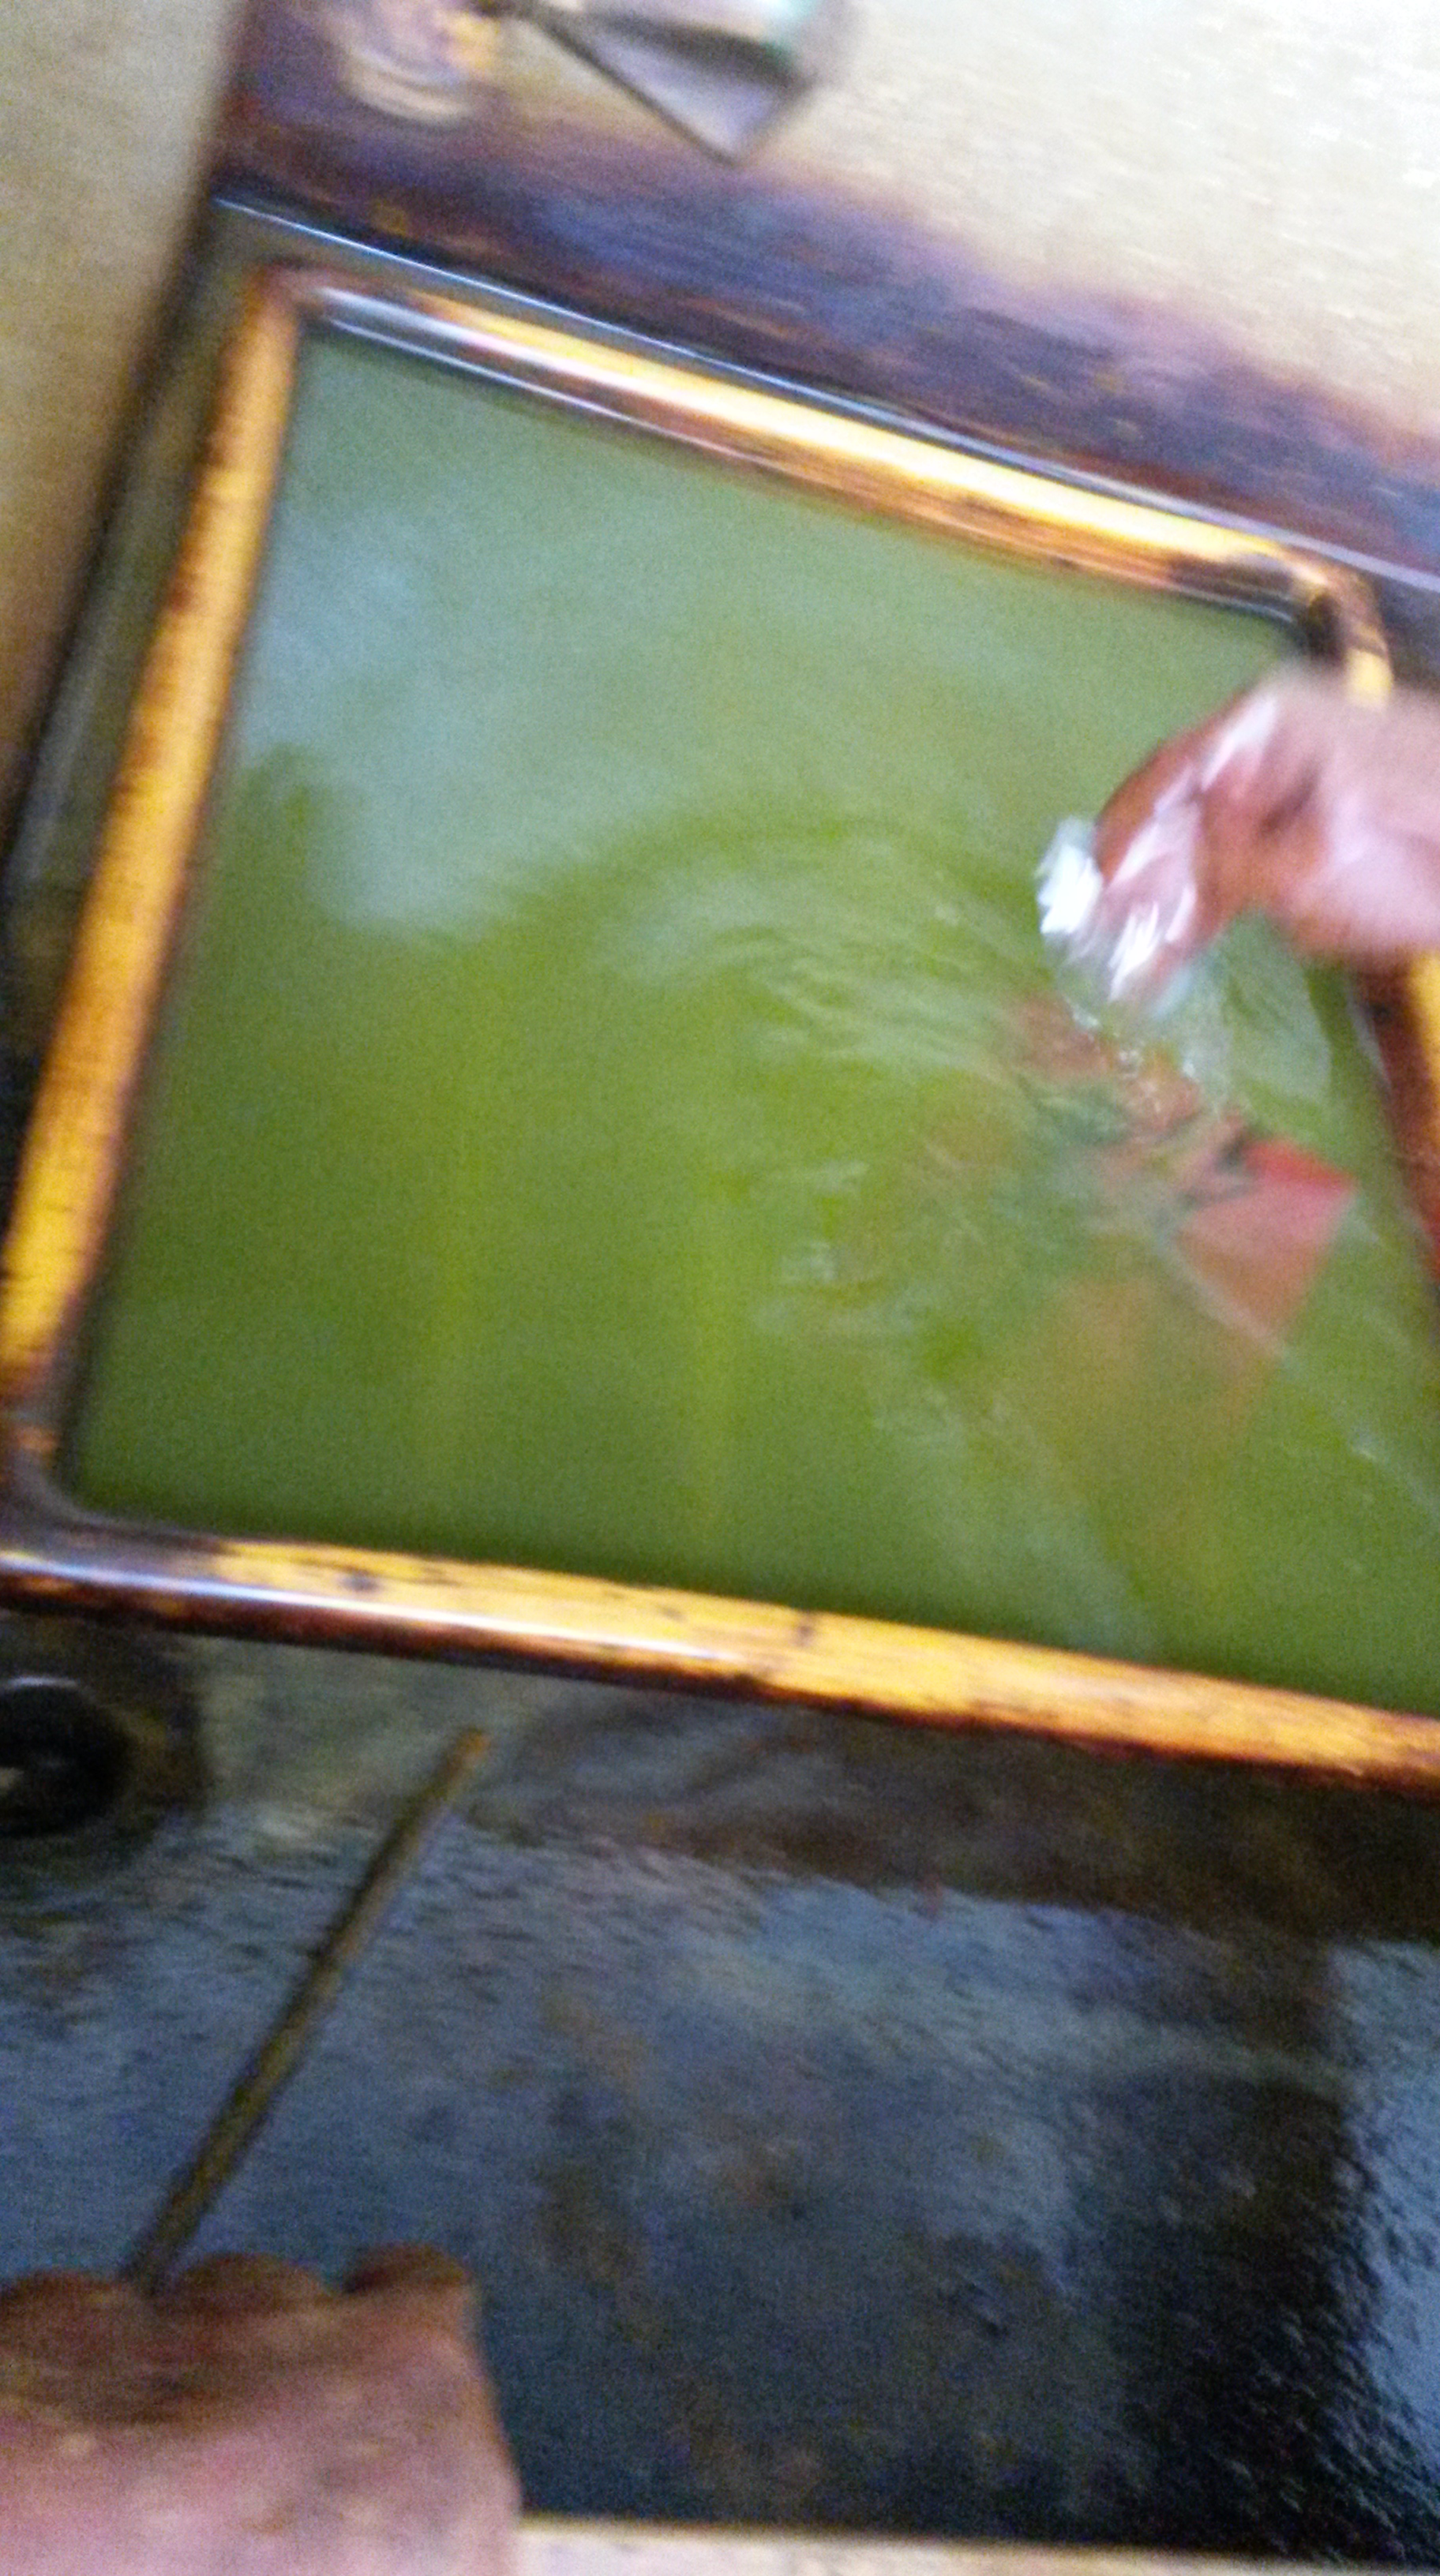
After leaving the plate to cure for another thirty minutes out of the oven, you then place the plate in a tray of hot water. Where the coffee solution was applied, the ink-ground peels away, revealing your painted image which is now exposed metal, and can be acid-etched.

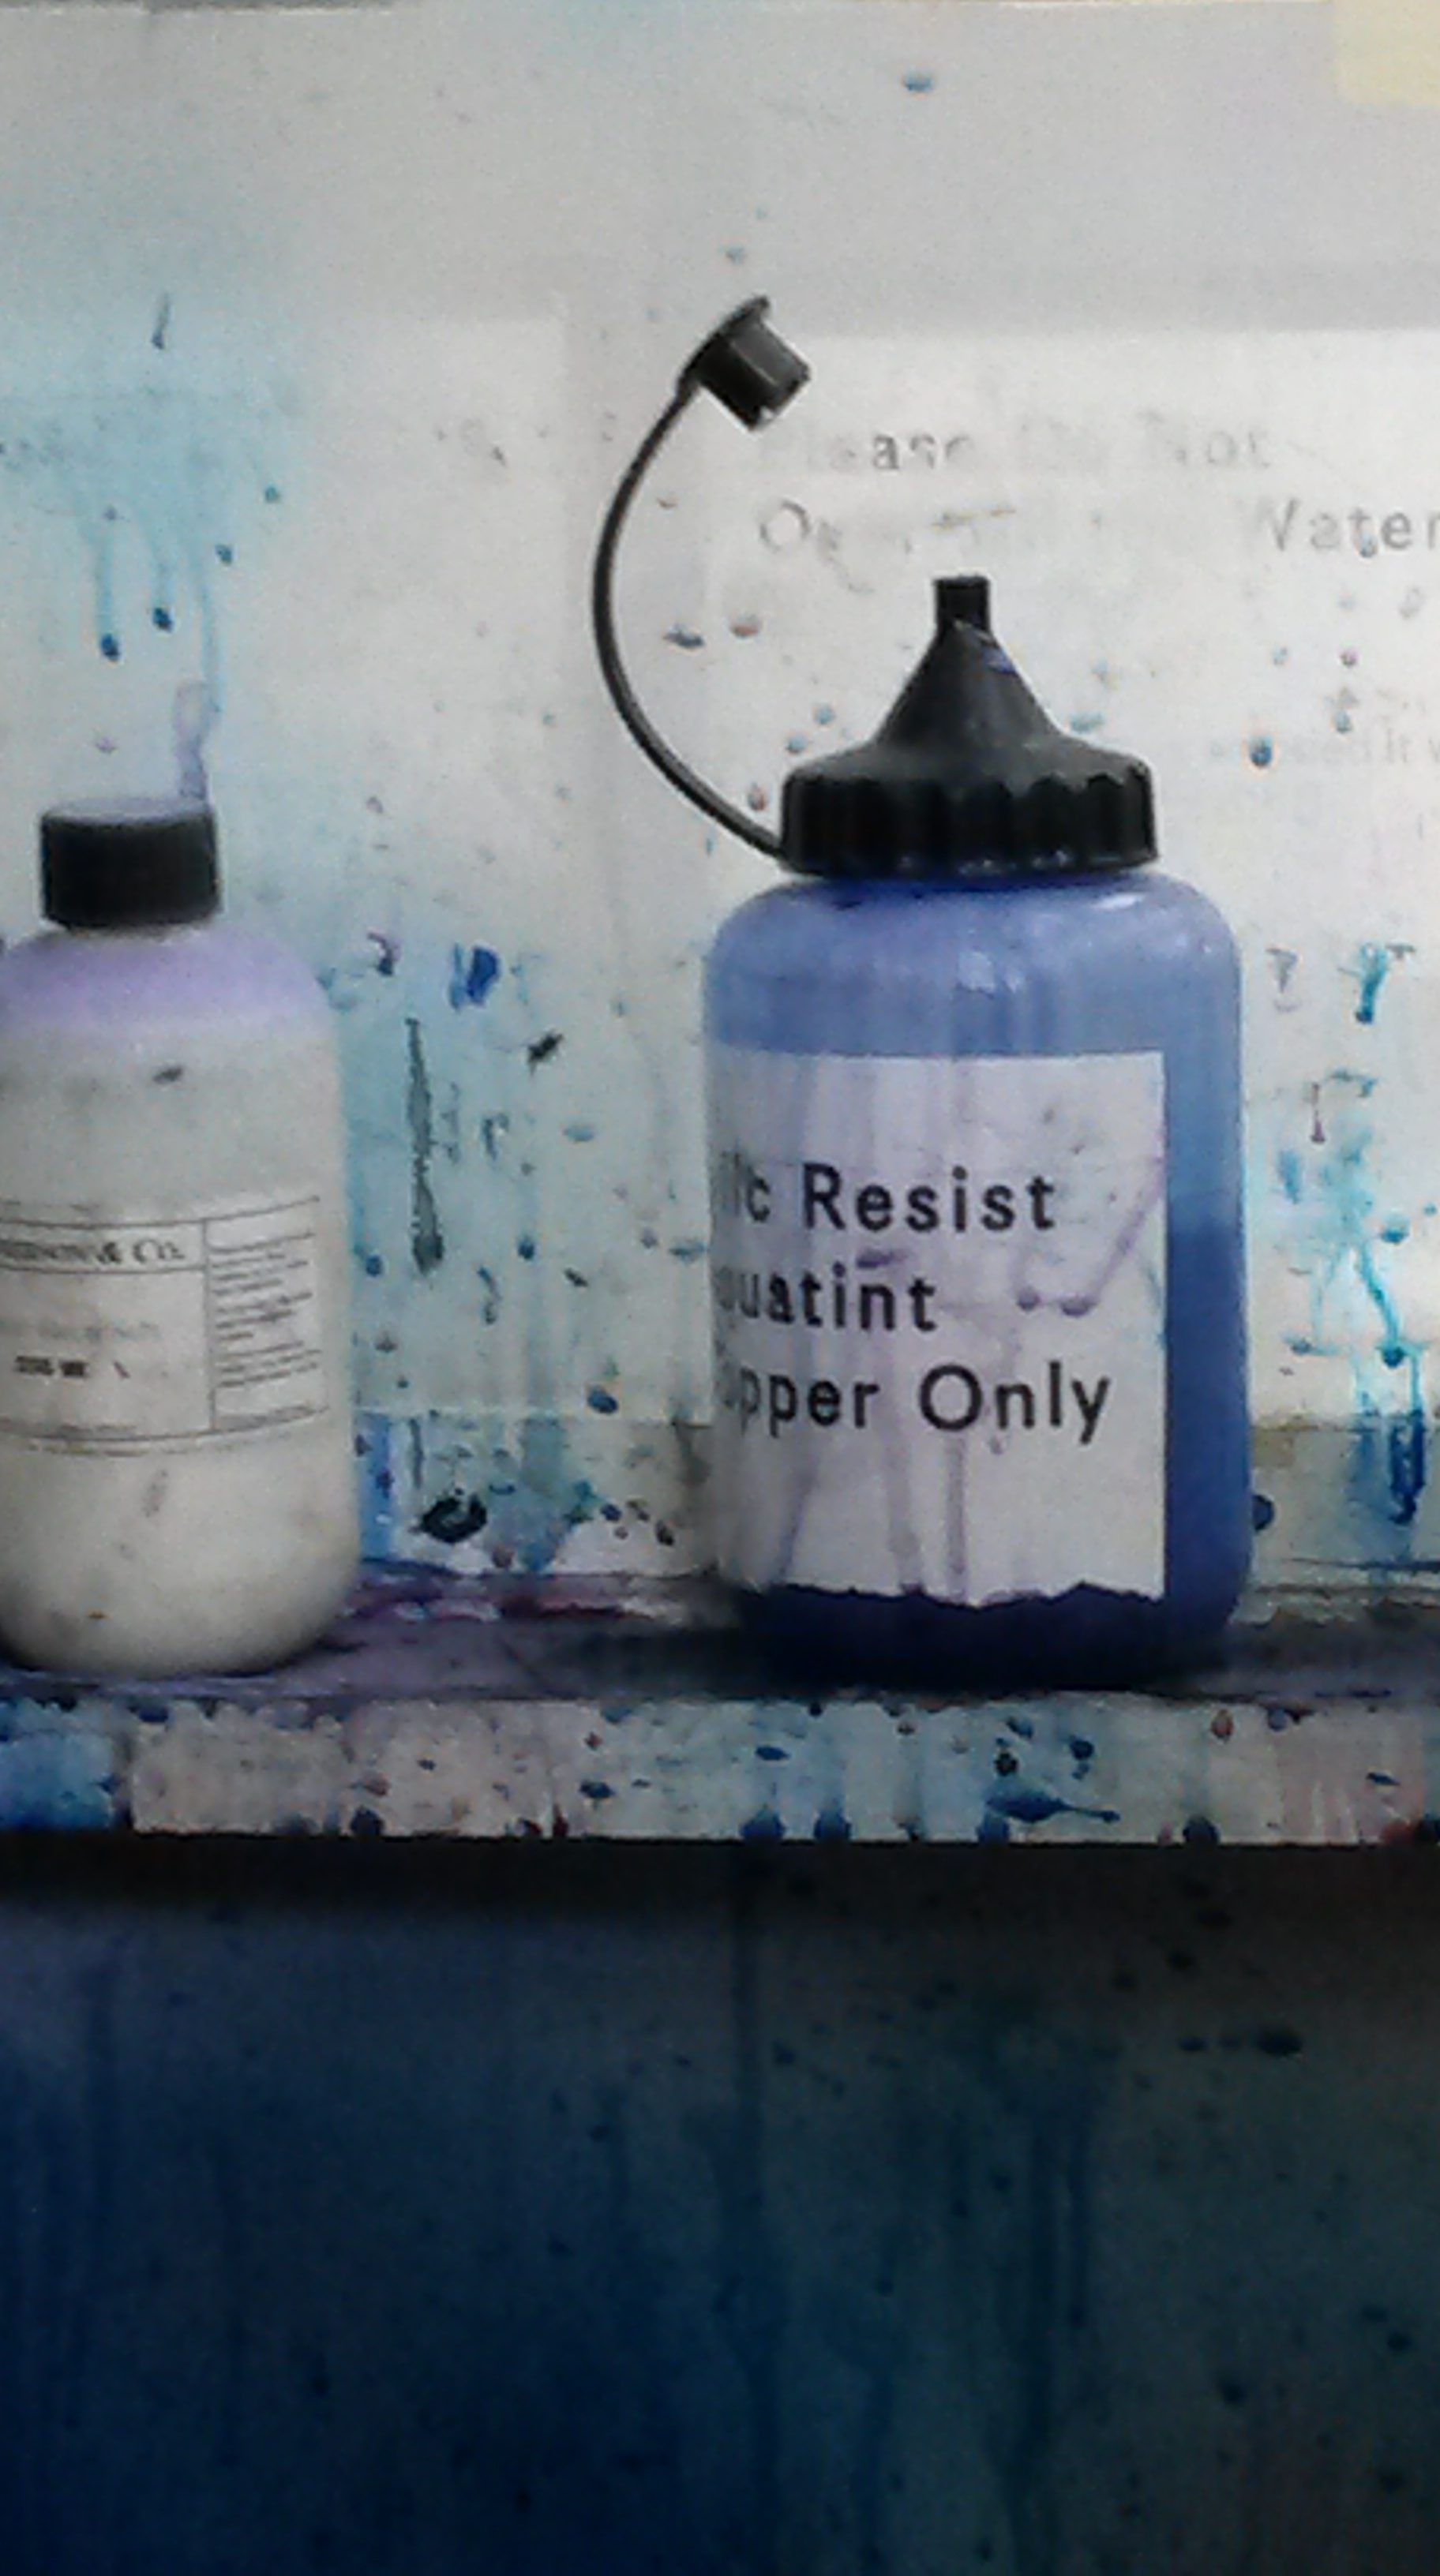
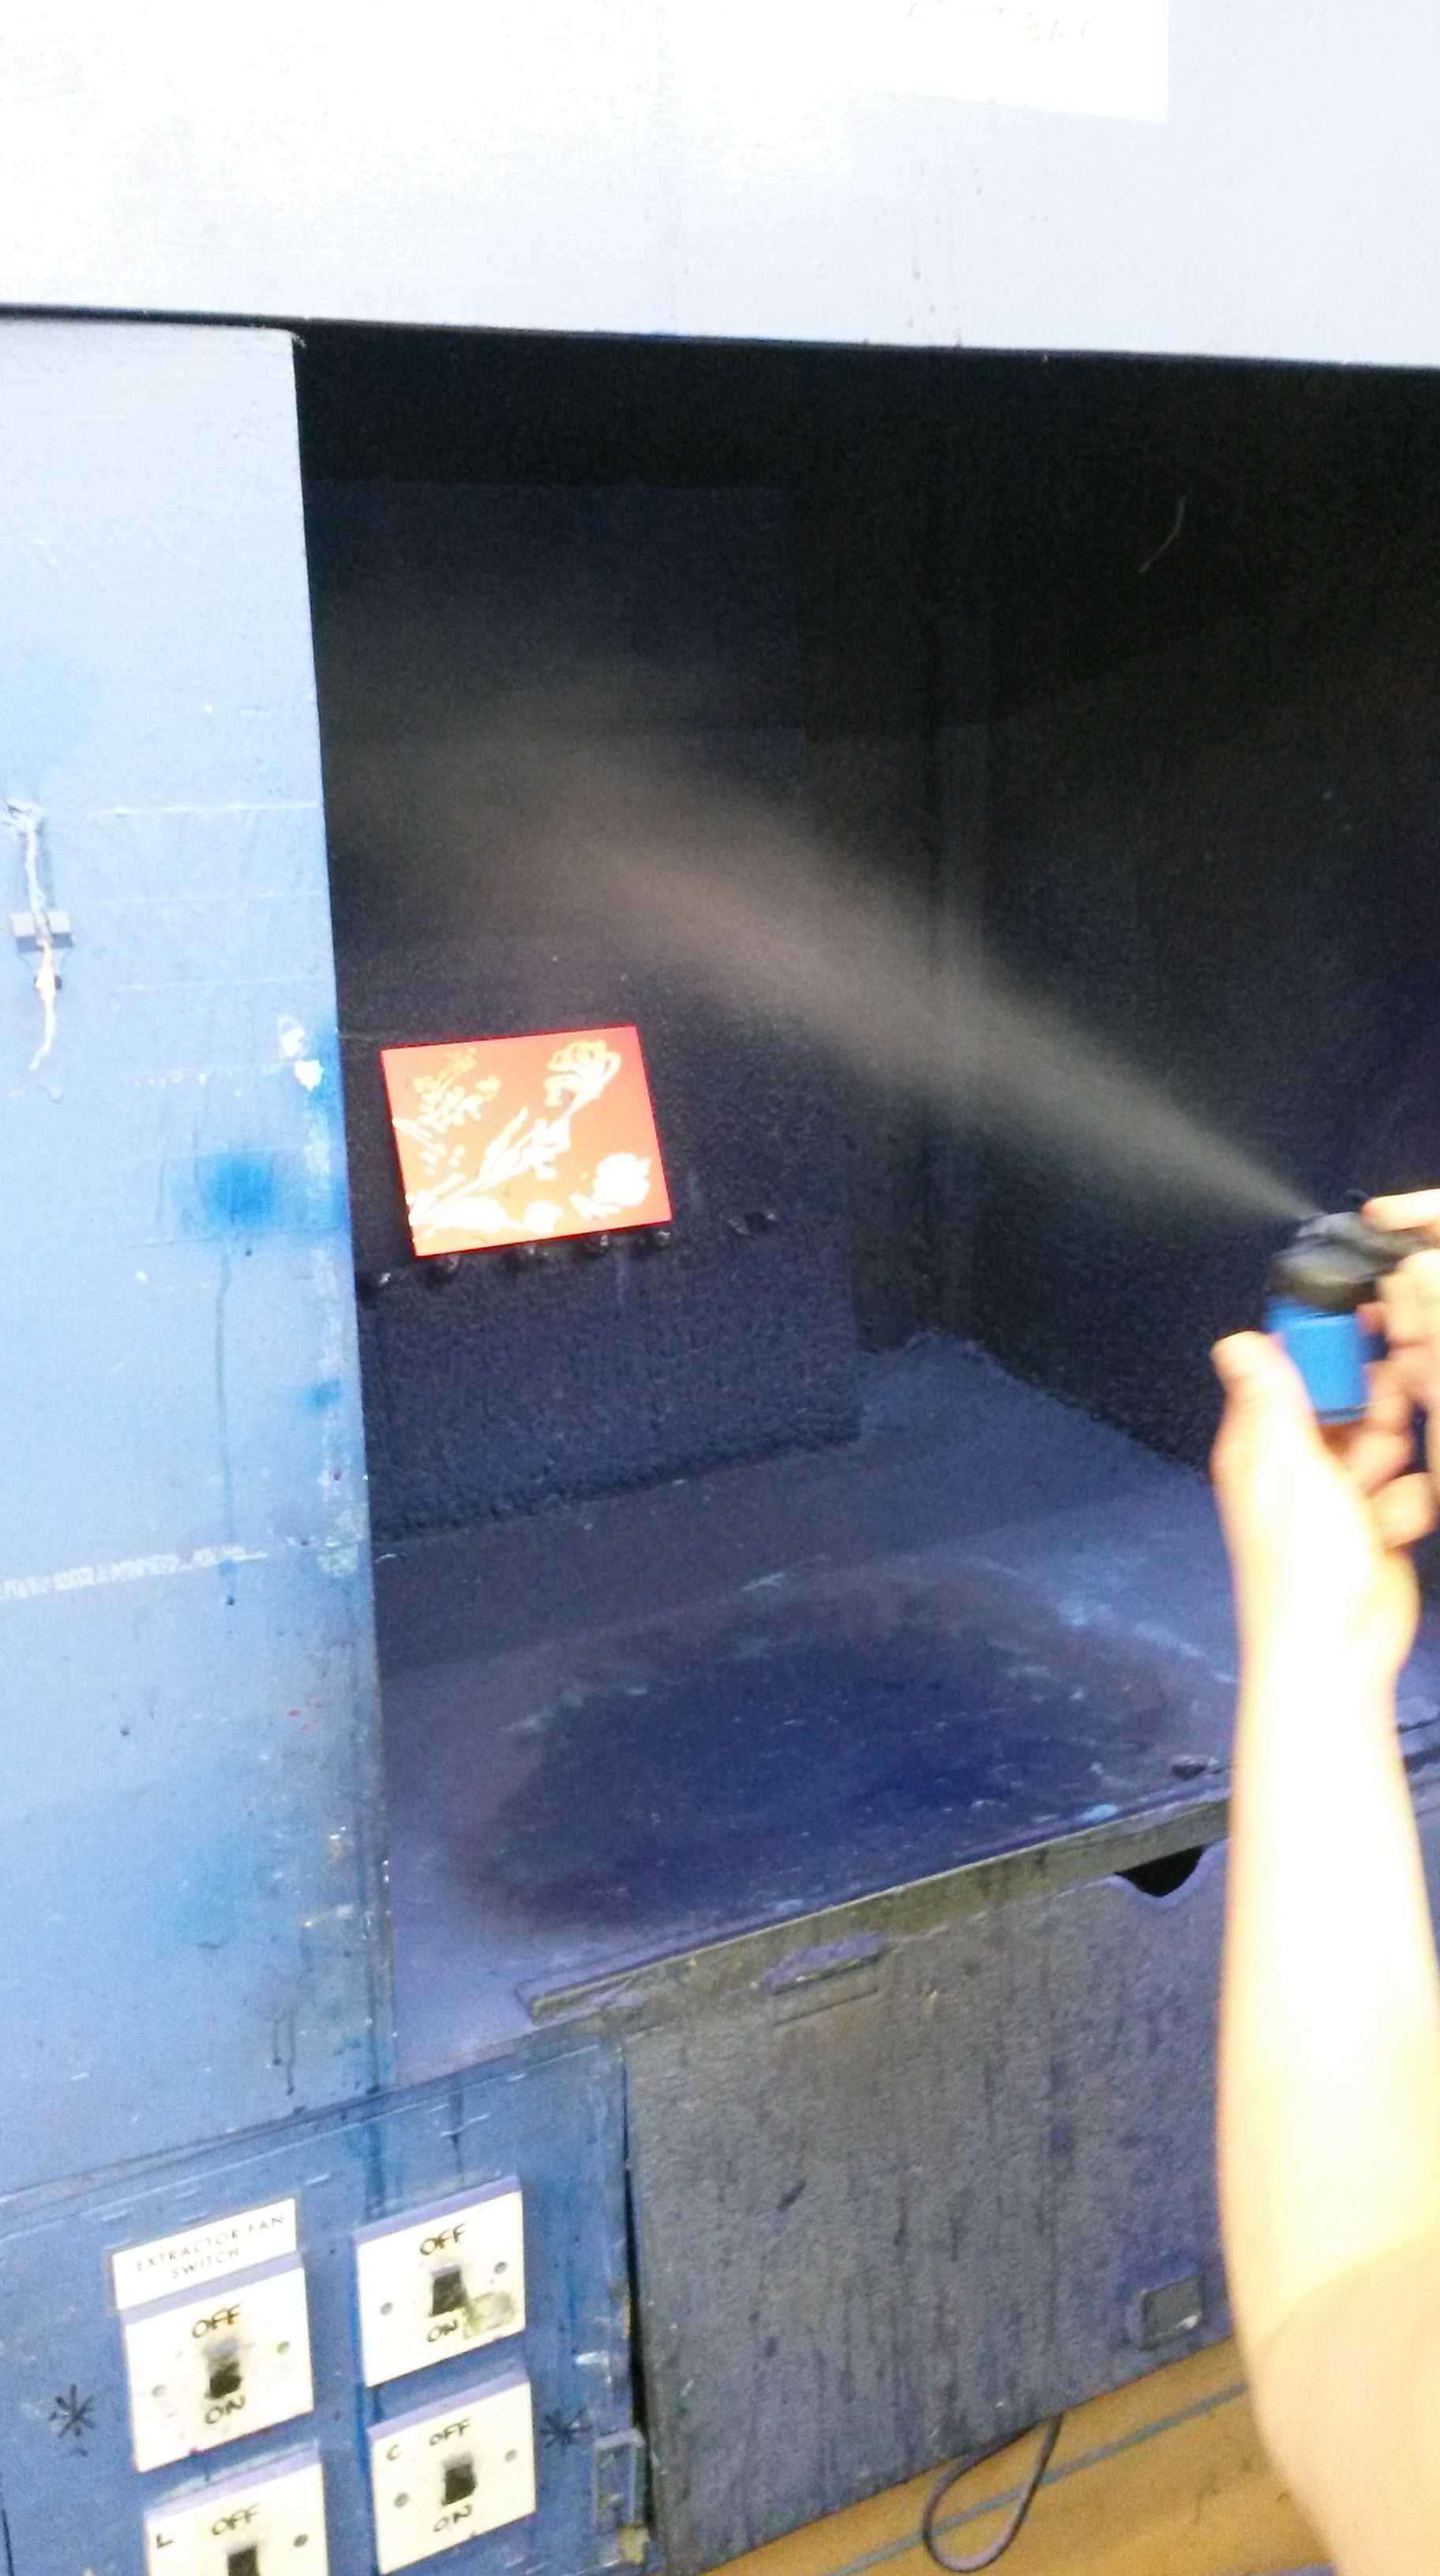
Now you begin the aqua-tint process – you fine-spray the exposed metal plate, and this leaves a fine residue of ink, which then allows acid to bite into the metal plate (into each tiny speck of aquatint ink) leaving a subtle shade effect across your image.

It gets complicated now though, because each time you expose the plate to acid, it bites more into the plate – creating deeper shades when you finally print the image.
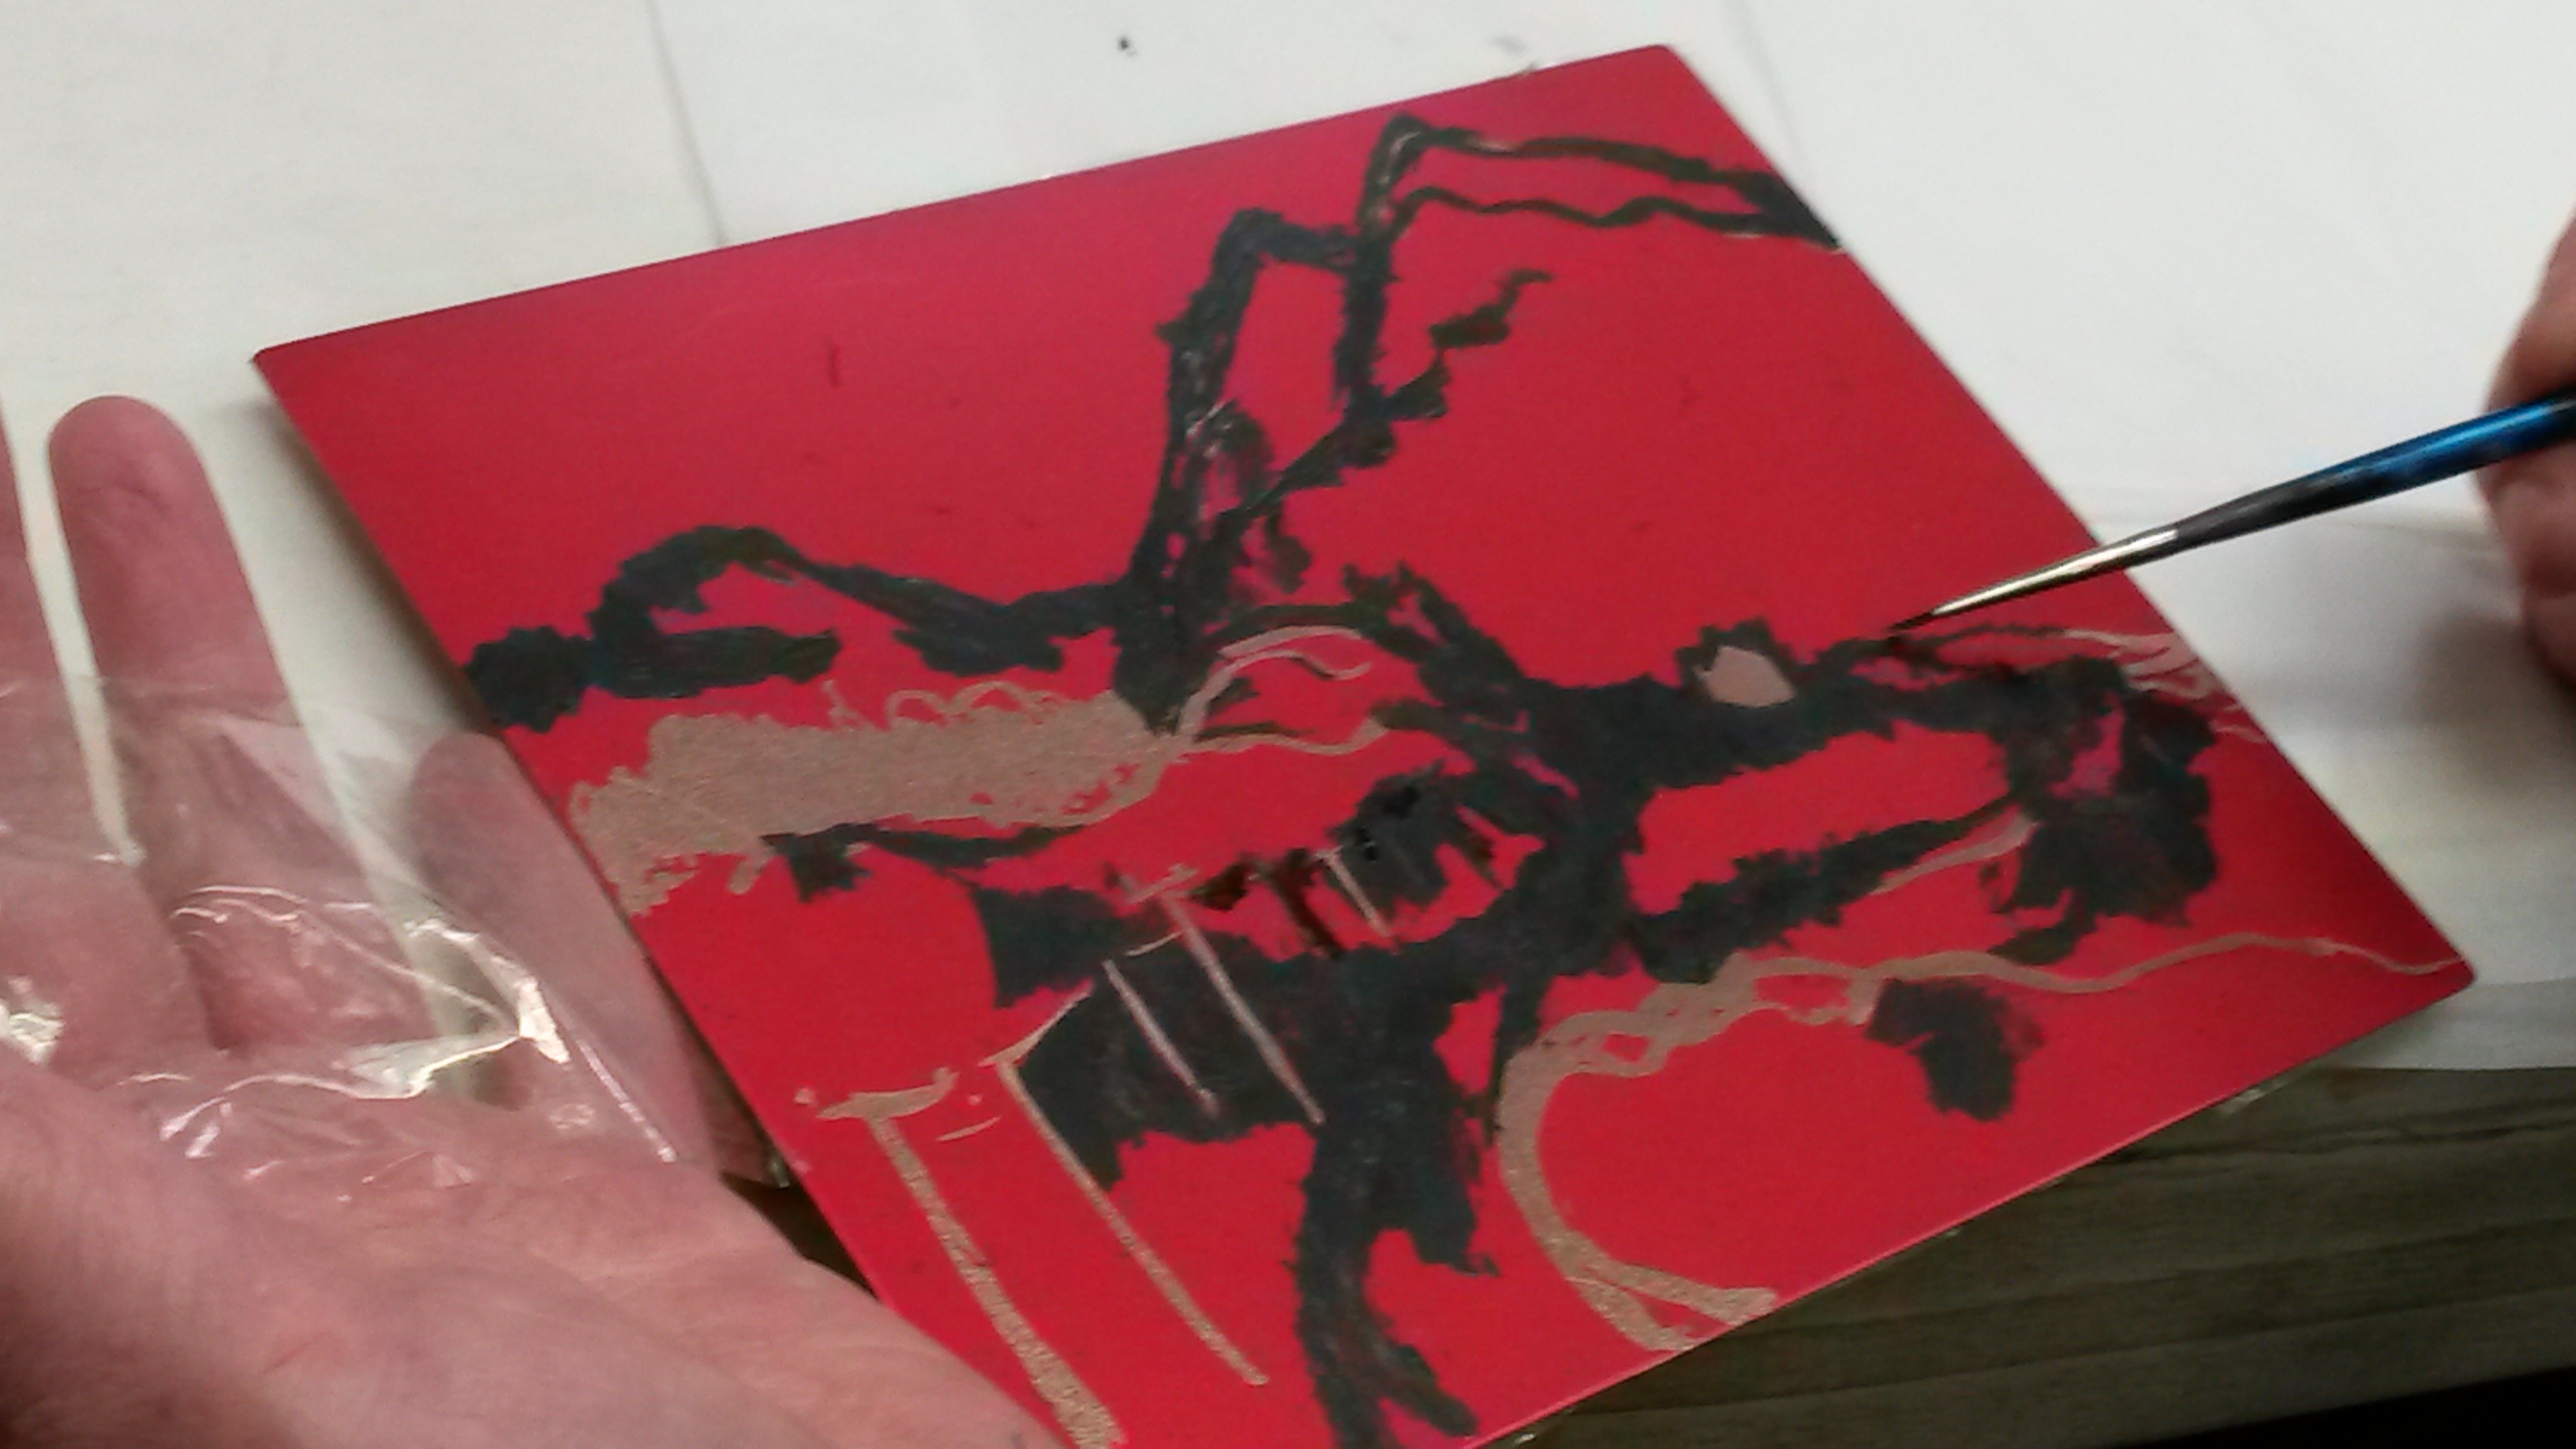
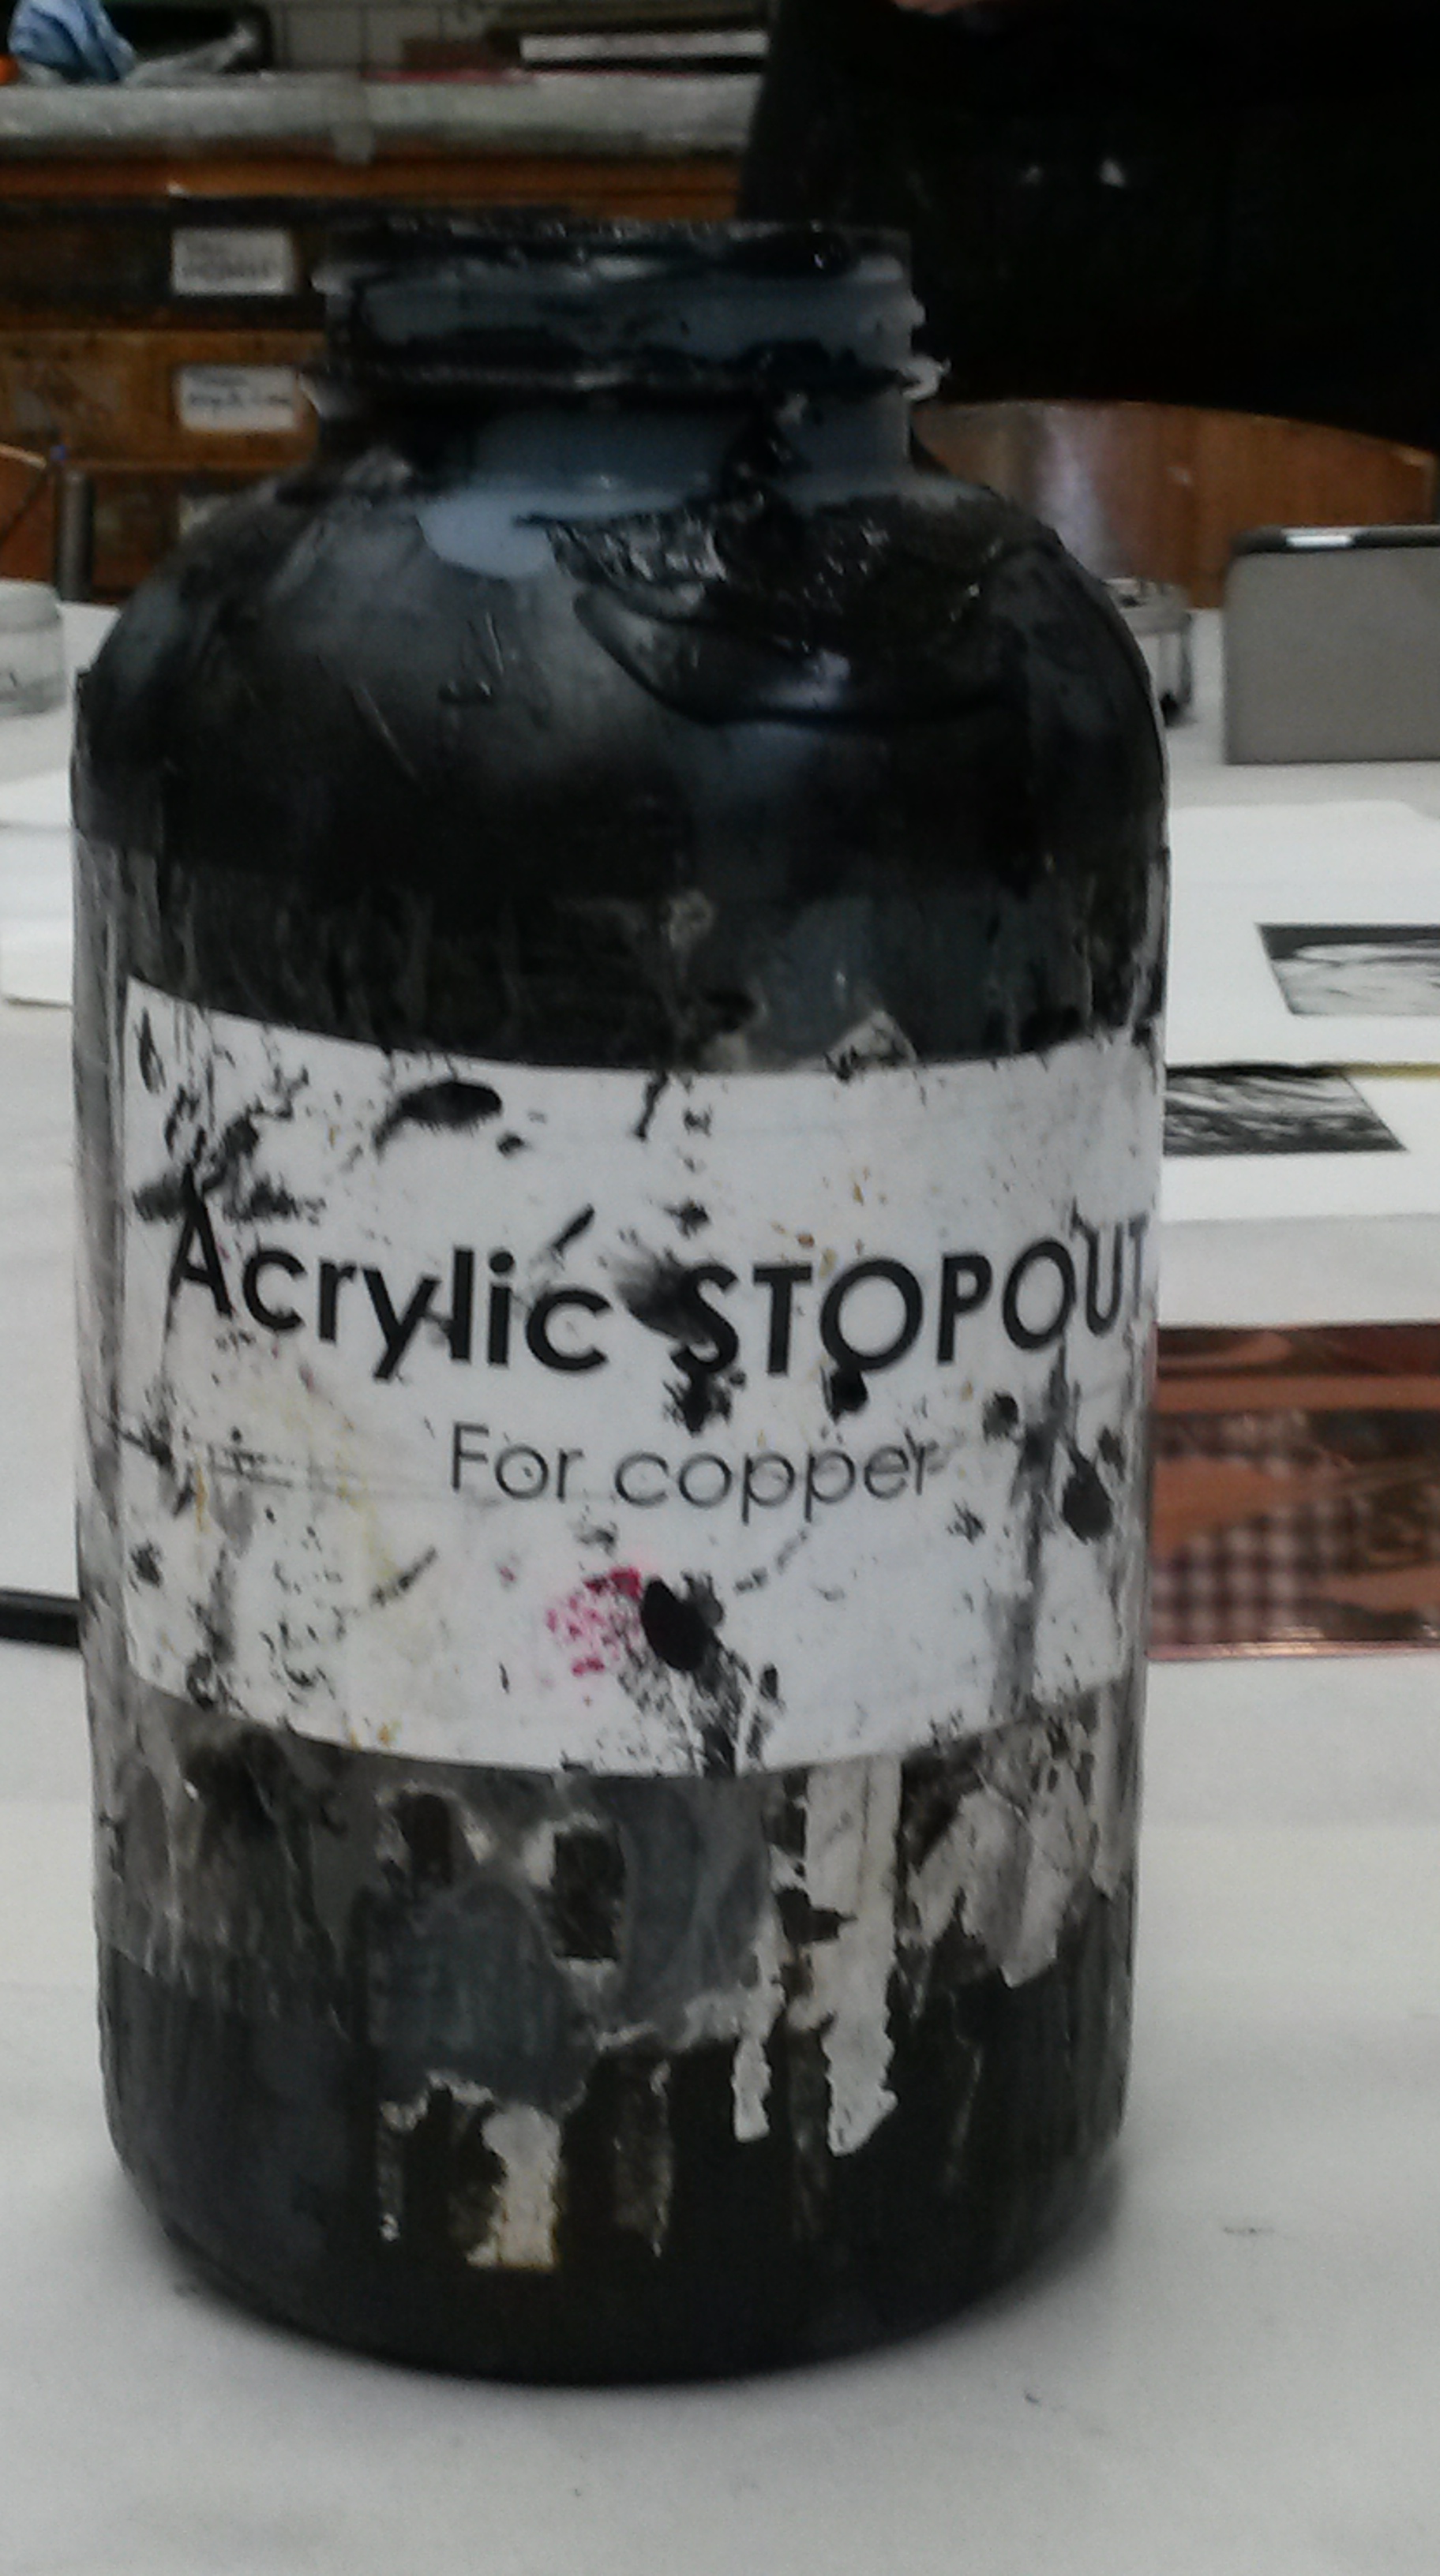
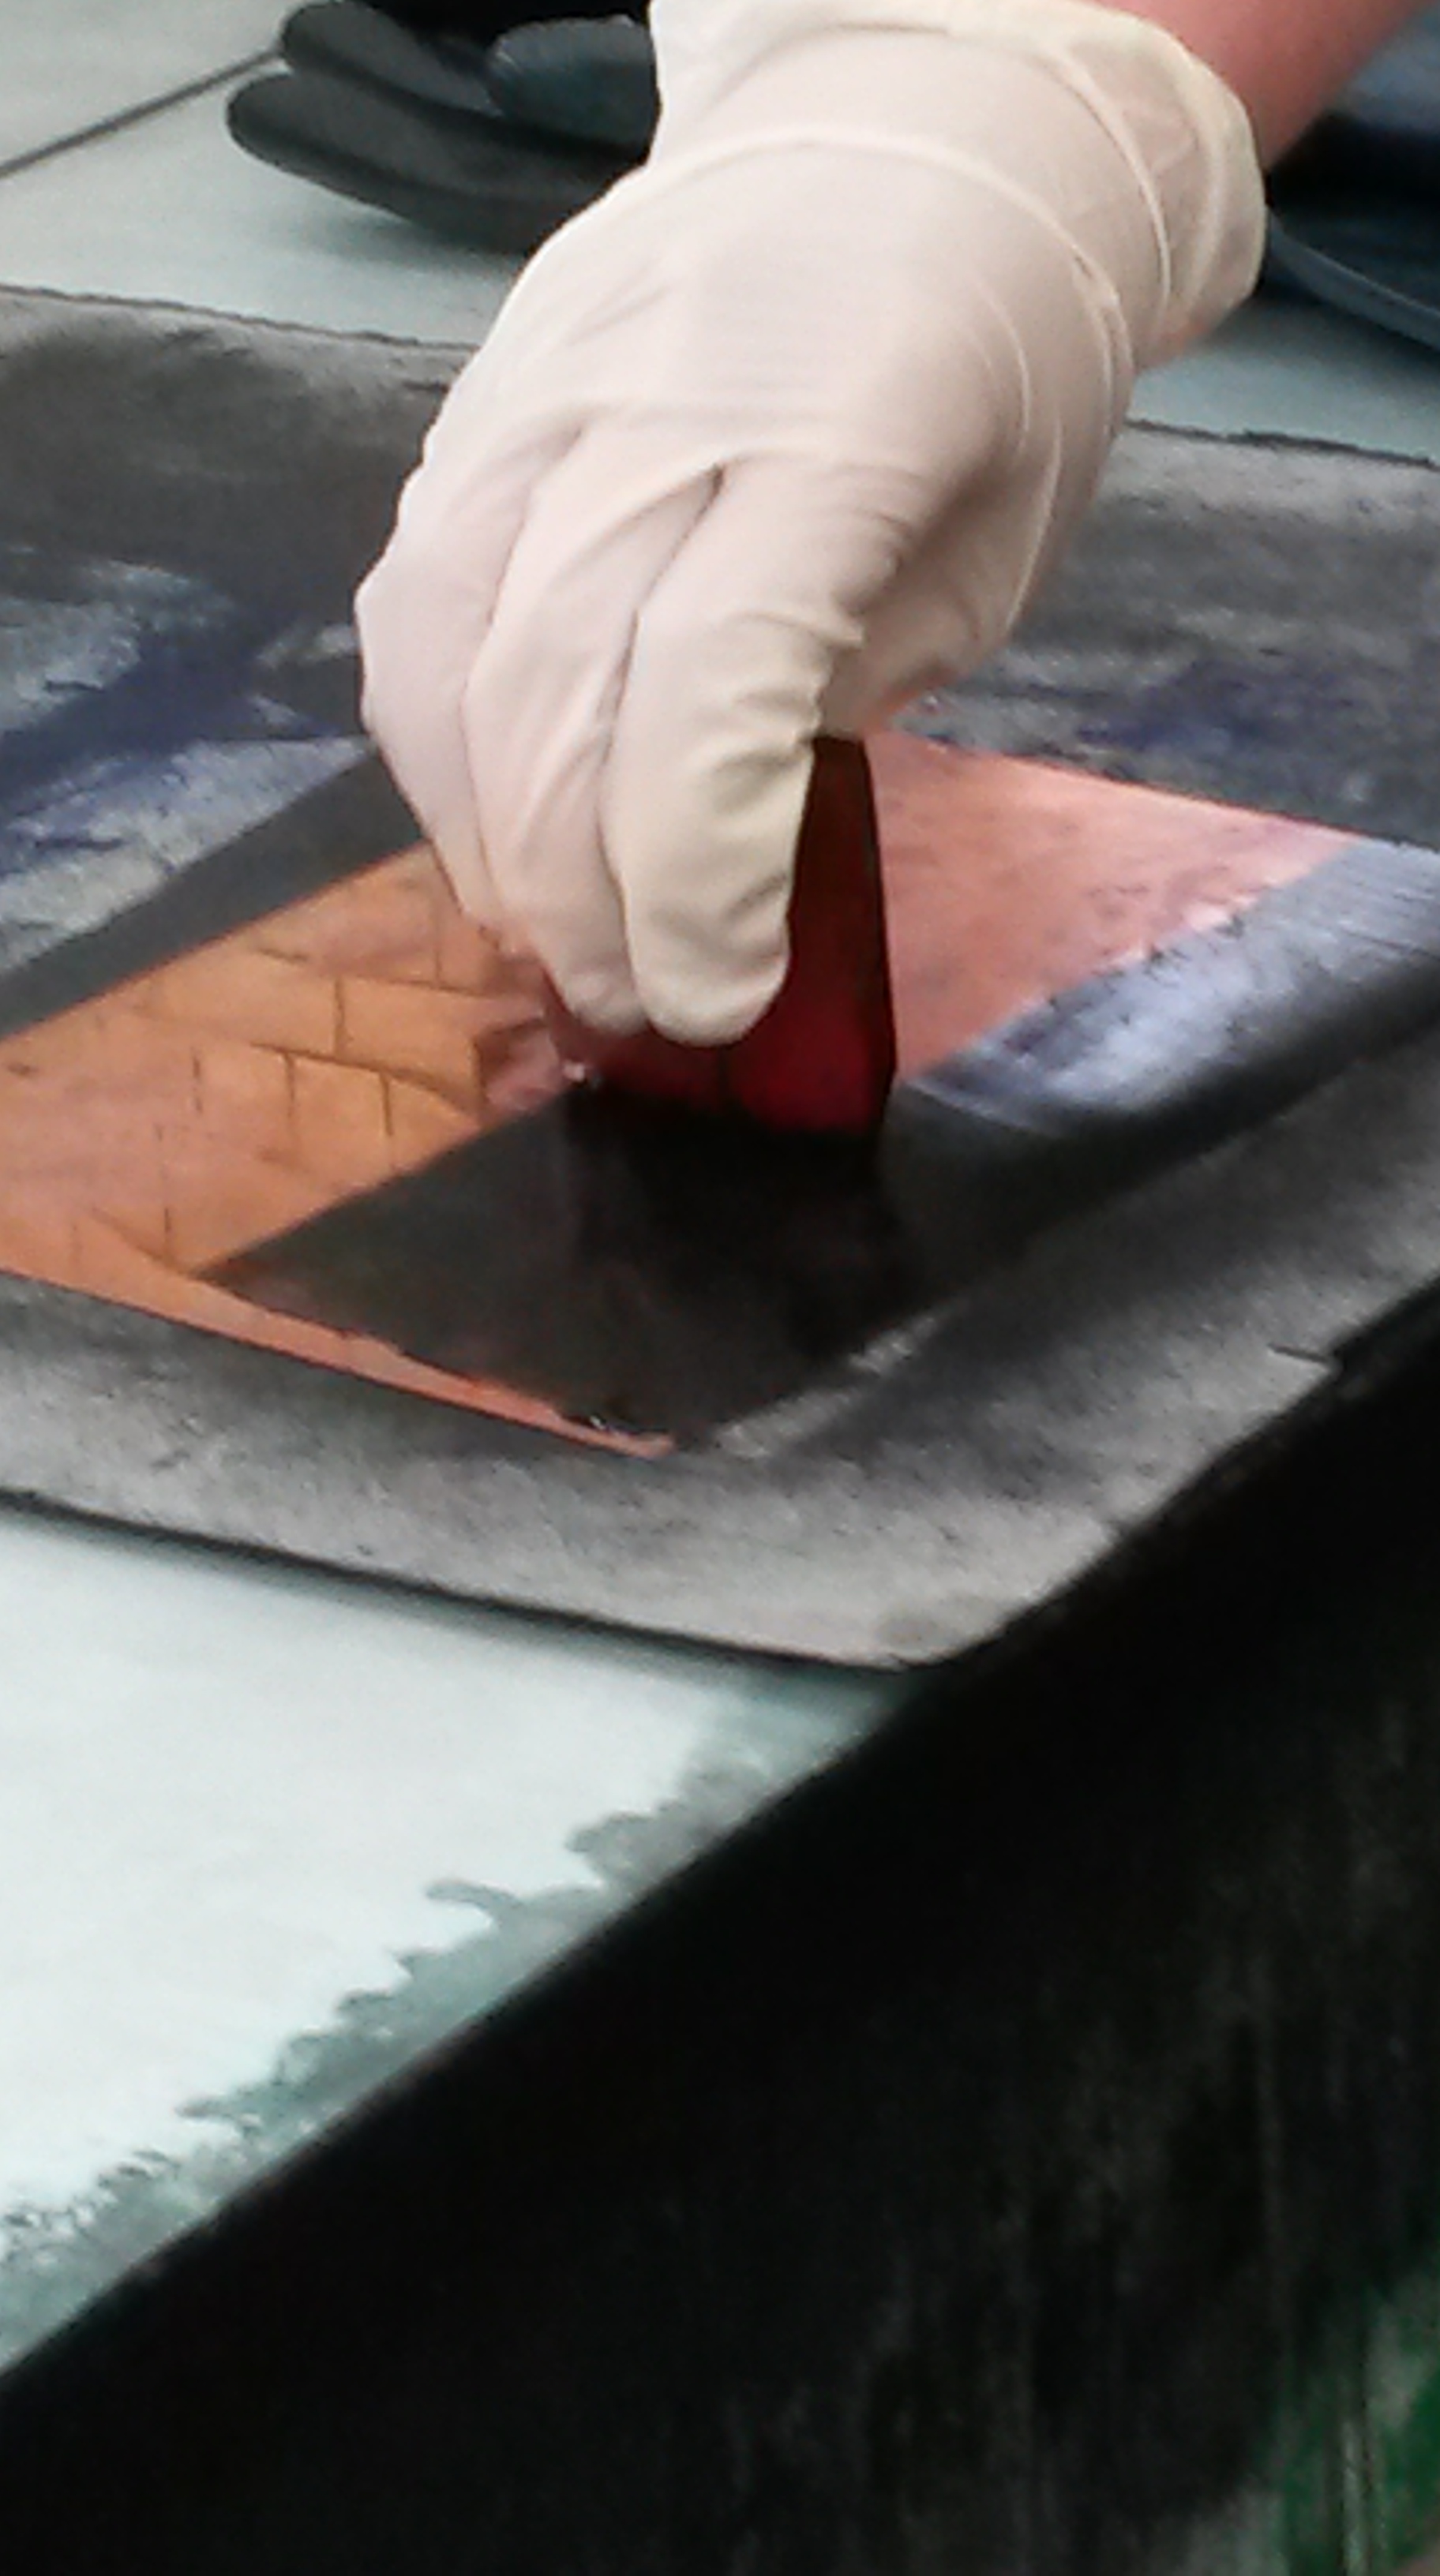
So you need to paint or ‘stop out’ areas (block them from the acid) in different stages to create deeper shades each time…
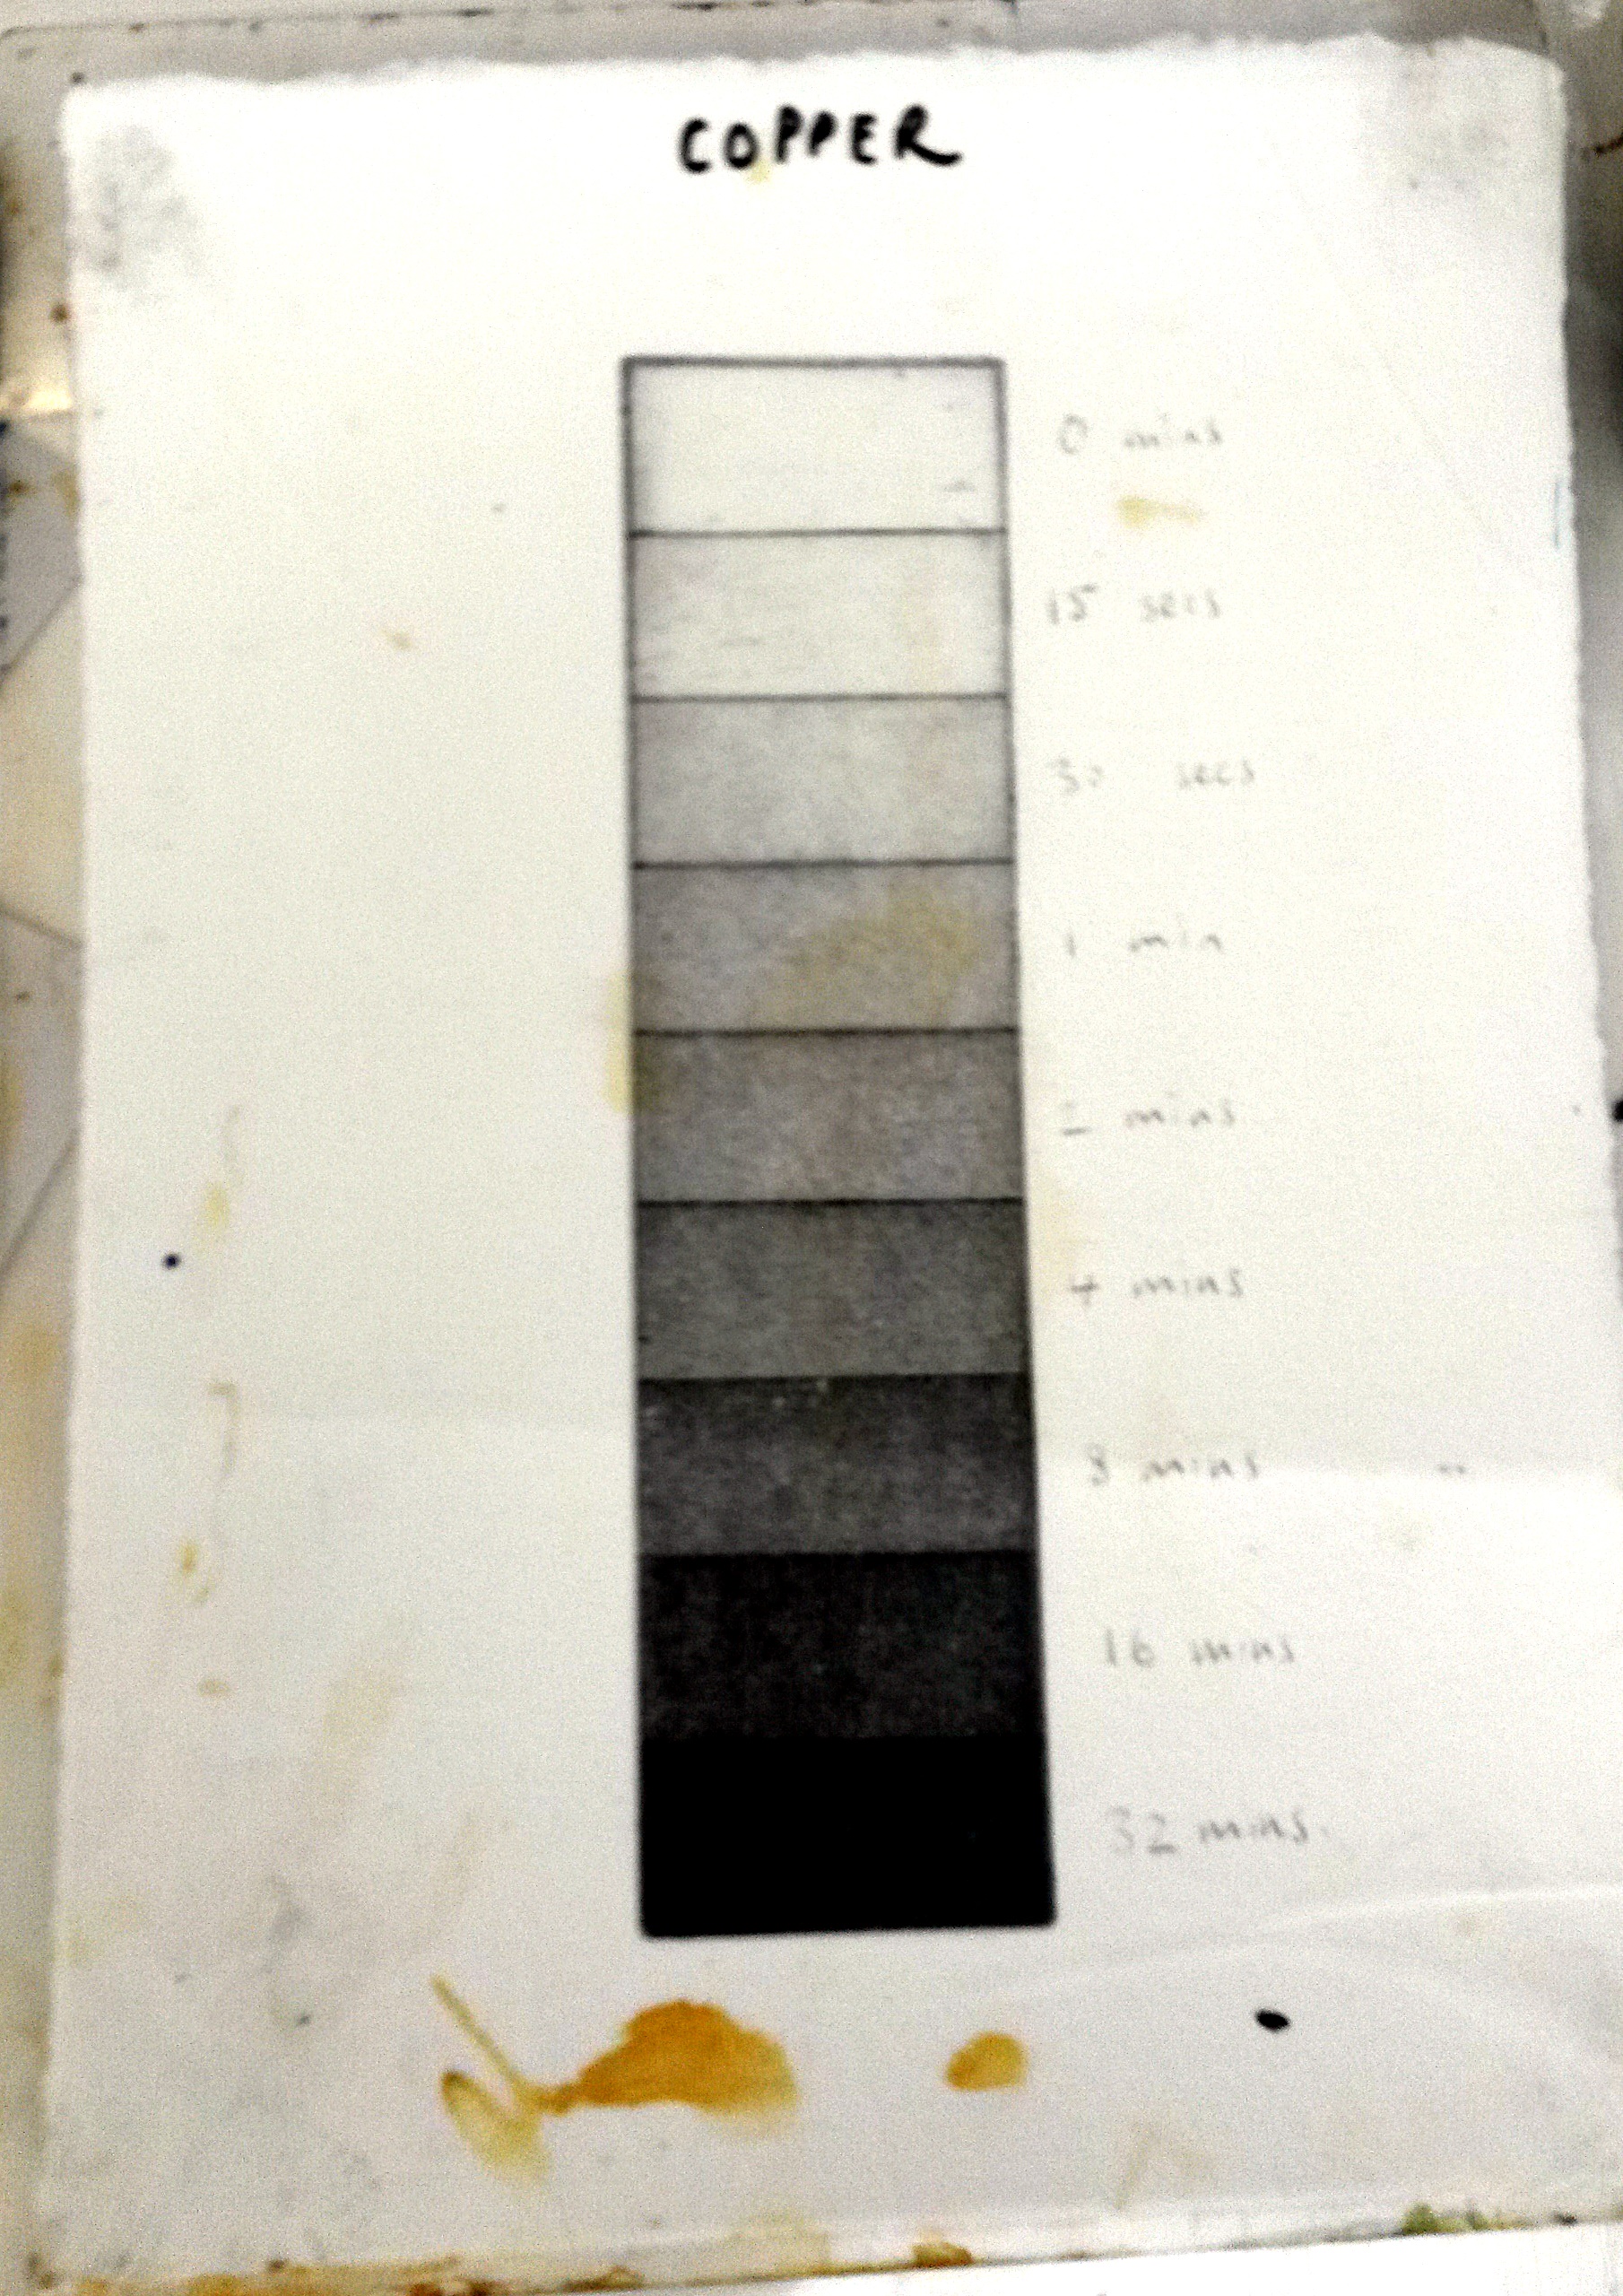
This shows how long your image needs in the acid to create each shade …
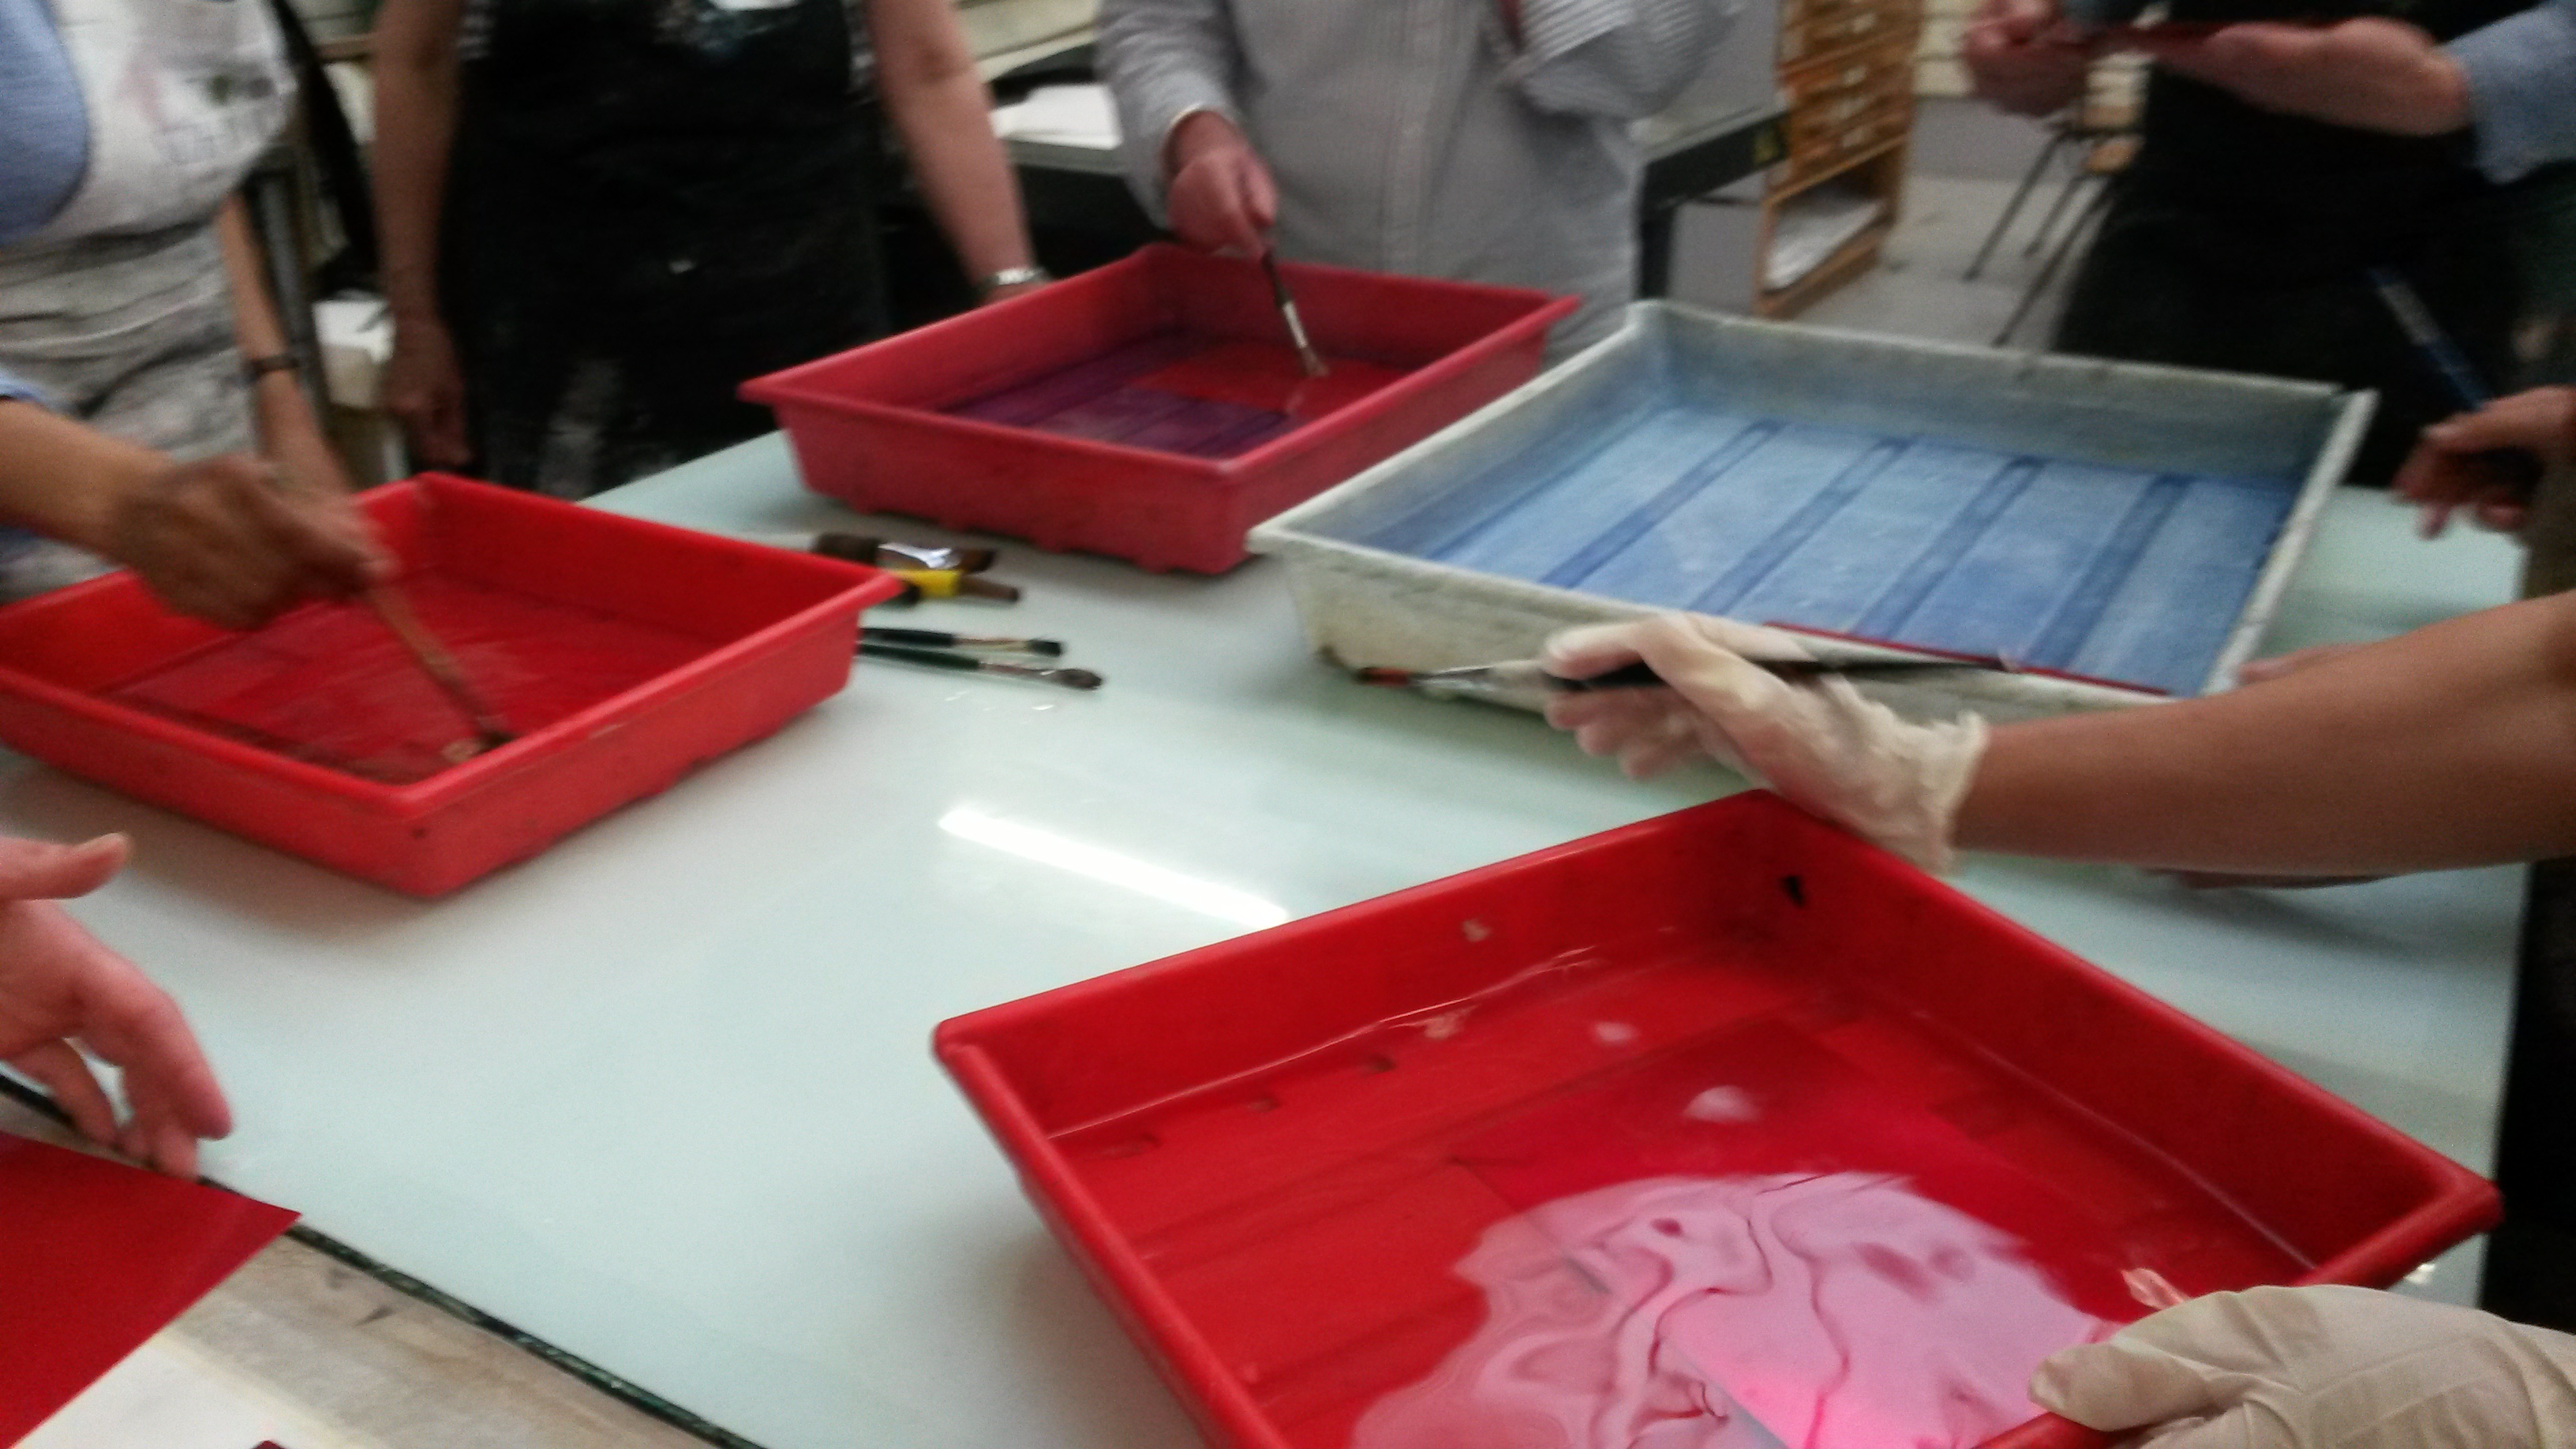
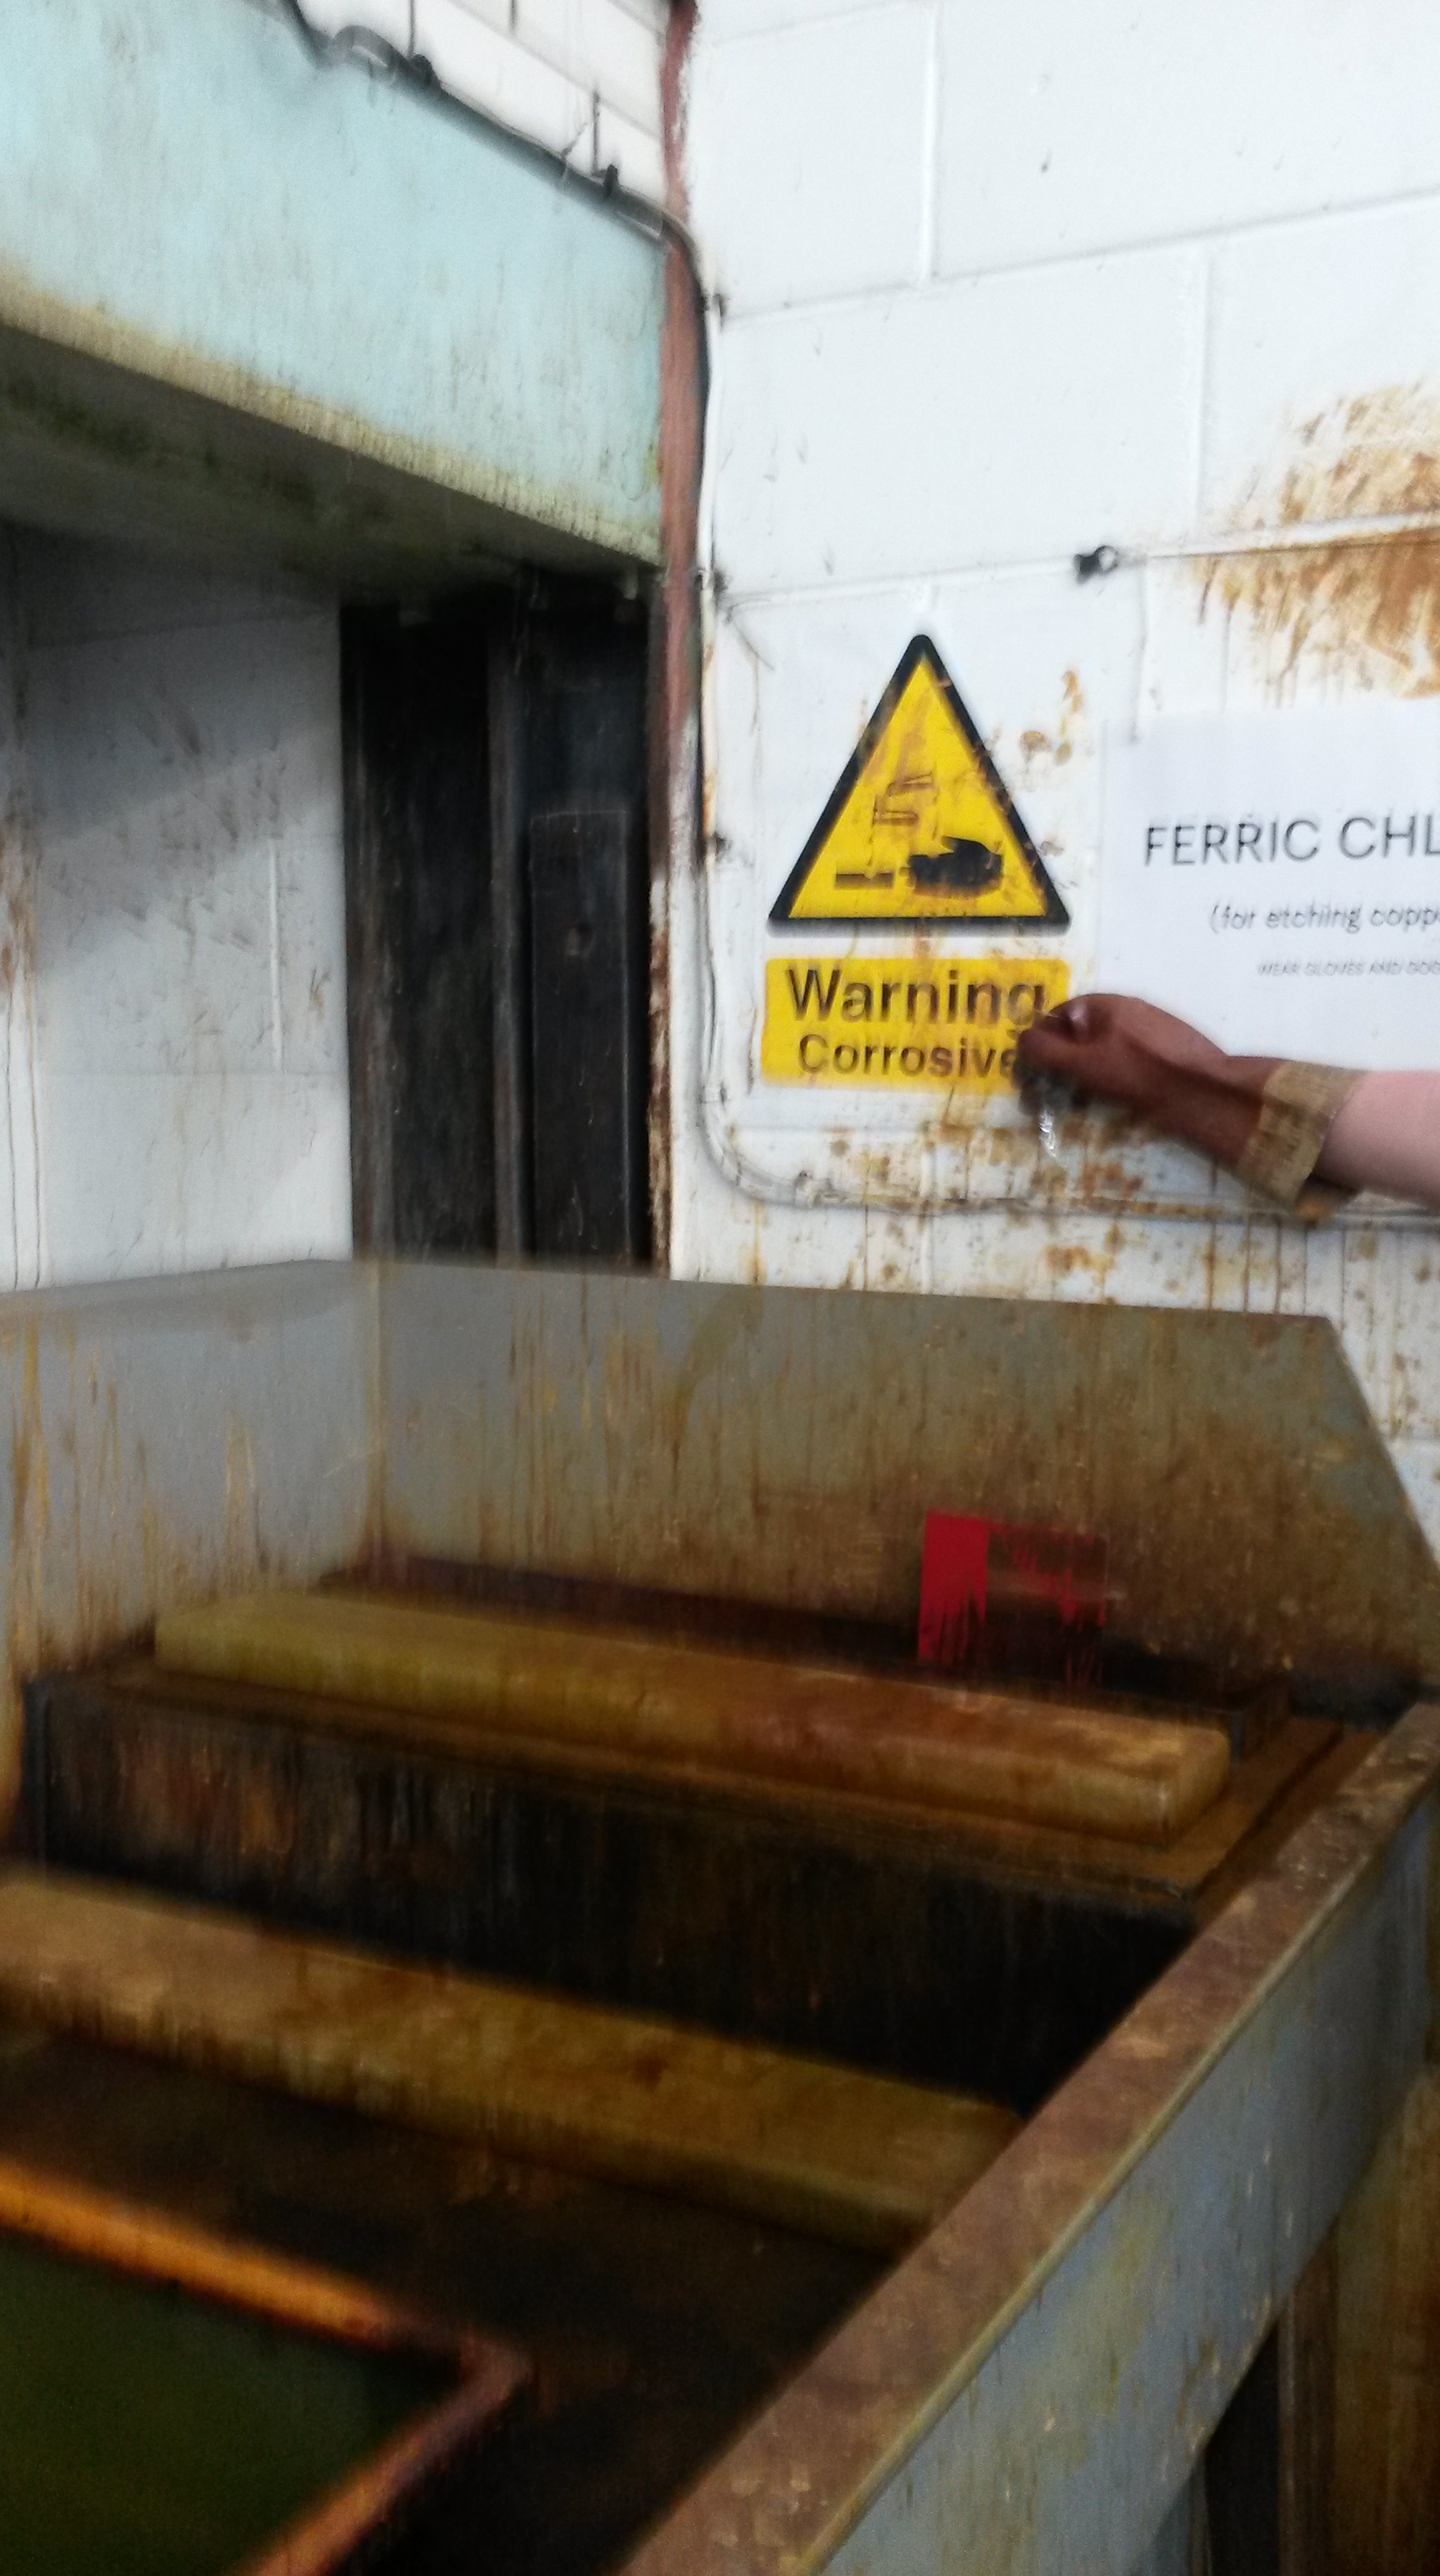
Wearing protecive goggles and gloves, you start with the first acid etch of the area you want to be the next lightest (the areas you want to keep most light are stopped out). The plate is dipped into acid for the required time (if it’s a long time you’ll peg it to the side of the acid bath) then it’s quickly taken out and plunged into a water tray to halt the acid etch..
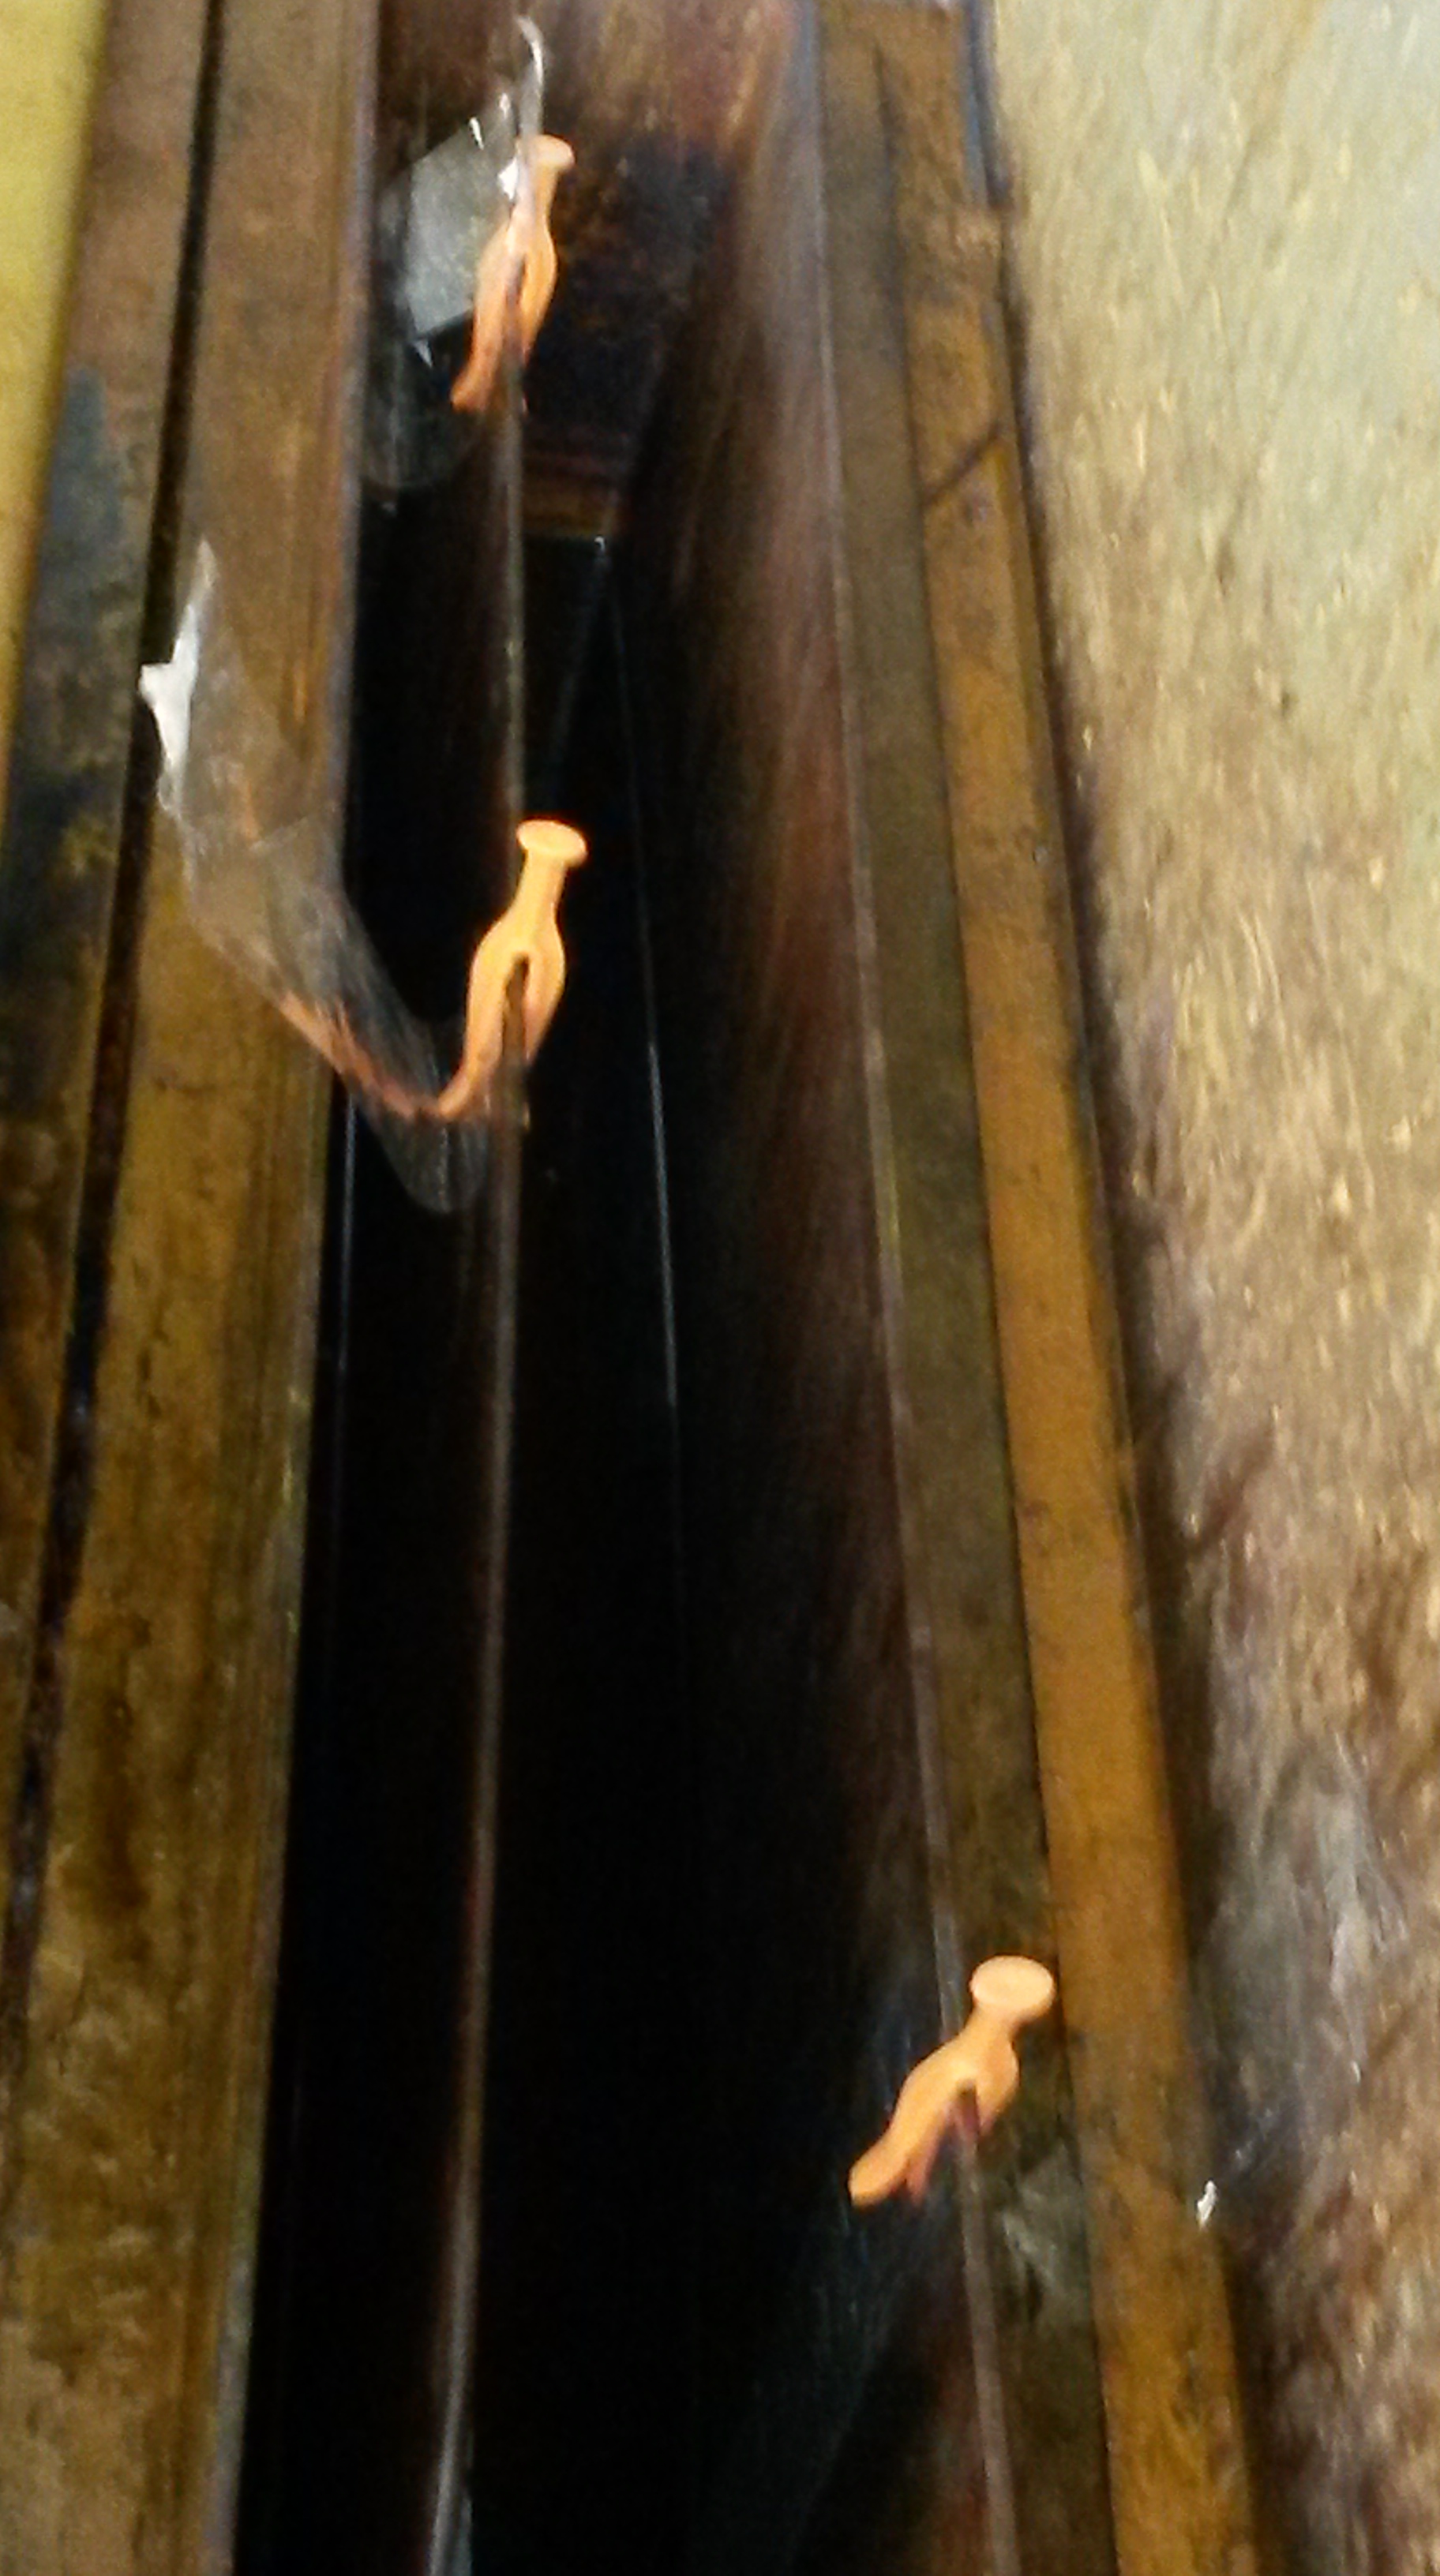
After stopping out the next area, you repeat the acid bath process until you have the amount of shading you want. Remember that the areas not stopped out get exposed to more acid each time – those become your darkest shades once it’s printed.
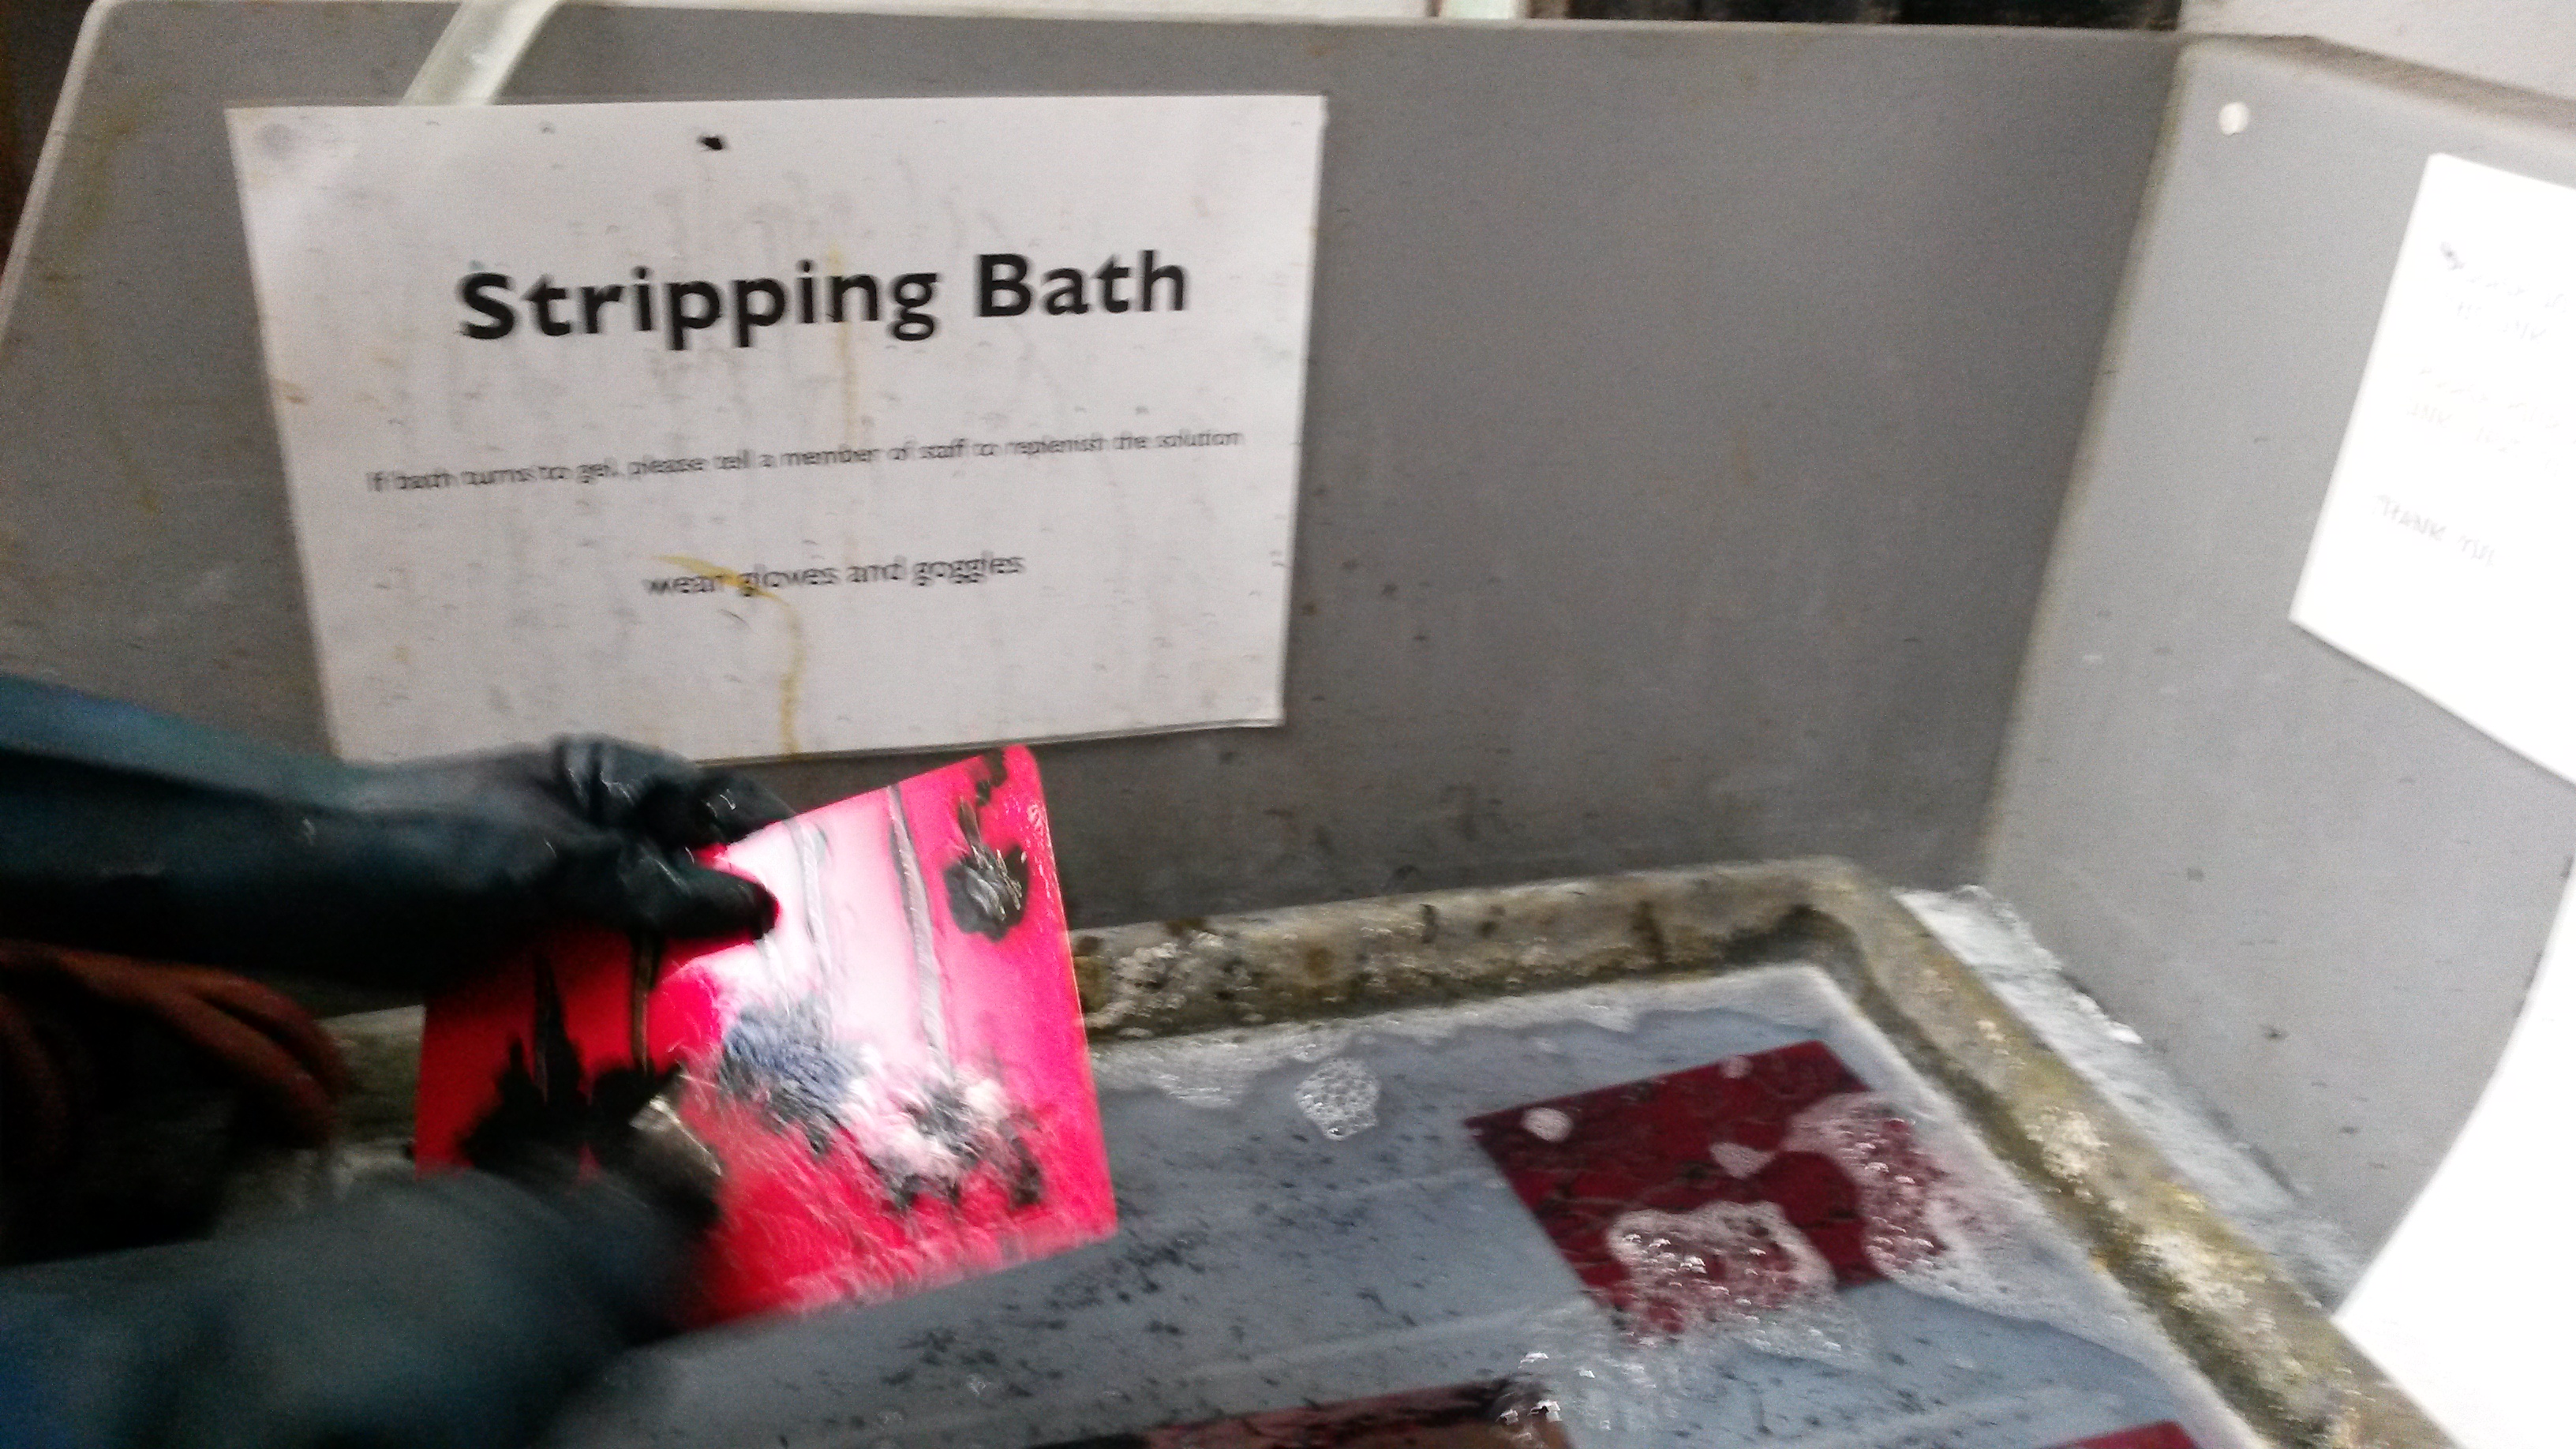
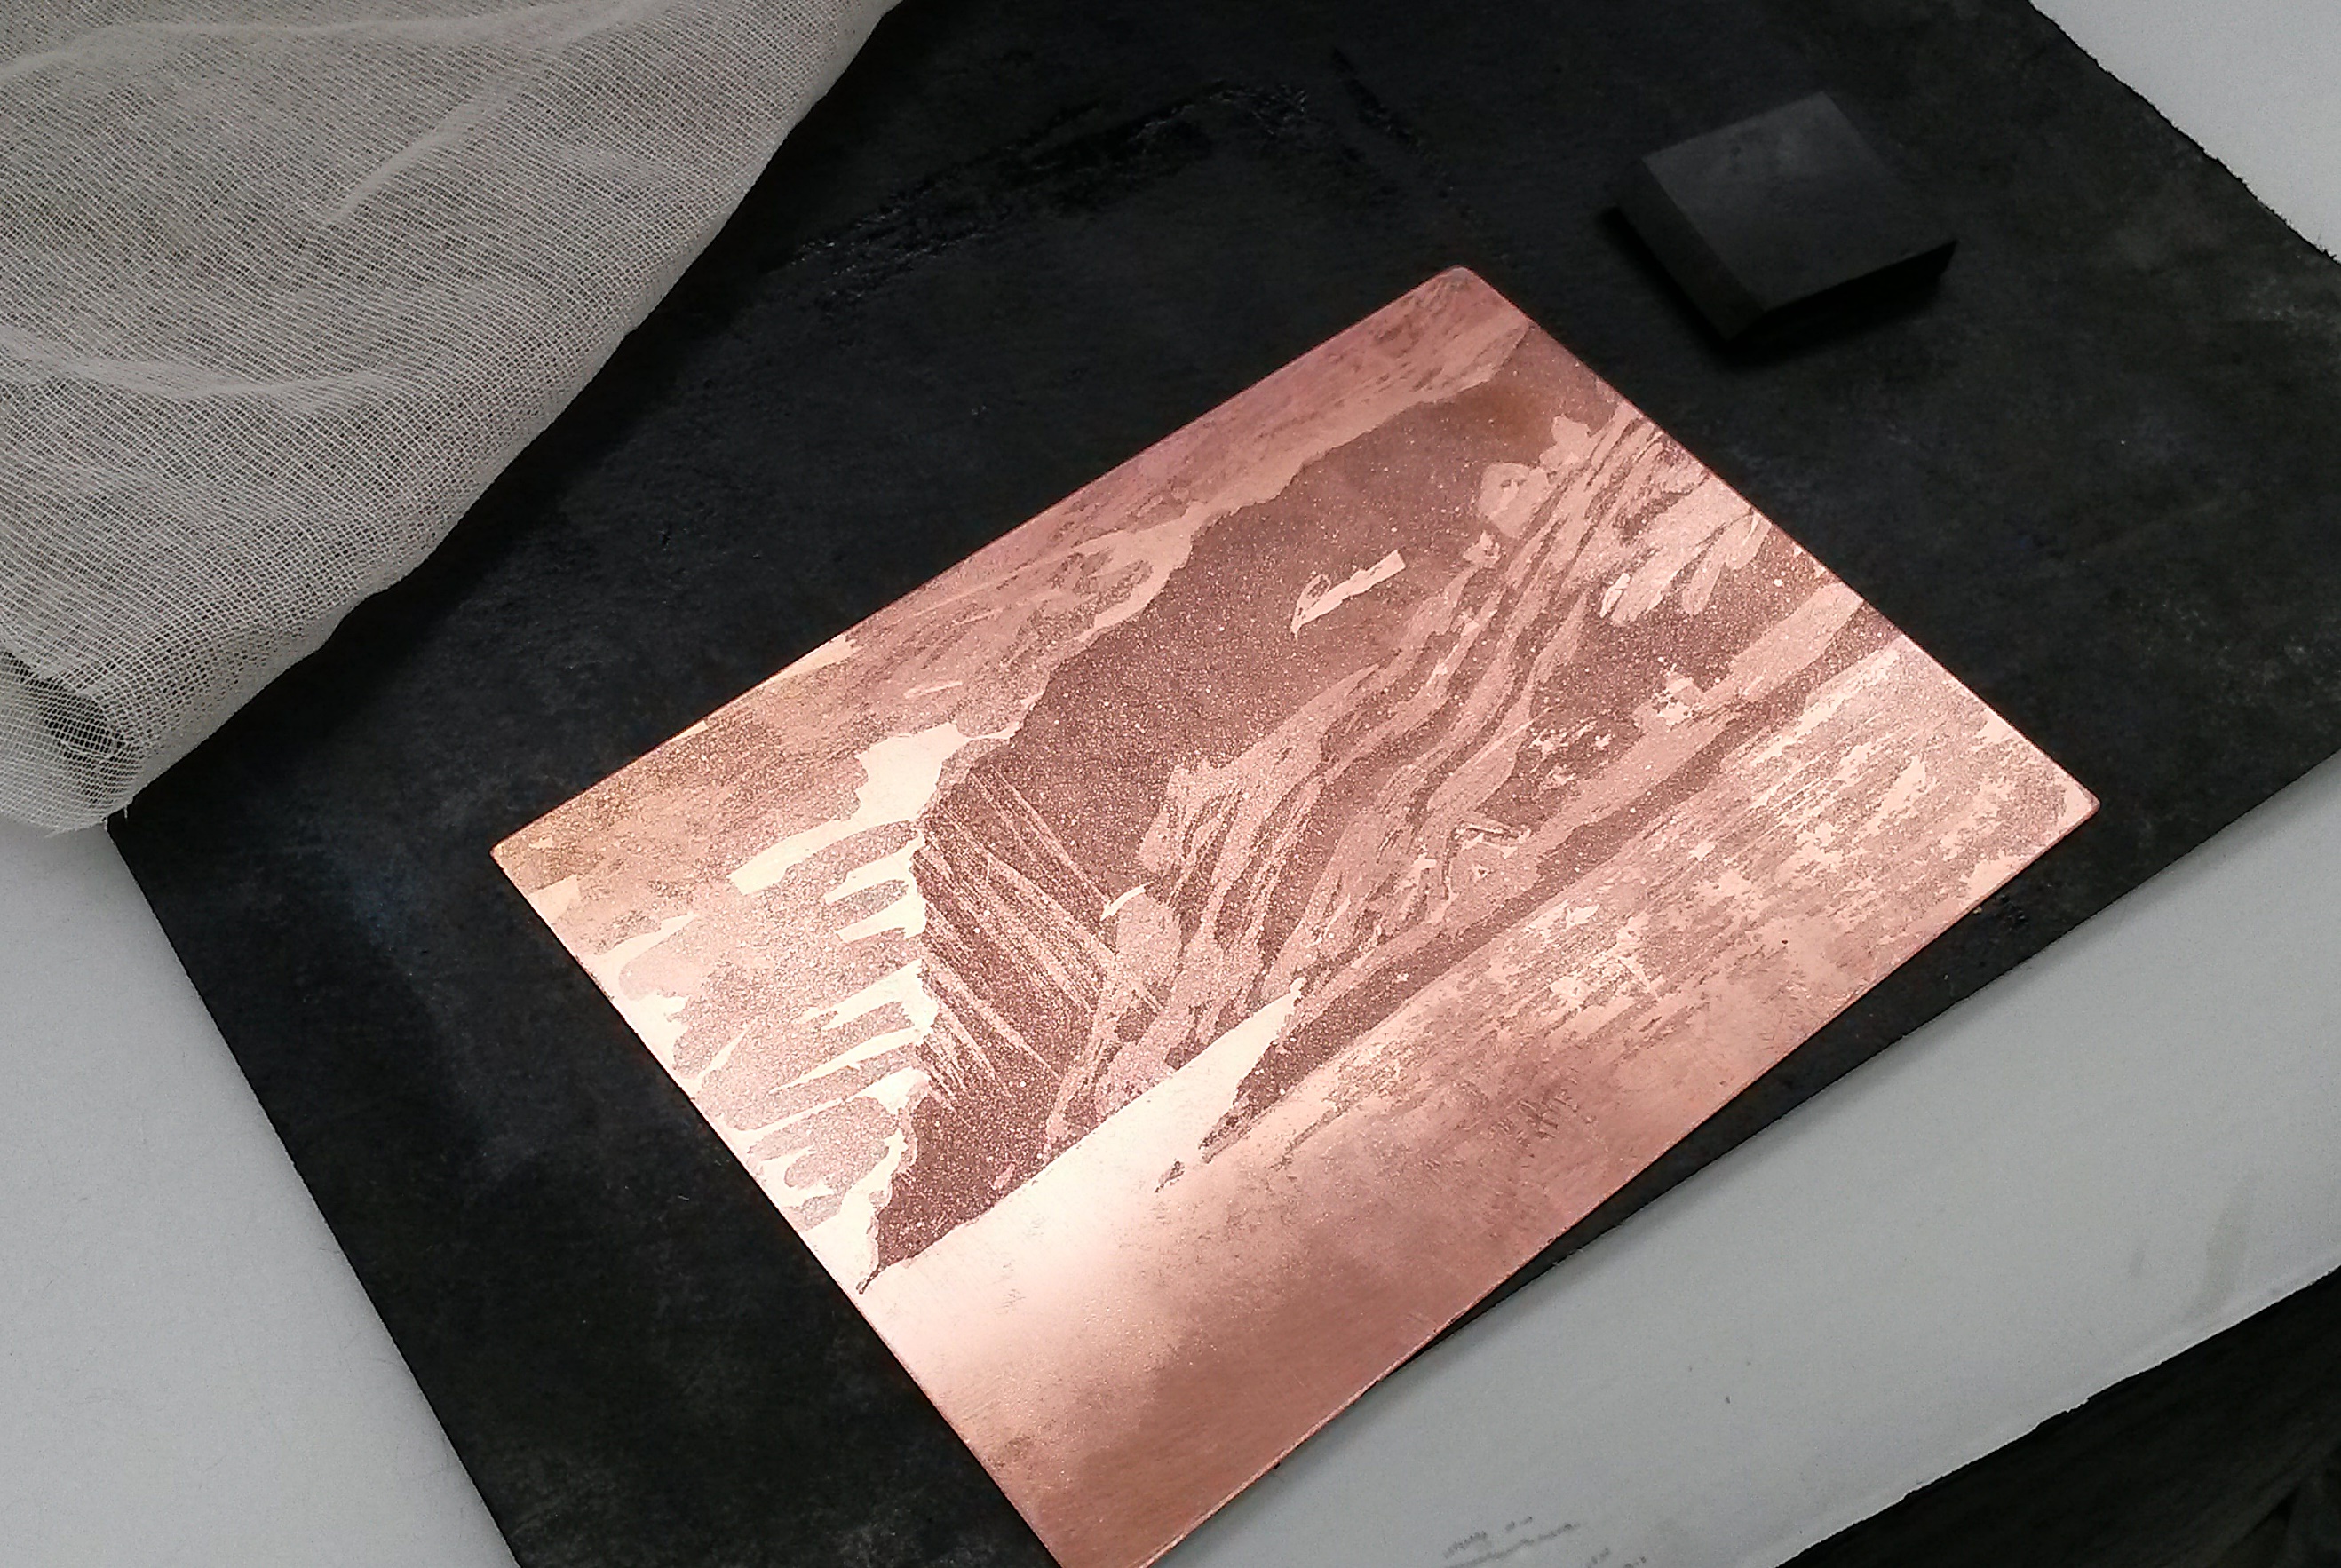
Now you strip off the stop-out ..
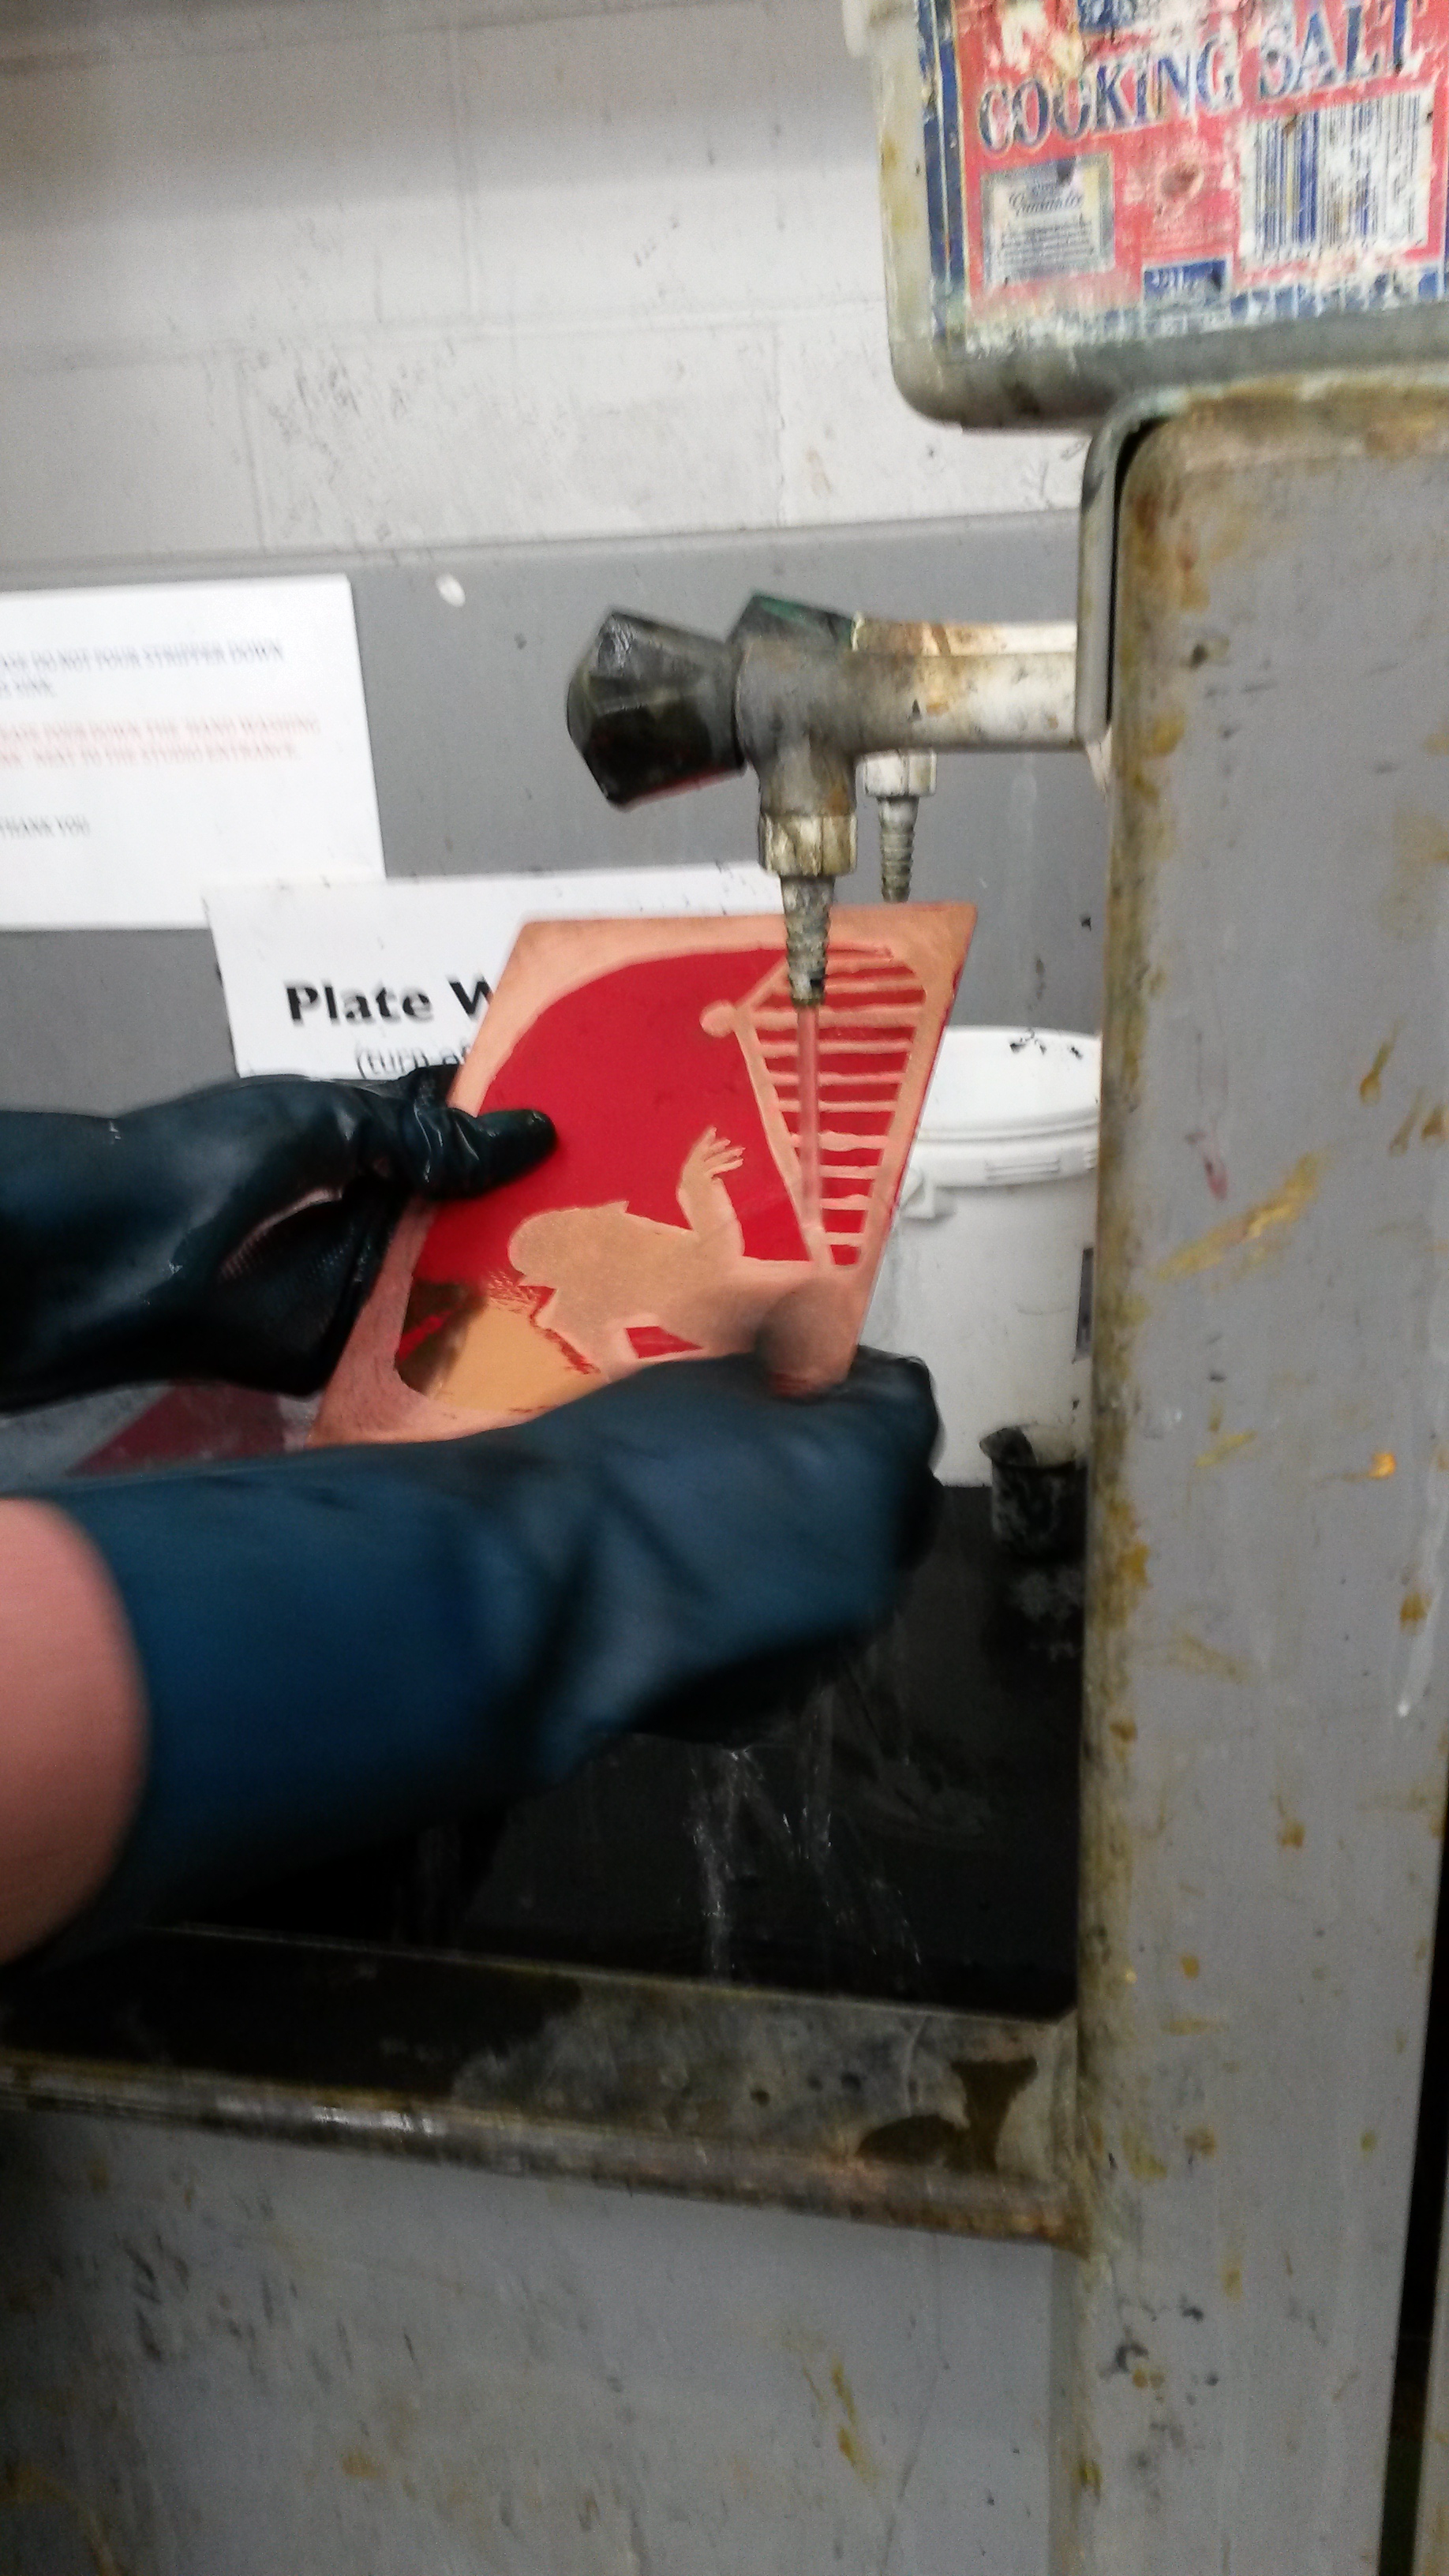
Then you take off the ink-ground with vegetable oil ..
To reveal your completely etched image! ..
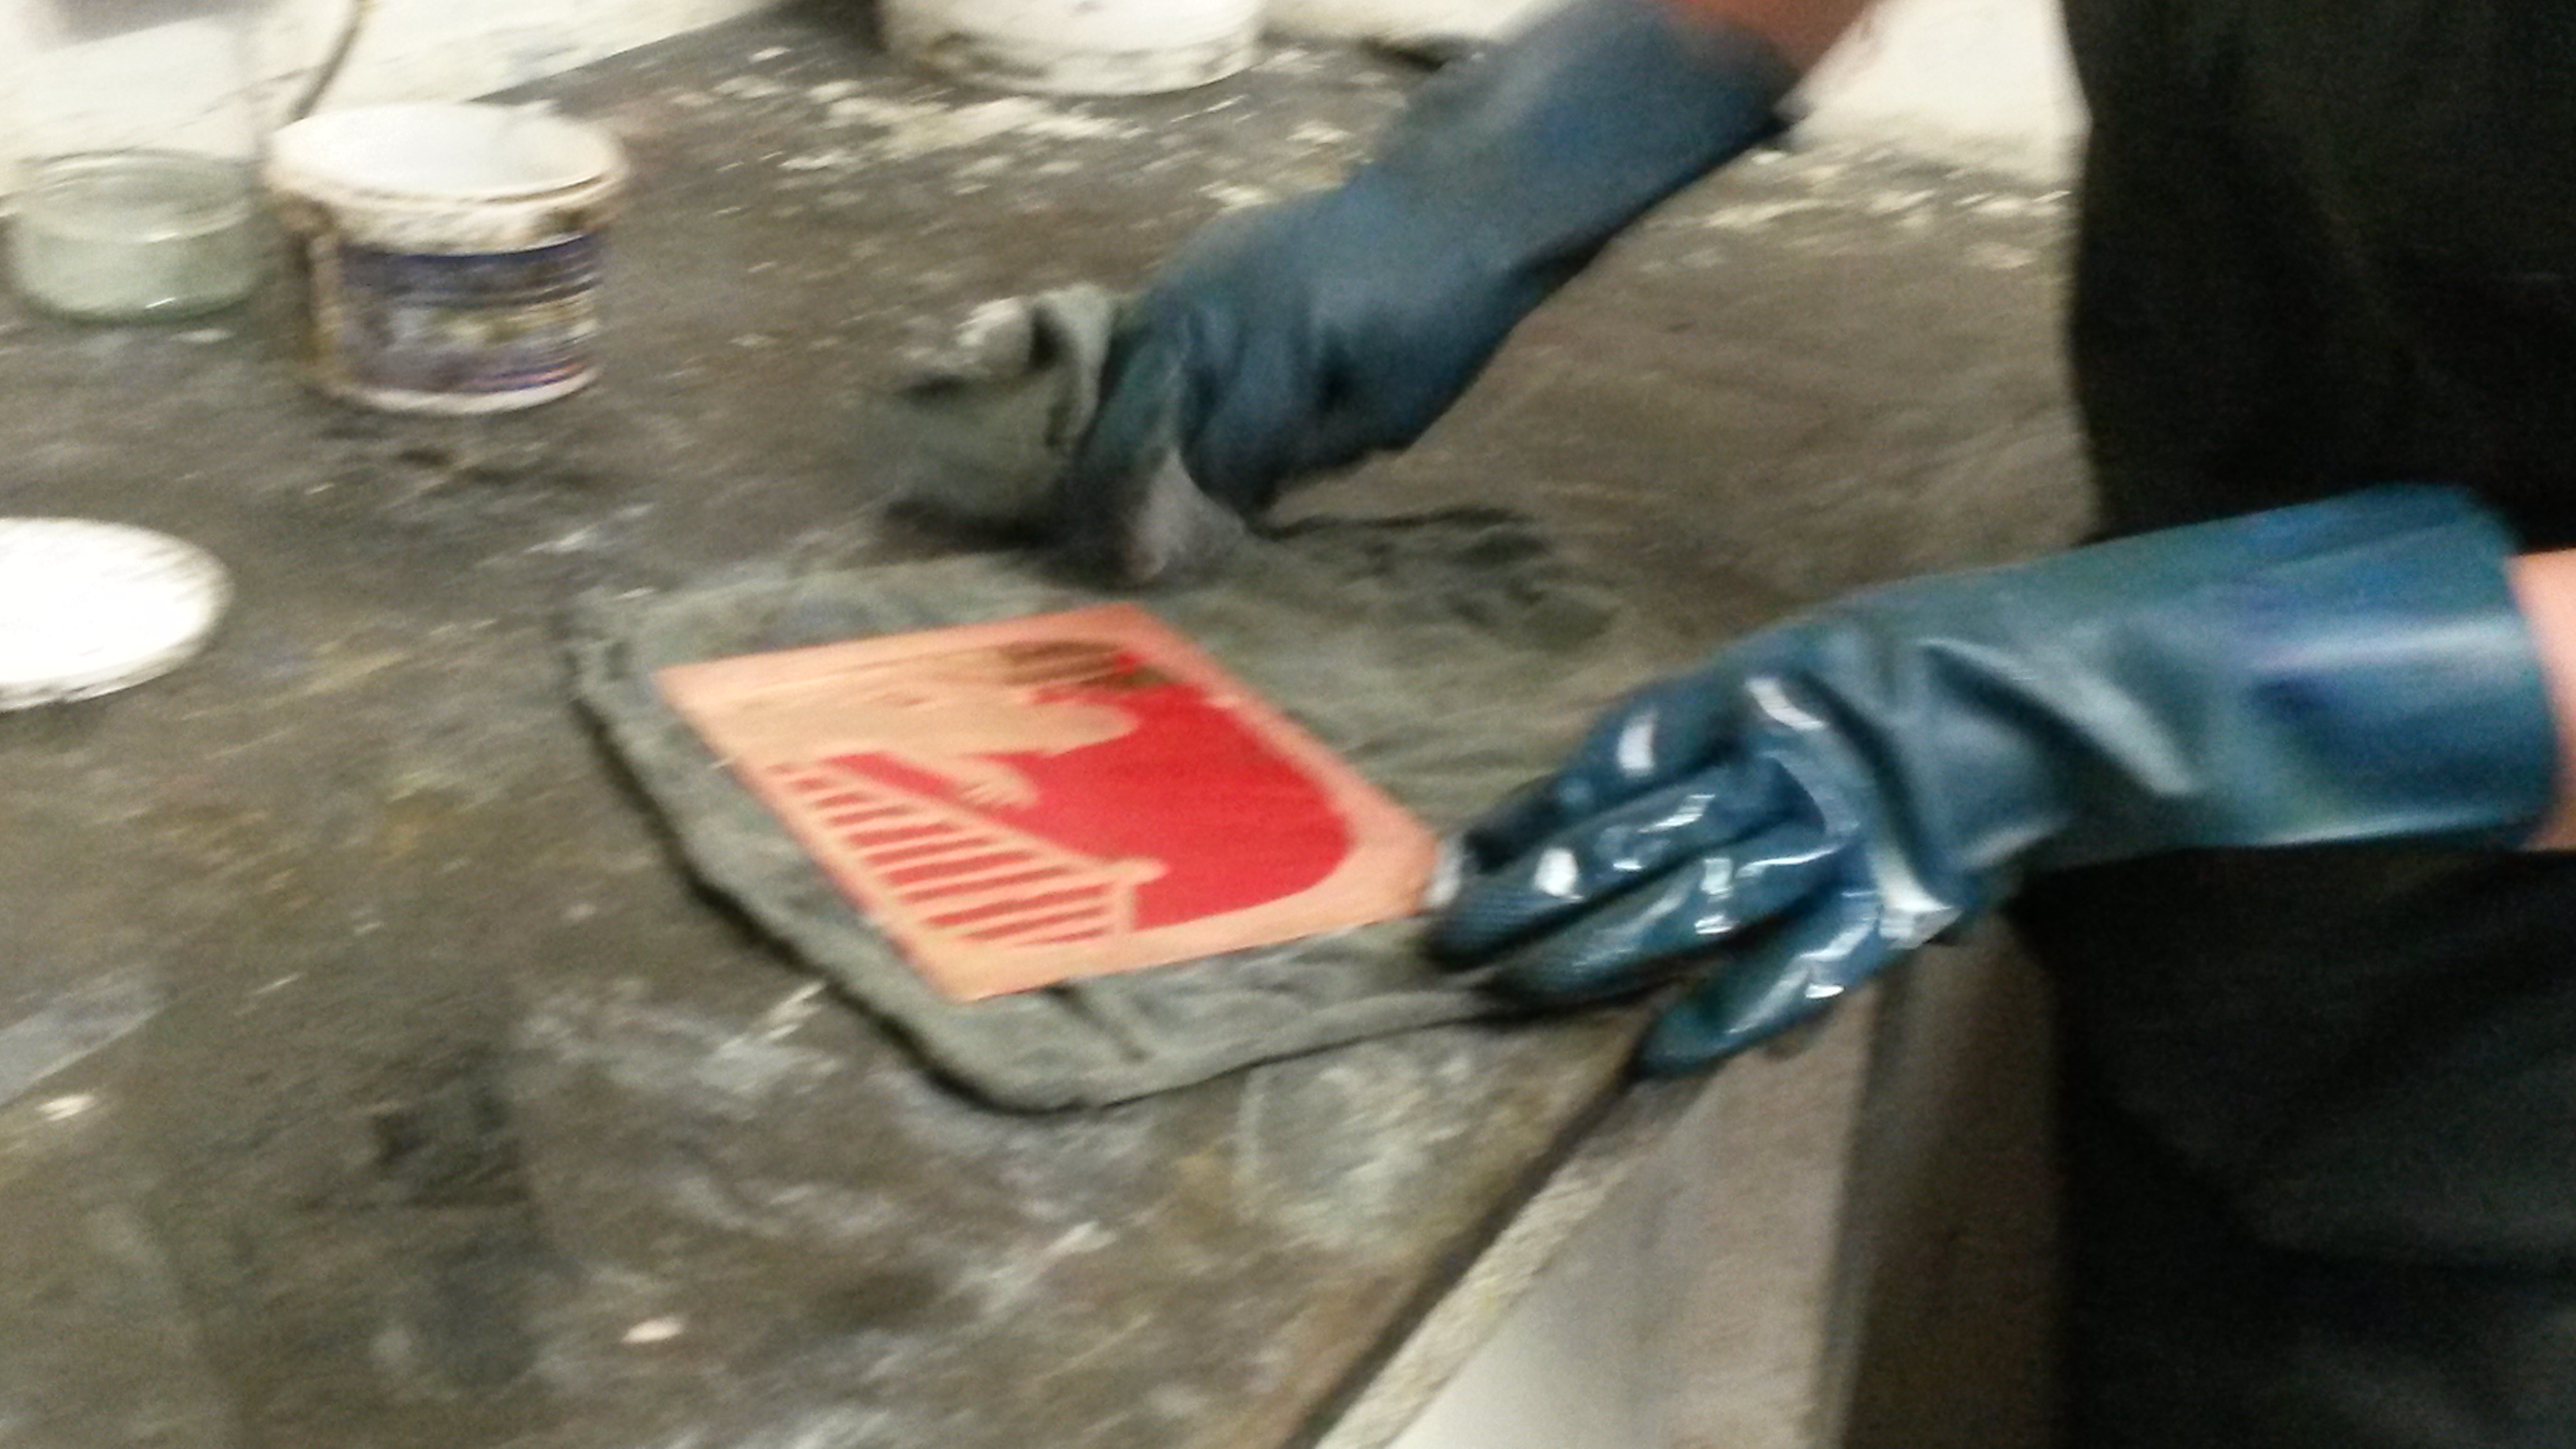
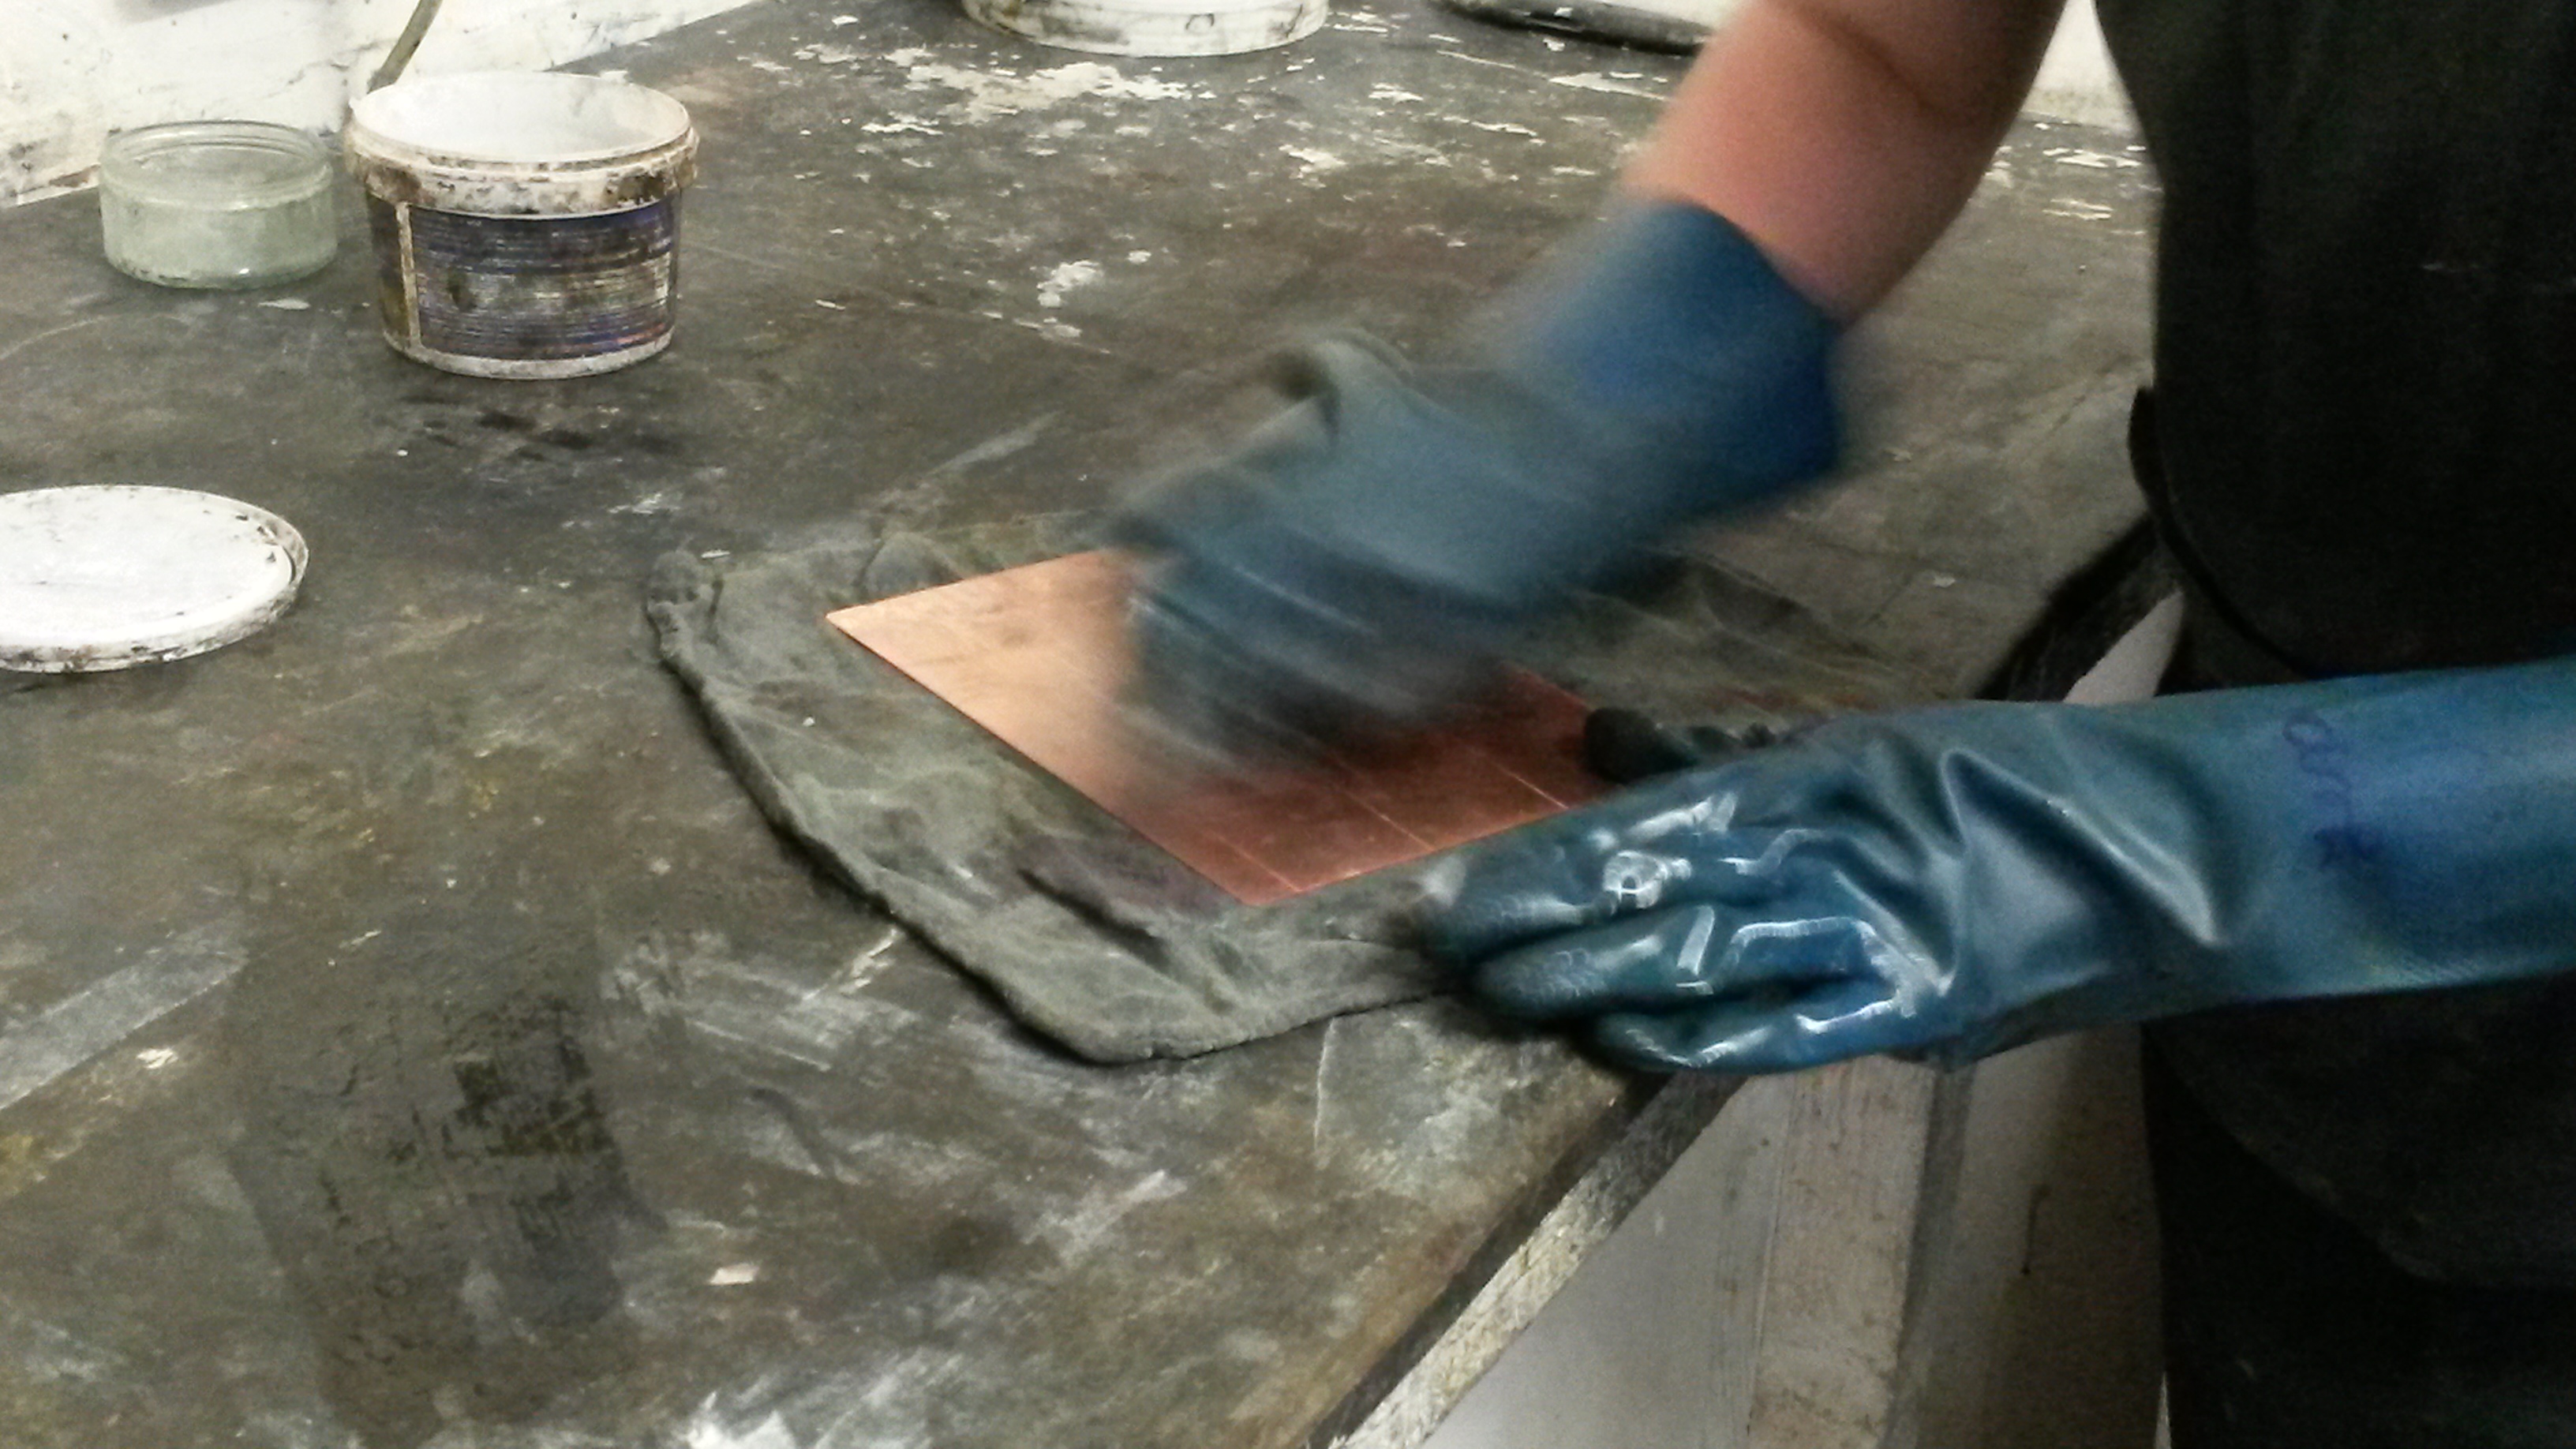
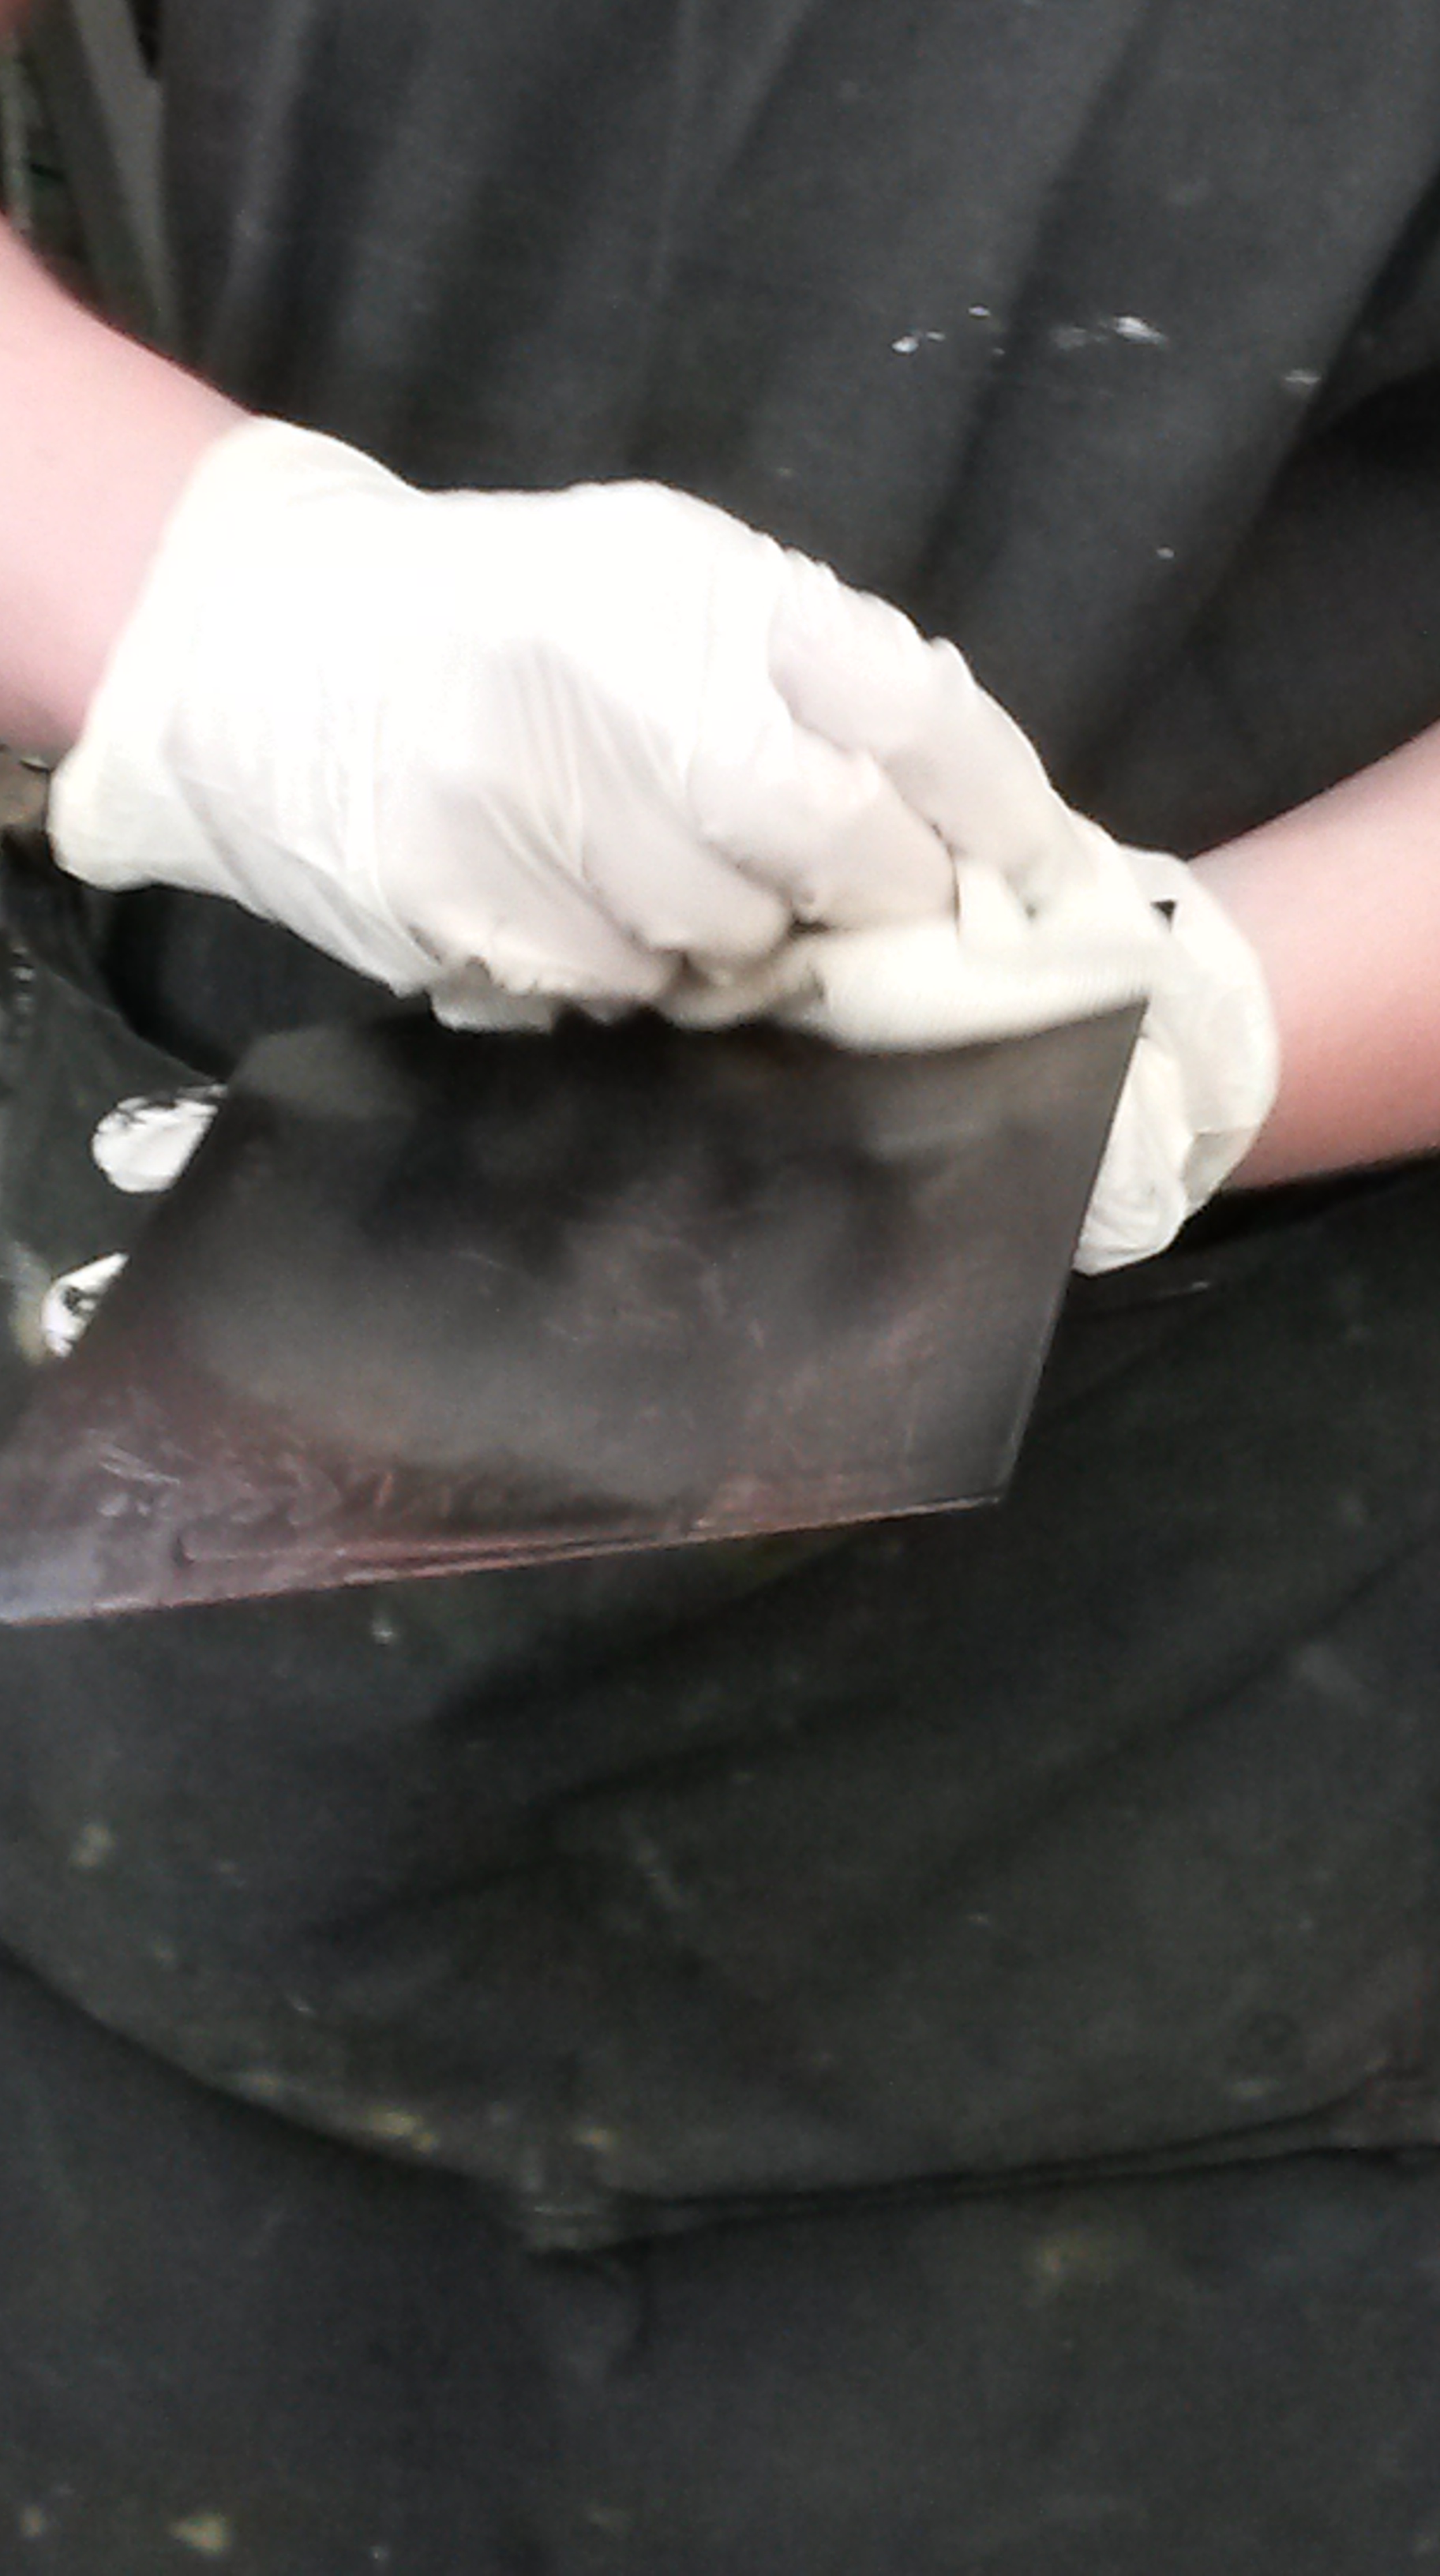
Using a rubber wedge or ‘squeegee’, you push soft ink into the plate, then scrape it off first with the squeegee, then very gently with rough cloth, and finally with tissue paper, leaving the ink only in the etched parts..
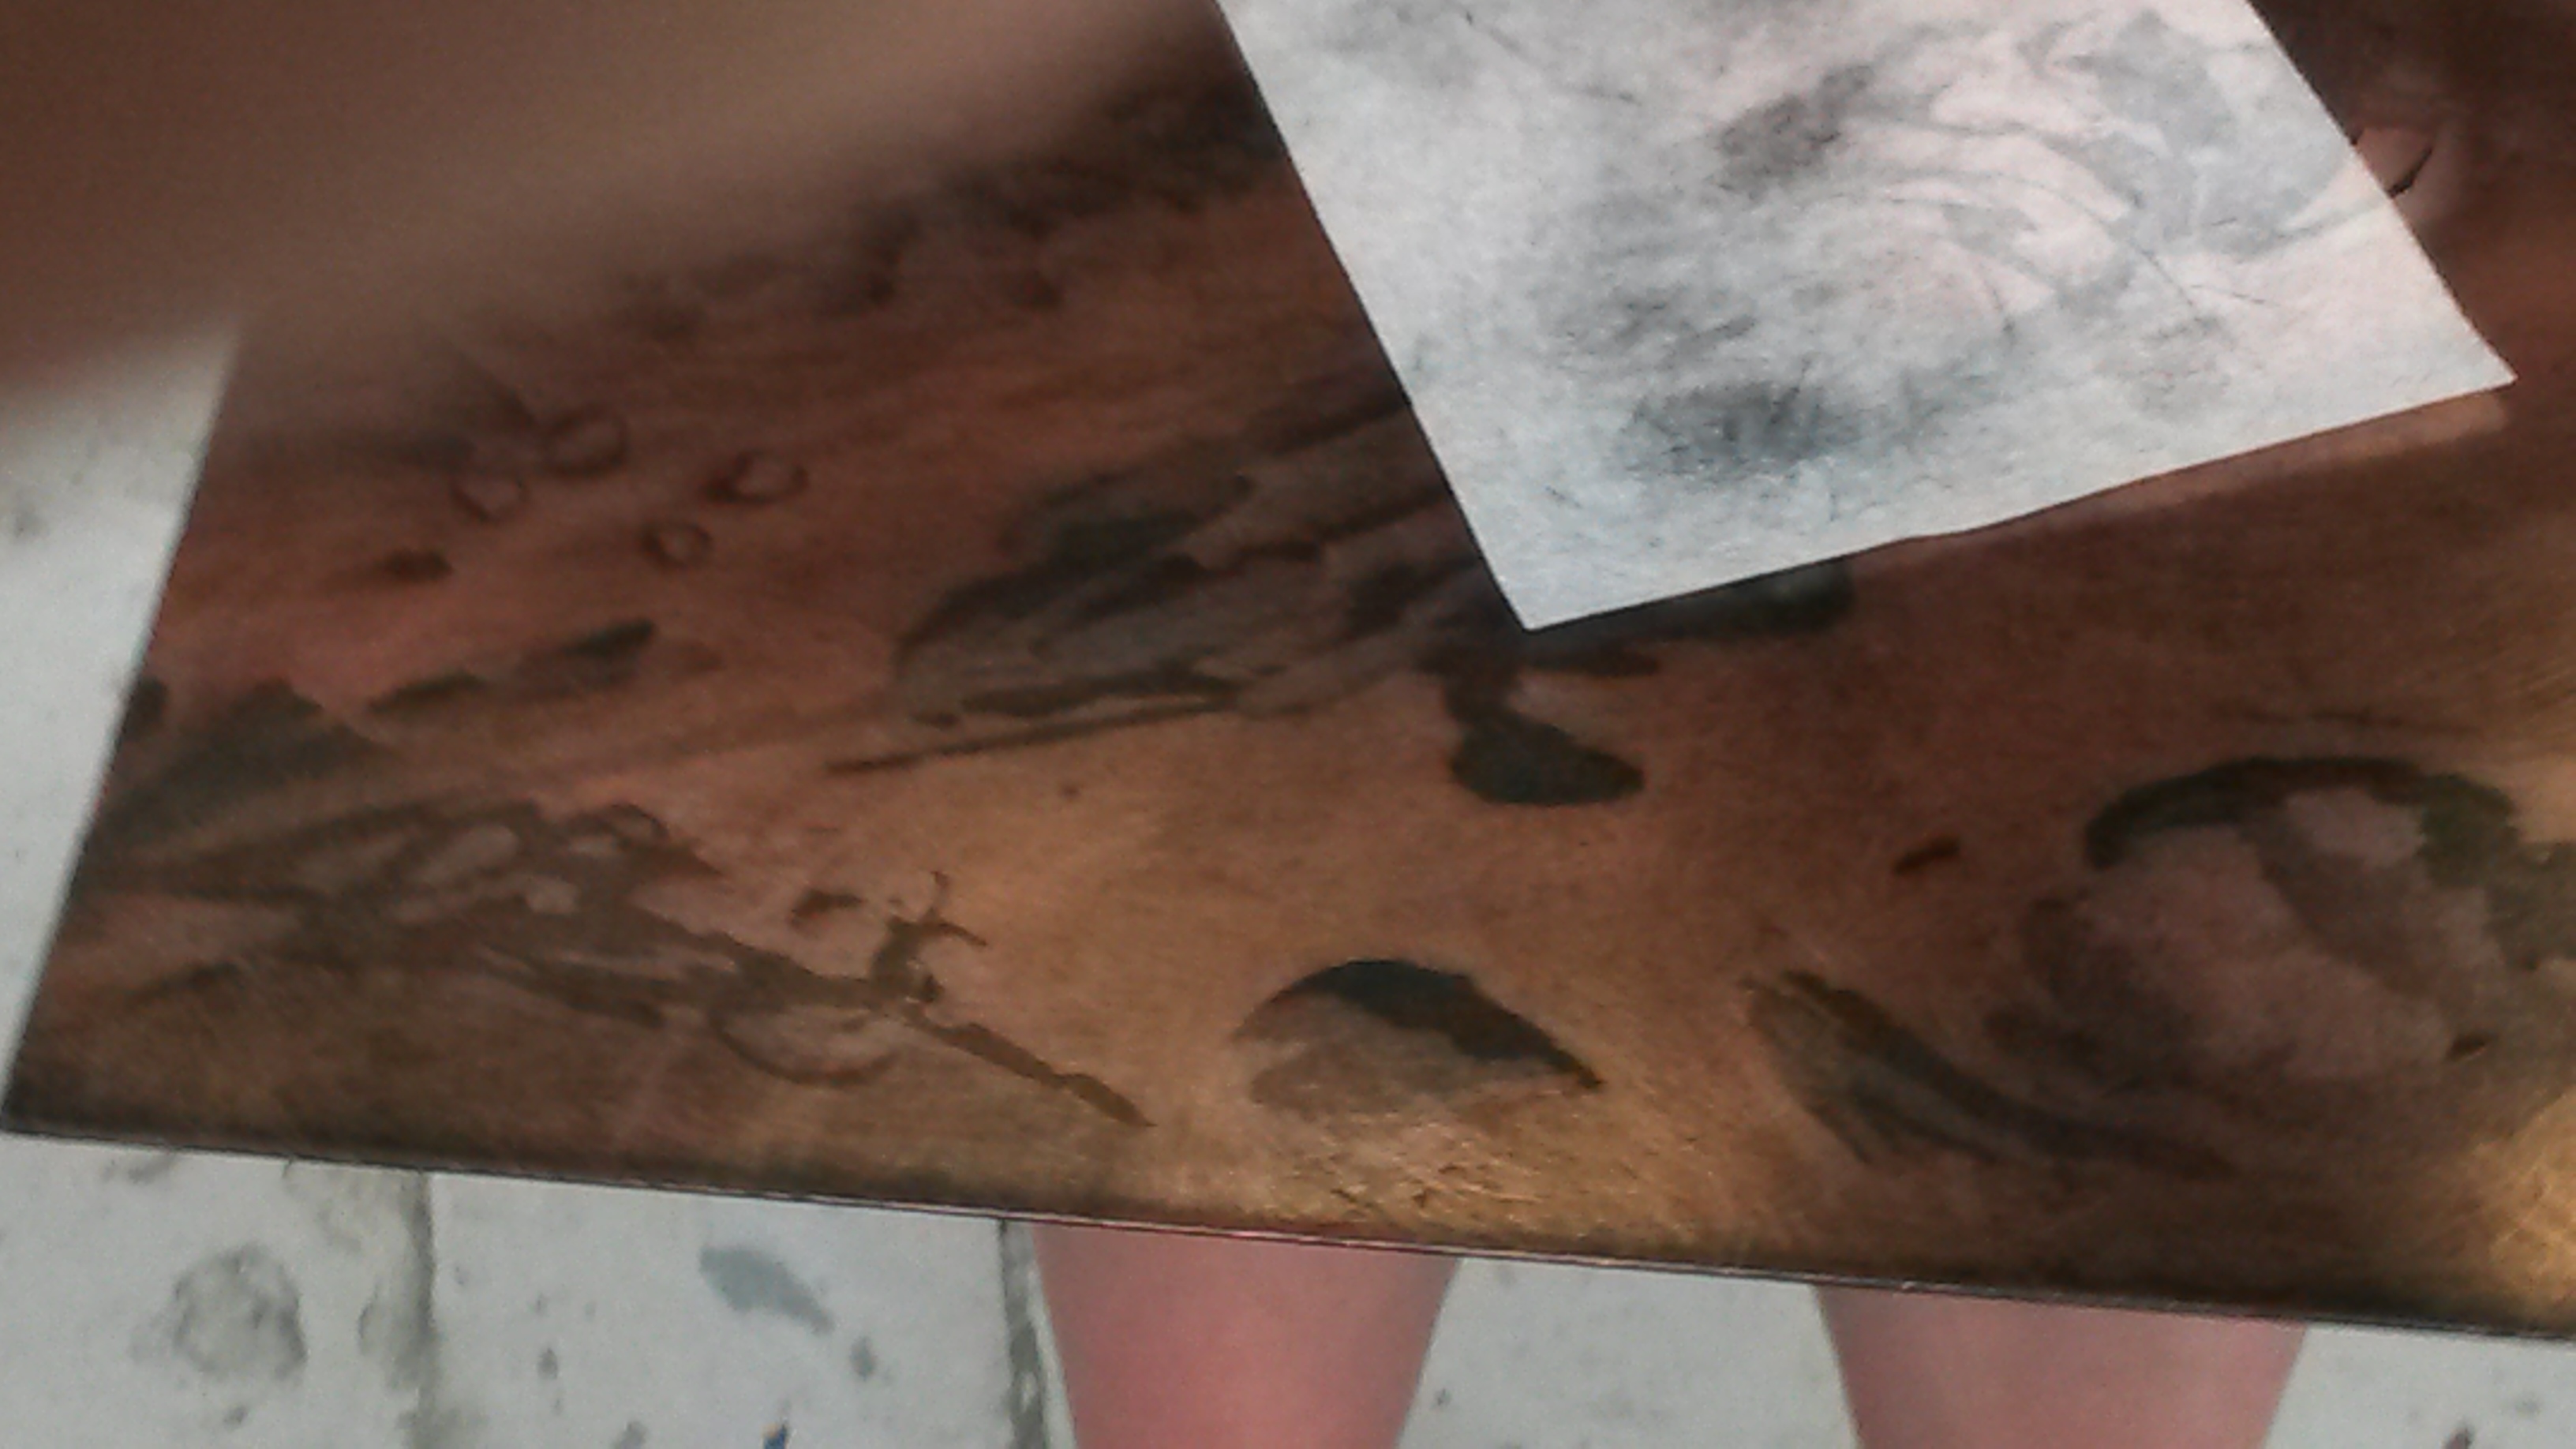
Now your plate is ready to be printed, you place a layer of tissue on the printing press, then your etched plate, then the printing paper (pre-soaked and blotted) on top. On top of this you pull over a special printing blanket, then you roll the handle of the press across the print, finally you carefully pull off the paper from your plate, and voila!

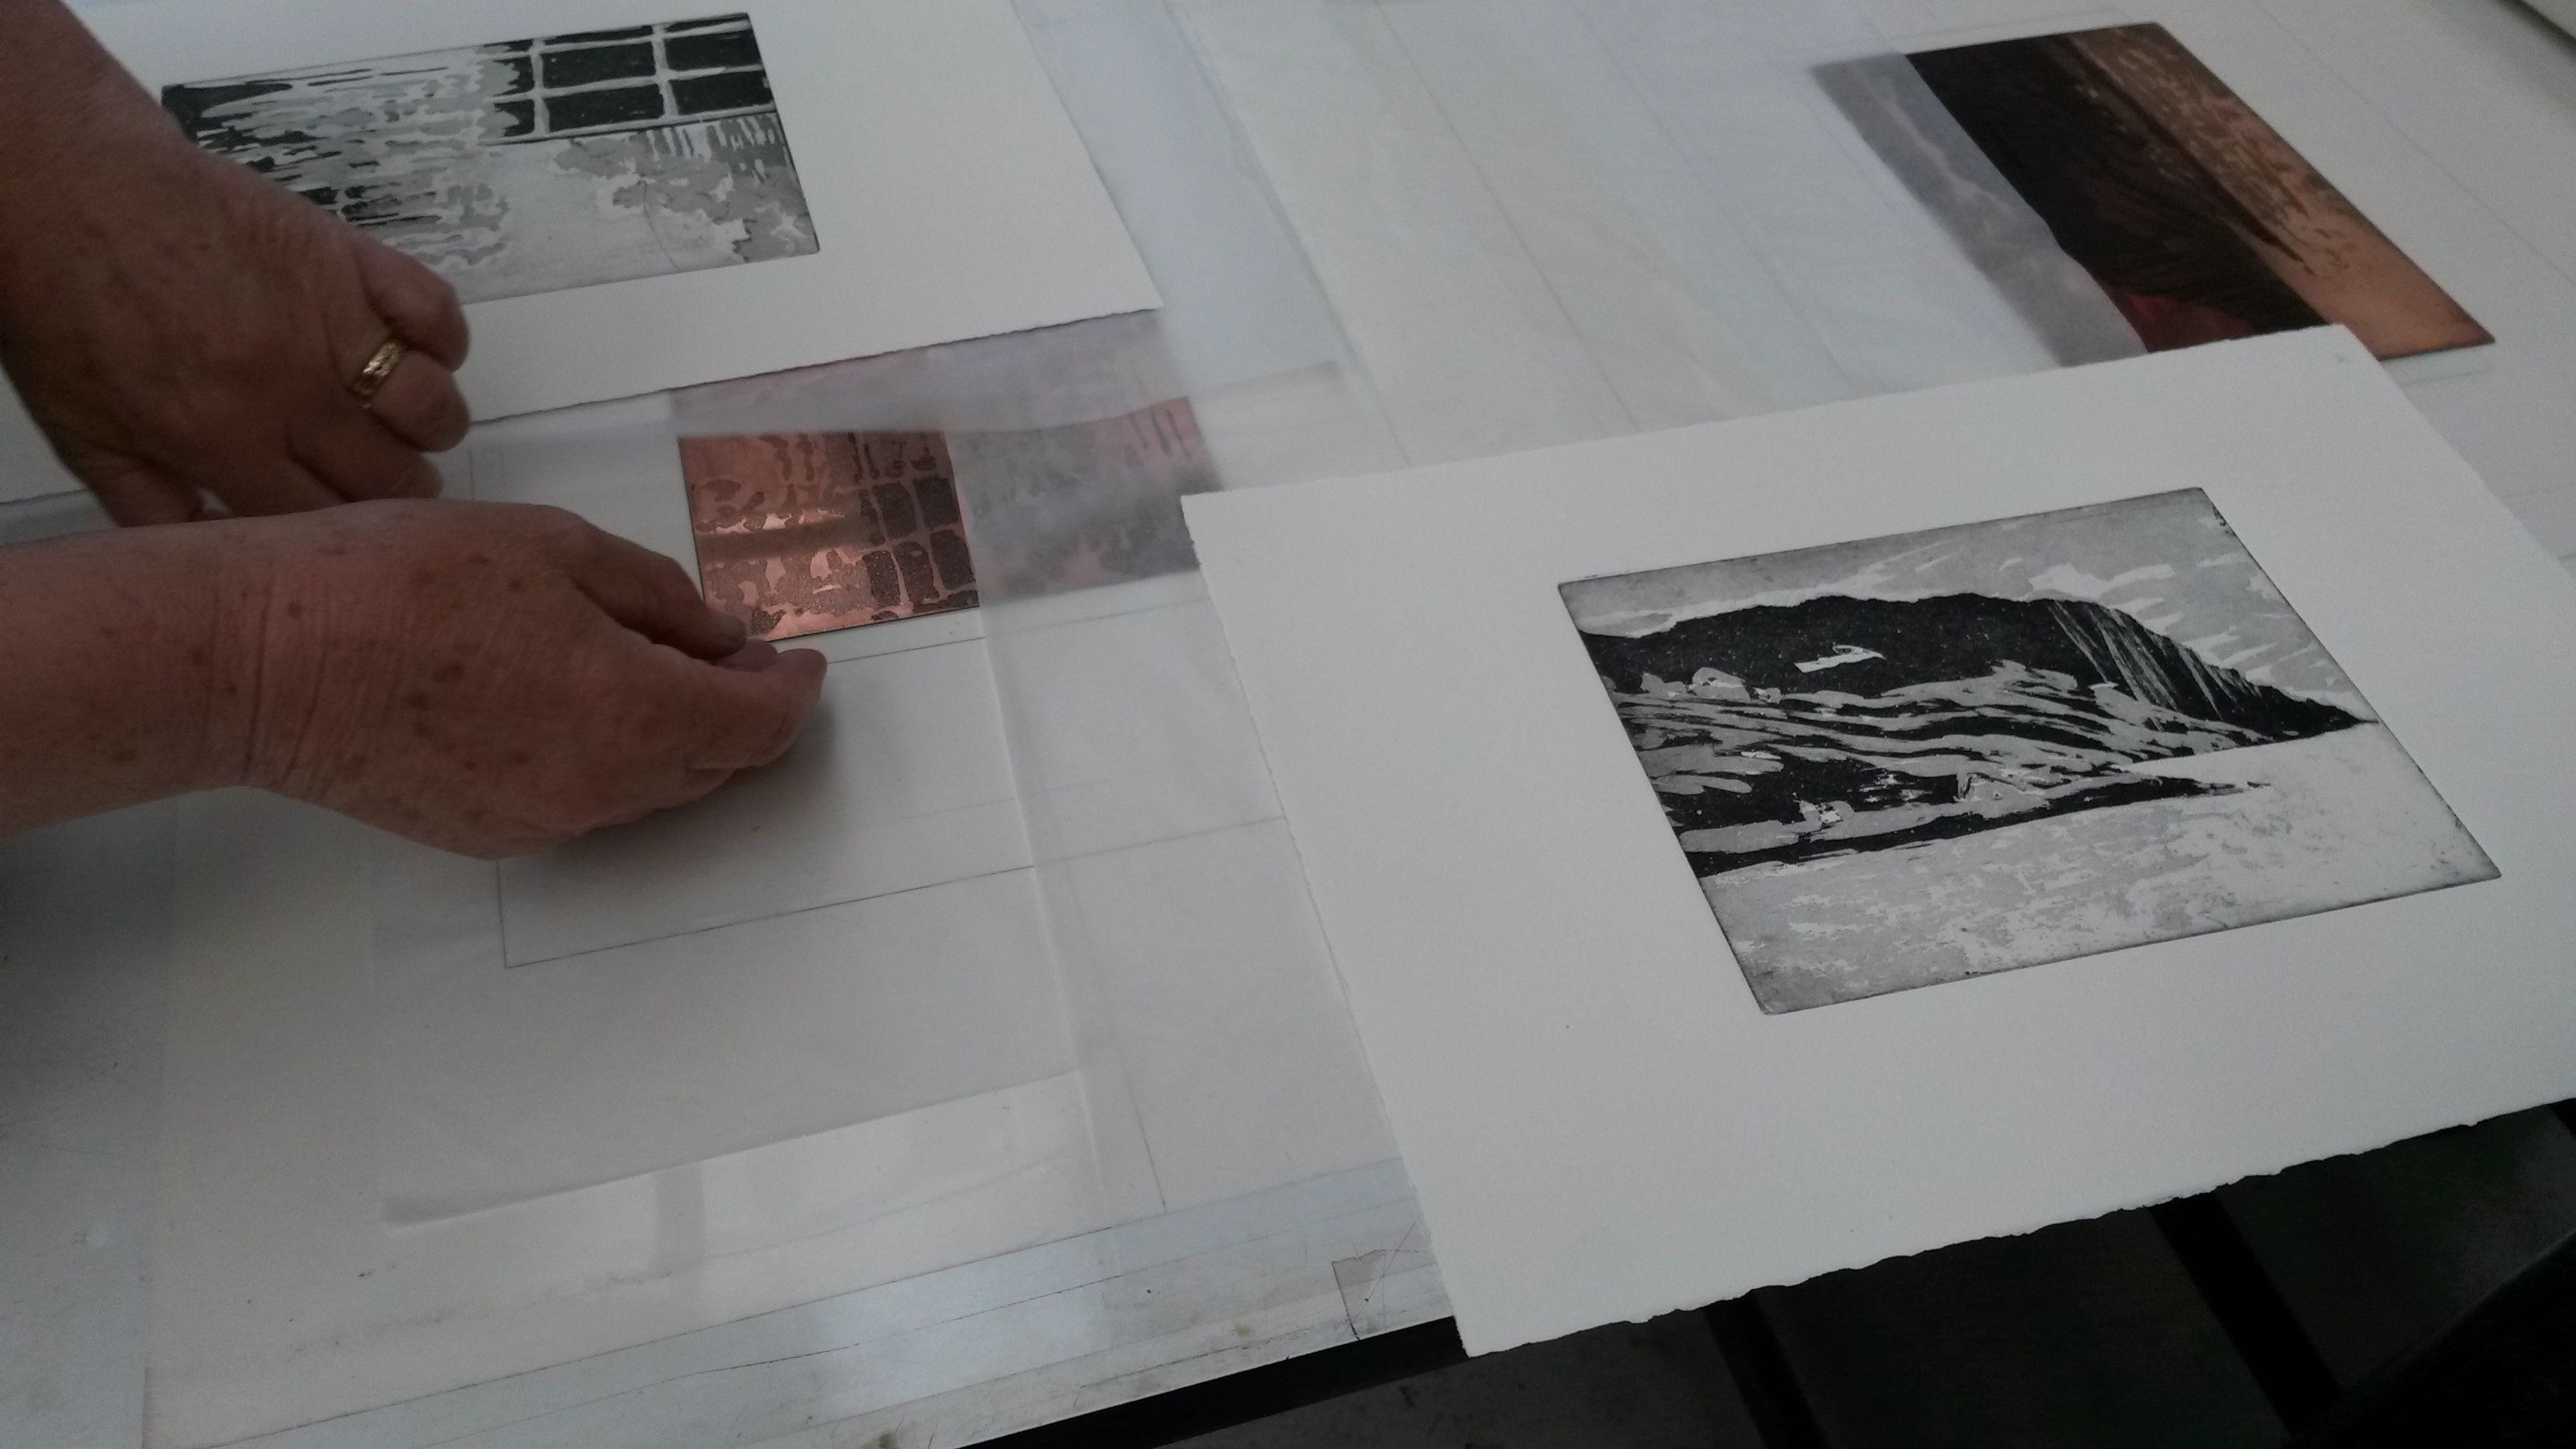
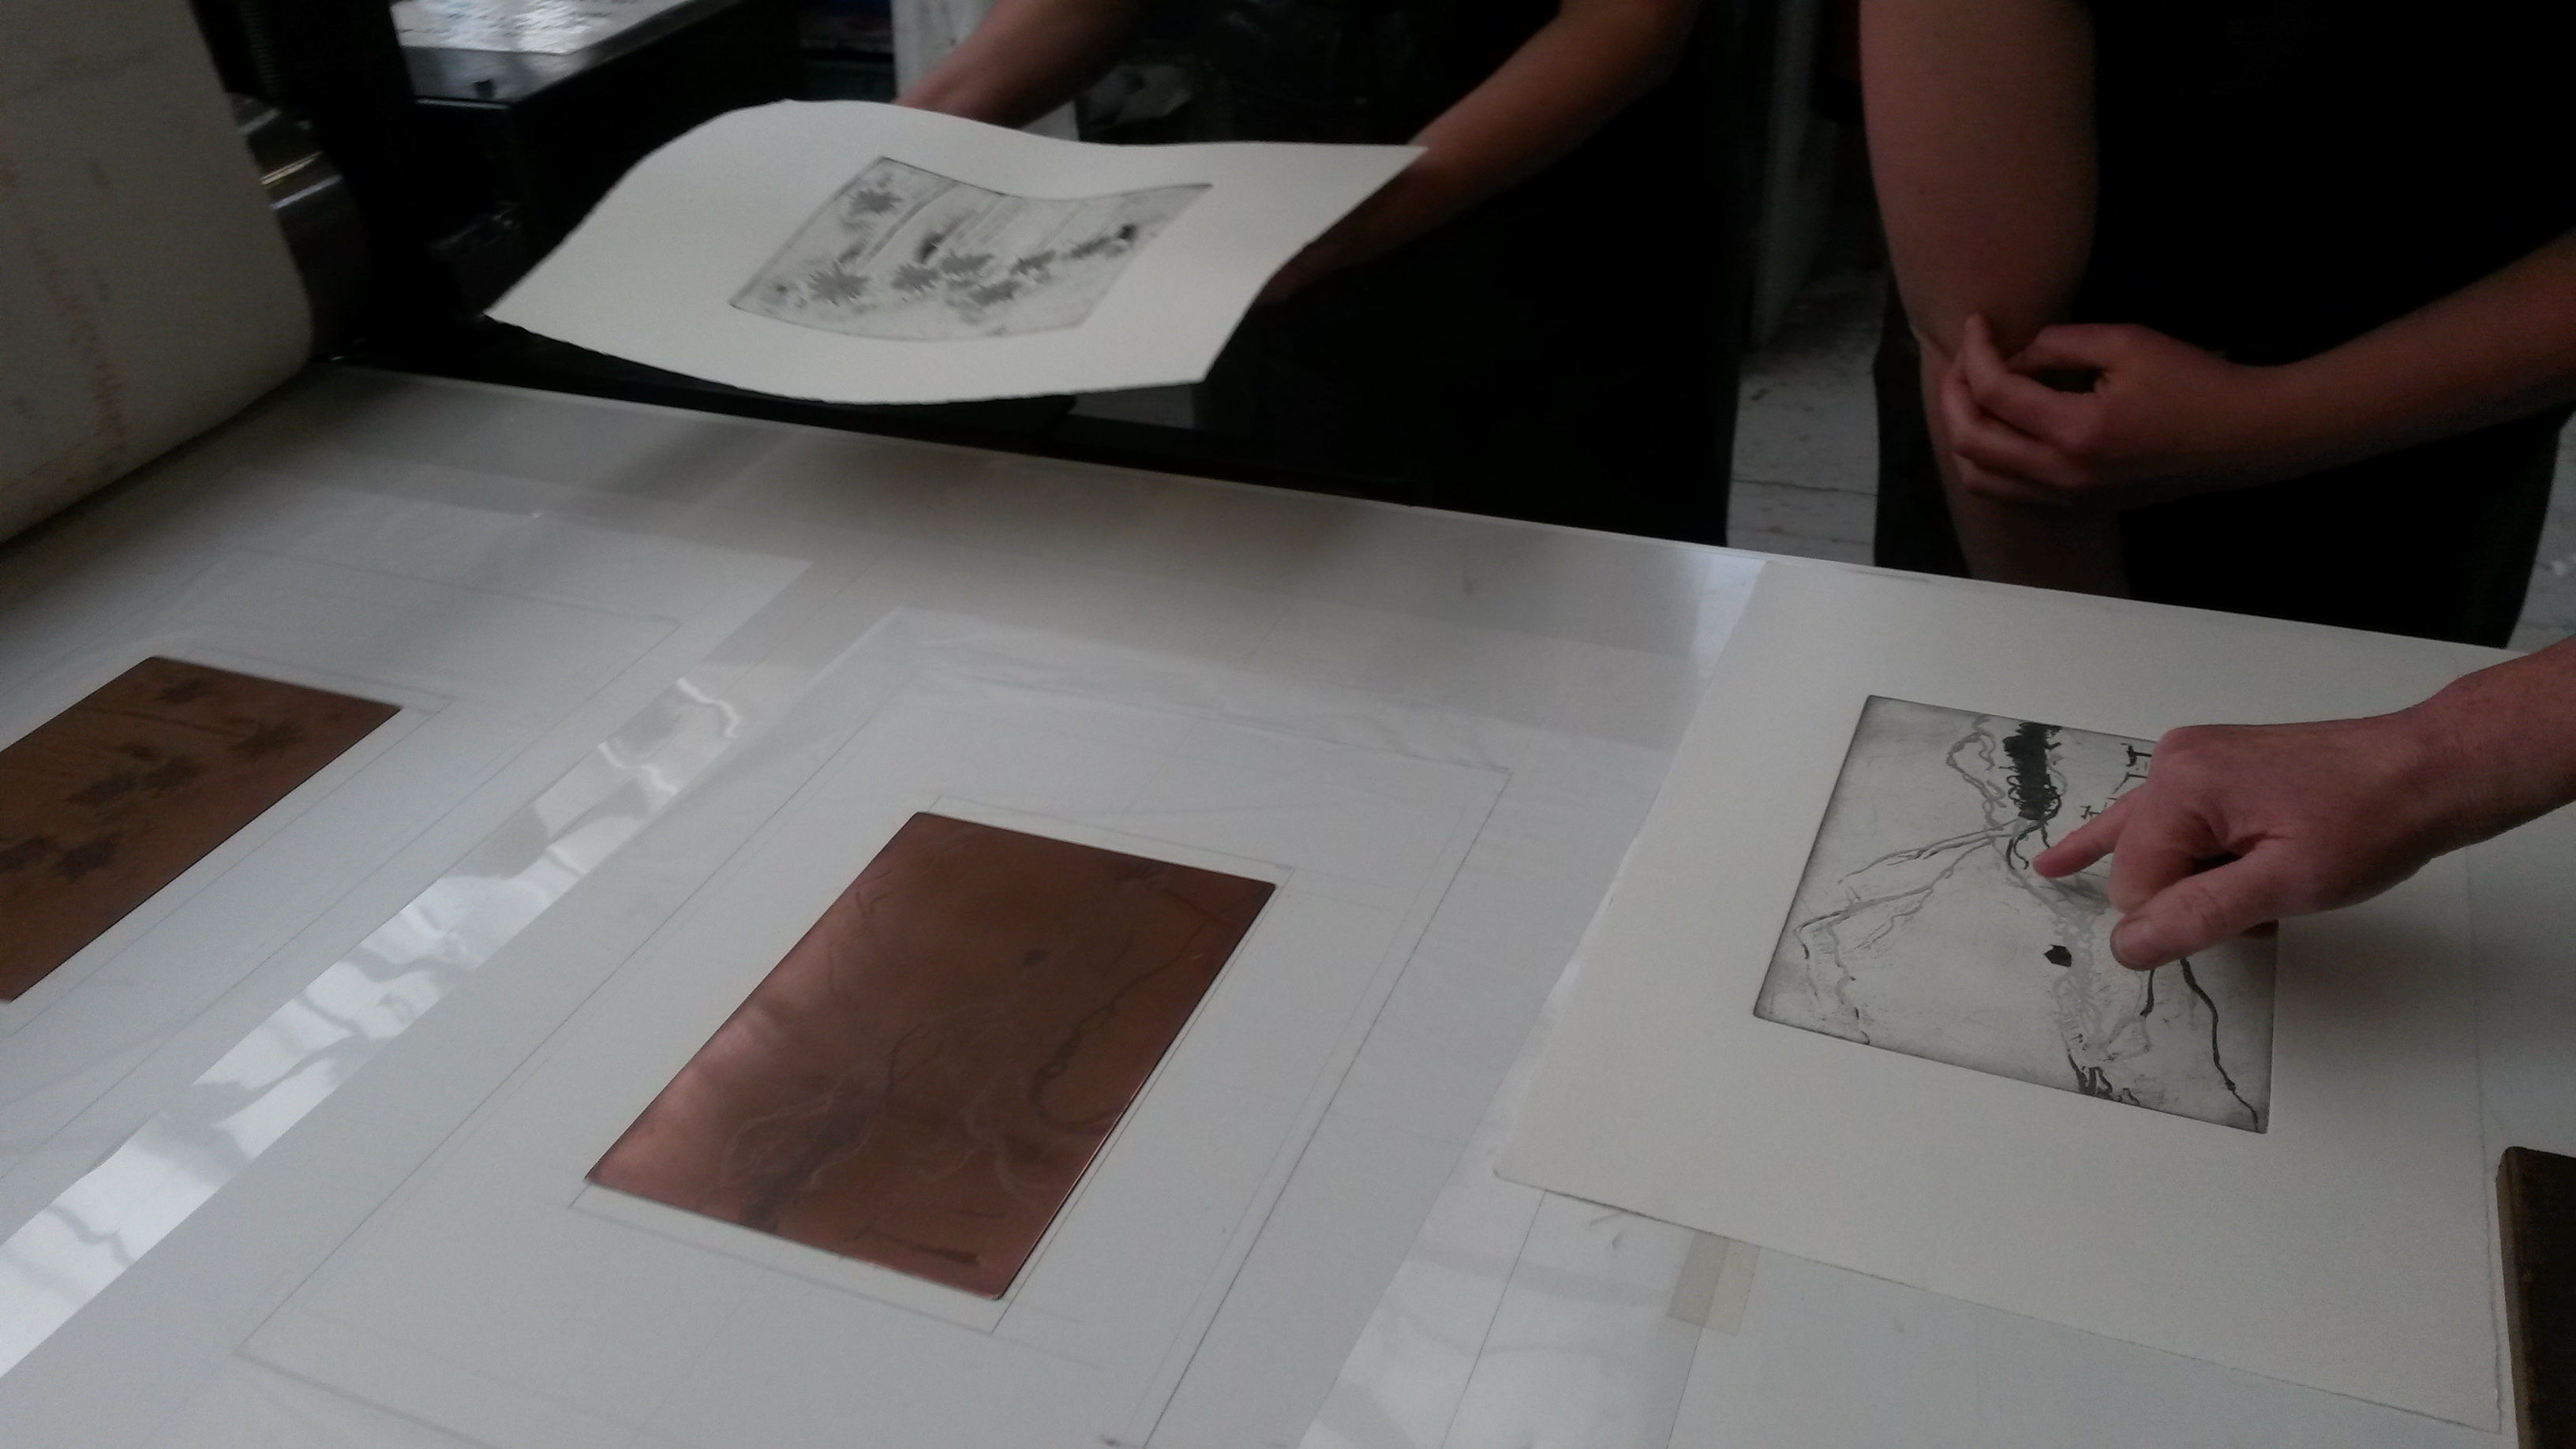
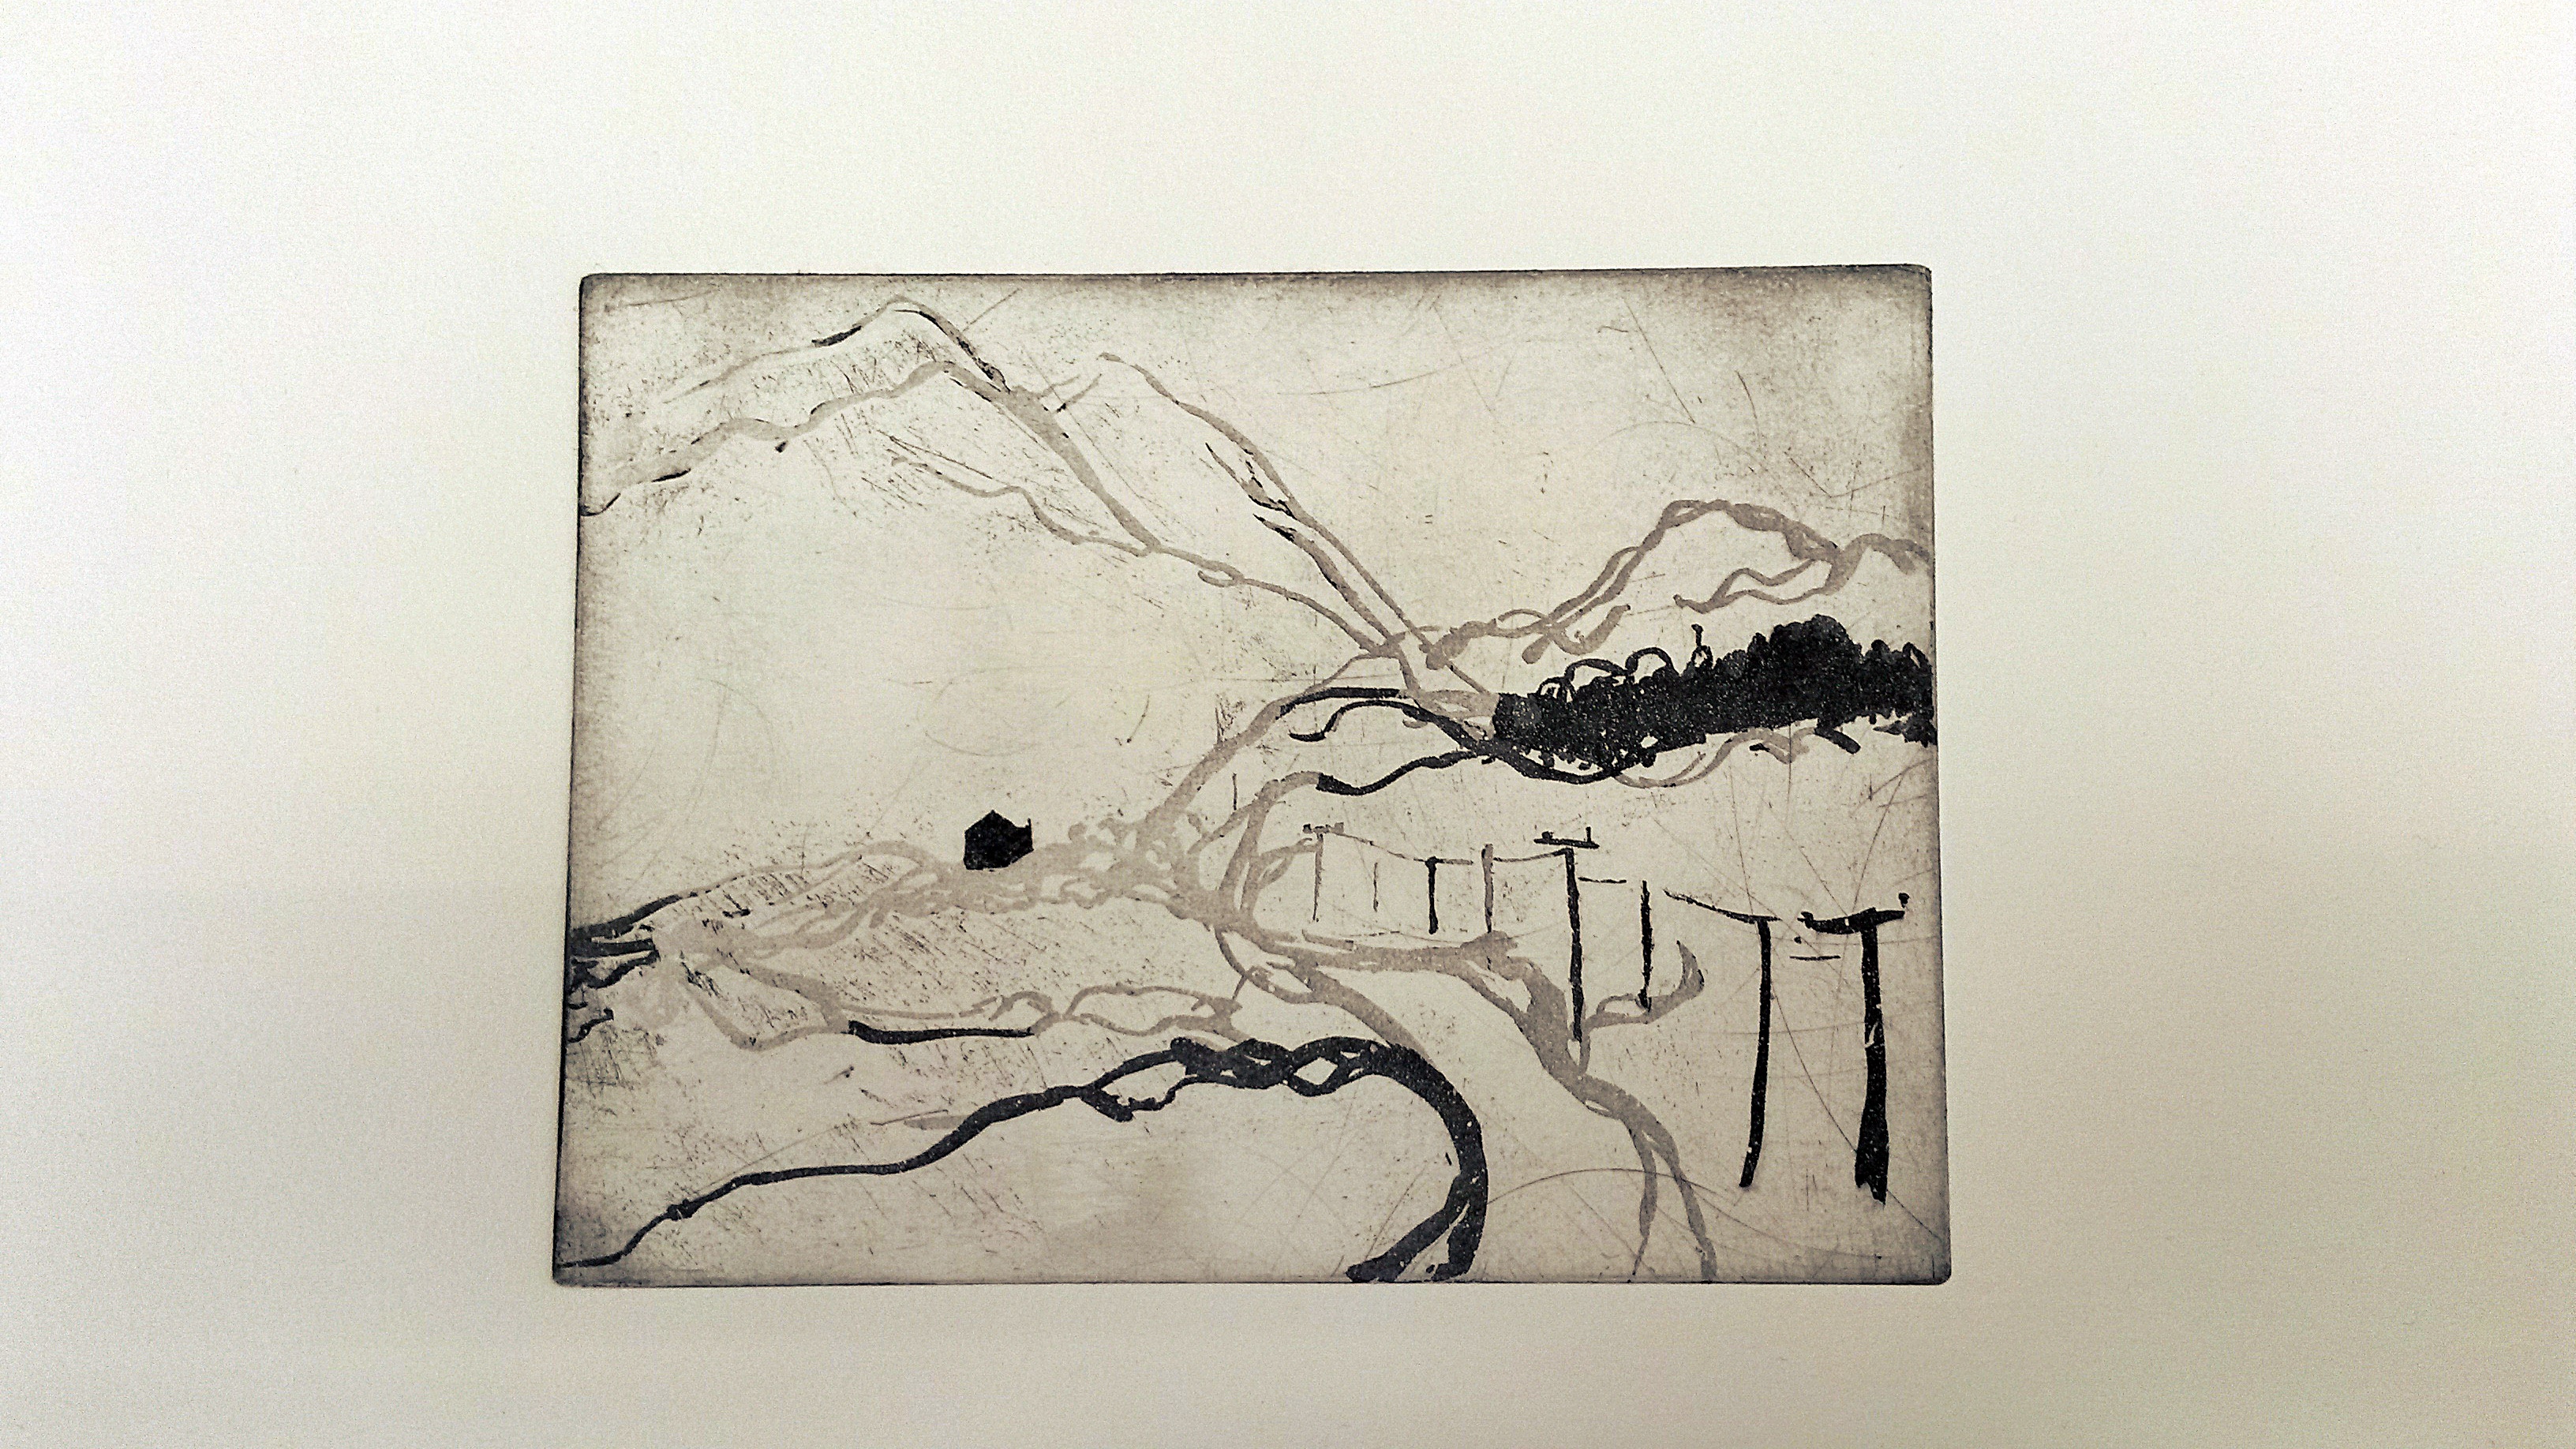
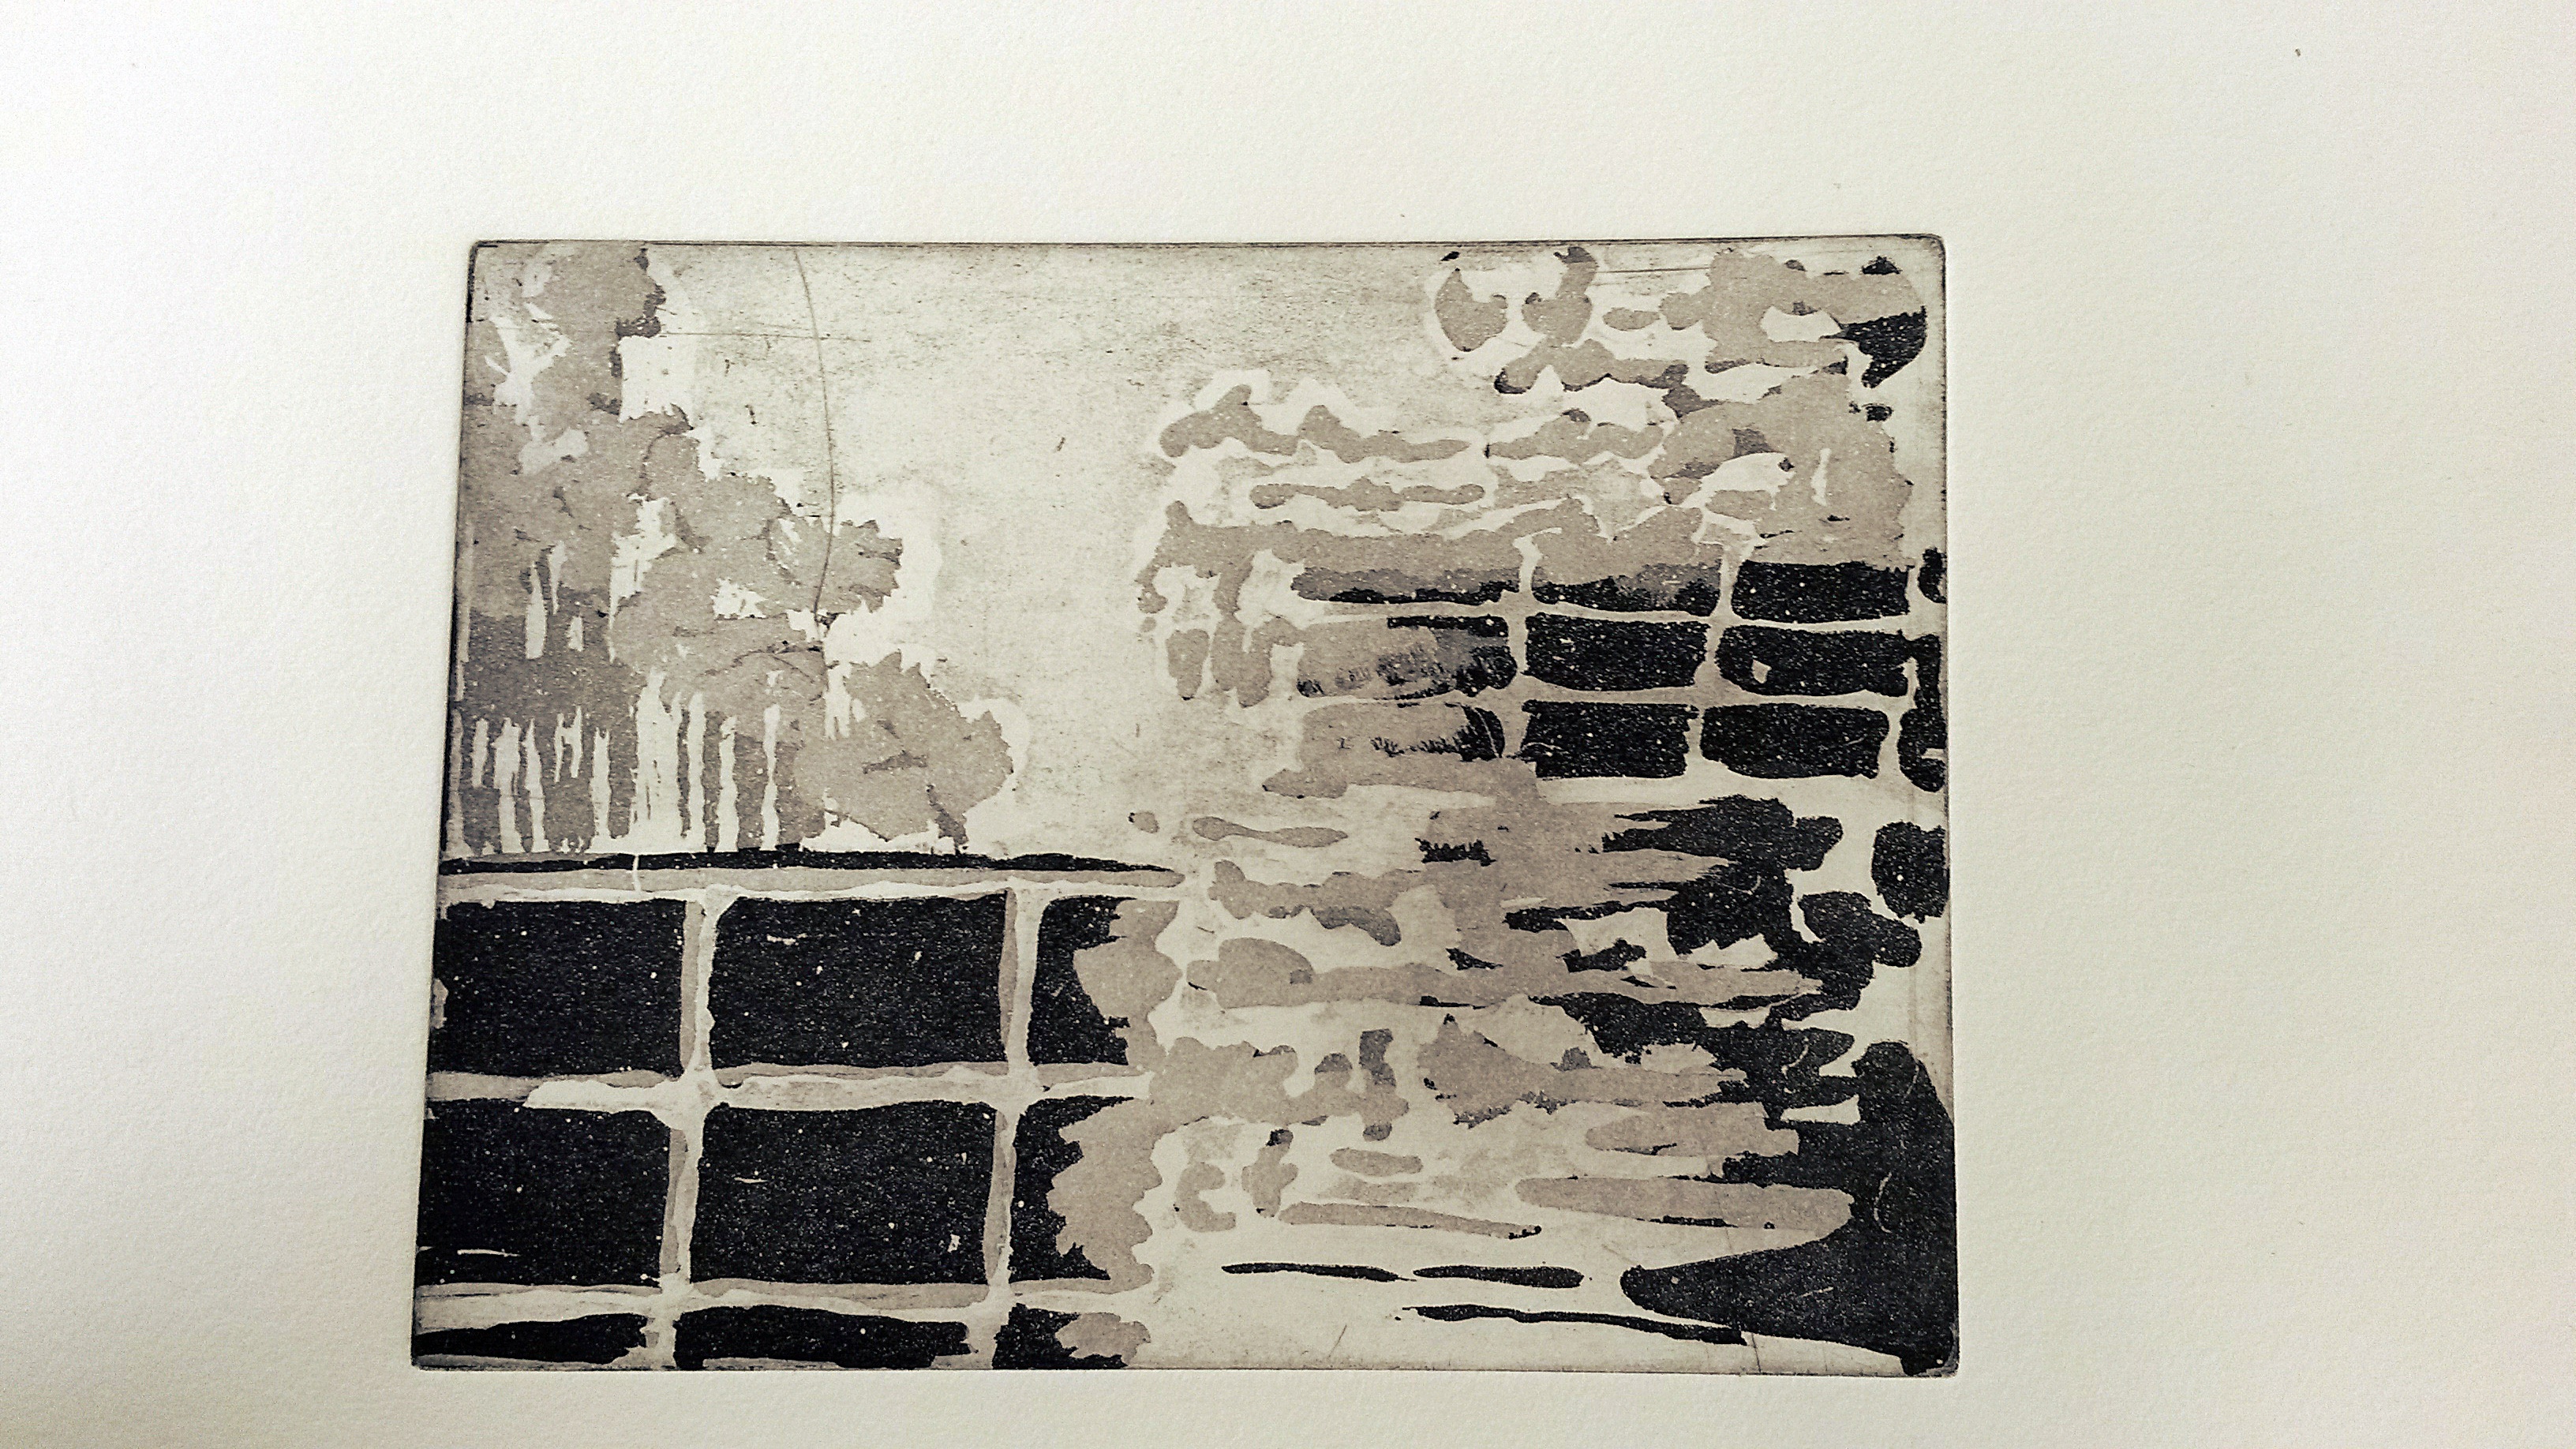
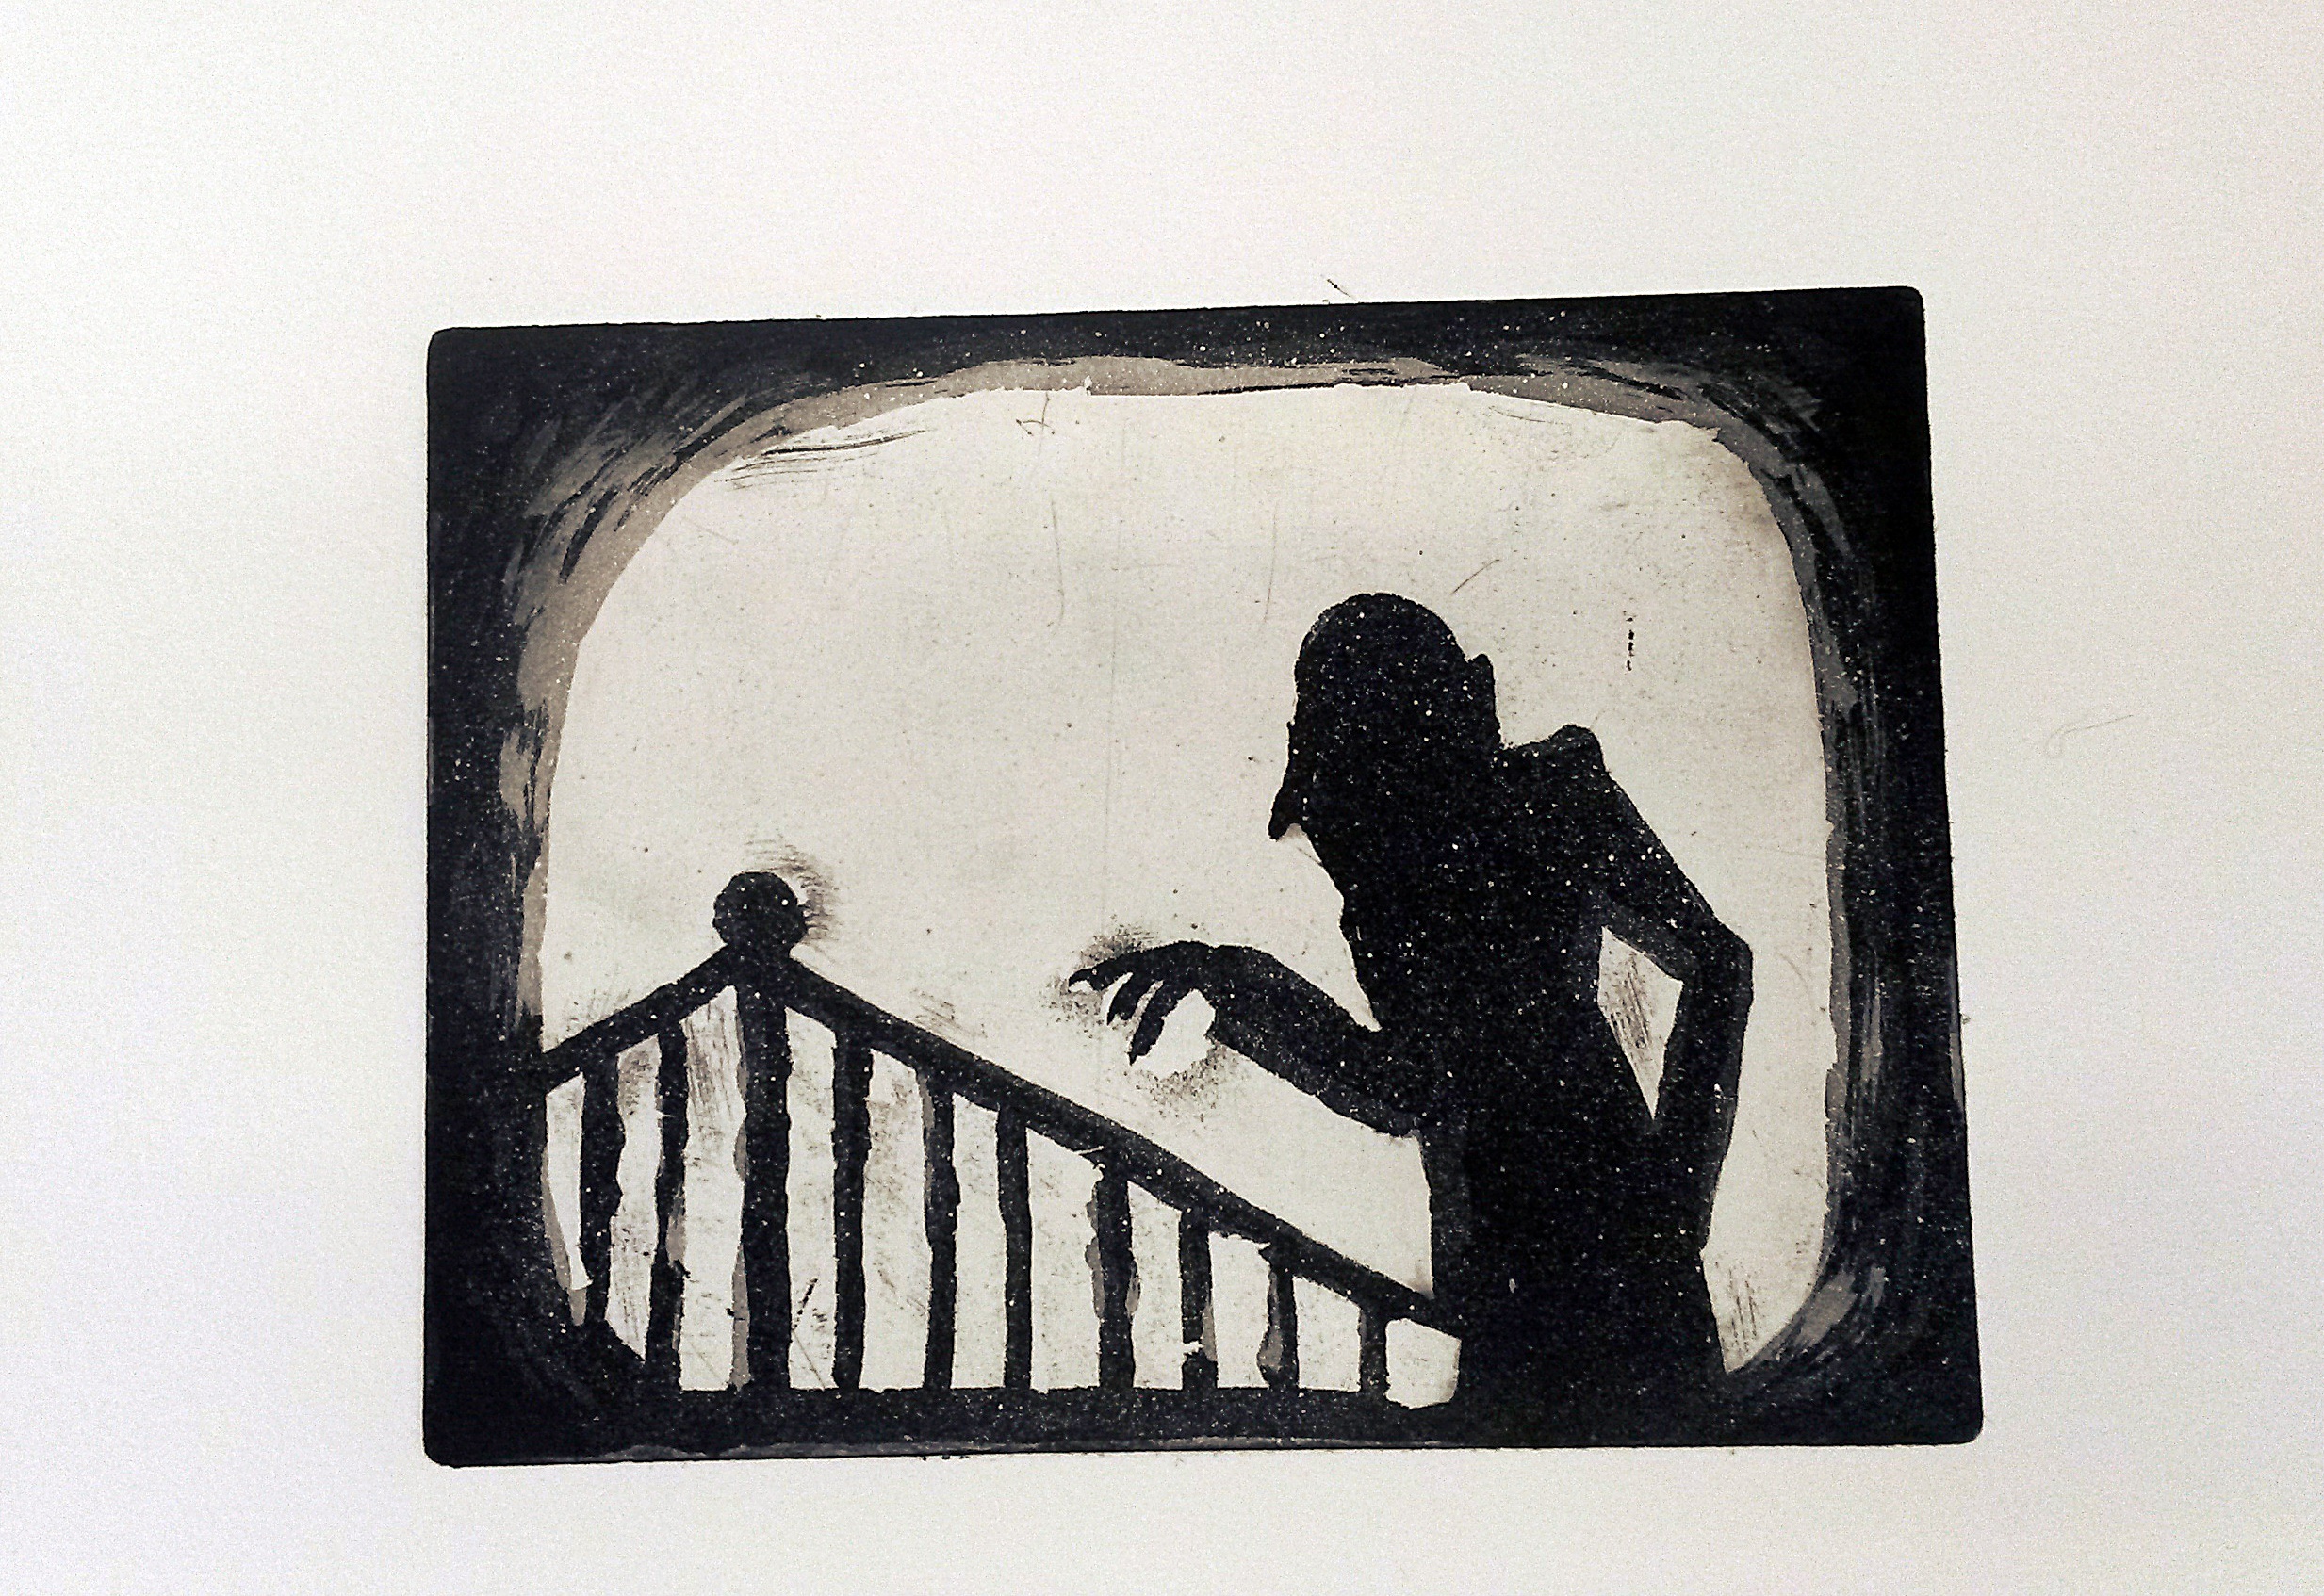
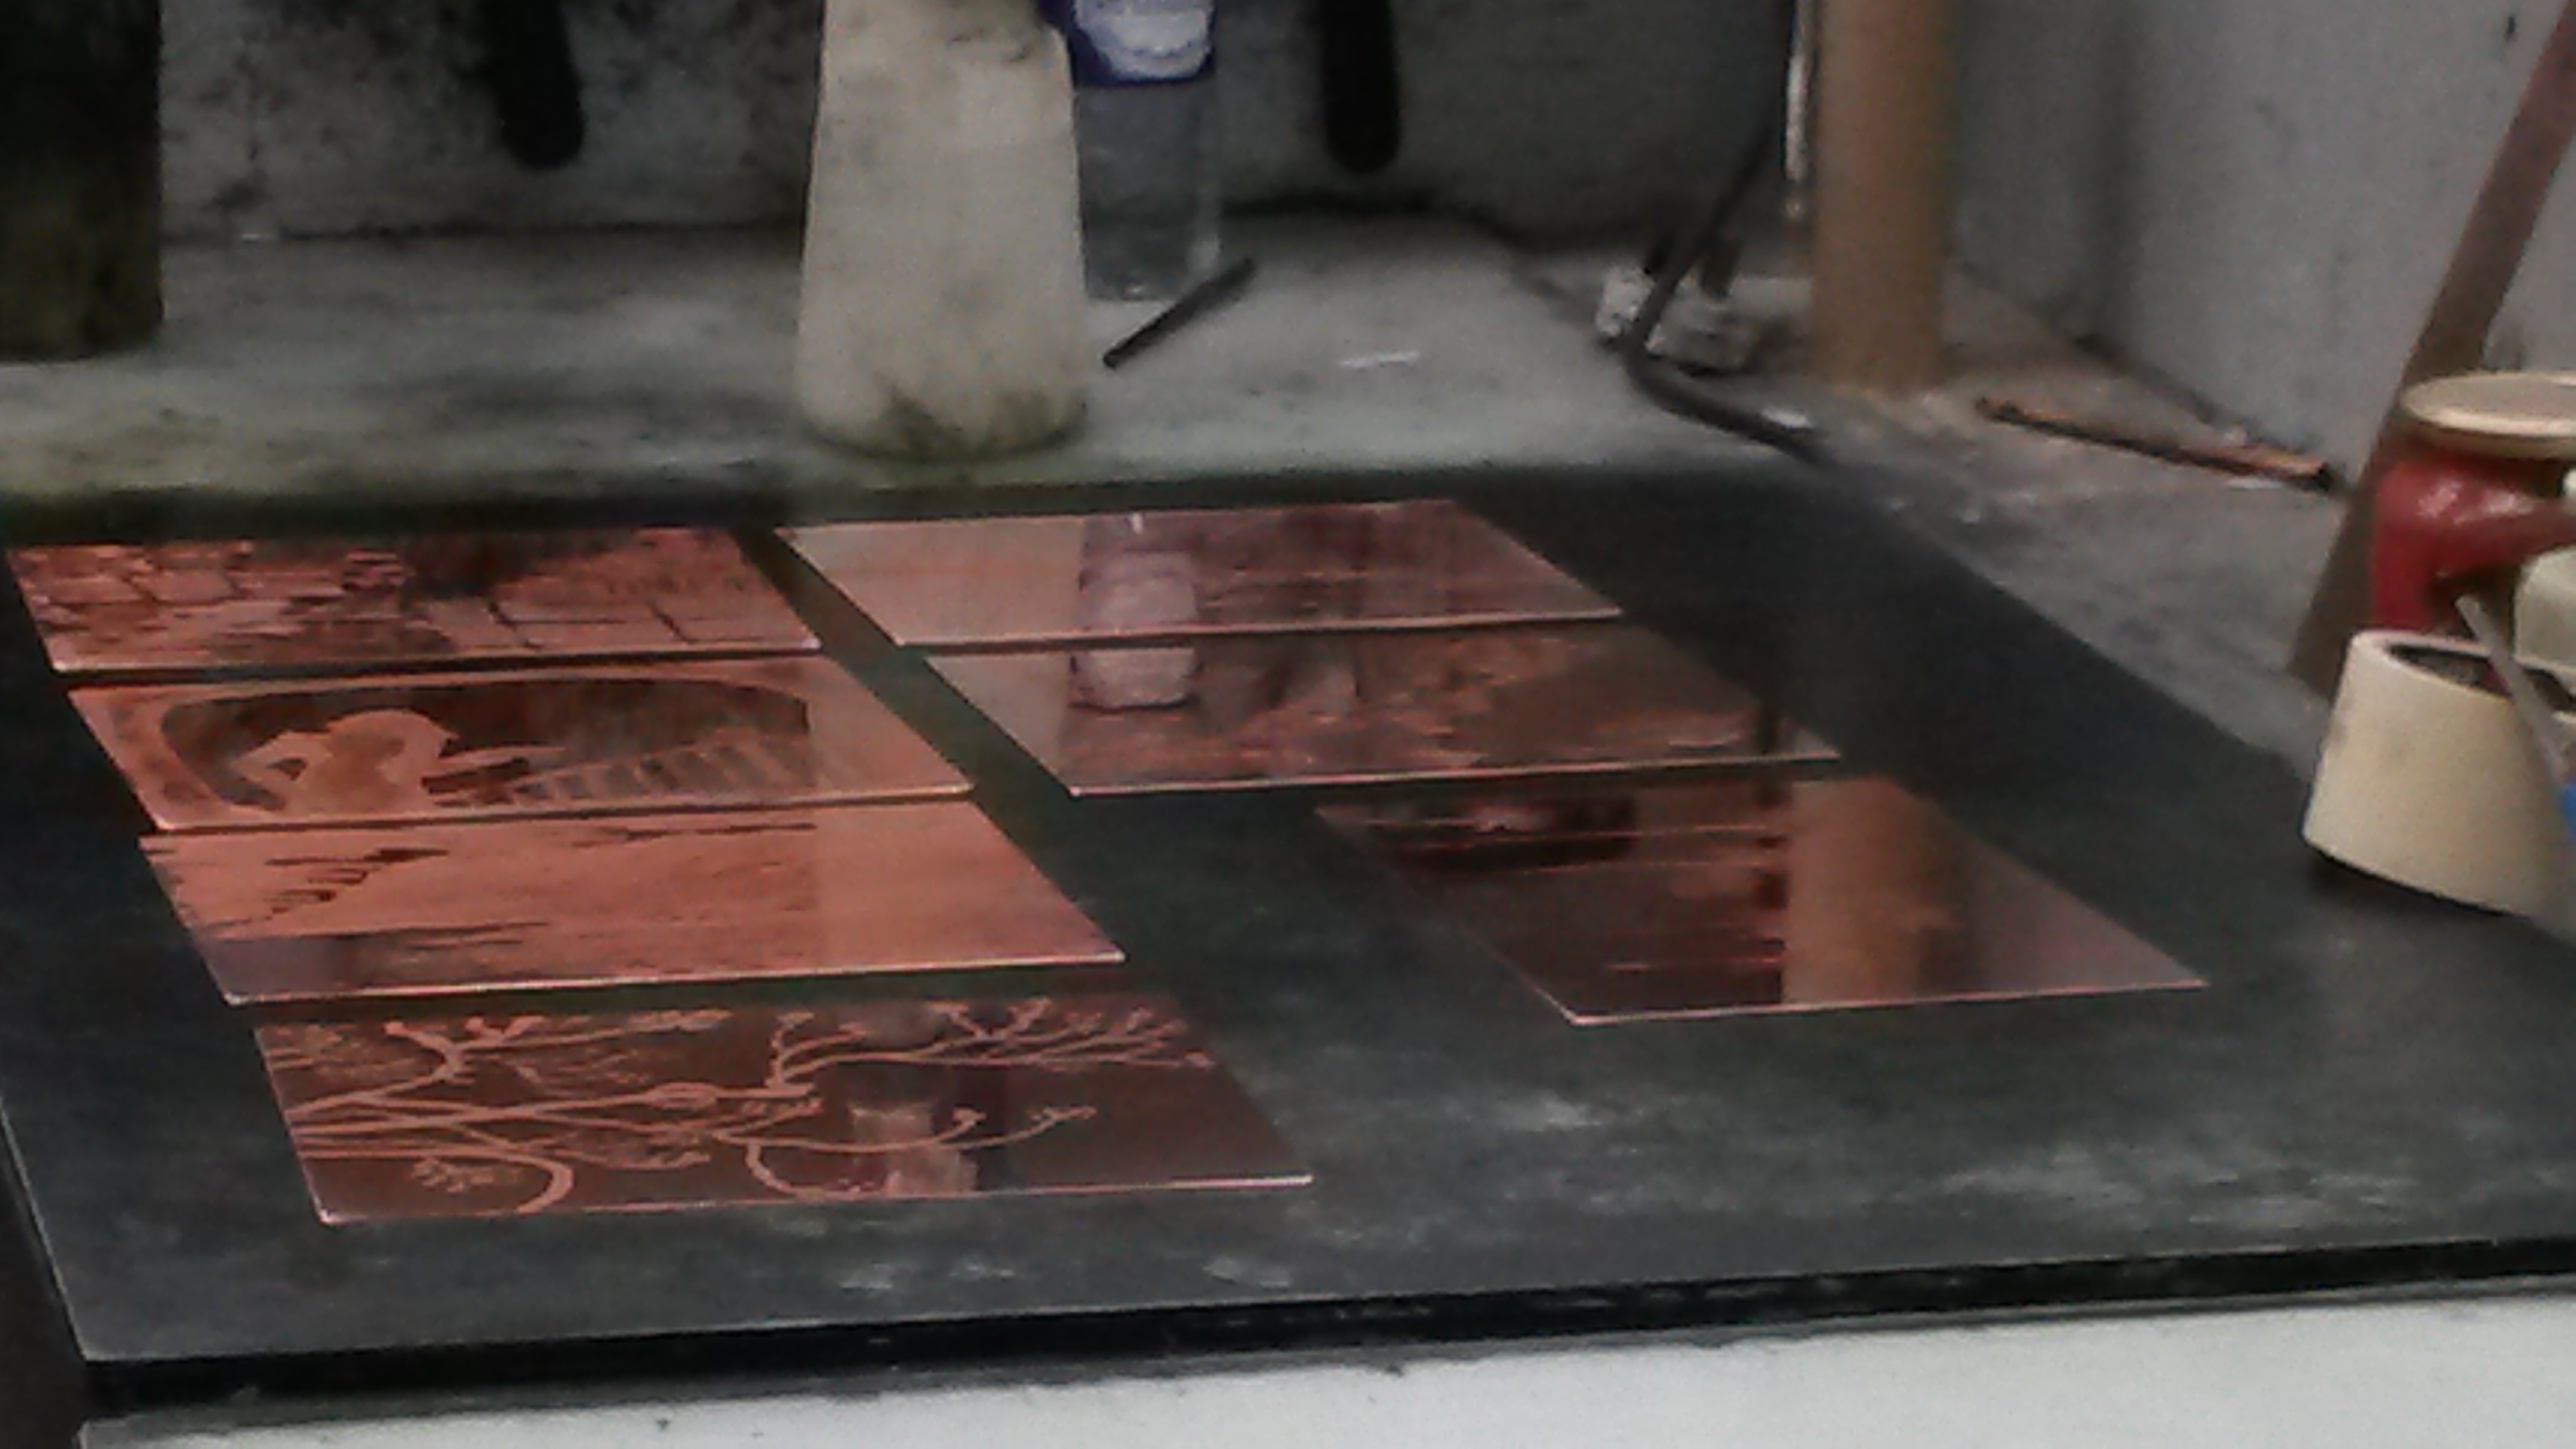
Lastly, I quickly took some photos of prints made by people in the class (it was tricky to photograph them symmetrically as they were higher up on tables etc) it’s interesting how very different they all are, and I think they’re all beautiful!