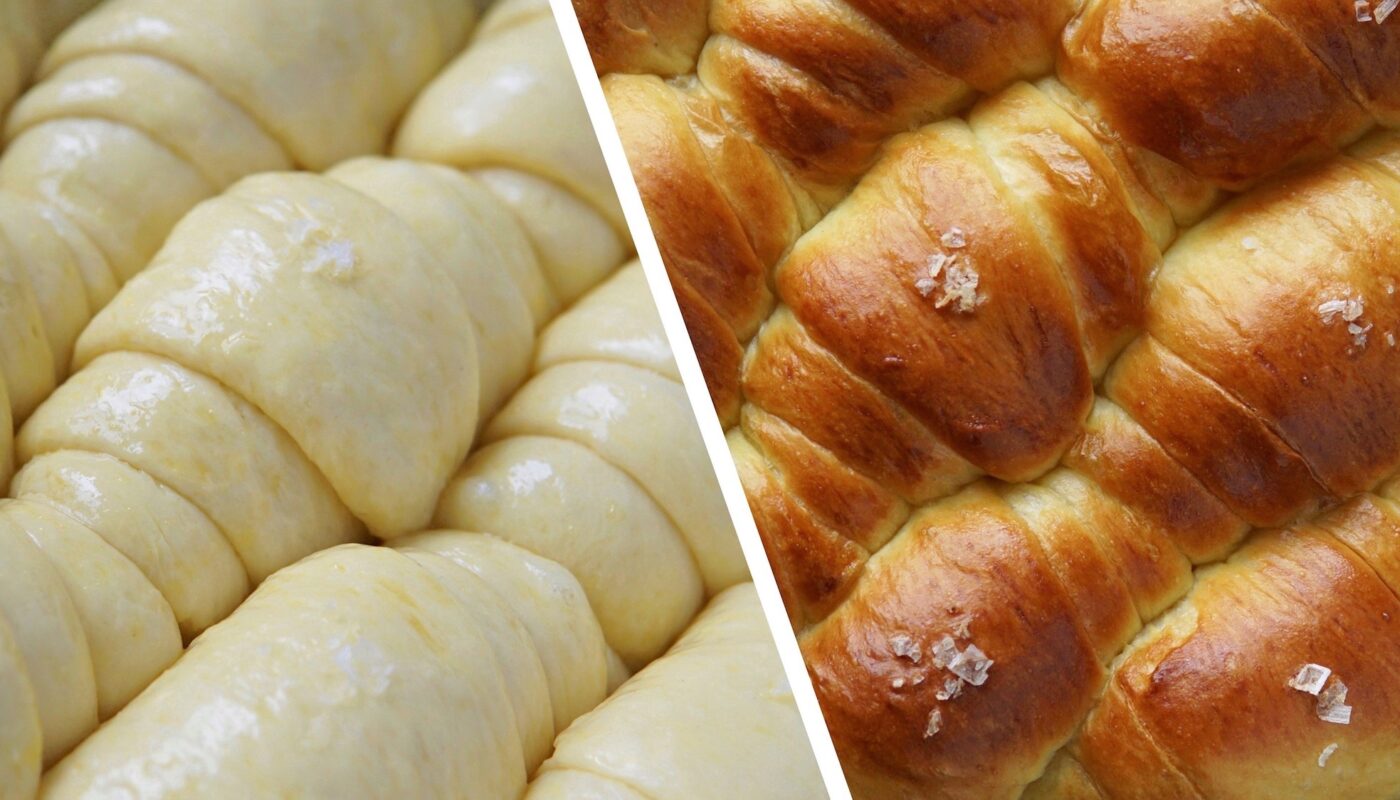
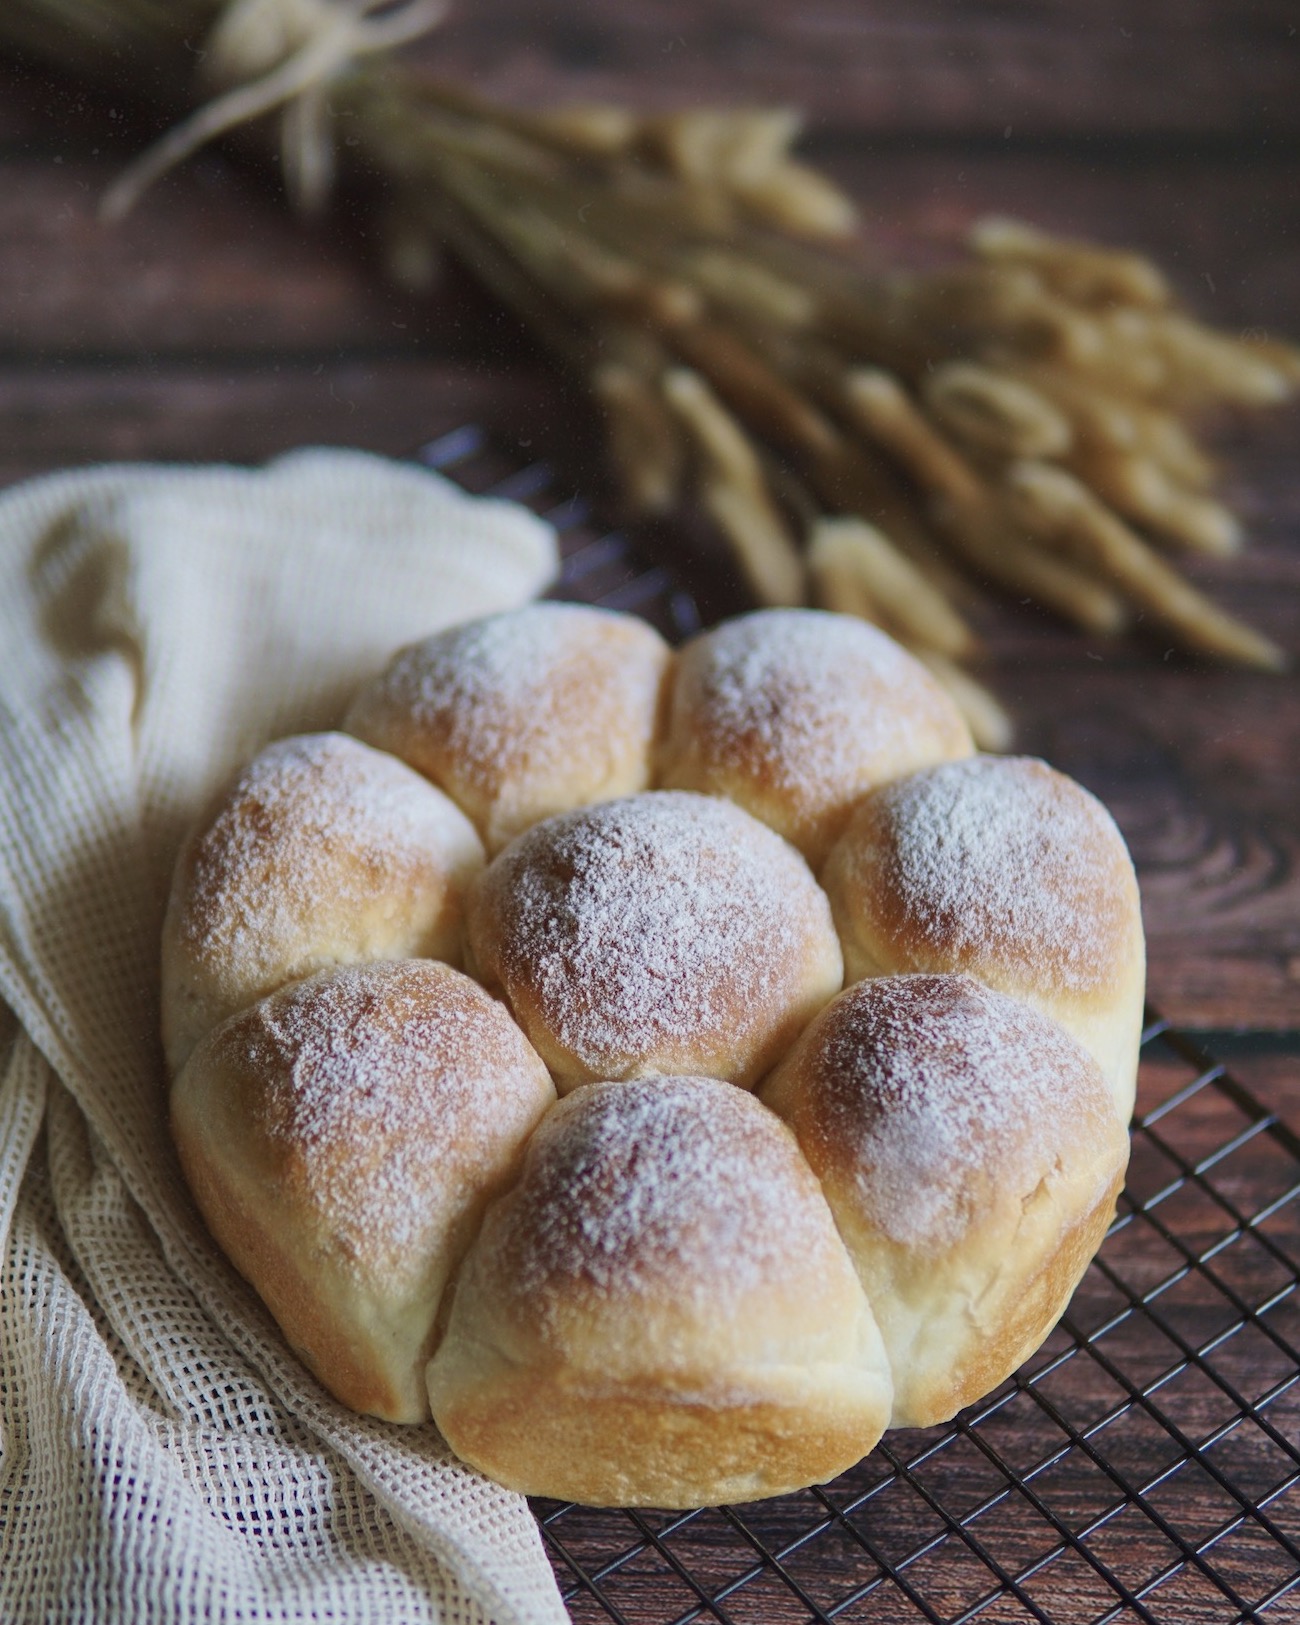
These crescent shaped butter rolls are soft and fluffy, with a balance of saltiness from the sea salt flakes and sweetness from the honey. Savour these rolls fresh out of the oven with a cuppa coffee, or tea if you may.
They are oh-so-delicious; whether eaten on its own, or with some butter / jam. I had mine with some scrambled eggs neatly tucked into them. Savoury or sweet, these rolls are perfect for breakfast.
This is an enriched dough recipe that utilises the water roux method to yield the pillowy soft texture (that I cannot get enough of). You may read more about the Tangzhong water roux method here.
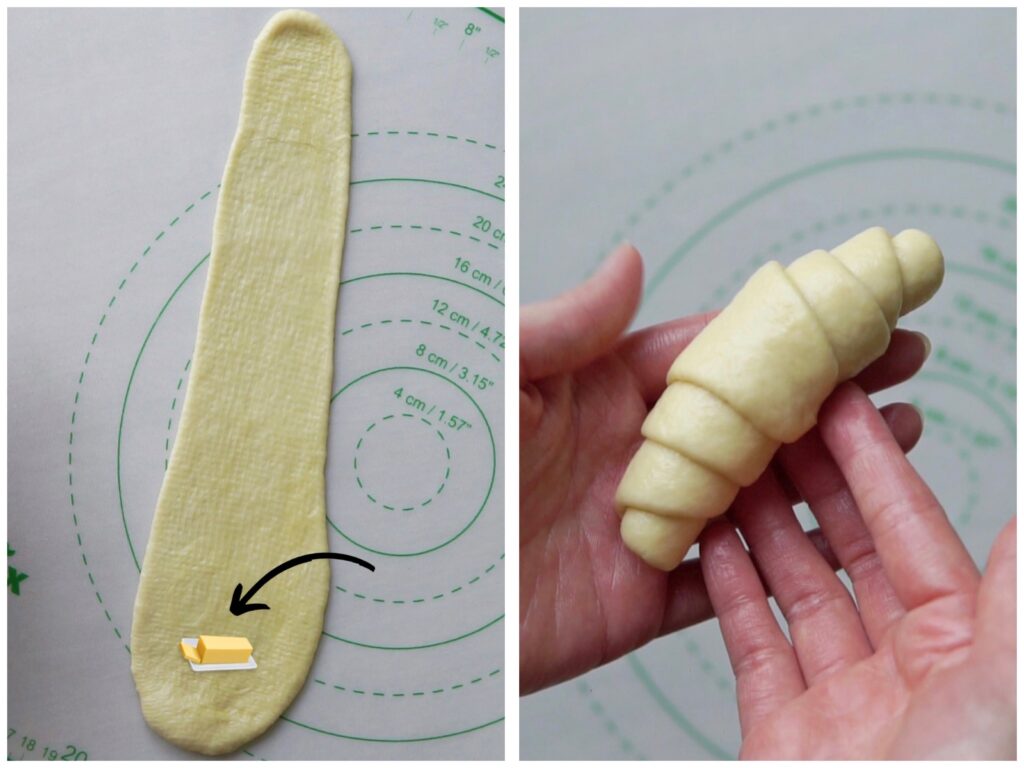
For extra buttery decadence, place a piece of 5g cubed salted butter on the bigger part of the teardrop at the bottom (as shown in left picture above). The cubed butter gets rolled into the center and would melt during baking – this helps keep the insides moist. I opted without for a slightly healthier version for my parents.
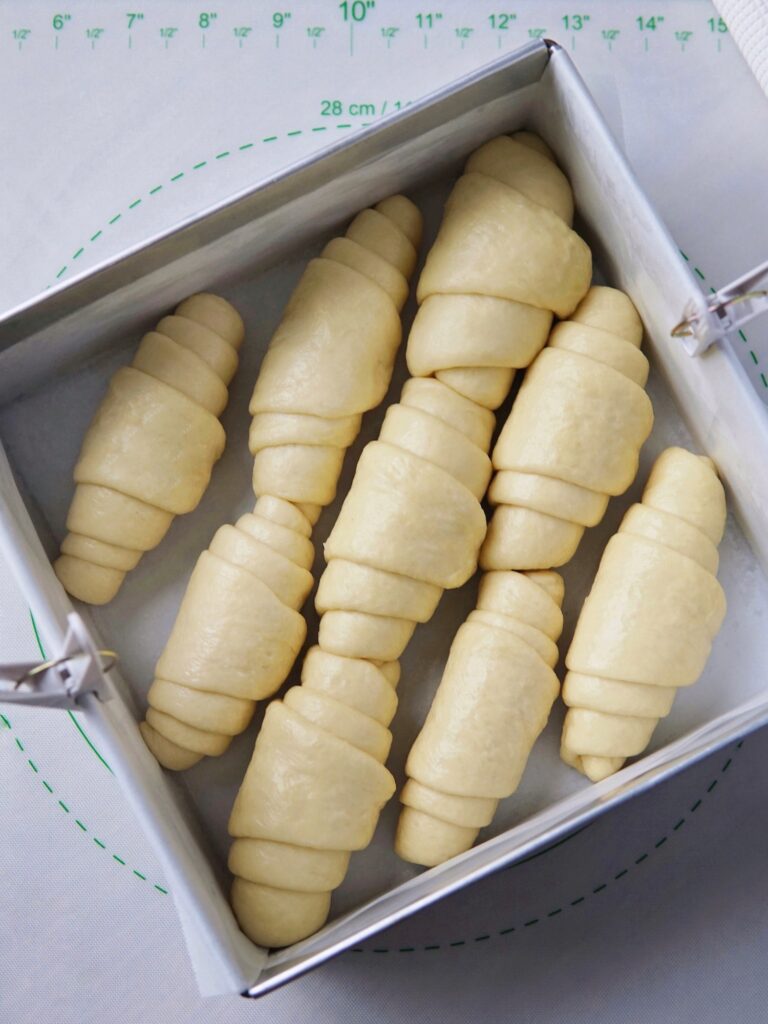
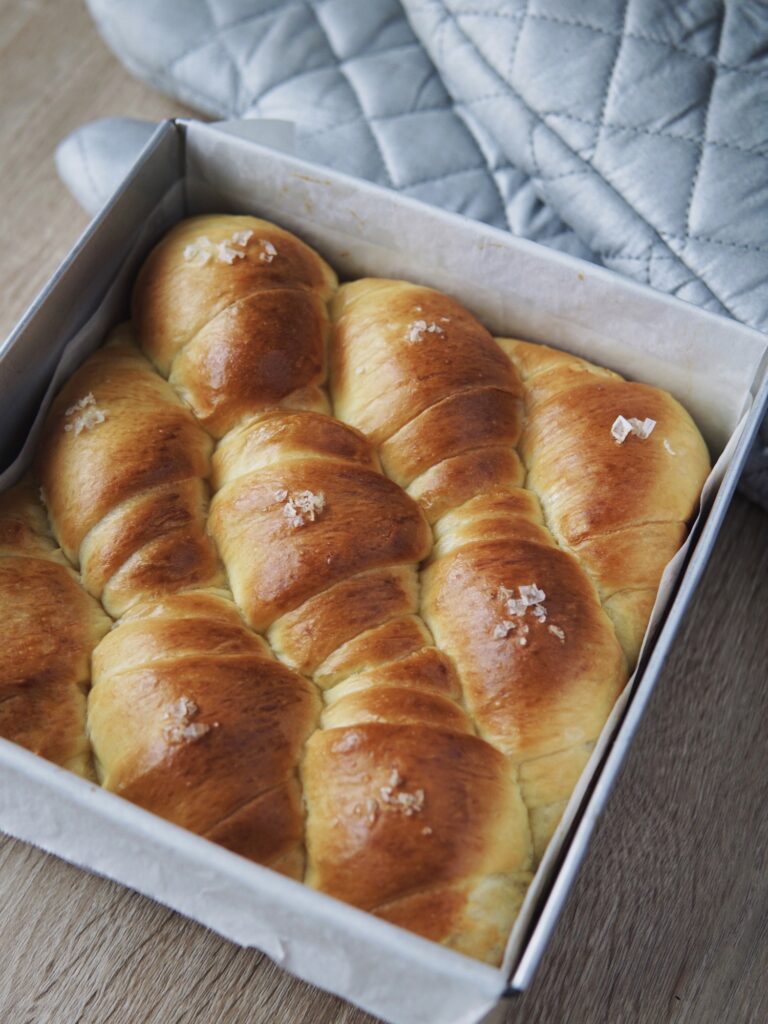
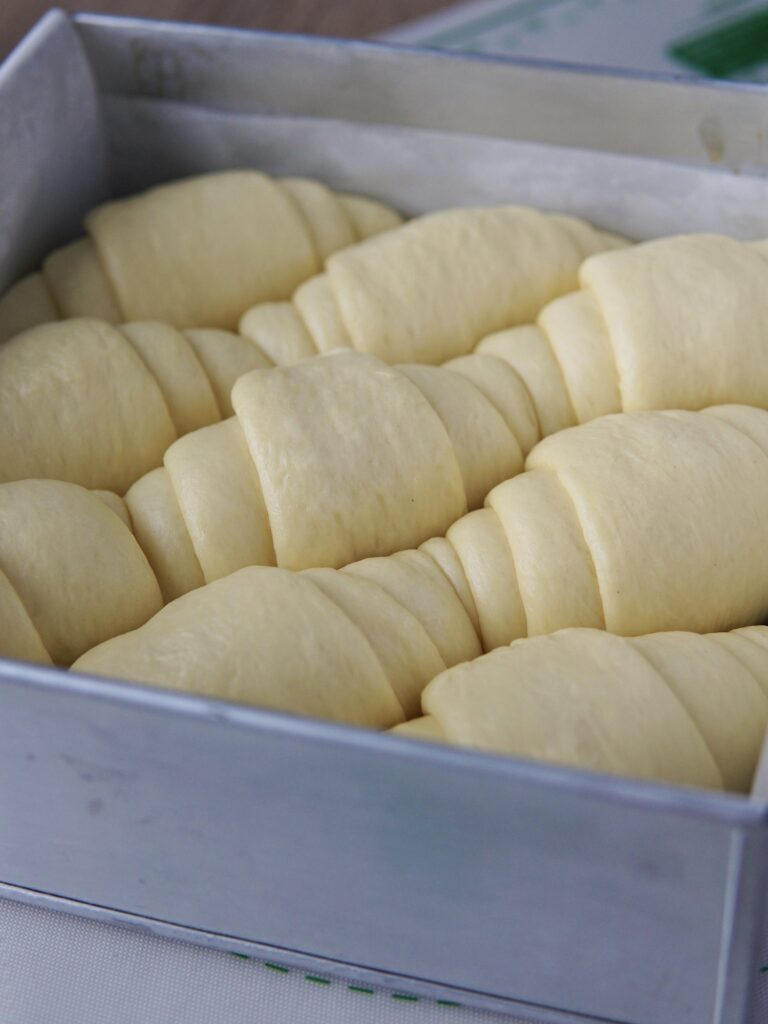
Here I placed them diagonally in a greased and lined 8×8 inch square pan. Alternatively, you may opt to place them on a lined baking sheet so that they bake up individually. I personally love to see how puffy and snugly they get when baked together.
Egg Wash VS Melted Butter?
After the second rise, rolls should double in size and be touching one another. Gently brush either with egg wash or melted salted butter on the rolls lightly, covering all visible surface.
I prefer using egg wash for a golden brown finish and to ensure the sea salt flakes stick on well, but if you do not wish to crack another egg just for this, you may use melted butter. Melted butter would contribute to richer flavour.
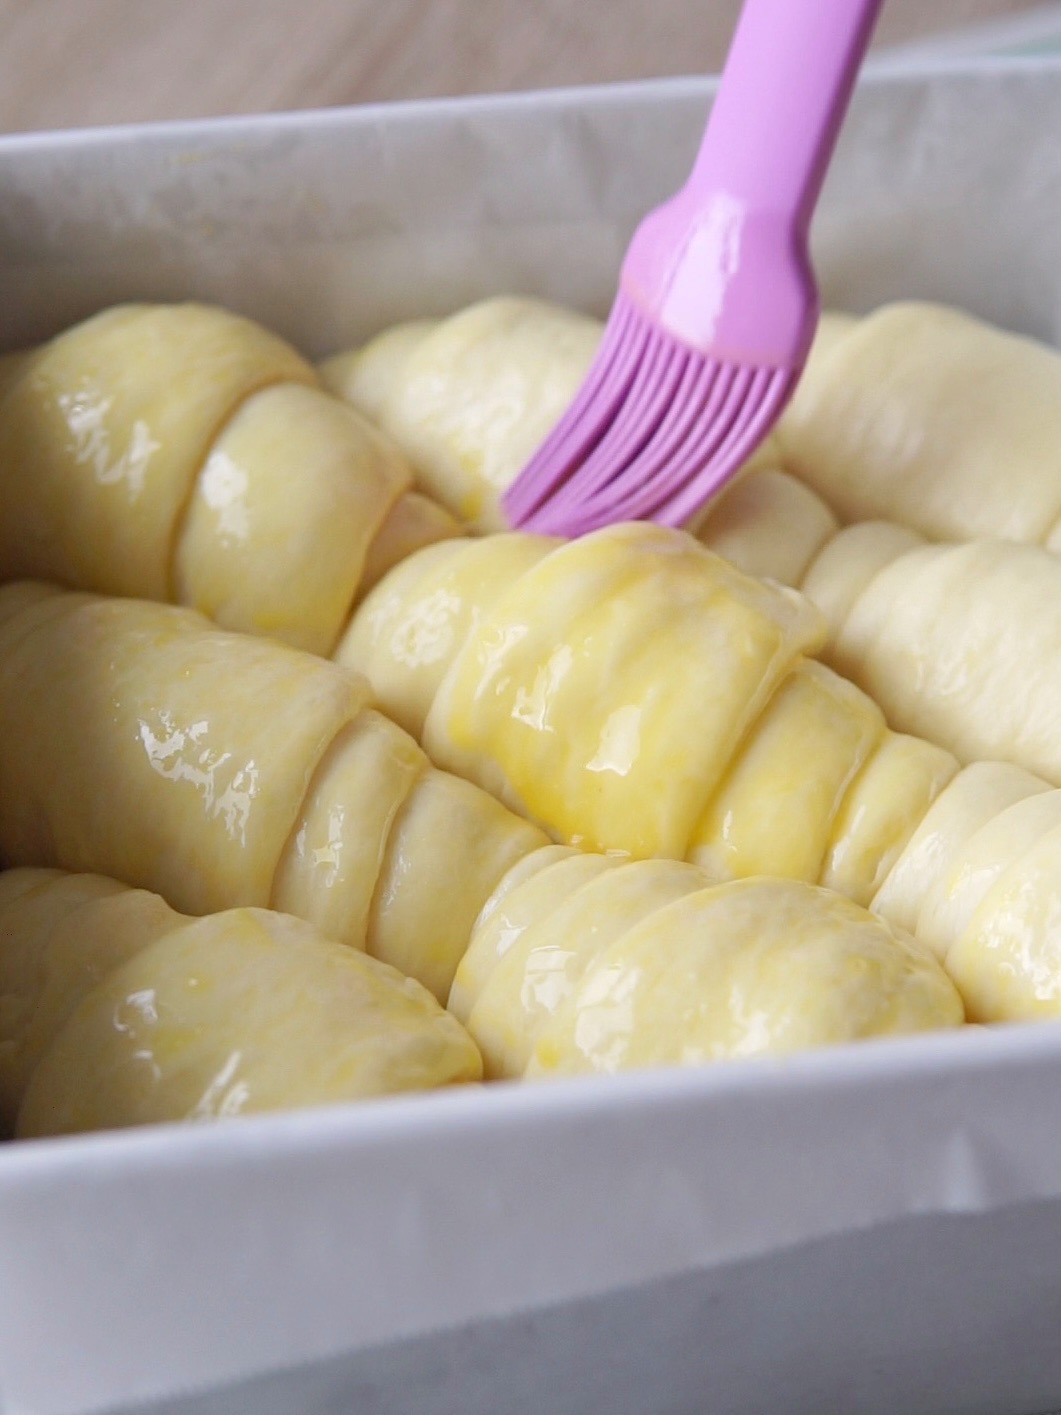
What I did was to glaze the rolls with egg wash pre-baking and after they were done baking, I brushed on melted butter for a softer crust and shiny finish.
How to Shape into Crescent Roll (Video Guide)
Check out the Instagram Reels below for visual guidance:
It takes a little more effort making them into these crescent shaped roll but I would say, it is well worth the effort. I mean how cute are they?
Sea Salt Butter Rolls
Ingredients
Tangzhong
- 20 g high protein bread flour
- 100 g water
Dough
- 30 g milk
- 30 g whipping cream
- 15 g castor sugar
- 20 g honey
- 1 large egg
- 1 tsp instant dried yeast
- ½ tsp sea salt
- 20 g milk powder
- 280 g high protein bread flour
- 35 g unsalted butter room temp
Glaze
- 1 egg beaten
- sea salt flakes (I use Maldon sea salt)
- 10 g salted butter melted
Instructions
Please note that I have included two methods below for tangzhong making and dough kneading using either Thermomix or conventional bread machine so do take note of the sub-headings.
[THERMOMIX] Tangzhong & Dough Kneading
- To make tangzhong, place 20g high protein flour and 100g water in mixing bowl, cook for 3min/75°C/spd 2 and let stand for 10-15 minutes until temperature lowers down to 40°C.
- Once temperature hits 40°C, add milk, cream, sugar, honey, egg and yeast, then mix 30 sec/spd 2.
- Add remaining high protein flour, milk powder, salt and butter then mix 30secs/spd 6. Then proceed to knead 4 min.
- Transfer dough to a pastry mat, shape into ball and let proof in a warm place covered loosely with clingwrap/damp towel until doubled in size (approx 45-60 mins).
[CONVENTIONAL] Tangzhong & Dough Kneading
- Prepare tangzhong by mixing flour in water and whisk together in a pot, ensuring the mixture is well combined with no lumps. Cook over medium-low heat, stirring consistently to prevent burning and sticking while you cook.
- The mixture will gradually become thicker. Once you notice that some “lines” appear in the mixture for when you stir with the spoon, it’s done. Your tangzhong is ready.
- Transfer into a clean bowl. Cover with a cling wrap sticking onto the surface of tangzhong to prevent it from drying up. Let cool.
- After tangzhong has cooled down, approx 15-20 mins later, add all ingredients into breadmaker; first the wet ingredients (tangzhong, milk, cream, egg, honey), then the dry ingredients (in order of sugar, salt, milk powder, flour, yeast).
- Select "dough" mode and let knead until all ingredients come together, usually I let it knead for approximately 10 minutes.
- Then add in the butter, continue kneading until the dough is smooth and elastic. My breadmaker's dough kneading cycle is 23 minutes.
- Transfer dough to a pastry mat, shape into ball and let proof in a warm place covered loosely with clingwrap/damp towel until doubled in size (approx 45-60 mins).
Shaping & Proofing
- Punch down dough to deflate. Divide dough into 9 equal portions and pre-shape into round balls (detailed video tutorial on how to shape dough into round balls here from 5:16 onwards). Let rest for 15 minutes.
- Roll out each round ball into a flat, oval shape. Aiming to form a triangle, fold ⅓ from right edge to the middle, creating a slightly bigger portion on the bottom end closer to you, then repeat with similar steps with ⅓ from left edge.
- Turn it over on the other side, and further elongate dough but rolling with your palms. Then use a rolling pin, to flatten and roll out dough into a big teardrop shape that is even on both sides.
- Starting from the fatter end of the teardrop, roll the dough towards the skinny end. Pinch the end to ensure it is secured. Watch above video for visual guidance.
- Place the shaped rolls seam side down, diagonally onto the baking pan lined with parchment paper. All rolls should face the same direction.
- Proof for 40 minutes, until doubled in size. Dough should be poofy and touching each other. Towards the last 15 minutes, preheat your oven to 180℃. (TIP: Setting your timer to go off after 25 minutes to preheat oven, then a further 15 minutes works best for me!)
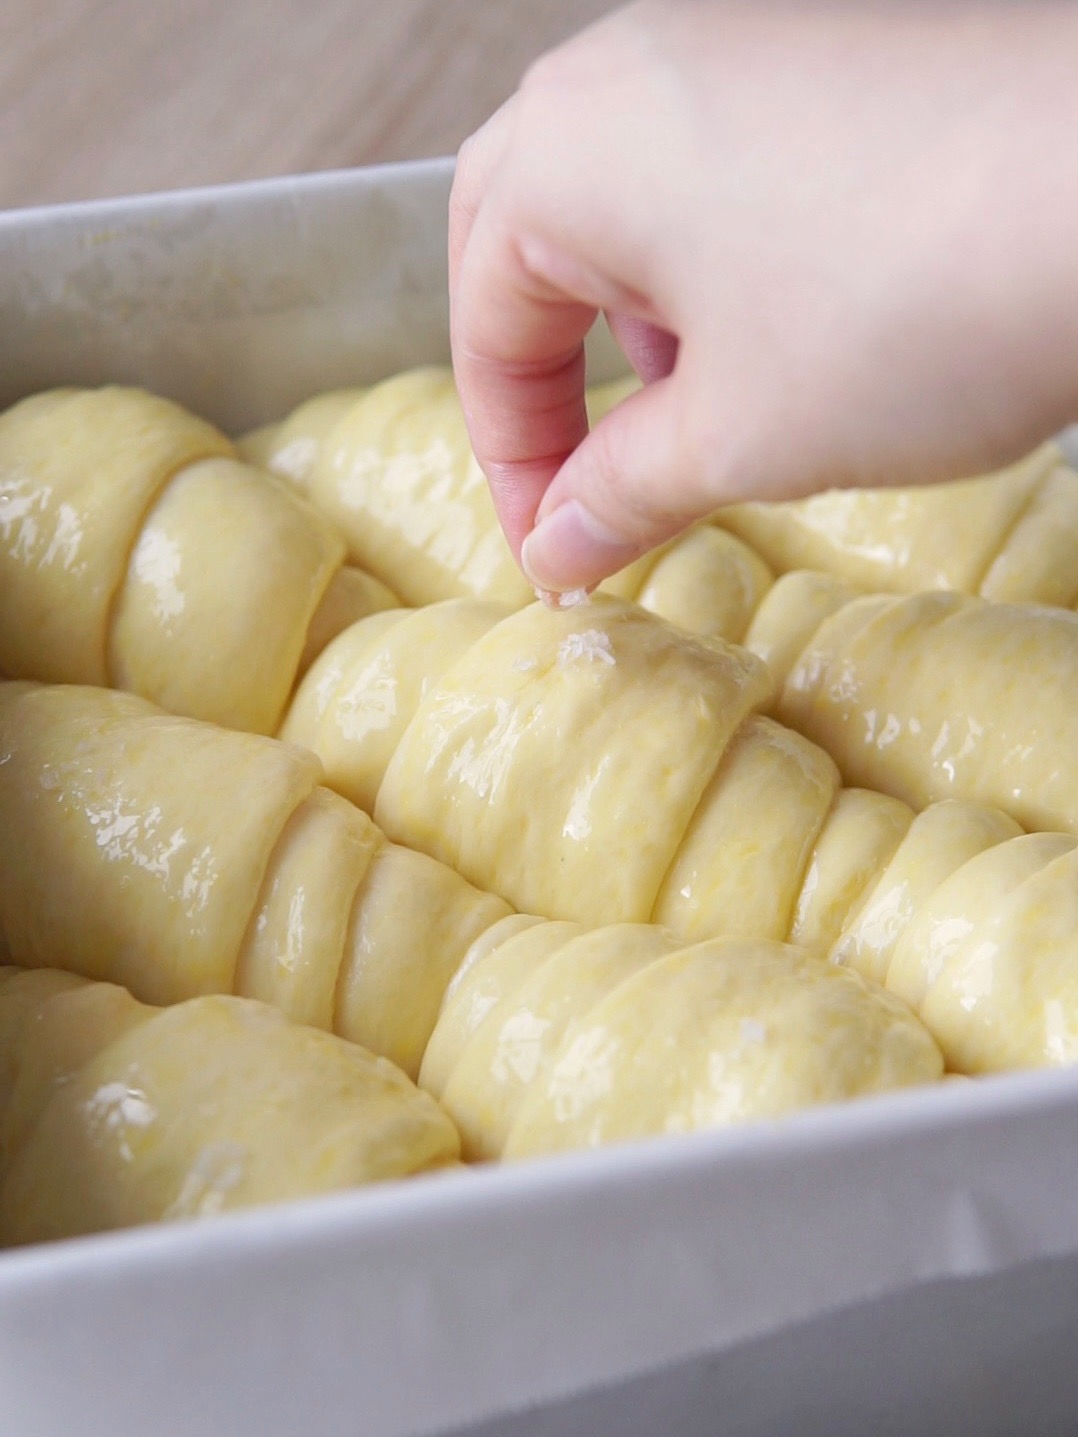
- After dough has doubled in size, brush egg wash on surface, sprinkle some sea salt flakes and bake at 180°C for 18-20 minutes until golden brown.
- Remove from oven, and let cool for 5 minutes. Remove bread from pan and transfer onto a wire rack to let cool. Brush with some melted butter for a shiny finish – this is optional but recommended.
Notes
I do not have whipping cream handy – what can I subtitute with?
Do not substitute the 30g of cream with another portion of 30g of milk. Both these ingredients have different % of fats etc. Instead, what you can do for a lighter, and healthier option is to substitute whipping cream with evaporated milk using a 1:1 ratio.Can I omit milk powder?
You may opt to omit the milk powder but I wouldn’t recommend it. Milk powder adds fats, protein and flavour to the dough, that not only makes the dough richer and creamier in taste, but also helps dough rise higher. The addition of milk powder will also help yield a more tender crumb texture. I wouldn’t suggest substituting milk powder with liquid milk as it is adding extra hydration to the dough, which may alter the texture of the finished product. In other words, adding milk powder gives you the same benefits of milk without the extra liquid, with a more concentrated % of milk sugar and protein that will benefit the dough.How to store bread?
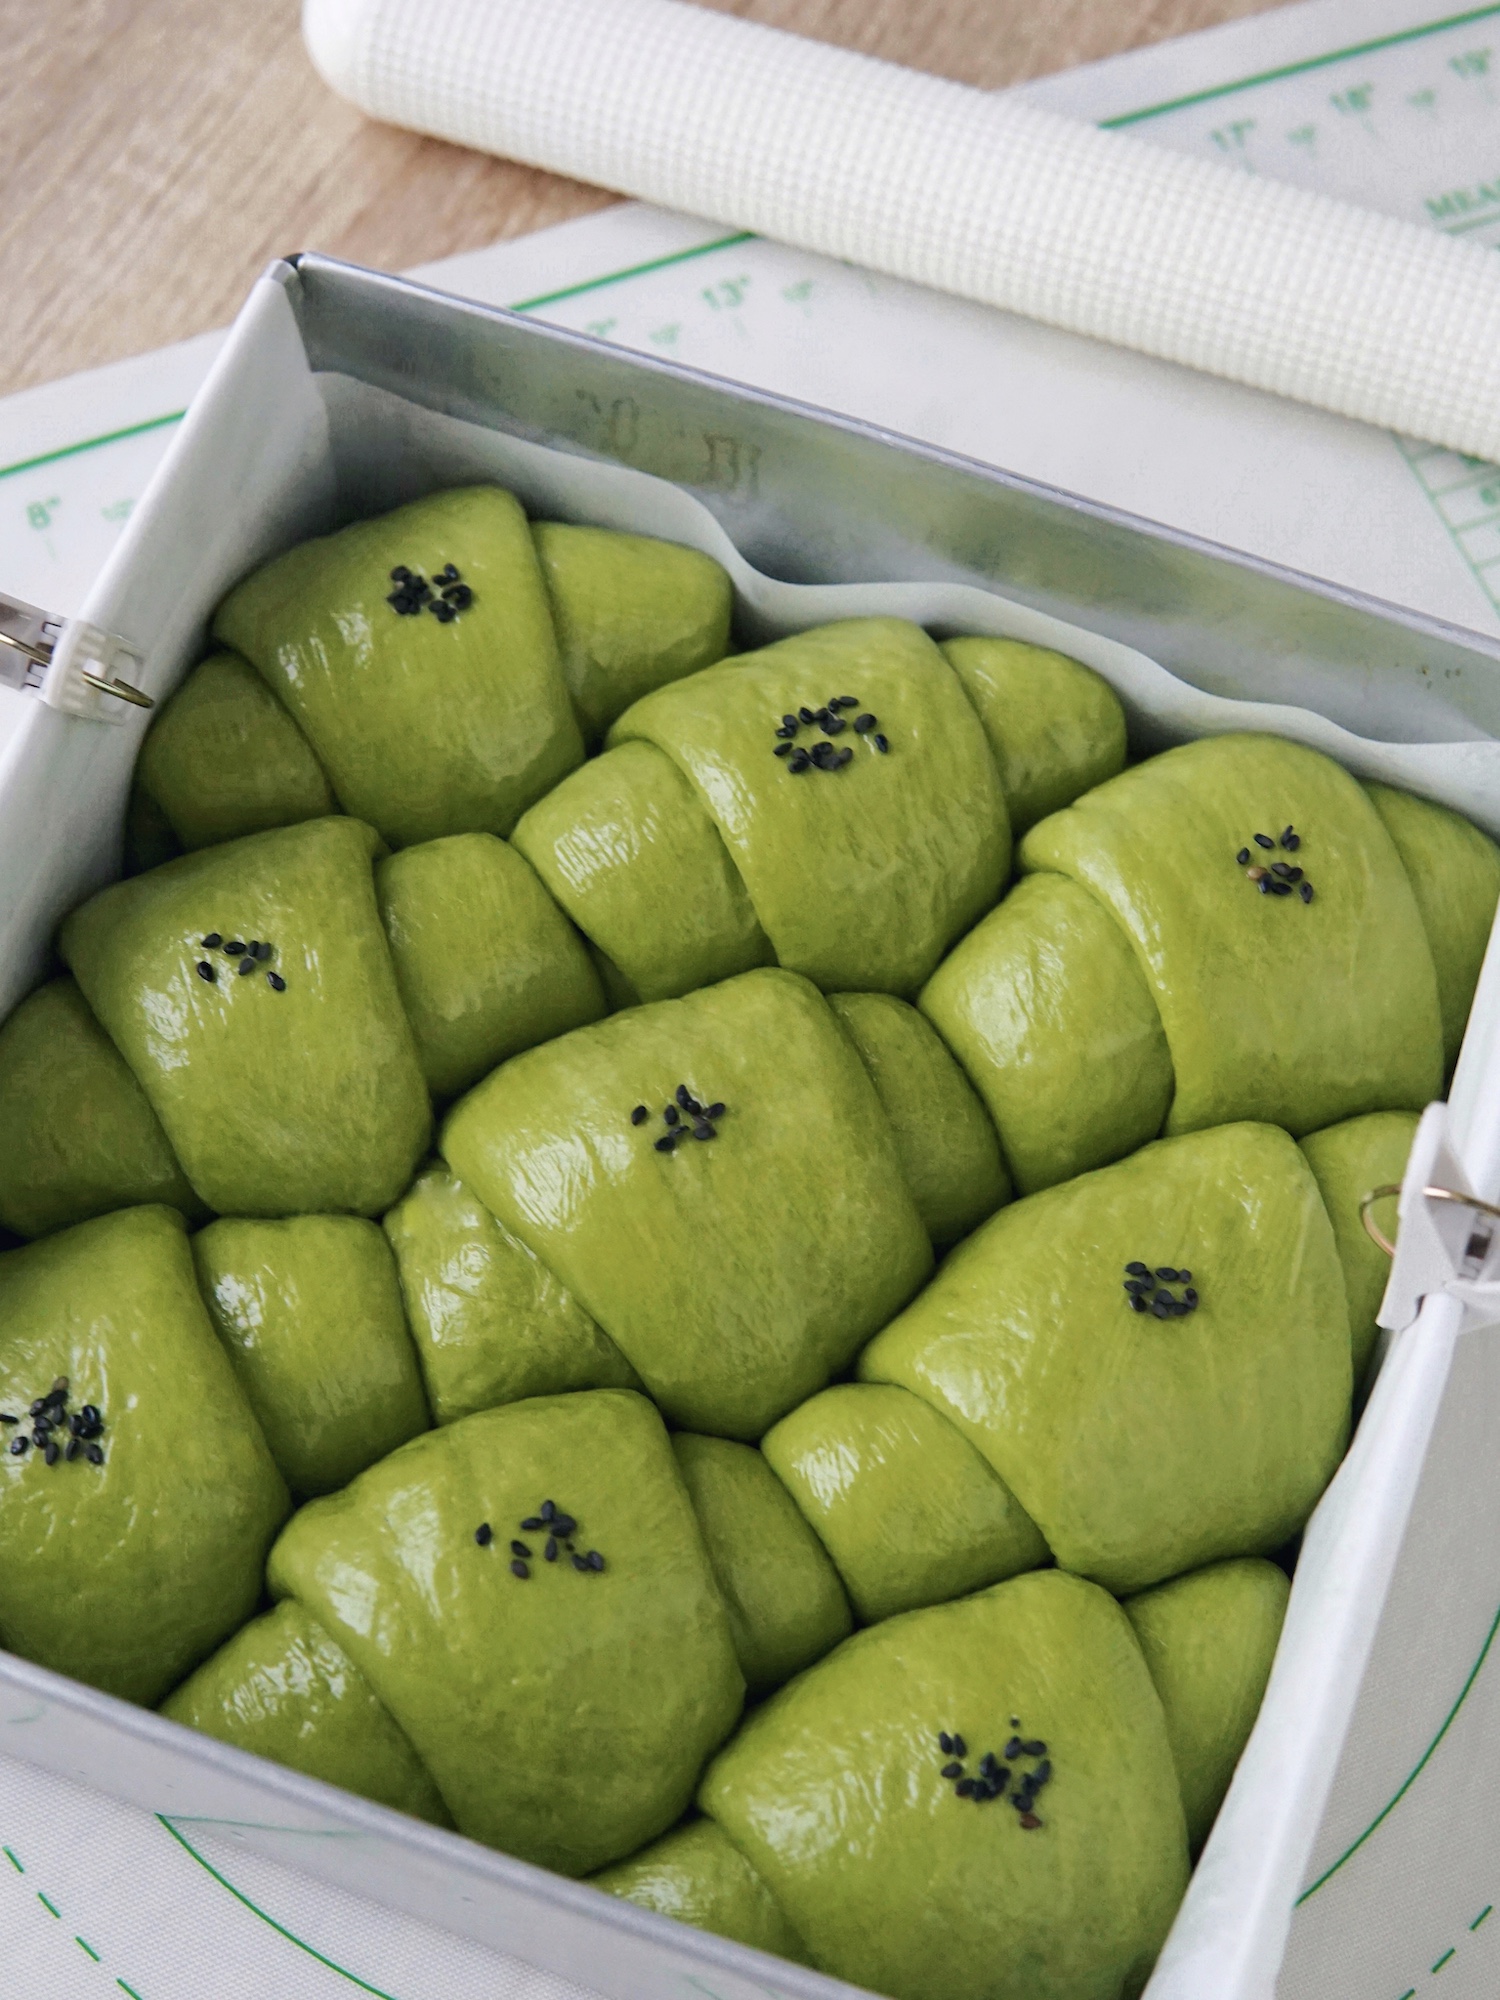
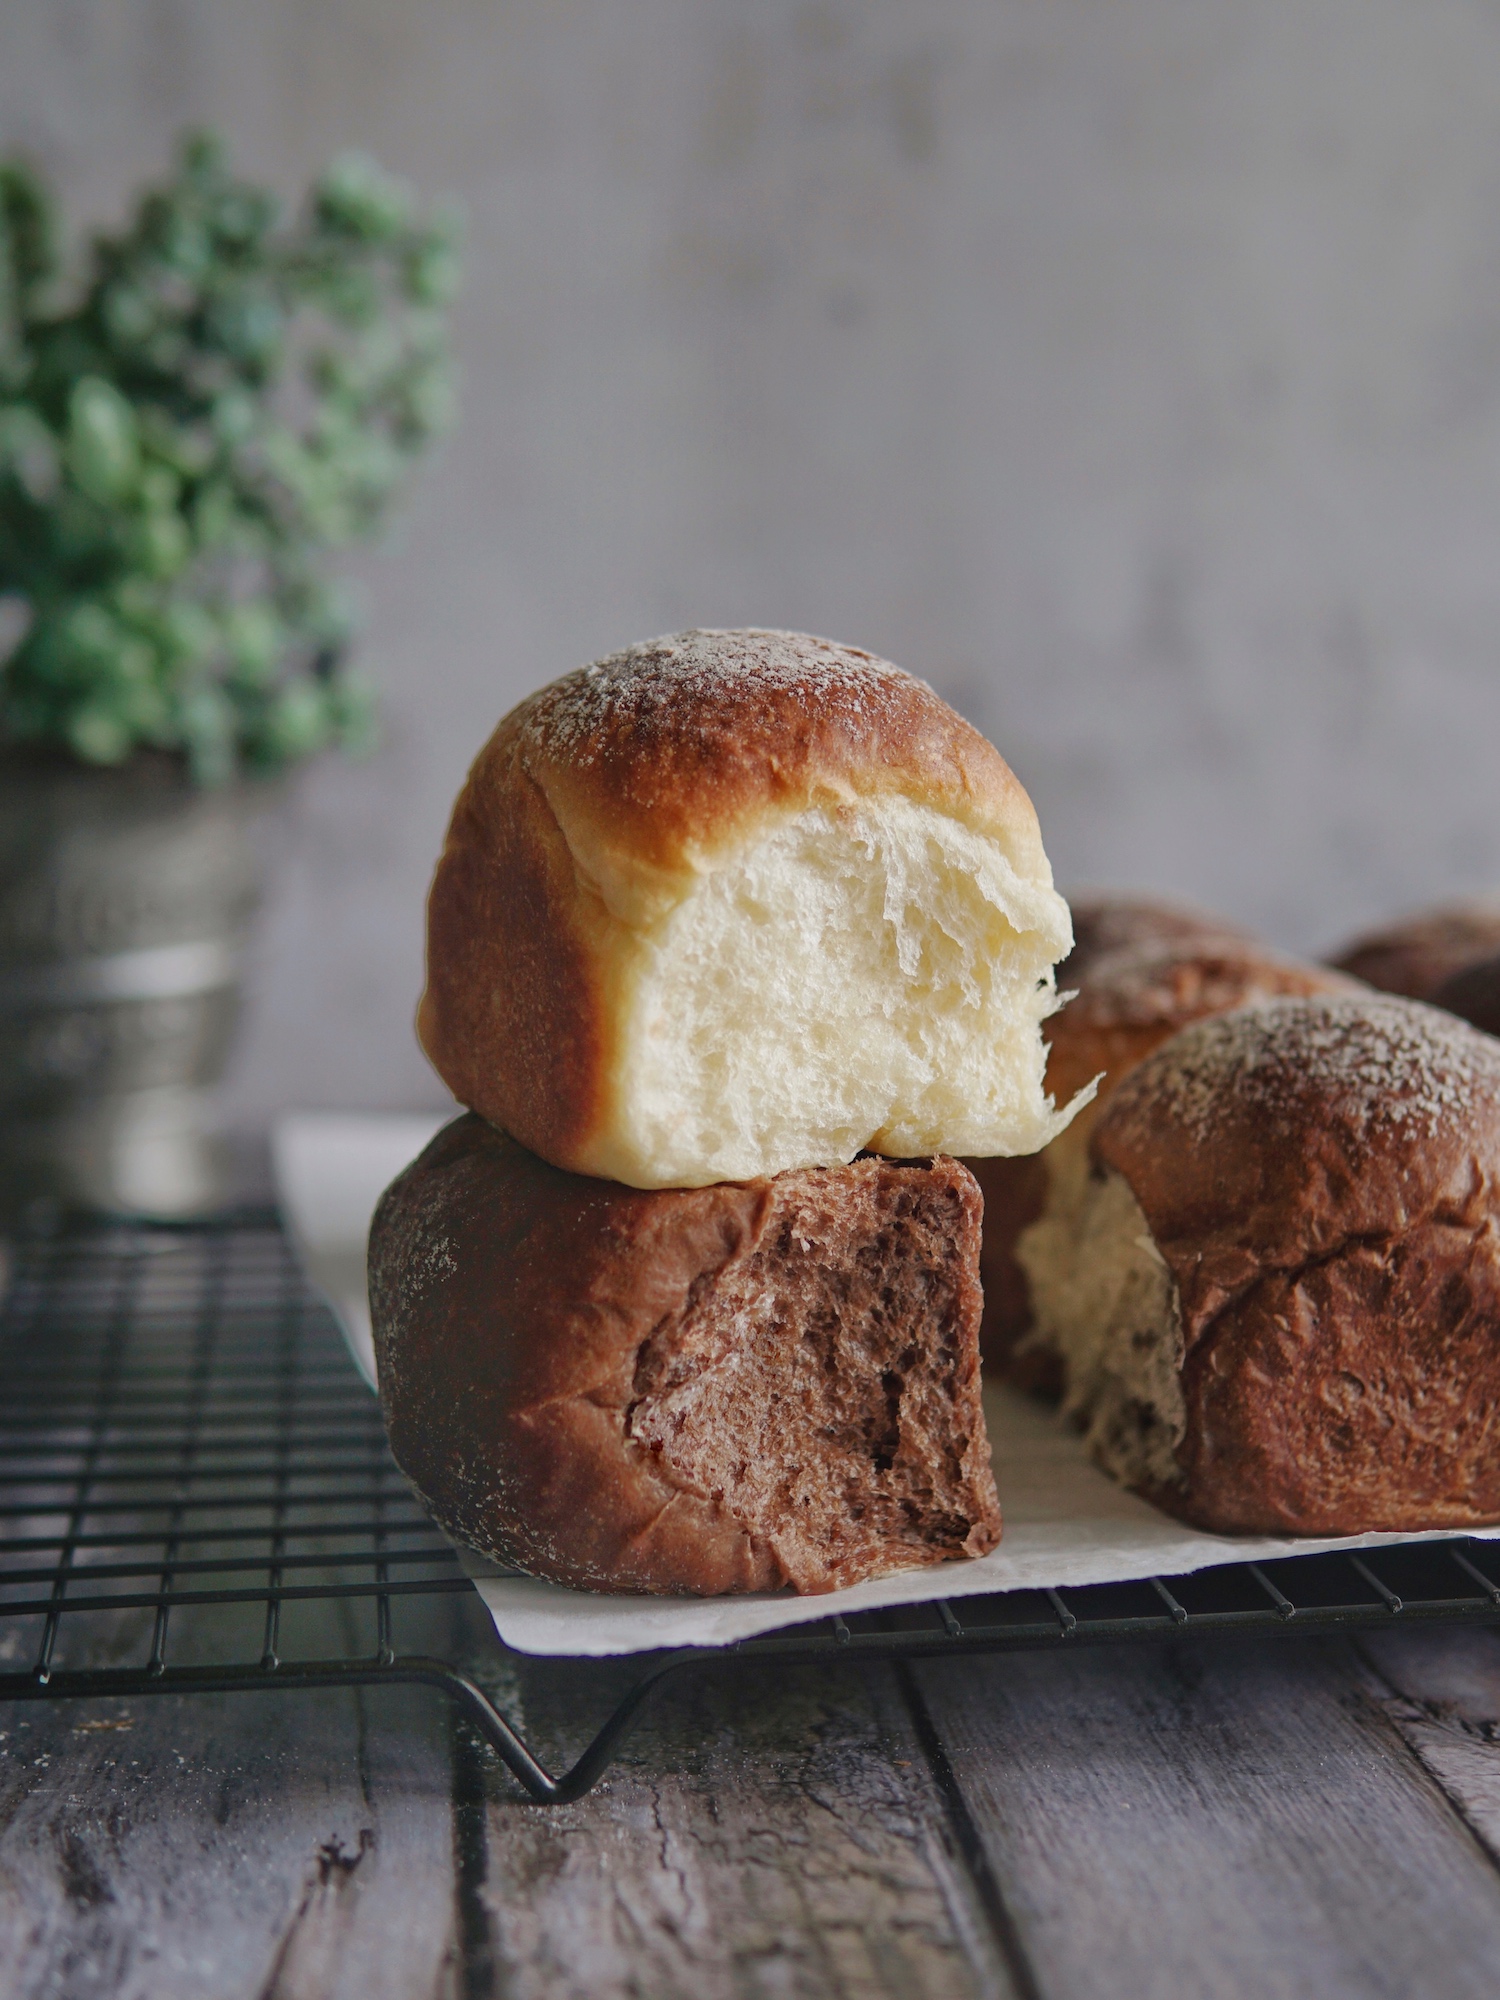
Ensure to store bread in airtight container or ziplock bag so the bread can stay soft and last for up to 2-3 days at room temperature. This recipe was adapted from Cookidoo and modified by The Bakeanista.Variation – Matcha Butter Rolls
If you’re a fan of matcha, you MUST give this version a go! The addition of good quality matcha powder adds a nice, bittersweet umami fragrance to the buns.

Prepare the Tangzhong as per recipe above, and for the Dough portion, I made a very minor tweak. You may refer to ingredients below:
- 30g milk
- 30g whipping cream
- 15g castor sugar
- 20g honey
- 1 large egg
- 1 tsp instant dried yeast
- ½ tsp sea salt
- 15g milk powder
- 15g matcha powder
- 270g bread flour
- 35g unsalted butter
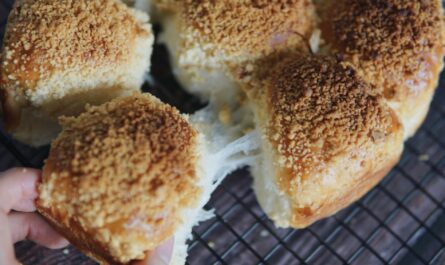
For the glaze, I melted 10g salted butter and mixed in 1 tsp honey. I brushed this honey butter mixture on the rolls and garnished with some black sesame seeds.
I also rolled in some roasted chestnuts in place of the cubed butter, but if you like red beans, then I would recommend rolling in some adzuki beans or paste which would go really well with matcha. These rolls are so soft, they make me want to snuggle them! Check out how soft the rolls are:
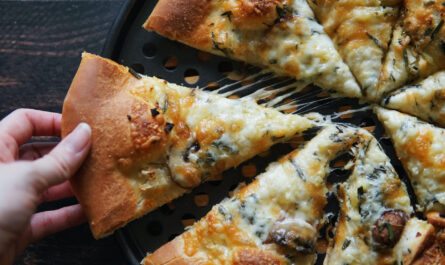
Looking for other soft & fluffy buns recipes?
Check out my Pillowy Soft Yogurt Buns recipe here or the Ultra Soft Tangzhong Milk & Chocolate buns recipe here. For a healthier alternative, you may wish to try the Eggless & Sugar Free Wholemeal Buns here.
Have you tried this recipe?
Leave a comment below to let me know how you went.
IF YOU ENJOYED THIS RECIPE, YOU MAY ALSO WANT TO CHECK OUT OTHER DELICIOUS RECIPES HERE.

loved this recipe..tried it the day yesterday. Love the tinge of sweetness from the honey. same soft pillowy texture as always. recipe is definitely a keeper. enjoyed shaping the crescents too..
Love how super soft these butter rolls turned out! Thanks for also always sharing the TM versions of your recipes! ❤
Thanks for your selfless sharing on this awesome and easy recipe. I am not great at baking and my family love this version of butter roll.
these soft buns recipe are awesome . The sweetness of the bread goes well the the saltiness of the sea salt . Well done Michelle 👍🏼. Your recipe never fail me 😂.
Loved it! Will definitely try this one again 😝
Tried the crescent shaped butter roll.. it’s so yummy that we finished 80% over supper 😀 thanks for the great recipe Michelle!
Super easy making this with the TM recipe!
Cincai baker like me also can make super soft bread rolls!!! 😂.
Easy to follow recipe and turned out so well! Thanks for sharing as always.
Well written and very detailed recipe. Easy to follow and the butter rolls are yummy 🤤
Love it! Very detailed recipe and thanks for sharing! I will work on my shaping skills and hope i can eventually do it as well as you did! 🙂
Super easy with the TM recipe, please continuous create more TM recipe!!
Love love love it
Such a nice, pillowy and flavourful recipe! Nice step by step description of the method! Bravo!
These are so perfect! Fluffy, soft, buttery- all the goodness of bread in one!! Would 100% make this again!
They were absolutely amazing! Thanks for sharing the recipe Michelle! I tried the BM version 😋
Love this recipe! Simple yet delicious 🤤
Love the recipe so much!!! Easy to follow the steps. The rolls are so fluffy and soft~ ♥️♥️♥️
Love this recipe! it yields a super soft and fluffy bread. will definitely bake this again!
Fantastic as always, your recipes never disapoint :))
Made this rolls today and it’s so fluffy.
My mum and my little boy love it.
Will definitely make it again.
Successfully baked it, but……next day, bread is hard, got to steam them before eating. Is there any reason?
This bread recipe should remain soft for 2-3 days. But it may turn hard if not stored properly in air tight. It could also be because you added too much flour, or because you underkneaded the dough, or there is not enough tension in your dough when shaping… lots of factors.
Thanks for the advice, i really like this bread, would try to perfect it.
this recipe is definitely a keeper. I had fun making this with my 3yo toddler and she love love love this bread, so does my husband. I have been making this about 4-6 times in the span of 2 weeks or so but not all consumed by us, had to share with our friends of this awesome recipe. I also sprinkle some sesame seeds on the top instead of sea salt for a healthier version. Thank you Michelle!!