Hello, guys!
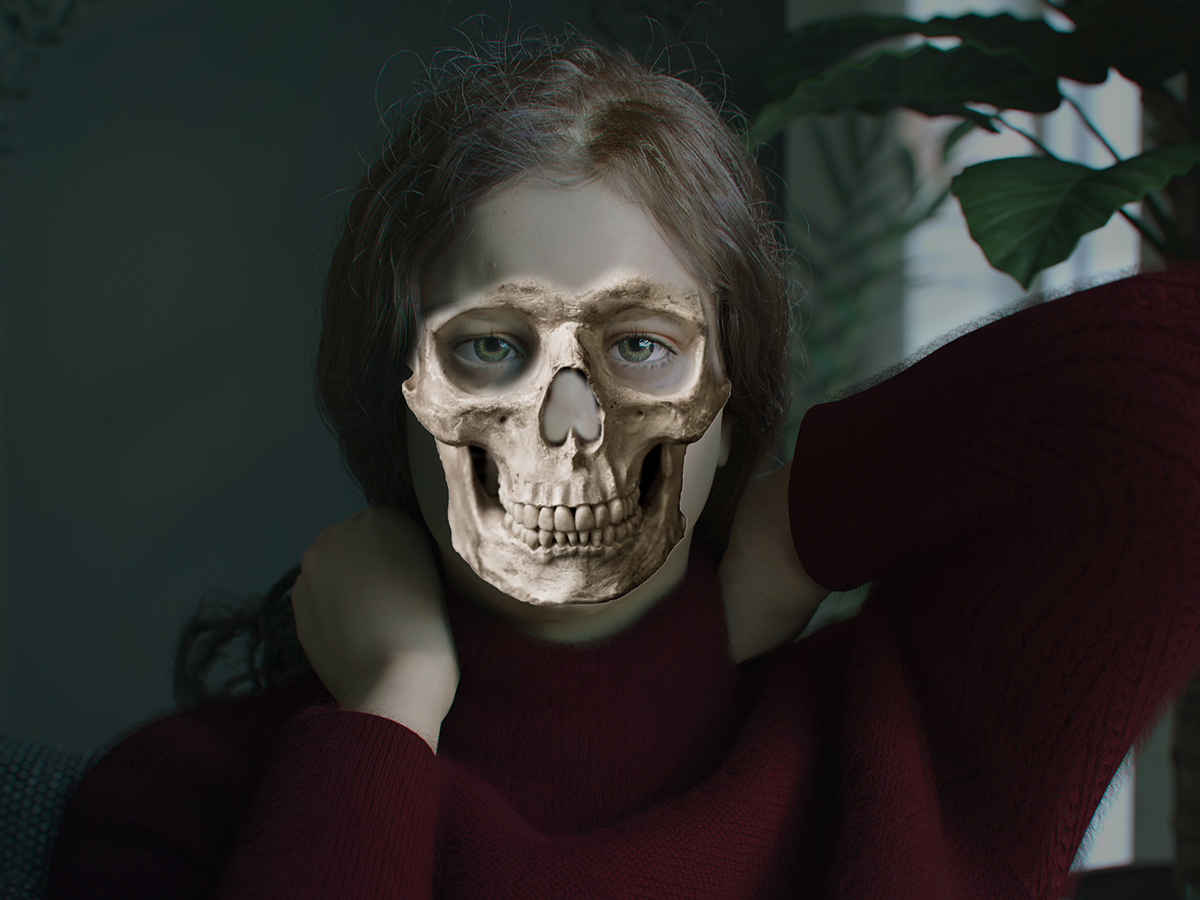
I came back with a new article for you. In this part, I’m going to share my experience in creating a photoreal portrait in Zbrush.
I will talk about:
- Gathering references
- Face anatomy and how to use it
- Sculpting skin details
- Exporting maps
A detailed video could be found here:


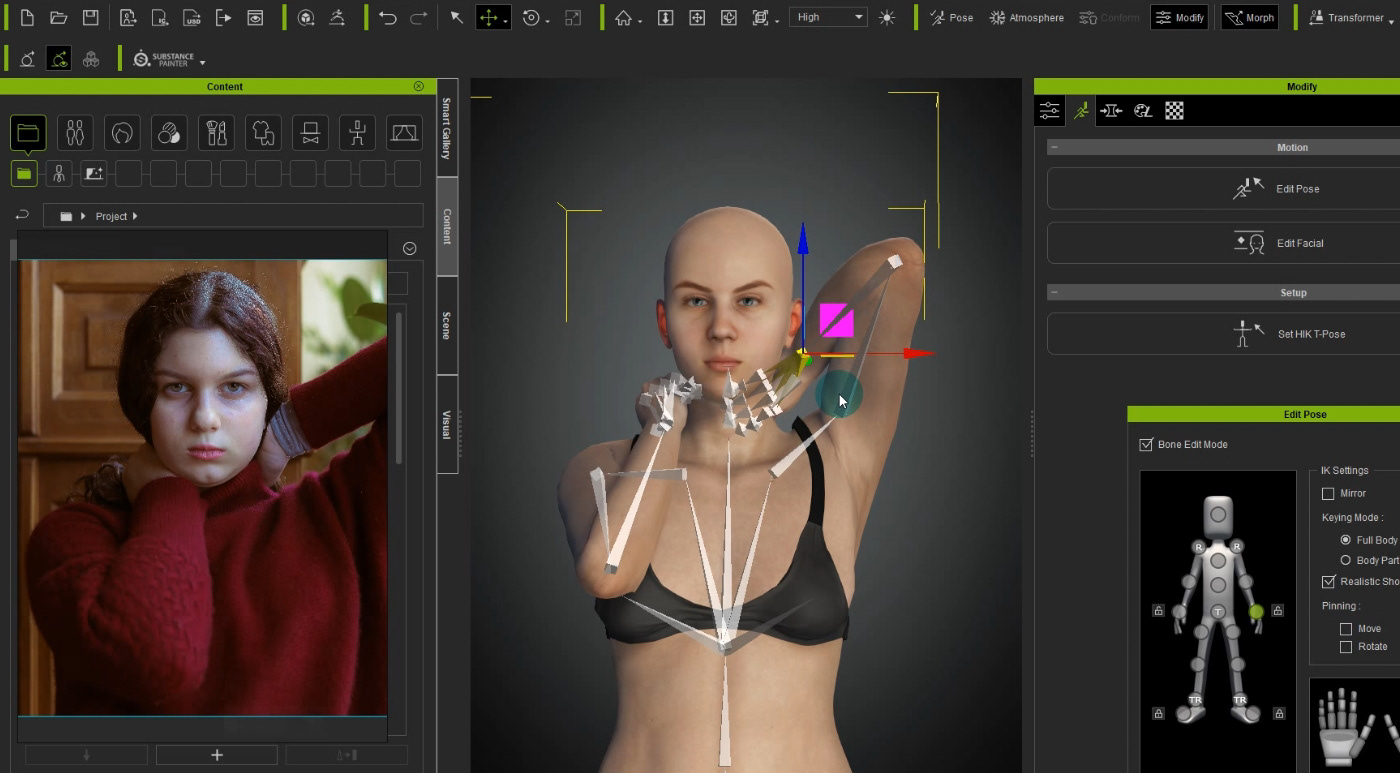
To make a task a little easier for myself and have something to start with I used a base mesh from Character Creator 3. Any other model would do, like the default one out of Zbrush models, or a custom created like the one I used to work with before. After discovering CC3 to myself, I started working with their base meshes because of decent topology, nice UVs, already made rig for posing. It greatly saves time on some routine work like retopology, UV unwrapping and so on. Right out of CC3 I exported an animation of pose transfer in alembic file (.ABC), which I will be using for sweater creation in Marvelous Designer.

In art academy I was taught that drawing (sculpting) from photo is mauvais ton. Ideally you should have a live model posing for you for many hours and not moving. But once I started working in production I came across another scenario: 99,9% of all tasks given based on photo references or illustrations. So in my case, I left preferences to work with live models to real fans and academics, and got used to work with photos. So I will do here.
For successful face reading you will need at least:
- Straight front view. No shifting. You will need that to read the face oval.
- Straight side view. To read face shape.
- ¾ view from both sides. To judge cheek bones, jaw, forehead curve, mouth curve.
This is a minimal set. Would be great if you have a top view (to judge curves of the forehead and nose, how far the nose goes against forehead) and bottom view (to judge the curves of the chick, mouth, cheeks, shape of nostrils.) Perfect to a have a turnaround video and to avoid perspective distortions.

Along my practice, I developed an algorithm of how to create any portrait and always get to the point I need. Well, honestly speaking, I haven’t invented anything new, it’s a base algorithm used in art which is to move from Big to Small shapes. I just adopted it to myself a little and built a habit not to step aside no matter how tempting it is to dive into details.

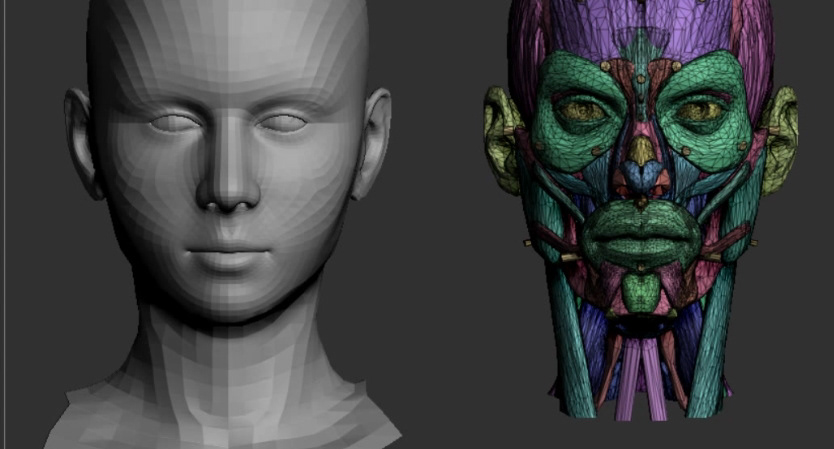
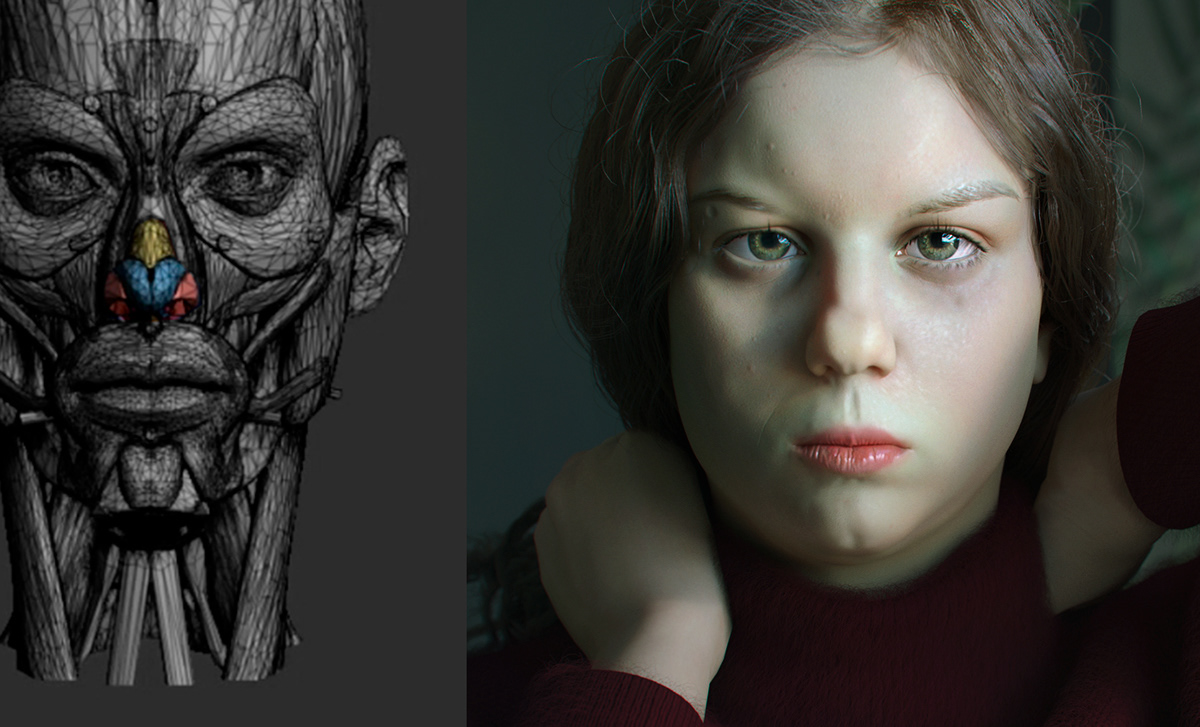
Below I will describe basics in working with anatomy. Here it is important to catch the essence of the model and to know how to utilize anatomic guide. It is not a medical model and it doesn’t need to be precise. You only need to know how the face is built under the layer of skin and muscles, what connects where, and where it comes from.
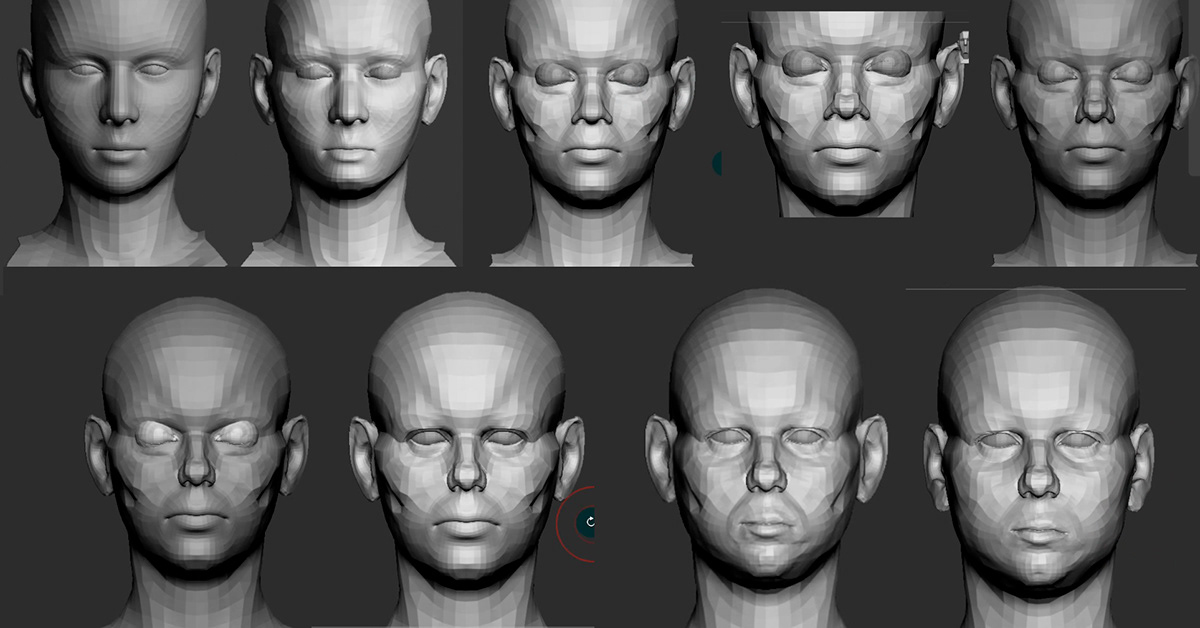
My first step is to ignore all details and facial features and concentrate on major head proportions. To make it easy – building head oval.
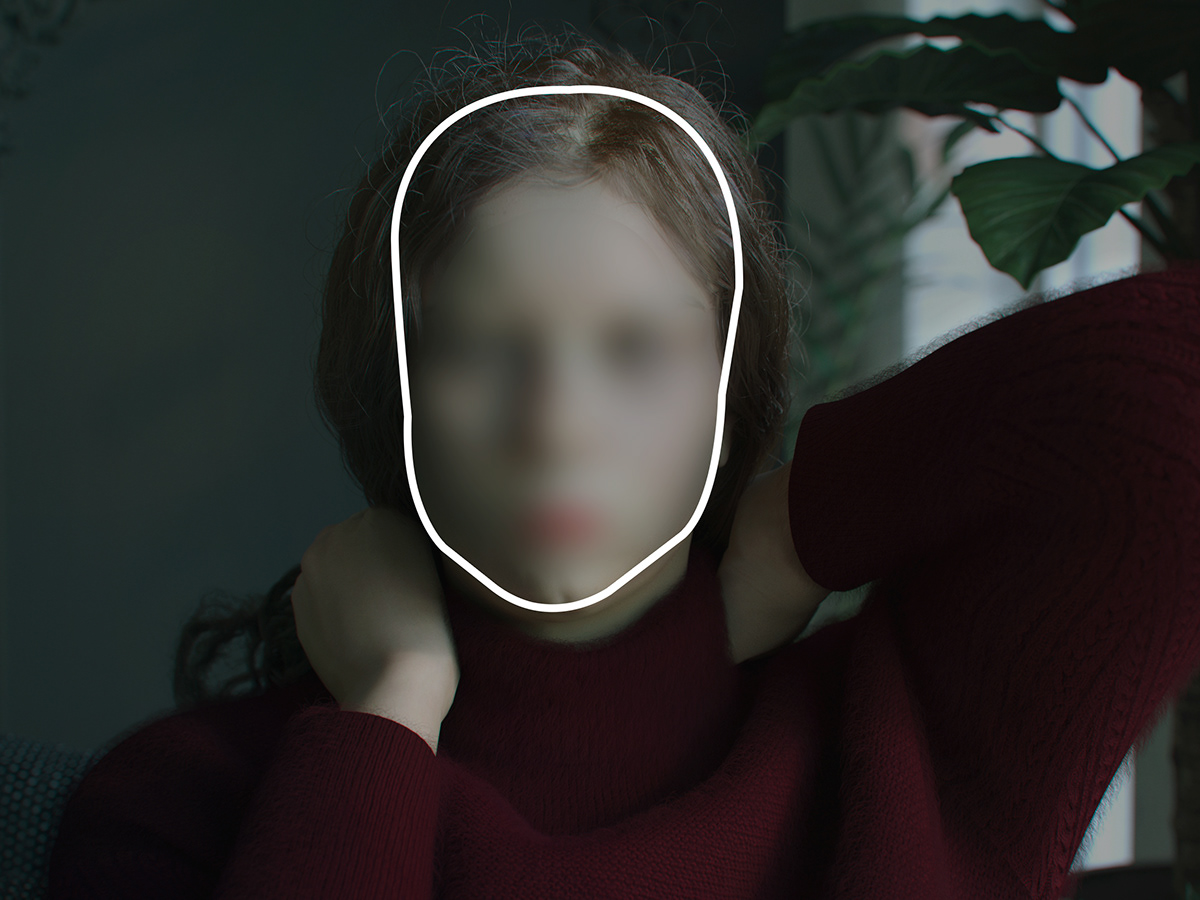
If it’s difficult to spot the dimensions, you can make the task a little easier: outline the contour of the head (without hair, imagine head shape under hair mass) and measure the contour you get. You can then project it on you model and see where to add volume and where to reduce. Don’t fully rely on your eye, it may mislead you.
After you get the right head size, it’s time to work on more detailed areas – skull bones. Like cheeks, bones around eyes, nose bones, jaw shape. Those bones form the face structure. The main thing here is to catch the balance between all the elements. This one is like a puzzle: as soon as you increase one element, another element immediately takes on a new look relative to the previous element. Therefore, you need to constantly compare all the elements with each other until you find the right balance between all the parts in terms of size, angles of inclination, position. Here you need to ignore such facial features as eyes, nose, lips, and work exclusively on the shape and position of the bones.
This is how I imagen human face at this stage 🙈
Now that the skull bones are in place, I proceed to an even more detailed stage - building the elements of the face from these bones. I start with the element of the face that annoys me the most right now, this is the nose. At the moment, it does not look like the original at all. The nose is made up of cartilage. For clarity, I show on the example of an anatomical dummy from Zbrush. I form each cartilage separately, carefully attaching it to the previously built nose bone. If we talk about realism in the portrait, then the example of the nose shows that this is a rather complex form. Immediately to catch the similarity may not work. But, if you break a complex element into smaller parts, and work on each one separately, then over time the necessary form will be built, which will show the character of the model.
In this way, I work out the rest of the facial features, one by one: eyes, mouth, ears.
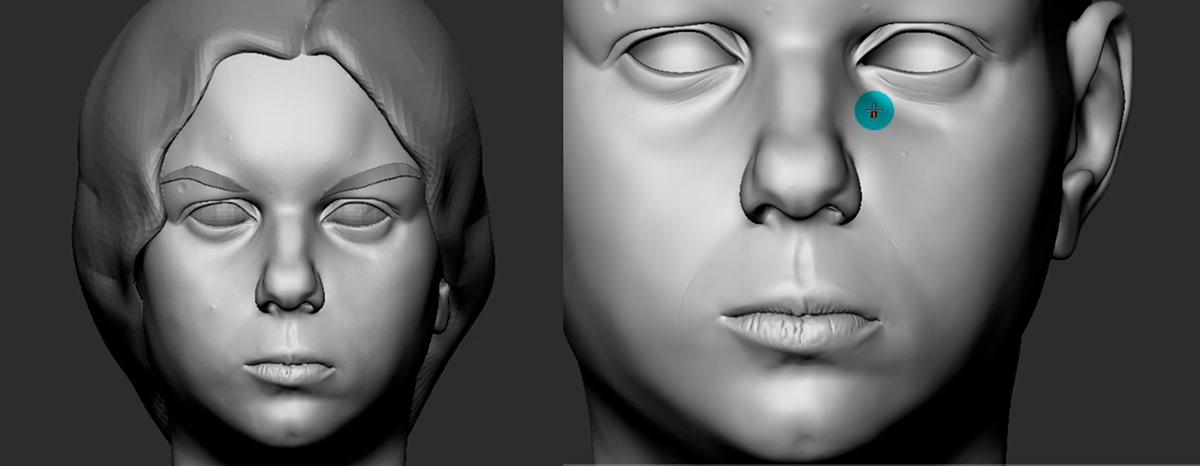
The base is built and you can go even further, work on the nuances of the face, polish the features and add small, barely noticeable forms. There is no longer any theory here, you just need to methodically increase the reference in a certain area and transfer what you see to your model. Work on mindfulness to some extent. I increase the model and reference by the same amount and transfer all the small differences that I can find. The only thing is that it is important not just to “stupidly” copy, but to imagine what kind of form it is and how it goes in real life.

Now that the base is ready, the “foundation” is built, you can relax and start the creative moment - applying the fine details to the skin. I love this step because you can turn off your brain and just improvise with pores, wrinkles, artistic vision and reference. It is important not to get carried away, not to lose the age of the model, its character. To begin with, I added layers to model (layers) and using standard brushes in zbrush began to add details that are specific for each part of the face. Again, I use the principle “from general to small”: First, I add large scars, imperfections, then I move on to finer features, wrinkles, cavities, and at the end, I work on pores. Here it is important to determine the nature and intensity of details in different parts of the face.

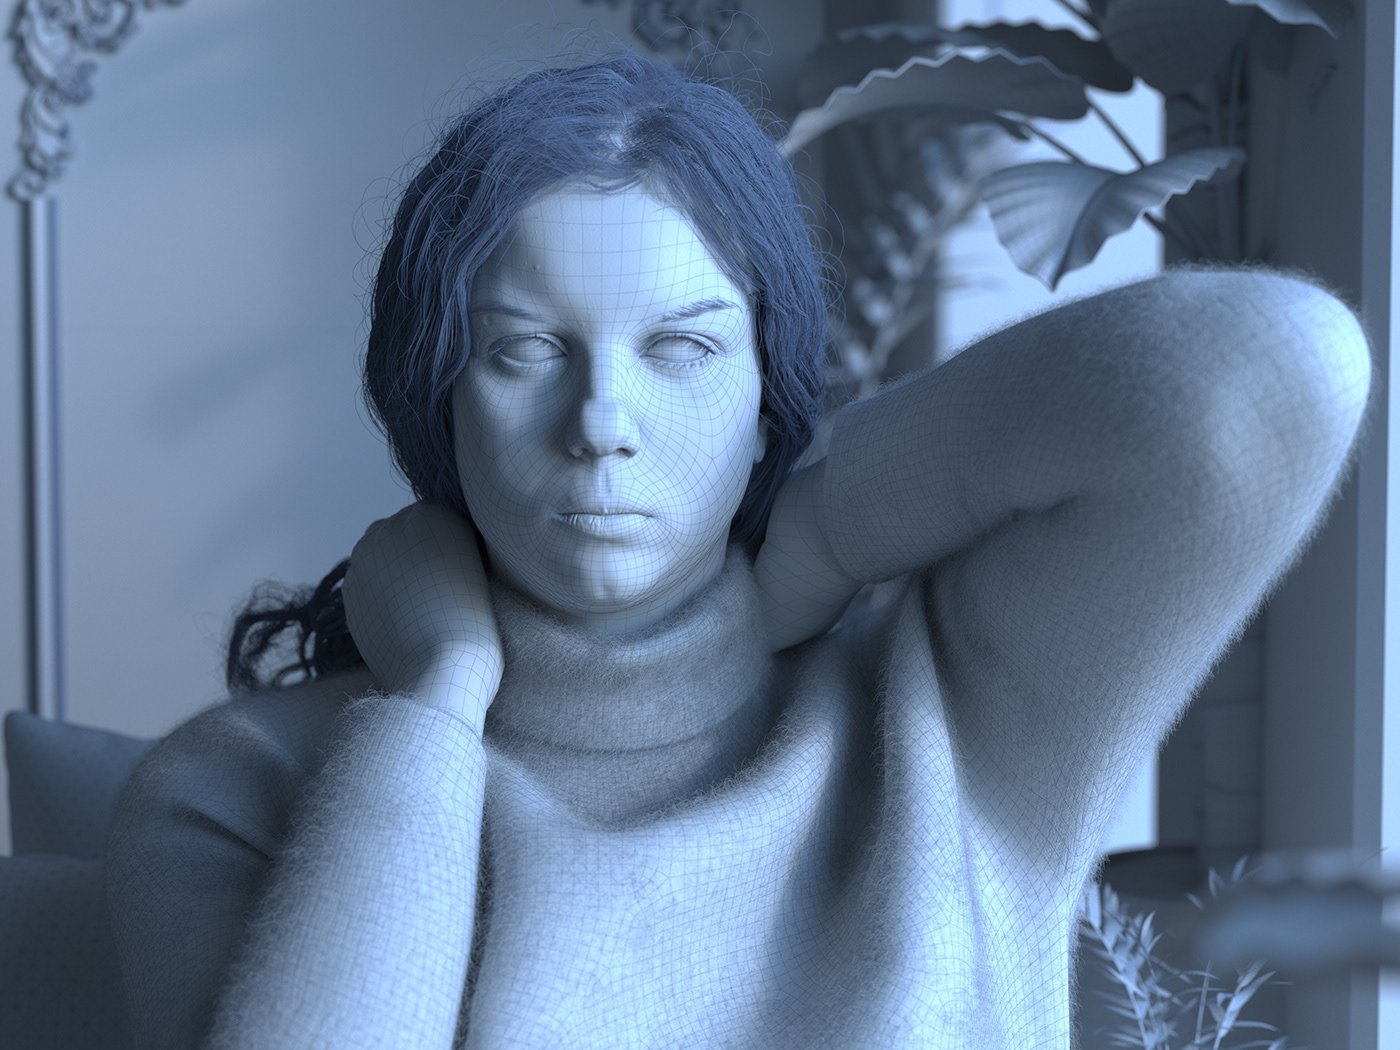
At first glance, I introduced everything that I planned into the model. It’s time to see how it will look in the test scene on the pre-render. I jumped ahead a bit and added hair and a sweater to make it easier to perceive the result. How to do the same, I will tell in the next part of the article. So far, I can see that I lack resolution in the texture of the skin. I want a more “juicy” pattern when zooming in the model. So I’m going back to zbrush and using HD geometry, I’ll be adding higher resolution details.


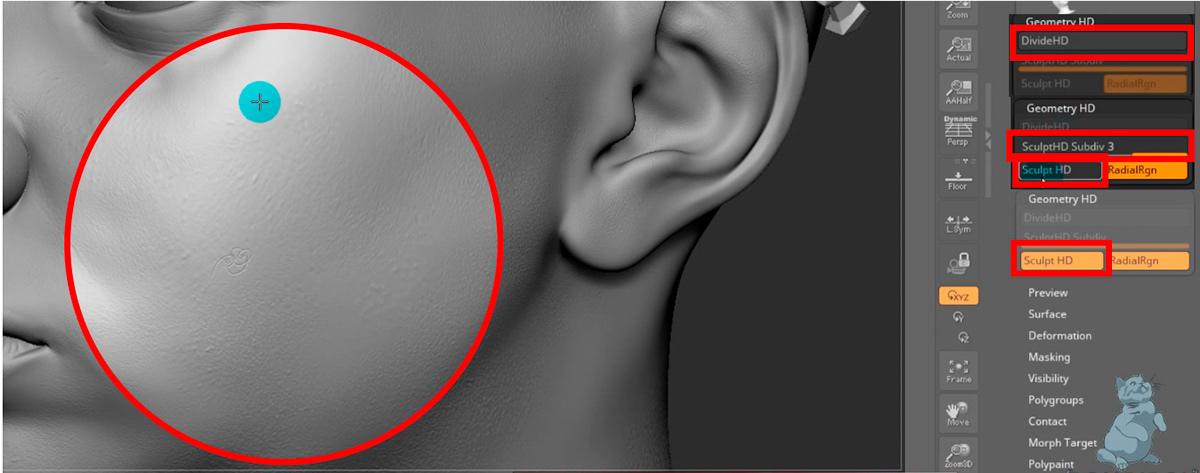
HD Geometry - is a sculpting mode where your model can be subdivided up to 1 billion polygons, but you will work in a specific region on the model. In this region, the maximum number of polygons for sculpting is available. After exiting the mode, you will see the model as it was before adding the HD levels, however, all sculpt information will be stored in the Normal and Displace maps. If you enter HD mode, then the details that were added earlier in this region will appear again.
You can see more details in my video or in other sources, but all this is not as difficult as it seems at first glance.
Before that, I created a set of brushes I will be working with. The brushes can be downloaded here
To activate the HD mode, you first need to add Divide subdivs in the HD Geometry tab a couple of times, then press A. The system will analyze for a couple of seconds, calculate the model, when it finishes, a circle will appear, outside of it the model will turn dark gray. This means that you can only sculpt within this circle. Here I recommend saving the current model as a morph target so that you can remove details that you don’t like. So I start working on each zone one by one. First, I apply a common fill of pores, then I place individual pores. Afterwards I go with a brush and imitate wrinkles and cavities. Here it is important to find a high-resolution photo of a person similar in age to the model and just copy from the reference. I try to follow along the draft that I did before.


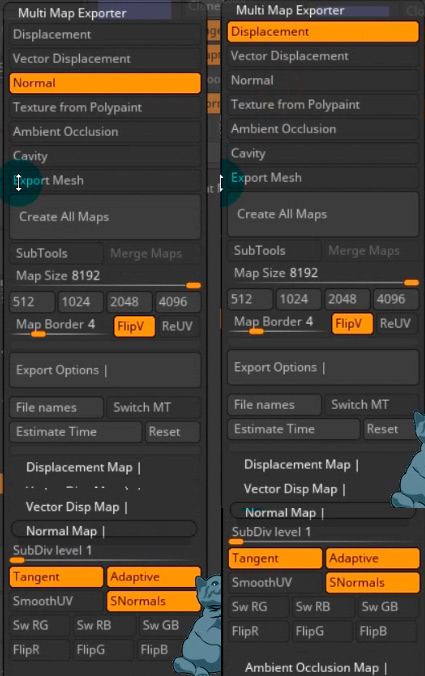
Once ready, you can export maps with baked details. I’m exporting normal and displace maps. Then I’ll see which one is better for rendering
At this stage, that’s it, I’ve finished sculpting the portrait, conveyed the character and features of the model, applied the texture of the skin. In the next tutorial, I’ll show you how to create a render scene and show you how I create textures.
Thank you for your attention!
More of my work can be seen here: www.pompidou-studio.art
🔗 Here are links to all my social networks, including YouTube, where short versions of my lessons are collected, which I plan to publish here in full format.
https://bio.site/Hok6HR
📧 For cooperation, write an e-mail here: info-pompidou-studio.art


