How to Make Sorbet: Master Ratio and Guide
You can make the creamiest and most flavorful homemade sorbet at home with any fruit! This guide will give you all the techniques you need to handcraft your own sorbet recipes with your favorite fruits and flavors. You’ll find a basic recipe with the master ratio here, but be sure to read through the guide for more information on how to successfully customize your sorbet.
Introduction | About Fruit | About Sugar | About Acid | About Flavorings | Master Ratio | Troubleshooting | Final Thoughts
Sorbet: ice cream’s sophisticated, dairy-free friend
I am an ice cream maven. You see a lot of baked goods on this site, but really, “frozen treats” is my favorite dessert category. Creamy, cool, sweet confections have always had a special place in my heart and in my freezer, and I took an interest in making them from scratch very early on in my culinary exploration.
Though it contains no dairy, sorbet can be equally as creamy-dreamy as ice cream, and I have grown to love it just as much as its heavier counterpart. At its simplest, sorbet is a frozen and churned mixture of sweetener (usually sugar) and water. Of course, plain sugar and water wouldn’t make the tastiest finished product, so fruit is often used as the liquid ingredient. Because there isn’t any fat to dull the palate, the pure fruit flavor can really shine through. What’s important to note—and there’s an whole Serious Eats article that goes into the science behind this that I recommend you check out if you’re a food alchemy nerd like me—is that sugar plays a vital role in the finished texture of sorbet. Without fat from dairy or eggs, it’s the suspension of sugar within the fruit purée that allows the sorbet to churn into something with a creamy mouthfeel. You need 20-30% sugar in your sorbet, which will come from your fruit plus some added sugar. We’ll dive into sugar and the ways you can play with it in a bit, and how to know when you’ve added enough.
A note on churning

By definition, sorbet is a churned product. Yes, this means that you need an ice cream maker to make sorbet. I know that this seems like an unnecessary appliance in many home kitchens, but this final step is crucial to achieving the creamy texture we’re after. I own the KitchenAid Ice Cream Maker attachment, which works very well in an apartment kitchen provided you already own a KitchenAid Mixer (make sure to get the attachment that fits your specific model). If you want something stand-alone, you can get a countertop model like this Cuisinart, which I also own…it just currently lives at my mom’s place since I don’t have room for a whole separate appliance right now. Both work well in my decade of experimentation with them.
If you don’t own or want to invest in an ice cream maker, you can use your favorite sorbet recipe and instead freeze your base into granita, which is icier in texture than sorbet but just as delicious. Just follow these Granita (No Churn) Instructions instead!
I will earn a commission on qualifying purchases through the above affiliate links, at no extra cost to you. This helps me run the blog and keep delivering great guides and recipes.
Selecting the best fruit for sorbet
Fruit is the star of the show in sorbet. When it comes to making sorbet with fresh fruit, pick the ripest, juiciest fruits you can find. Even over-ripe fruit that’s a bit bruised will be much more delicious than under-ripe fruit. You can also use fruit juice—just make sure it isn’t from concentrate and is 100% juice with no added sugar. Frozen fruit is fair game, too, and a great way to incorporate high-quality fruits in their off-seasons. Most sorbet recipes will also call for a small amount of citrus juice to add tartness, and this can also help to thin out fruit purées that are too thick on their own. Below is a list of fruits I’ve tried and the best way to use them.
How to use any fruit for sorbet
Whatever fruit or combination of fruits you choose, you will need 4 cups of fruit purée or juice to make 1-2 quarts of sorbet. In general, start with about 5 cups of chopped fruit to make 4 cups of purée—you may need slightly more or less depending on the density of the particular fruit. 2 pounds of fresh fruit is a good starting point, but take into account that you won’t be using things like pits or some peels, so get more than you think you will need.
Berries (raspberries, blueberries, strawberries, blackberries): Blend fresh or defrosted berries in a food processor, blender, or with an immersion blender until as smooth as possible, then pass through a fine-mesh sieve to remove seed fragments. I find it takes closer to 6-7 cups of berries to create 4 cups of purée after straining the seeds and skins out.
Grapes: Concord grapes will produce the most intense grape flavor, but there are many varieties of grapes out there that are worth trying. Treat them like berries, straining to remove unblended seed and skin fragments.
Melons (cantaloupe, watermelon, honeydew): Blend fresh melon cubes in a food processor, blender, or with an immersion blender until as smooth as possible, then pass through a fine-mesh sieve to remove any leftover “bits” (you can keep these if desired, but they freeze into a slightly gummy texture).
Citrus (lemon, lime, grapefruit): You can use freshly squeezed juice, or bottled juice if it’s 100% juice and not-from-concentrate. When using solely citrus fruit for a sorbet, you will want to add water to cut the tartness. Start at a 1:1 ratio of fruit juice to water and adjust according to your preference (you will add the same amount of sweetener regardless).
Stone Fruits (peaches, plums, apricots, cherries, mangos): These fruits have a lot of soft flesh, which gives their purées a lovely silky texture. They usually produce the creamiest sorbet. With the exception of mangos (which I peel with a regular peeler), I like to leave the skin on while blending—any large pieces will be strained out, and the tartness that the skins add is something I enjoy. If you prefer to peel them, score an X on the bottom of the fruit, drop into boiling water for 30 seconds, then dunk into an ice bath. The skin should peel off easily. Proceed to blend.
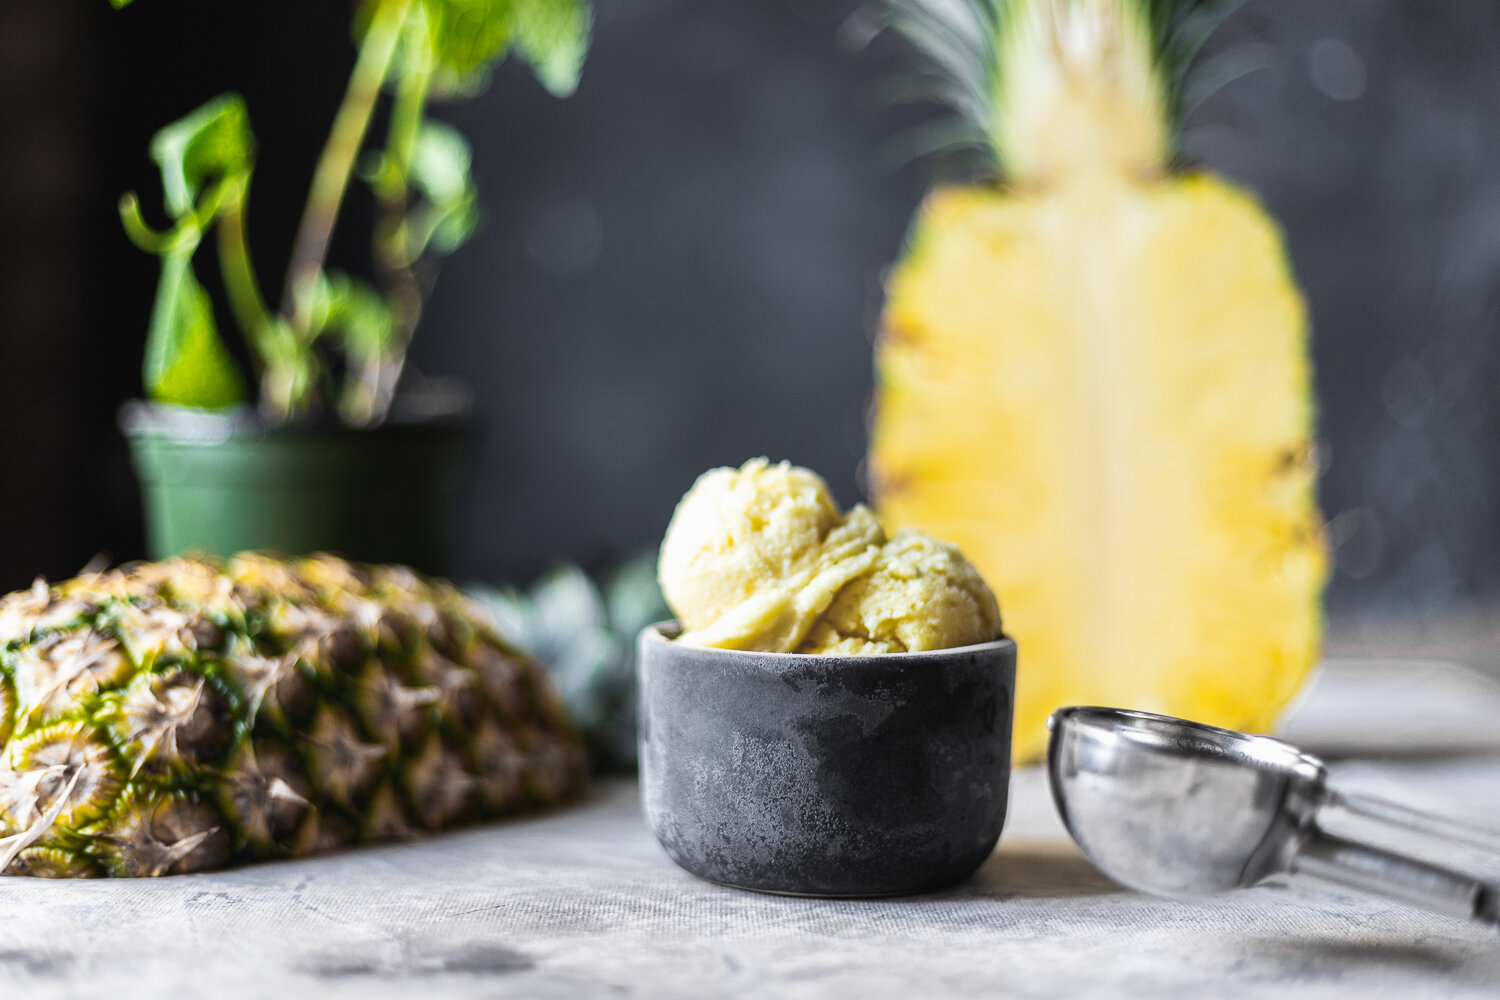
Pineapple: Peel and core the pineapple and cut into chunks, or use frozen pineapple pieces. Purée the chunks until smooth—there will be a layer of frothy pulp on top and juice towards the bottom. Strain through a fine mesh sieve to remove large pieces of remaining pulp. The mixture may still separate as it chills, so be sure to stir it before churning. You can also use pineapple juice.
Pears: Peel and core pears prior to blending. Pears produce a very thick purée that doesn’t make an optimal texture after churning and freezing. To combat this, add some fruit juice to your pear purée such as pear nectar or apple juice. You can also thin your pear purée by using simple syrup to sweeten your sorbet instead of regular granulated sugar.
Apples: It’s easiest to use apple juice rather than fresh apples, as all the fiber in their flesh isn’t necessary or wanted in sorbet. Use high-quality apple juice that doesn’t contain sugar so that you can add your desired level of sweetness. If you want to use fresh apples, peel and core, then blend them with the acid you are using (usually lemon juice) to help them break down into a smooth purée. Pass through a fine mesh sieve to remove skins and any remaining bits. Then thin out the purée with simple syrup or some fruit juice.
Tea/Coffee: Not fruits, but you can make sorbet out of them! Brew tea or coffee as you would for iced tea/coffee (double strength), add between 1/4 and 1 cup of citrus juice for tea (omit for coffee, it’s already acidic) and sweeten according to the instructions below.
There are many other fruits, but I have yet to try them. Did I miss one you’re curious about? Leave a comment at the bottom of this post!
To cook the fruit or leave it raw?
This is a matter of preference rather than one of function. Cooking certain fruits can bring out new flavors, such as grilled peaches or roasted strawberries. If you like cooking your fruit, keep in mind that it will lose some moisture and you may need to start with more fruit (by volume) to compensate for this difference.
Cooking fruit alters the flavor, so for the freshest taste, use raw fruits or cold-pressed juices.
How to Sweeten Sorbet
In order to freeze well and be scoopable, sorbet must contain between 20-30% sugar. Short of buying a refractometer—a gadget used to measure sugar concentration in liquids—it can be tricky to gauge exactly how much sugar is in your sorbet base. Some fruits contain much more sugar than others, so how do you know how much sugar to add?
The Egg Test
A well-loved trick among home chefs and pros alike, allow me to introduce you to the “egg test.” Take an uncooked egg in the shell, wash it very well with soap and water, dry it, then place it in your sorbet base after you’ve mixed everything together. A portion of the egg about the diameter of a quarter should be visible on the surface of the liquid. If the egg sinks to the bottom, your mixture needs more sugar to reach the correct concentration for optimal texture. If the egg totally floats on top, add more citrus juice or fruit purée/juice to thin the liquid out a bit.
In general, you will need about 1 cup of sugar for 4 cups of fruit purée, The recipe below has you add 2/3 of the sugar first, then perform the egg test, and add the remaining sugar if needed. Sometimes your fruit will have so much natural sugar that you won’t need the full cup, and it’s easier to add more than to take away.

Simple Syrup vs. Sugar for Sorbet
I’ll boil this down for you quickly (pun intended): you definitely don’t need to make a simple syrup to make sorbet, but sometimes it’s helpful.
There are various schools of thought when it comes to the best way to sweeten sorbet. The old-school way of making sorbet involves boiling sugar and water in equal parts to make a simple syrup, cooling it, then adding it to the fruit base. This works well, but in most cases, isn’t necessary. Sorbet base needs to be cold when you churn it; ideally, between 38°F and 40°F. Using a hot liquid will delay the process, and it’s easier to use plain granulated sugar.
Sugar can be blended in right with the fruit to help it dissolve, and if you need to add more to reach the right level of sweetness, it’s easy to stir more in.
The exception to this advice is if you have a fruit that produces a very thick purée, like apples or pears. If you are not adding another type of fruit juice to thin the body of the base a bit, using simple syrup (which contains added liquid) can help to achieve the right consistency. You can also infuse some herbs, spices, and flowers into simple syrup, which we’ll go into in a bit.
What about corn syrup?
Though it’s a controversial ingredient, corn syrup has many benefits in a baker’s kitchen and one of them is in sorbet. It can add viscosity to fruit juices that lack it, such as citrus juices or thin apple juice. It’s less sweet than sugar, so you can use more of it to bulk out the volume of these liquids creating an improved texture.
For a similar effect, you can use some honey to sweeten your sorbet, but keep in mind that it’s very sweet and can’t be used for 100% of the sugar. Try 1/4 cup honey with 1/2 cup sugar, and work up from there.
Acid: the Counterpart to Sweetness
After you’ve taken care to sweeten your sorbet, you’ll want to add a small amount of acidity to the base to round out the flavor, provide contrast to the sweetness, and lift the natural sour flavors in your chosen fruit. Fruits naturally lie on a spectrum of very sweet to very tart, so you won’t always need to add the same amount of acid.
Take a pineapple, which undoubtedly has more acidity than a cantaloupe. For pineapple, you may use 4 cups of fruit puree and 2 tablespoons of lemon juice, whereas in cantaloupe I’d likely double the acid to 4 tablespoons, or 1/4 cup. The beauty here is that you can customize this according to your taste. The acid has less to do with texture and more to do with flavor, so you have a bit of leeway when deciding how much to use.
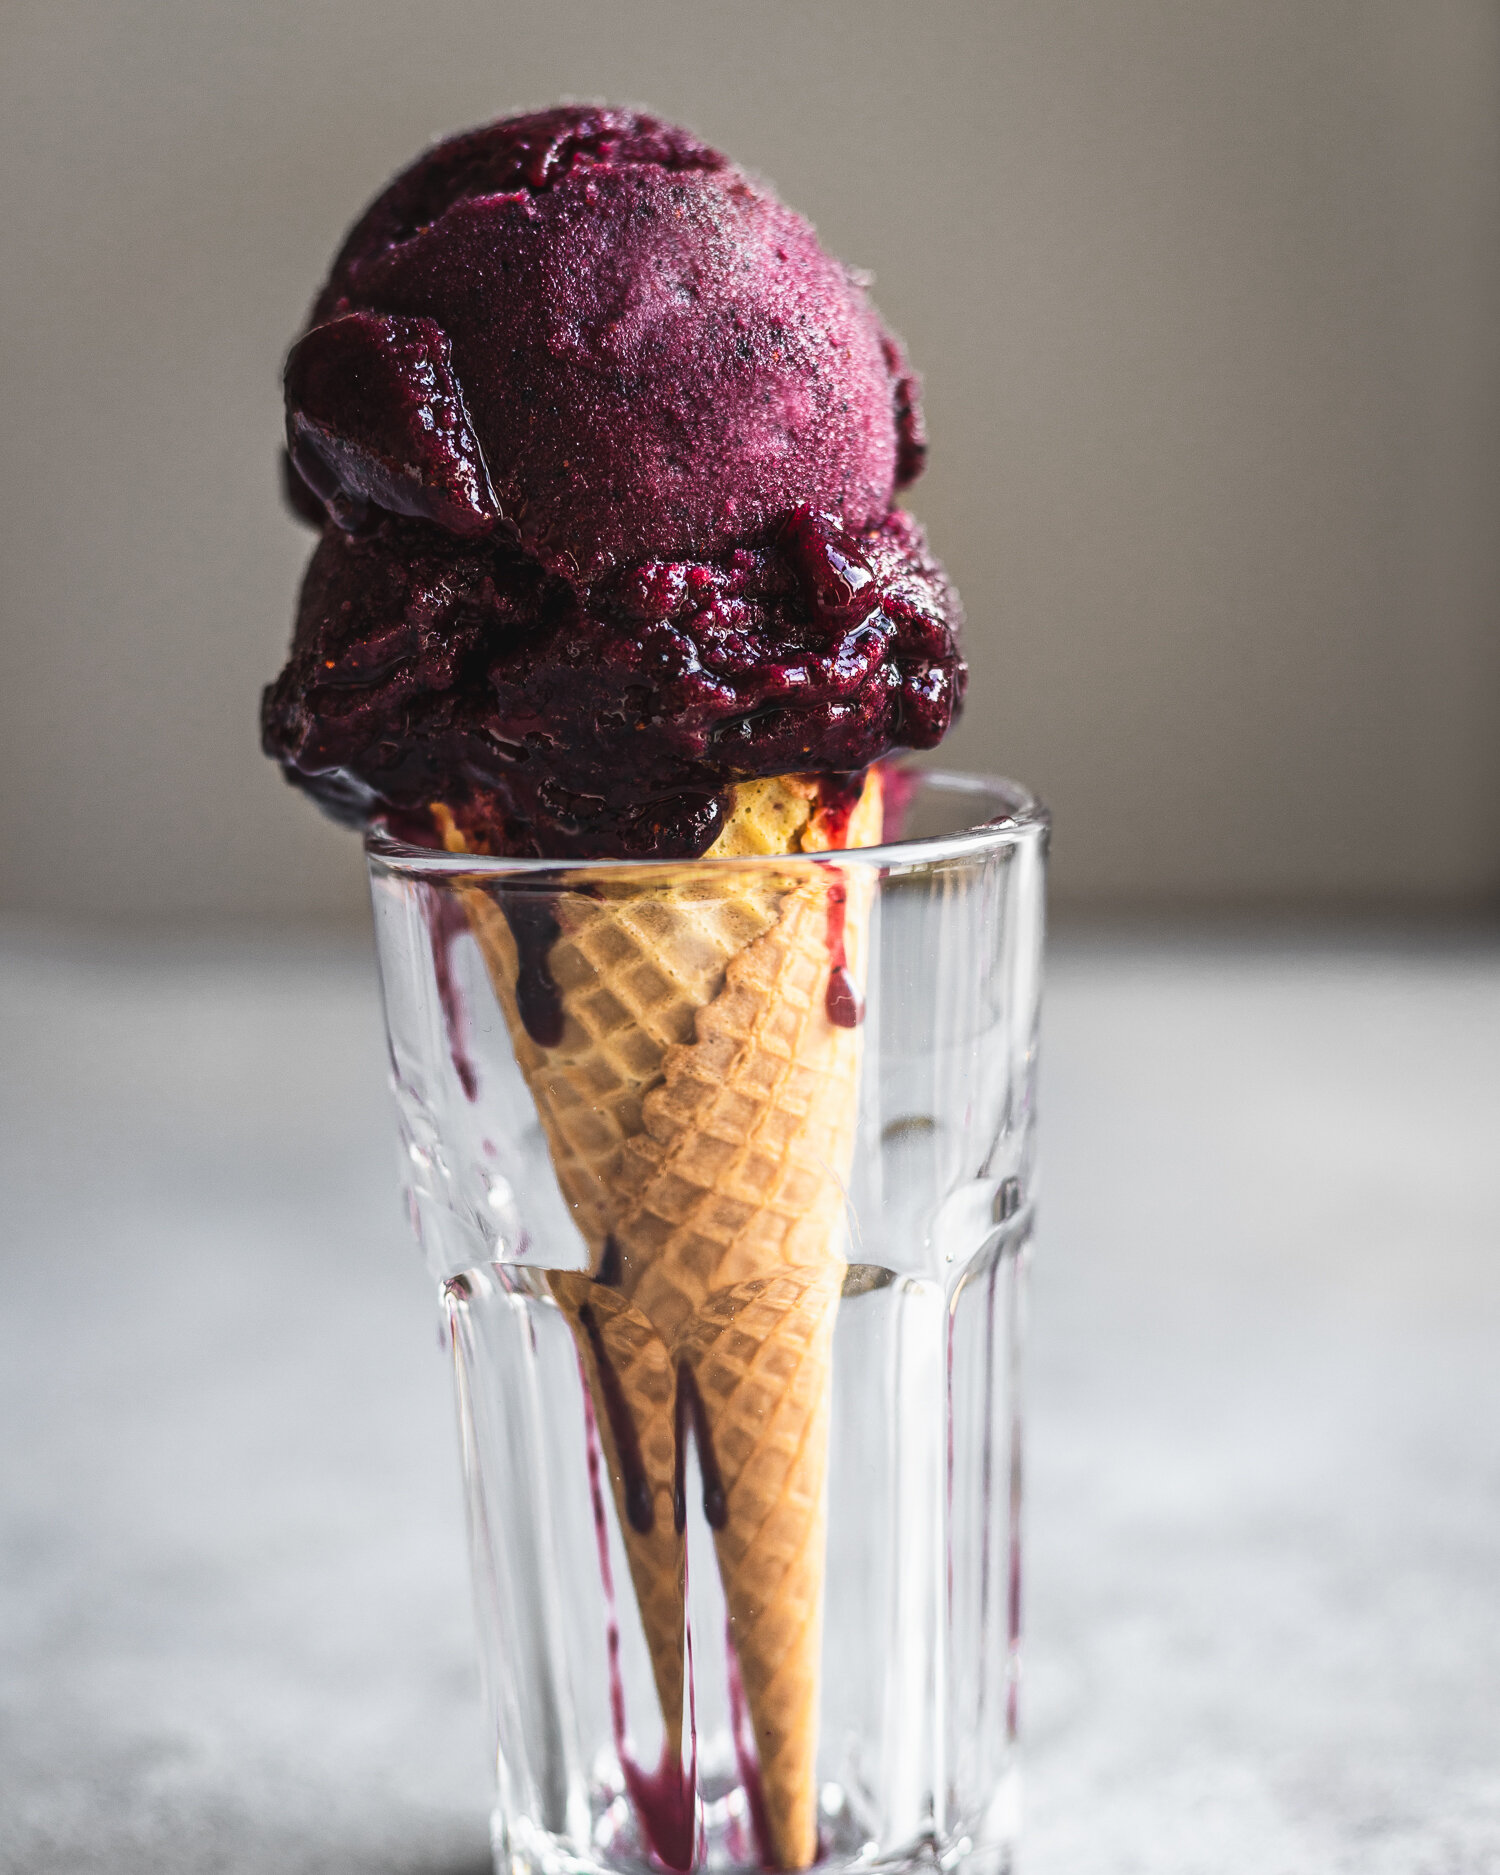
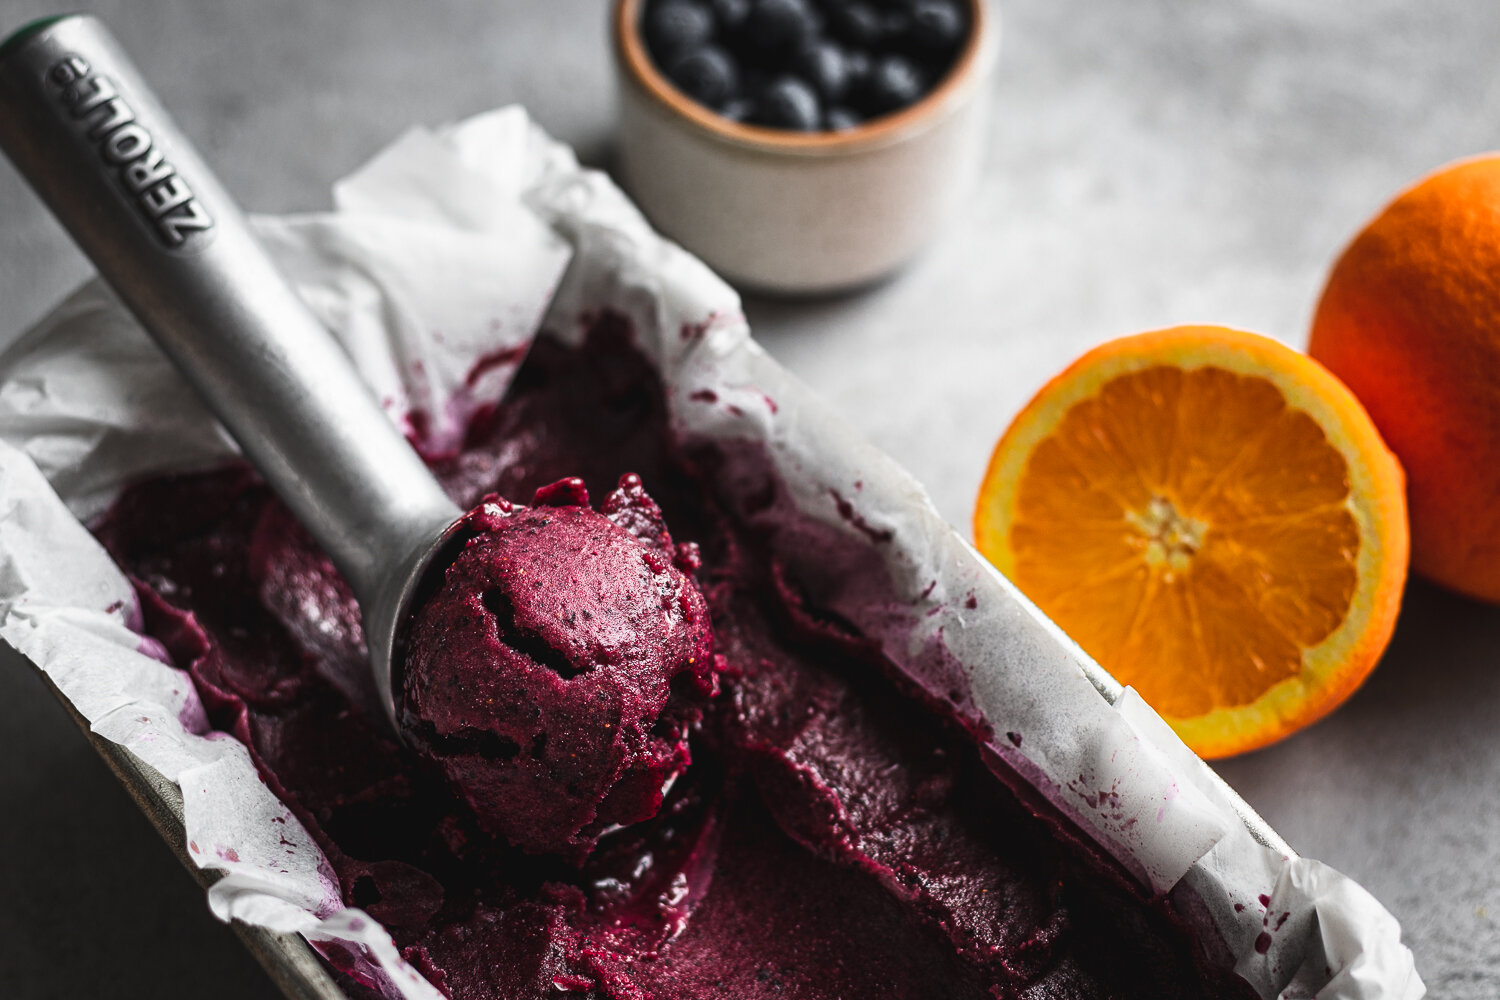
In the Blueberry Orange Vanilla sorbet pictured, I used the juice and zest of one large navel orange, which was about 1/2 cup juice and 2 tablespoons of zest.
Types of acid to use in sorbet
While citrus juices are the most popular, you don’t have to limit yourself to just those! Try any of the below to add tartness:
Balsamic Vinegar: start with 1 tablespoon, use up to 4 tablespoons depending on sweetness of the vinegar
Apple Cider Vinegar: has a sharper flavor, so start with 1 tablespoon and use no more than 3
Rice Wine/White Wine/Red Wine Vinegar: start with 1 tablespoon and use up to 4 depending on preference
Lemon/Lime Juice: use 2-4 tablespoons, or more if desired for increased citrus flavor
Orange/Grapefruit Juice: slightly less acidic than lemon and lime, so use 3-4 tablespoons or more if desired (I like 1/2 cup)
When using citrus juices, freshly squeezed is always preferred to concentrate. This also gives you the opportunity to grate in the zest if desired, which gives a rounder, more full-bodied citrus flavor.
Flavoring Sorbet: Ultimate Customization
Adding unique flavors to sorbet is by far my favorite part of making it at home. After all, there are plenty of good grocery store brands of sorbet out there, and they have their rightful place in my freezer, too. But starting the process from scratch means that you can take your fruit and pair it with whatever your heart desires, creating next-level flavor combinations that you love.
There are many things you can add to sorbet to customize it, including:
Flowers (rose petals, lavender buds, etc.): To incorporate floral elements, create a simple syrup by combining equal parts water and granulated sugar and boiling for 2-3 minutes. Add 2-3 tablespoons culinary-grade flower petals or buds to the hot syrup, remove from the heat, and allow to infuse while it cools. Strain before adding to sorbet base.
Herbs (mint, rosemary, thyme, sage, basil, etc.): Treat herbs as you would when cooking them. For soft herbs like mint and basil, blend right in along with the fruit, sugar, and acid for a recipe to keep them raw and their flavors bright. For woody herbs like rosemary, thyme, and sage, infuse them into a simple syrup as described above for flowers, straining before adding to sorbet base.
Zests: Orange, lime, lemon, and grapefruit zest will all lend citrus flavor without adding too much acid
Spices (cardamom, ginger, cinnamon, allspice, etc): Ground spices can be added to fruit purées, whereas whole spices can be infused into a simple syrup as described above for flowers. Ginger can also be grated fresh for a more intense flavor. Start with 1/4 teaspoon of ground spice and work your way up according to preference.
Extracts and Alcohols: Adding 1-2 tablespoons of alcohol—or up to a teaspoon for extracts as they are more potent—will lower the freezing point of sorbet, leading to a softer texture and enhancing the flavor in many cases. Classic additions include Calvados for apple or pear sorbet, Grand Marnier for orange sorbet, or bourbon for peach sorbet.

Mint takes on a different flavor when cooked, so I used fresh mint blended right in with pineapple for this Pineapple Mint sorbet.
The Master Sorbet Ratio

4 parts fruit purée/juice + 1 part sugar, by volume
To make sorbet at home, combine 4 cups of fruit purée or juice (about 5-6 cups slices or pieces) with 1 cup of sugar and 2-4 tablespoons of your choice of acid, plus a pinch of salt.
If using simple syrup, you may need to use up to 2 cups, but start with less and work your way up.
This is the master ratio for sorbet. In general, you can use any fruit and any acid as described below while keeping to this standard formula. Keep in mind that the parts in this case are described by volume, not weight. While I almost always prefer measuring in weight, in this case, fruits have different densities: a cup of watermelon purée will not weigh the same as a cup of mango purée.
The reason for adding the sugar in two stages is that it is easy to add more sugar if needed, but you don’t want to get stuck with a base that’s too sweet with no more fruit to add. Starting with a conservative amount of sugar allows you to tinker with the base until it’s just the right sugar concentration.
The recipe below is a general guide, so be sure to read on to learn about how to customize your sorbet!
Fruit Sorbet Recipe
Ingredients
5-6 cups sliced fruit, yielding approximately 4 cups fruit purée
1 cup sugar, divided into 2/3 cup and 1/3 cup (or at least 1 cup simple syrup, more if needed)
2-4 tablespoons acid of choice
Flavorings of choice, to taste
Hefty pinch of salt
Method
24 hours before you want to make sorbet, put the bowl of your ice cream maker in the freezer if needed.
Blend the fruit and 2/3 cup of the sugar together (reserve remaining sugar for step 4) with an immersion blender, in a blender, or with a food processor until smooth. If using ground spices or fresh, tender herbs, add while blending.
Strain purée through a fine mesh strainer, extracting as much liquid as possible but taking care not to push too many seeds or skins through.
Perform the egg test, and add remaining sugar if needed to reach desired consistency and sweetness.
Stir in salt and acid, and taste. Add more of each as needed for desired flavor. Keep in mind, the sorbet will taste less sweet when frozen, and salt and acid help enhance the fruit’s flavor.
Chill thoroughly, at least 2 hours but preferably overnight before churning in your ice cream maker. Sorbet base should be 40°F before churning.*
Churn according to your ice cream maker’s instructions.
Transfer sorbet to an airtight container and freeze for at least 2 hours before serving. Eat within 2 weeks for maximum freshness.
* Want to speed up the chilling process? Pour sorbet base onto a sheet pan and spread into a thin layer, cover, and chill in the freezer, stirring every 10-15 minutes until thoroughly cold but not frozen. This can cut chilling time down to 1 hour if you started with cold fruit.
Troubleshooting Sorbet
The beauty of sorbet is that if it doesn’t quite turn out the way you want, it can usually be melted, adjusted, and re-churned.
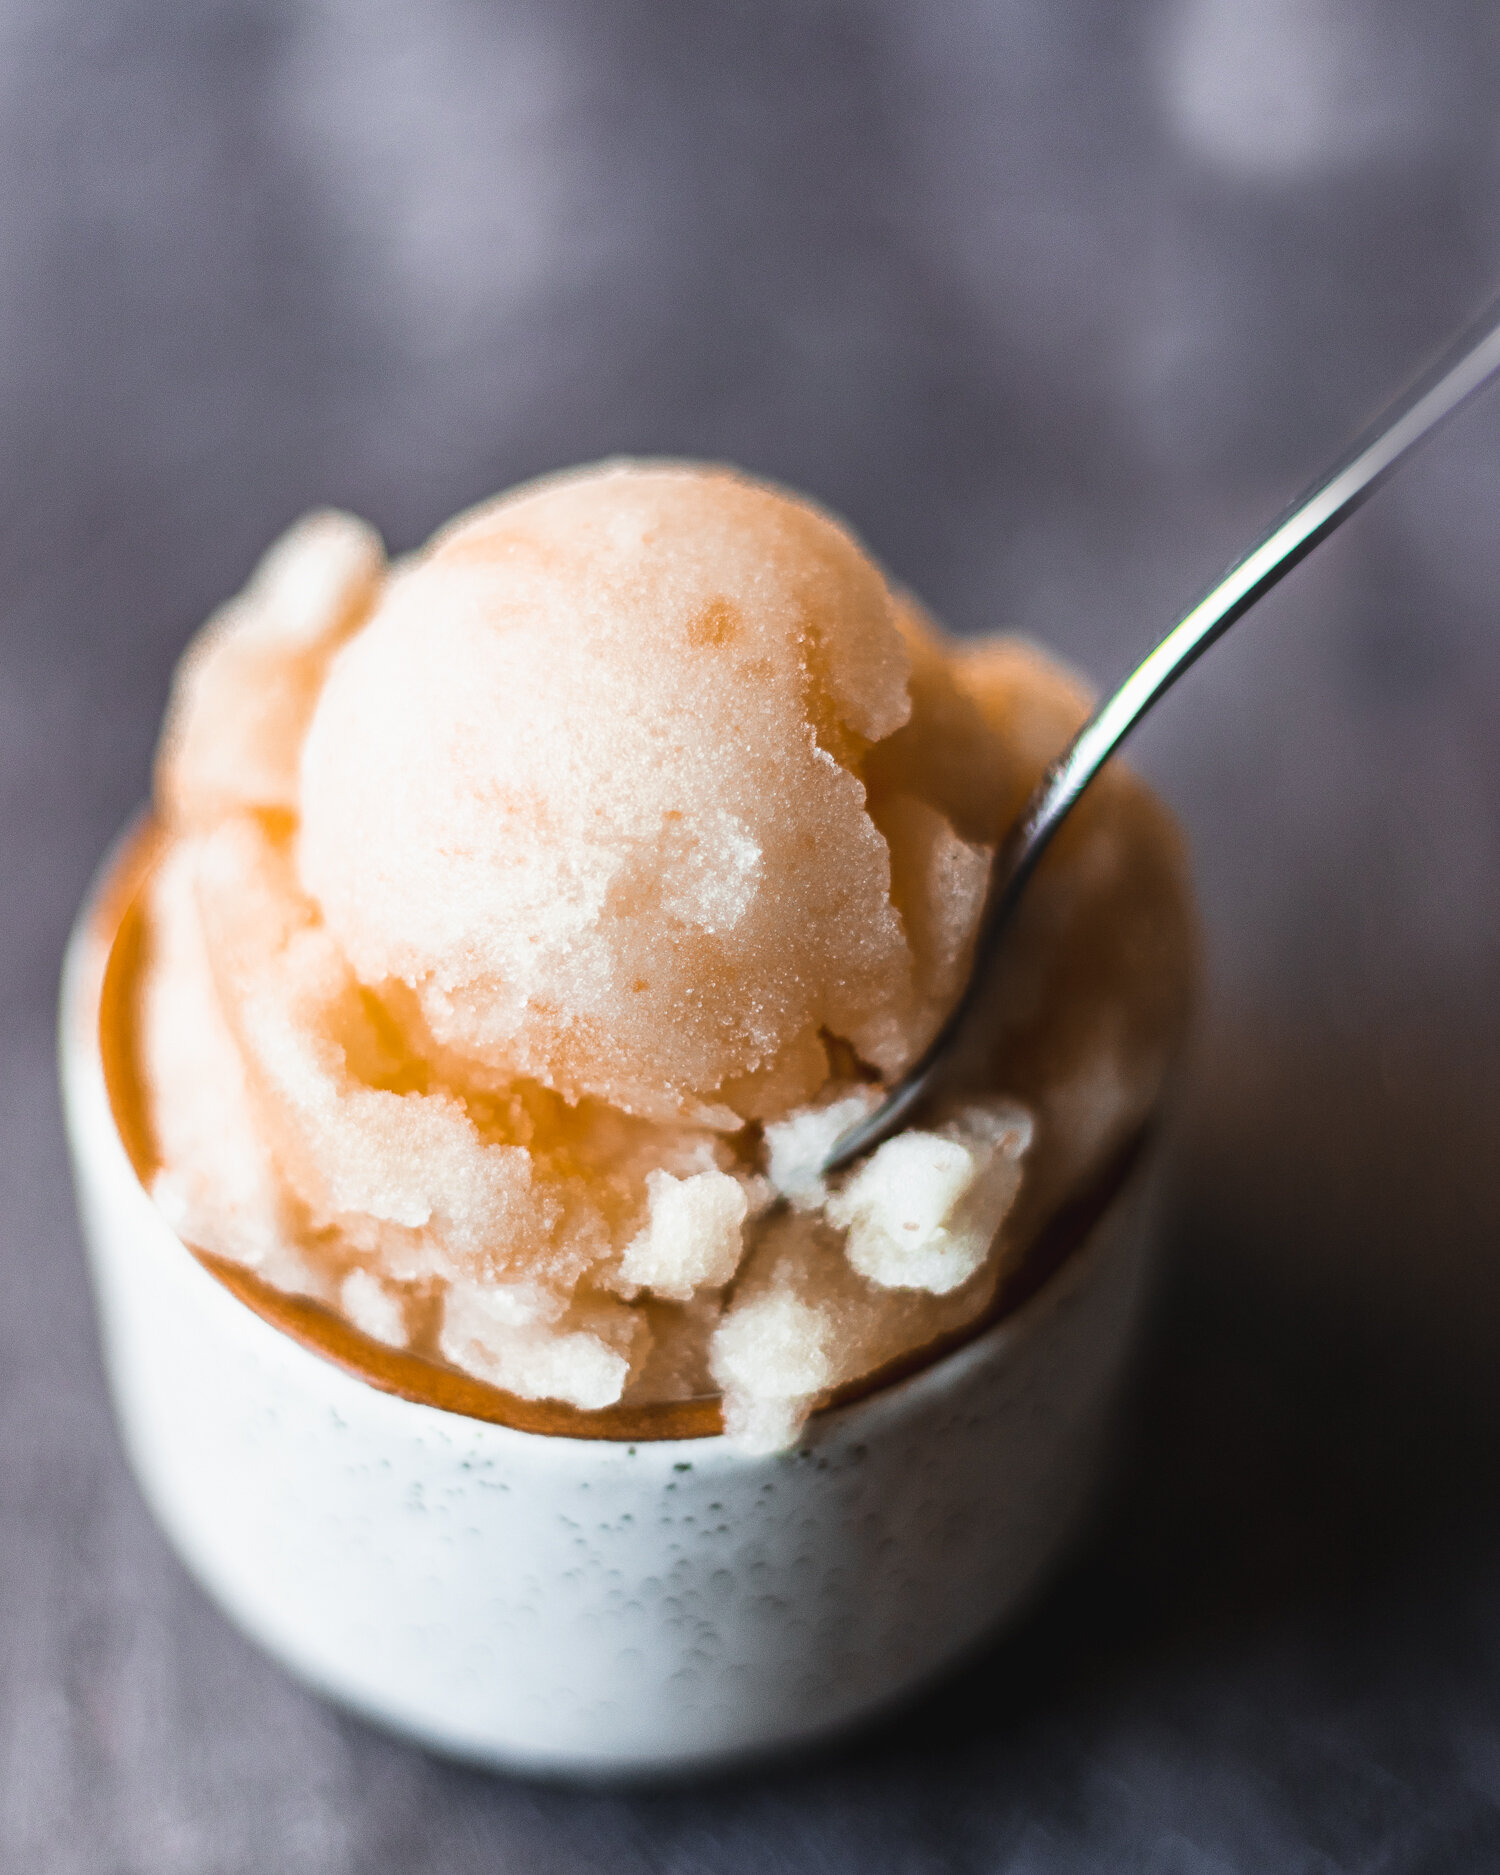
This green tea and grapefruit sorbet was very icy after the first churn and freeze, so I melted it back down, added more sugar, and churned it again for an improved texture.
If your sorbet is too soft or melty after churning and freezing:
Melt the base back down to liquid, add more fruit purée or acid to lower the ratio of sugar to liquid, then re-churn OR
Re-freeze your churning bowl and make sure it’s properly cold—frozen for a full 24 hours minimum—before attempting to rechurn
If your sorbet is rock-hard after churning and freezing:
Allow it to sit on the counter for 5 minutes to soften before scooping OR
Melt the base back down to liquid, add more sugar, or a bit of corn syrup, or a splash of alcohol, then re-churn and refreeze
Keep in mind, fleshier/softer fruits (like mangos, peaches, berries) will yield softer sorbet, while fruits with a higher proportion of water (melons, grapes, citruses) will generally create a more firm texture. This can be adjusted with more sugar or by creating a blend of fruit, such as mango-orange!
If your sorbet is icy:
Melt the base back down to liquid, add more sugar, or a bit of corn syrup, or a splash of alcohol, then re-churn and refreeze
Churn the sorbet for longer in your ice cream maker
If your sorbet lacks flavor:
Did you start with very ripe, flavorful fruit? If so, know that frozen foods don’t taste as strongly on our palates as warmer foods. Keeping that in mind, always season your sorbet with a little more salt than you think is necessary to ensure the flavors come through after freezing. If they don’t, melt your sorbet back down to the base, add more salt or acid, then re-churn and freeze. But if you started with bland fruit, this will only help marginally.
What if I don’t have an ice cream maker?
If you don’t have an ice cream maker, make granita!
How to Make Granita
Follow steps 2-5 in the recipe above to create your base. Pour this base into a shallow baking dish such as a 9x13” pan, then place in the freezer, covered well.
Set a timer for 30 minutes. After 30 minutes, use a fork to scrape up any ice crystals that have started to form in your pan, then set back in the freezer.
Repeat this 30-minute rest and scrape process 5-6 times over the next few hours, so that you are constantly disrupting the ice crystal formation. This is the key to forming small ice crystals versus big, sharp chunks.
When granita is completely frozen through, use a fork to scrape the surface one more time, then serve. Granita will have an icier texture because there’s not nearly as much air incorporated into the base and the way that ice crystals form is different than sorbet, but it is still a delicious summer treat!
Final Thoughts
Much like my good old friend sourdough, sorbet is a food with simple ingredients that requires a bit of science and technique to achieve the best version possible. Luckily, this is very possible at home with no more than some fruit, sugar, acid, and salt. With a bit of blending and chilling, you’ll be churning up your own sorbet to enjoy all year round.
Use the most seasonal fruit possible, or frozen fruit for when you just need to have a strawberry treat in the dead of winter. Sorbet is not just for summer—try pear, plum, or apple in the fall, orange or Meyer lemon in the winter, and fresh berry in the spring.
Ready to try sorbet at home? Start with this recipe for Pineapple Mint Sorbet, and let me know what flavor combinations you have tried or want to try in the comments below!
Did you enjoy this guide? Get in touch with me on Instagram, and be sure to share your results with #breadandbasil and by tagging me @breadandbasil.