
Sewing a shirt-tail hem tee shirt
By Ann Siegle
UPDATED! Get the FREE downloadable Shirt Tail Hem Extension and trace your own!
The example tee shirt is an open scoop neck tee with a drop shoulder and a wide band for the sleeve and sleeve hem. The bottom of the tee has a shaped shirttail hem and the tee is boxy/loose fitting. To recreate this look, we need to look for a tee that has the drop shoulder and the loose fit. Three Tees from Christine Jonson Patterns is a perfect starting point for a basic tee alteration. This is a beginner project for pattern alteration and requires only a piece of kids’ chalk and a ruler. You can do it!
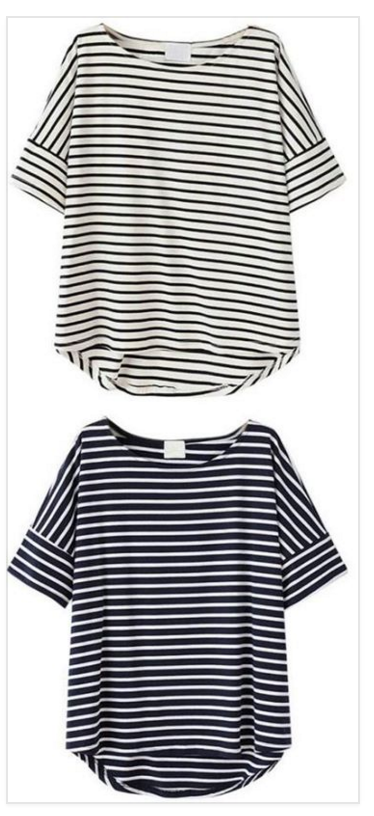
This is our tee inspiration. Key details: dropped shoulder, wide band at sleeve hem and a back shirttail hem, loose fit.
Three Tees has both a front and back tee pattern piece. The difference here is the neckline in the back. To create the wider scoop, we will be using the front pattern piece for both front and back of the tee and making a slight alteration to the width and depth of that neckline. If you’re using a drapey sweater knit, you won’t need to alter the front neckline at all – the soft stretchiness of the sweater knit will do this for you. If you are using a firmer knit, you will have to alter it slightly. (see example)
Making a shirttail hem:
Lay out your front pattern piece on the fold. Using your ruler, measure from the bottom of the hem of the tee cut off length marking. Making a graceful arc (you may use a French curve for this, or draw it freehand as I have done) up to the sideseam, creating the shirt tail hem. Note, you are not creating a new pattern piece or altering your pattern. You are simply drawing right on your fabric the appropriate curve. Cut this pattern piece out. Lay this newly shaped pattern piece again on the fold and cut out a second. Voila! Front and back pattern pieces!

Construction:
Construct the tee as indicated in the directions – shoulder seams and sideseam. Do not finish the neckline just yet.
Finish the shirttail hem with an edge serge, turn the hem under once and press, and again and press. Topstitch the whole shirttail hem.
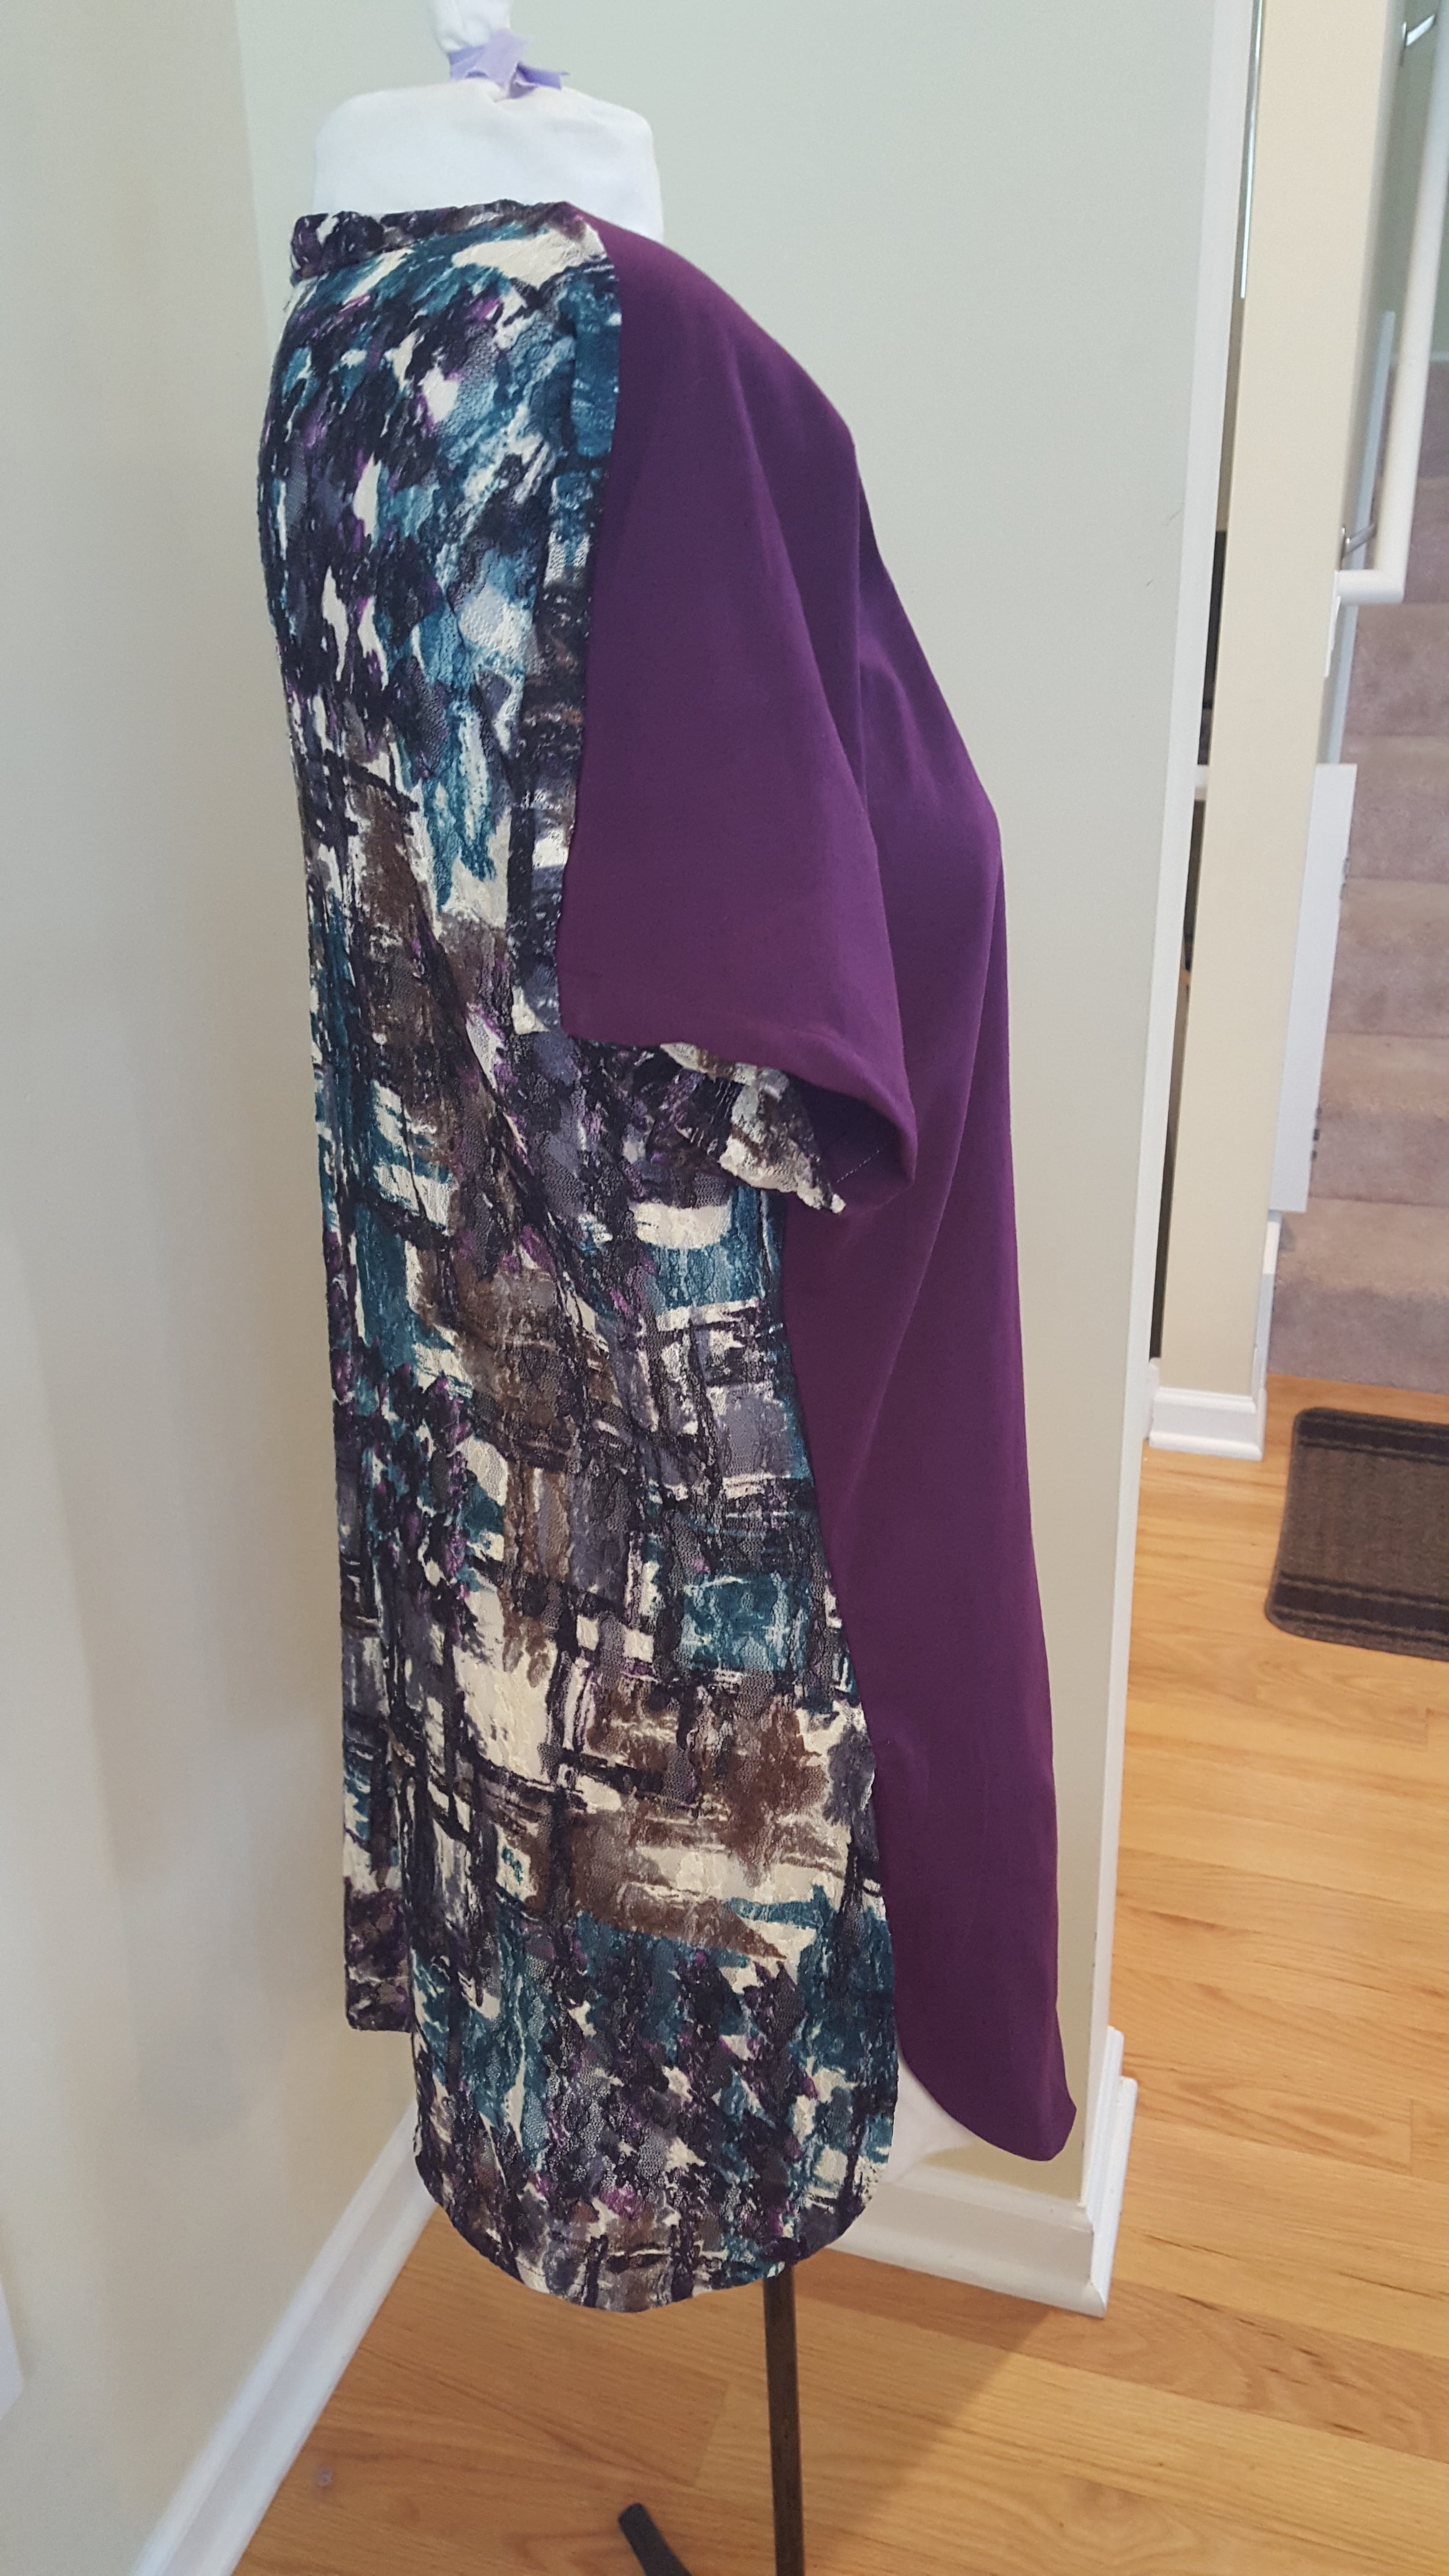
Create a banded sleeve hem:
Measure the sleeve width of your cut out pattern piece. Measure out a rectangle the length of your pattern piece x 8”. This, when folded and sewn to the sleeve edge like a band, will create a 3.5” wide band on the sleeve+hem, similar to the example shown above.
Sew the short ends of the sleeve band together. Fold the band in half, wrong sides together. You now have a tube the width of your sleeve opening. Line up the underarm seam of the tee with the band’s seam, right sides together. Serge the band on to the sleeve end, fold down and press.
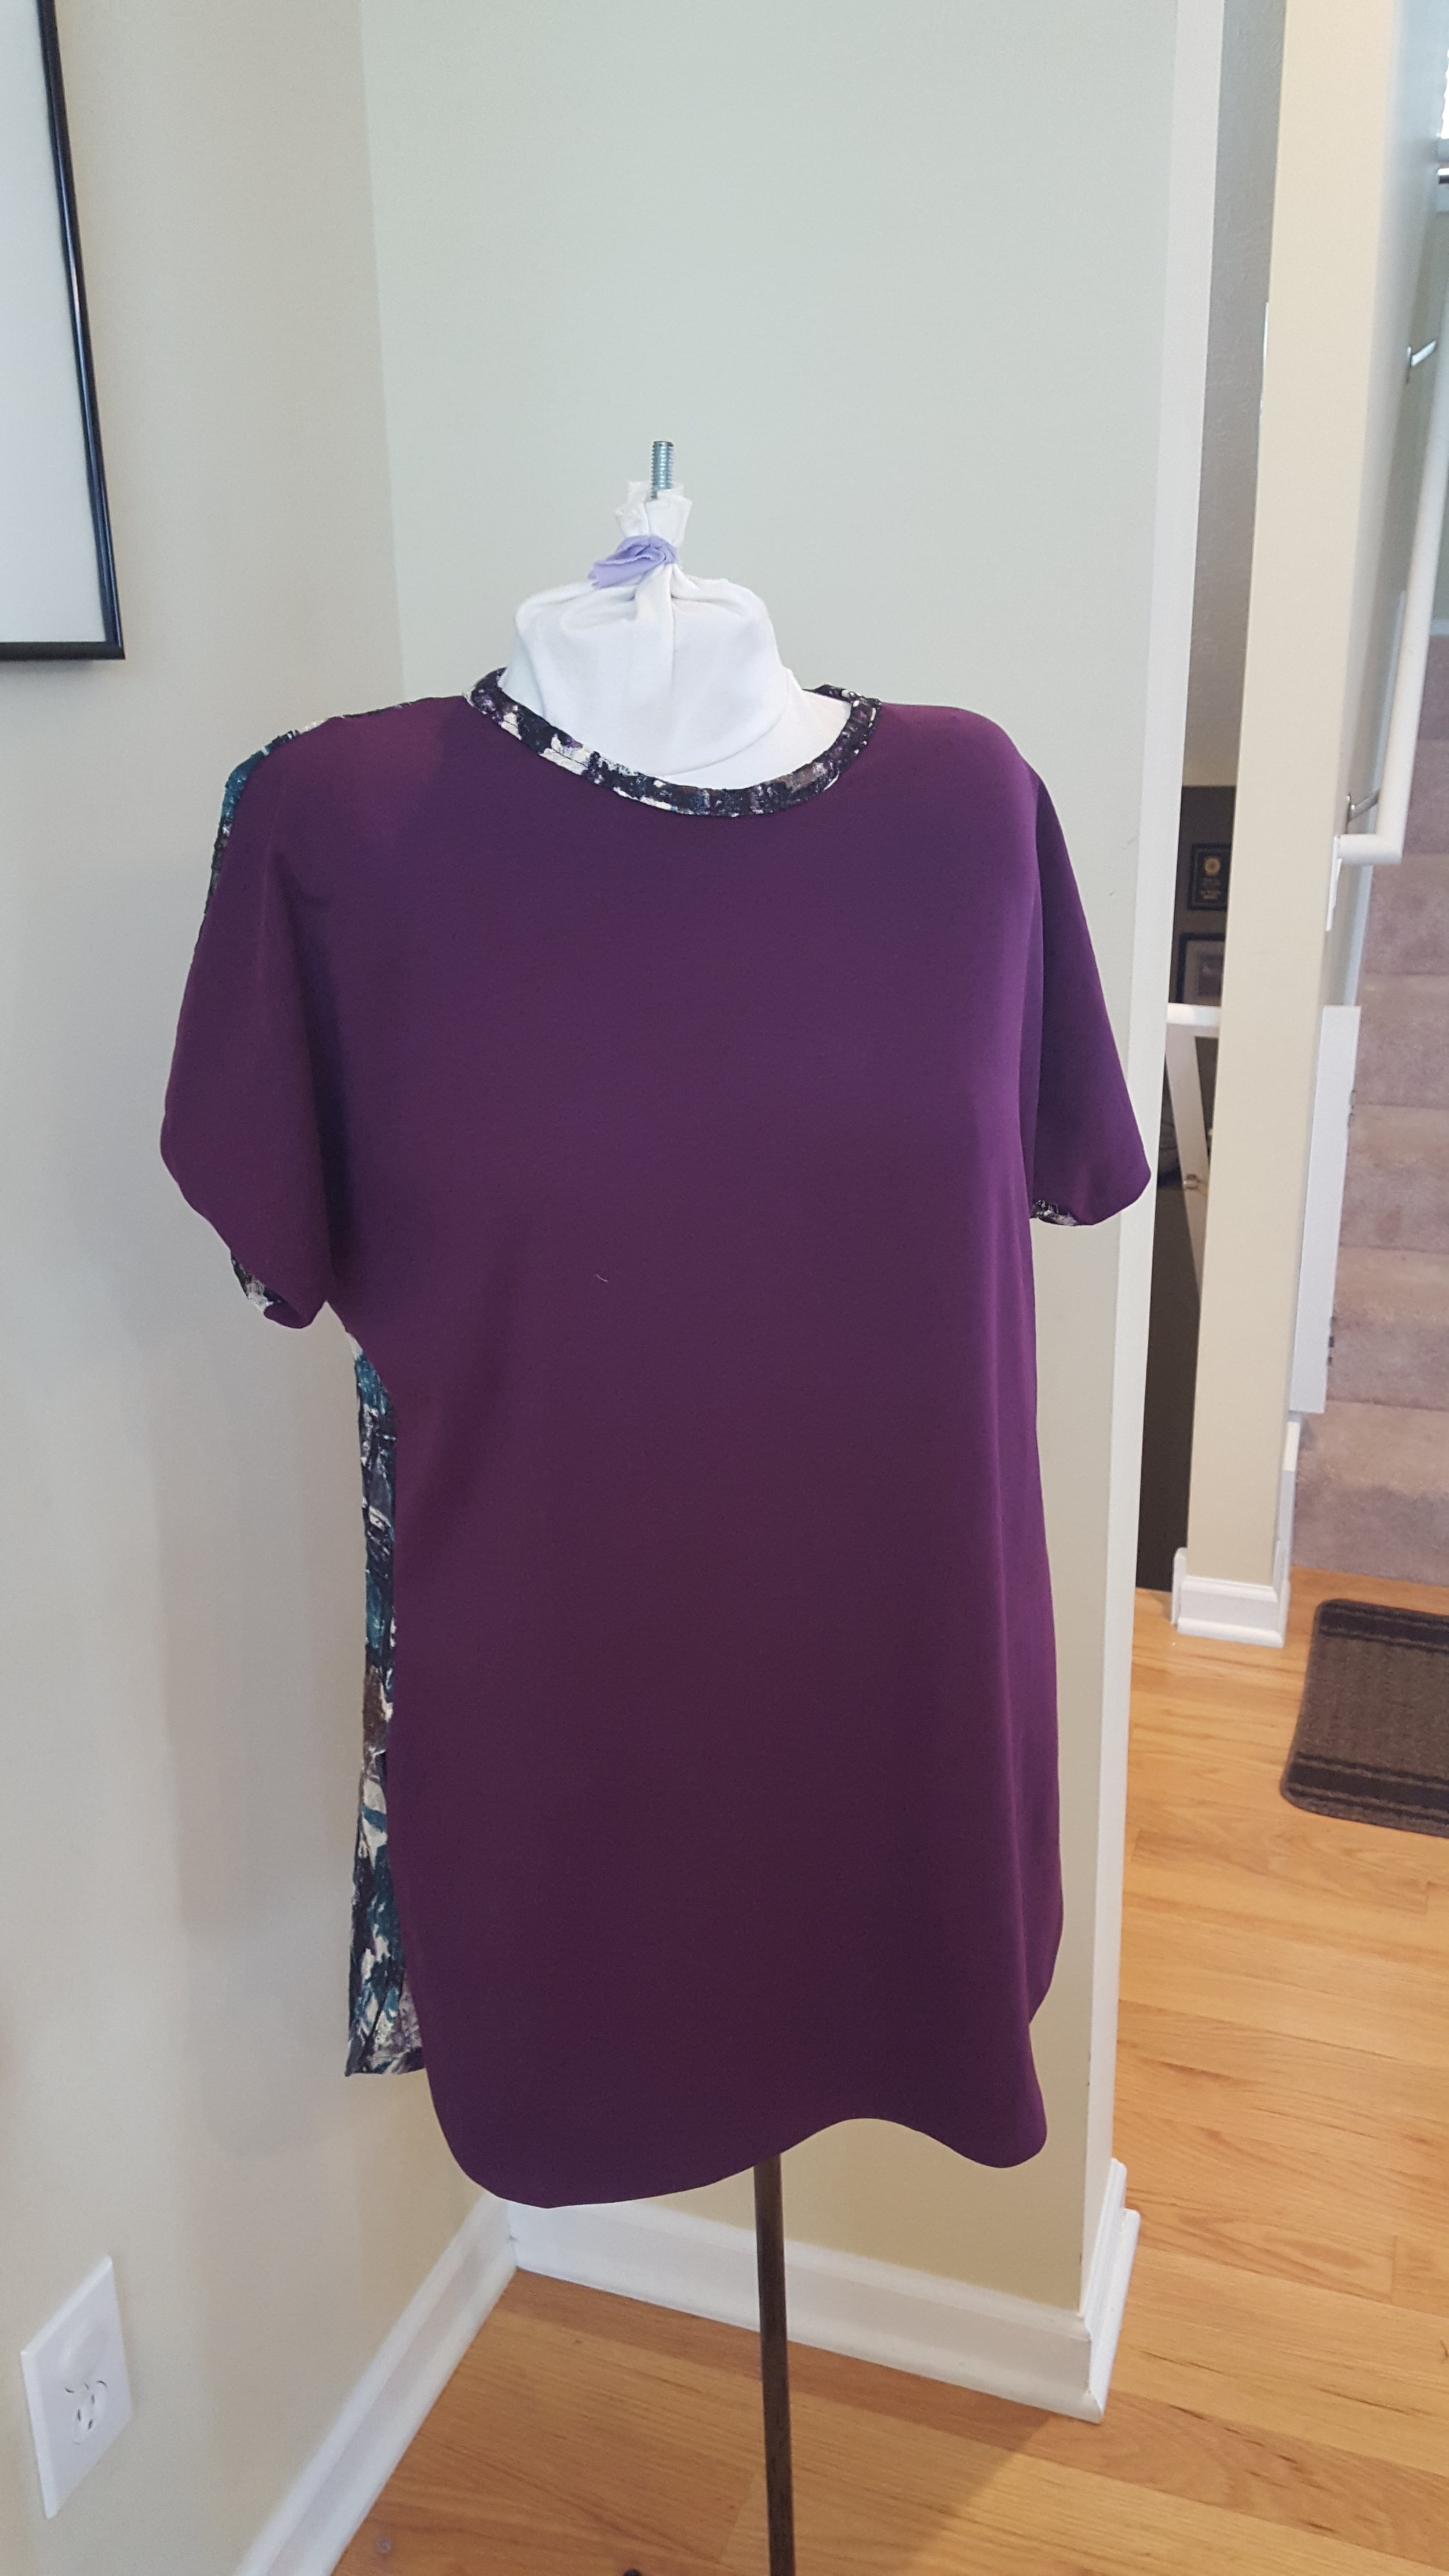
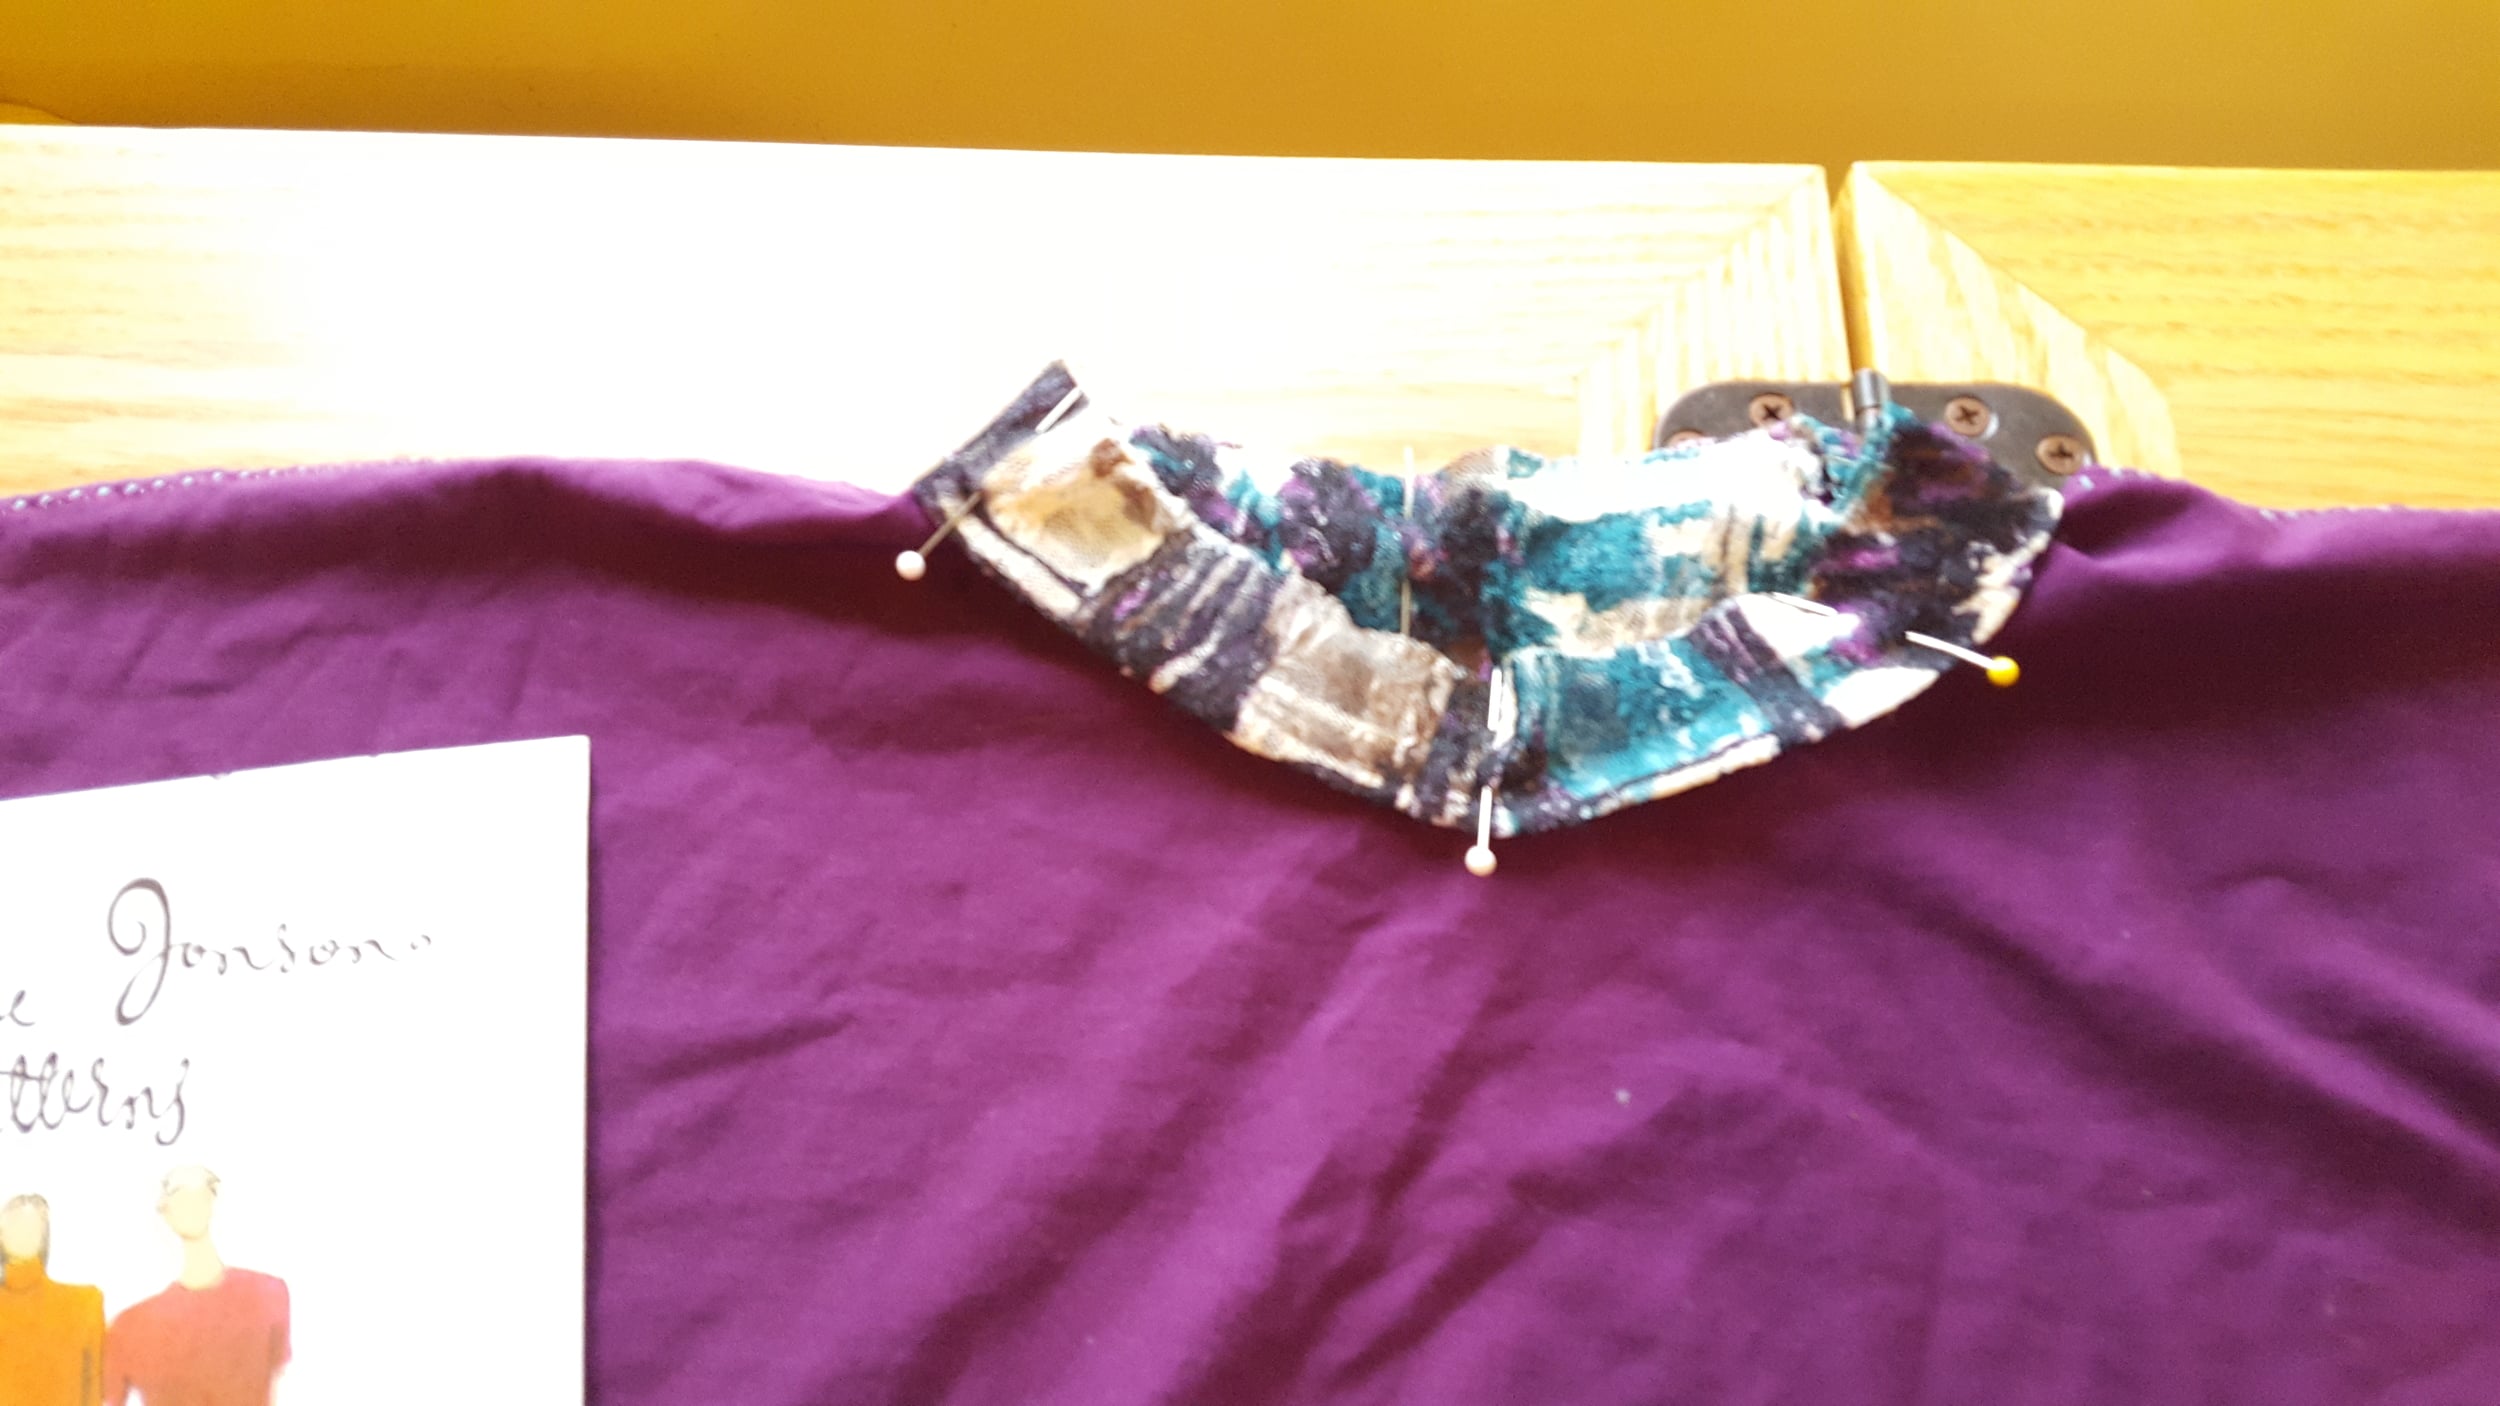
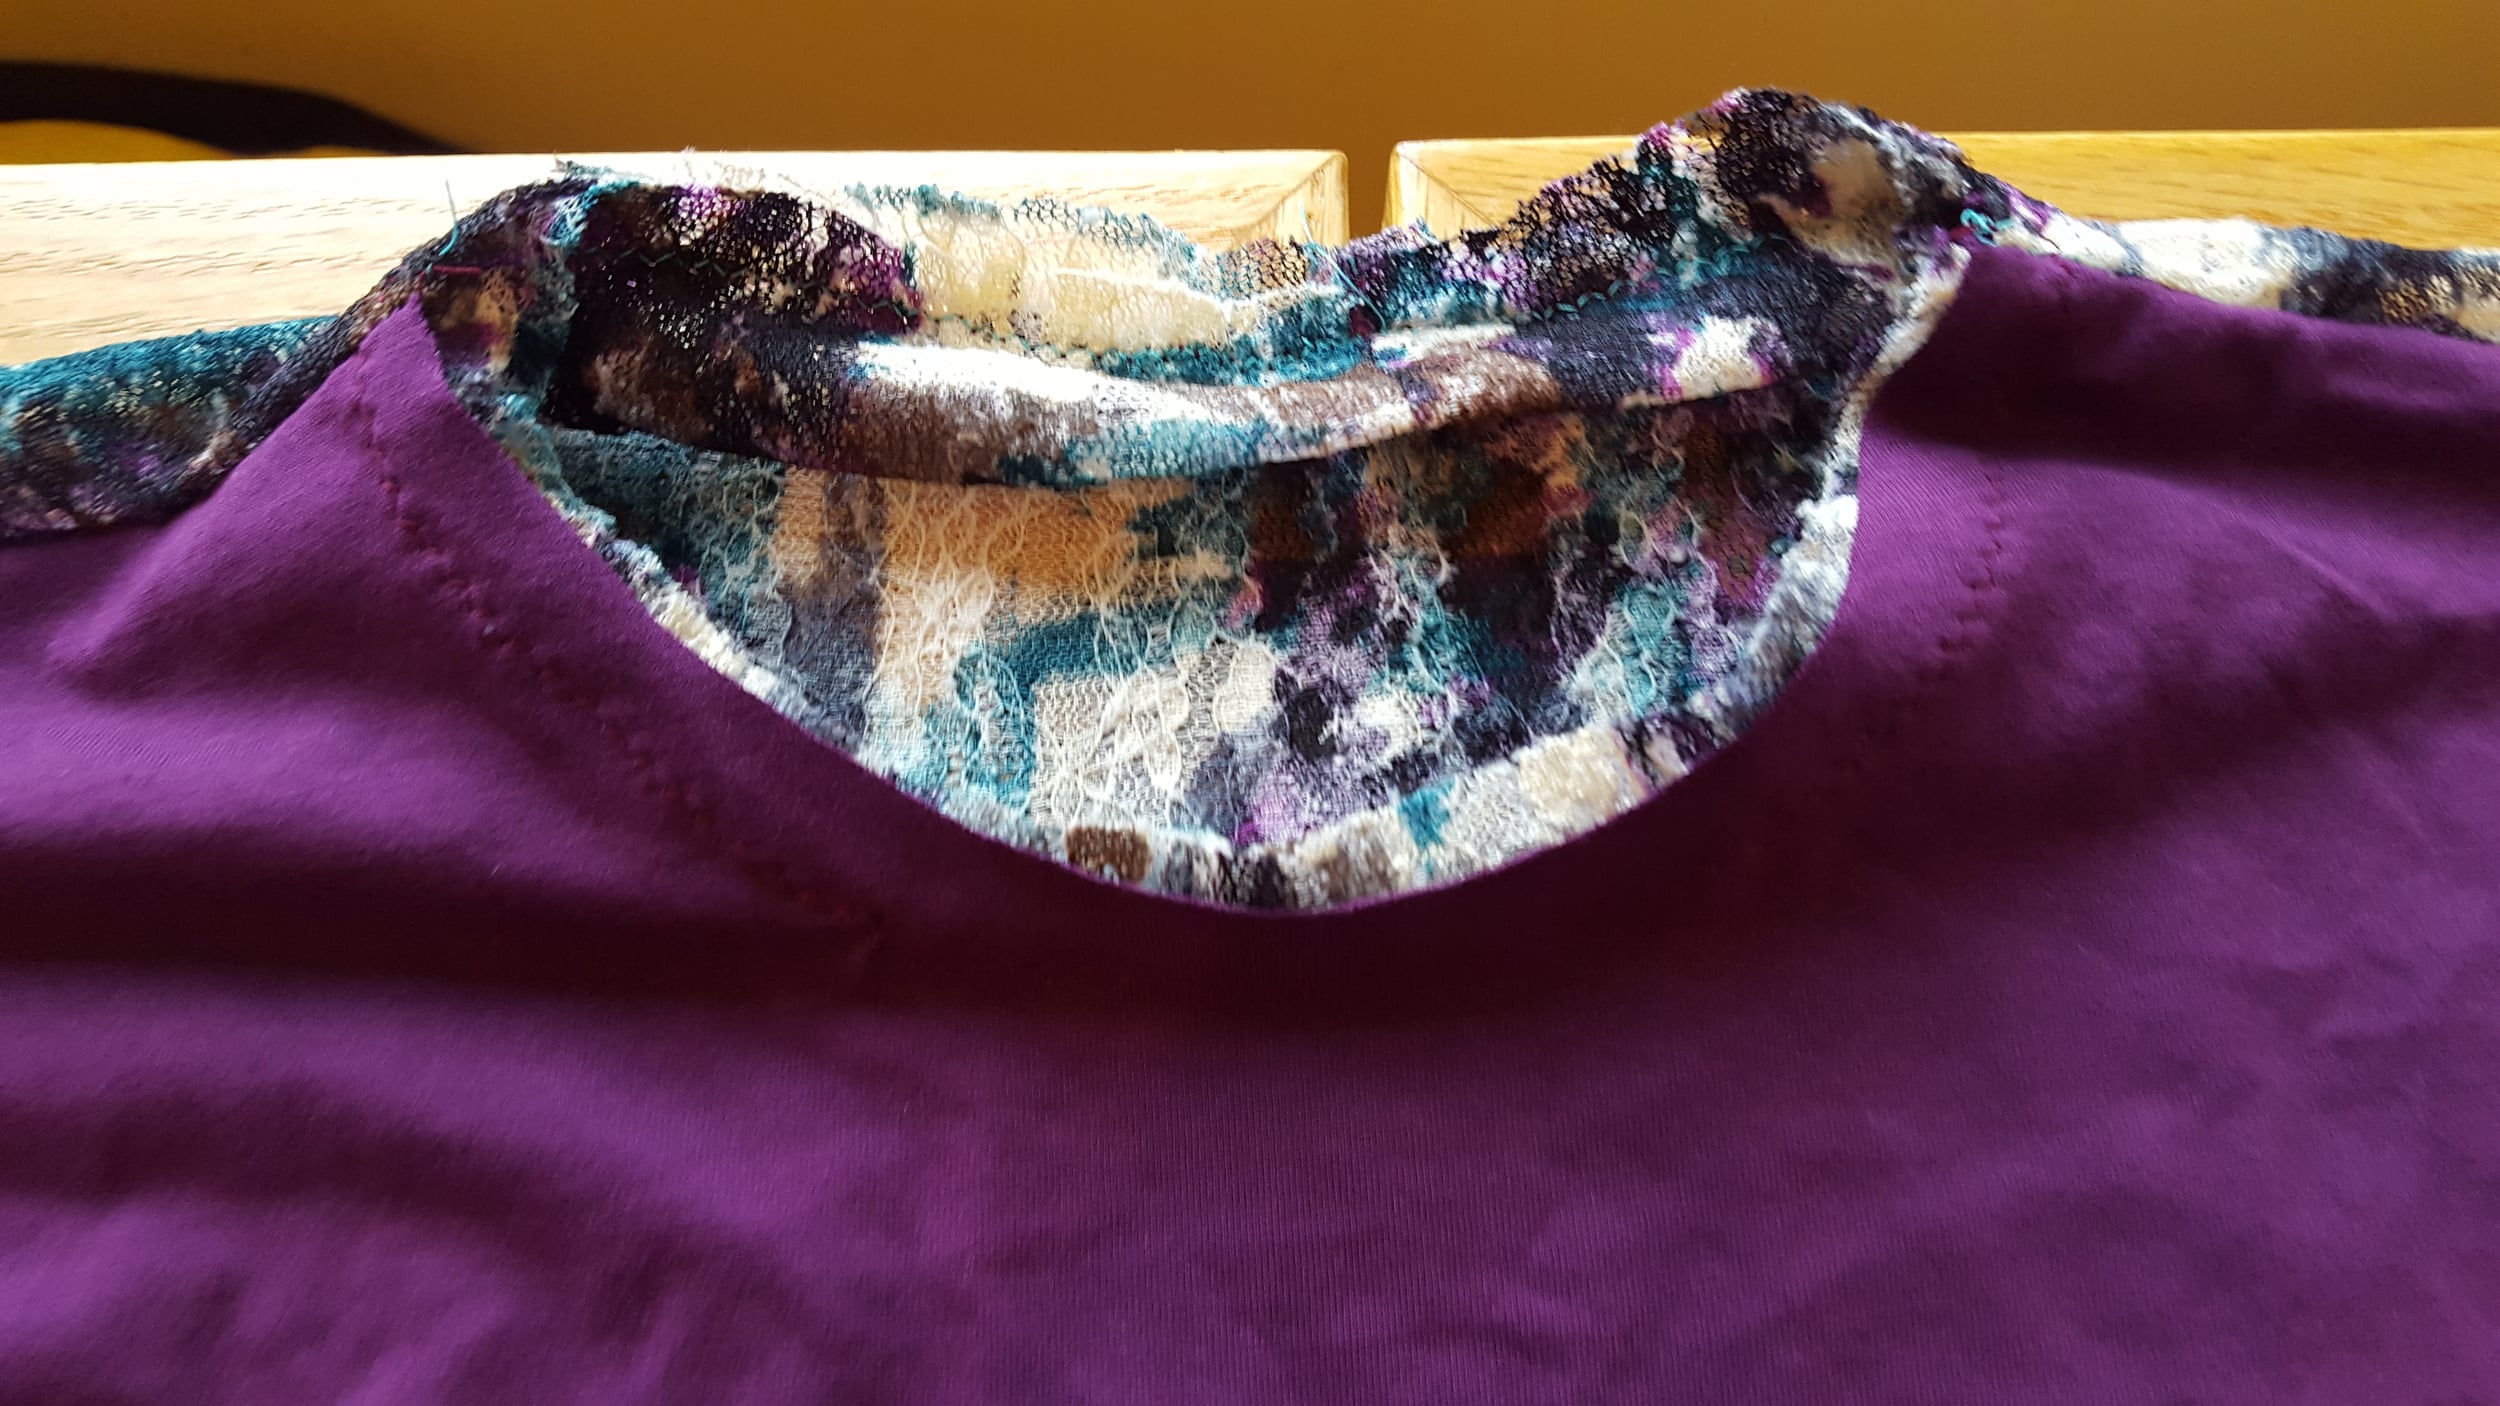
Creating a banded neckline:For a cool banded neck shown in the example tee, you will measure your neckline of your tee. Subtract one inch from this measurement. Cut a rectangle this length x 2”. Serge the short ends together, right sides together. Fold the band in half, wrong sides together to create a narrow 1” band. Place the band’s center back seam against the WRONG side of the tee (yes!) and pin the band ‘s center front to the center front of the tee. Pin the band evenly around the tee neckline. The WRONG side of the tee is against the RIGHT side of the band. This is correct.
Serge the band on to the neckline. Now, turn the tee right side out and flip the band right over your serging and press. You will enclose the serged edge AND have a neat folded edge of the band. Pin and topstitch the band (it will need to stretch slightly as you go, covering the serged seam). Voila! A neatly finished neckline band.
For more details about this tee, click on over to Ann's blog post: Sewing a mixed-media shirttail tee.