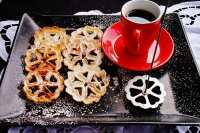
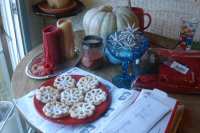
Rosette Cookies/Swedish Rosettes

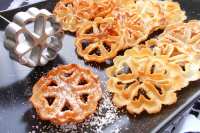
"Rosettes are traditional Swedish cookies. Light and crispy, they are favorites of young and old. Rosettes are unusual in that they are fried. You will need a rosette iron, which is available in many stores (Target is one) and online. The irons come in many shapes, but the rosette is traditional. I didn't list quantities for oil and powdered sugar as more will be required than will actually become part of the rosettes. They will be around 30 calories each (before sugaring). Allowing the batter to rest creates thinner, crisper cookies. Preparation time includes resting time."
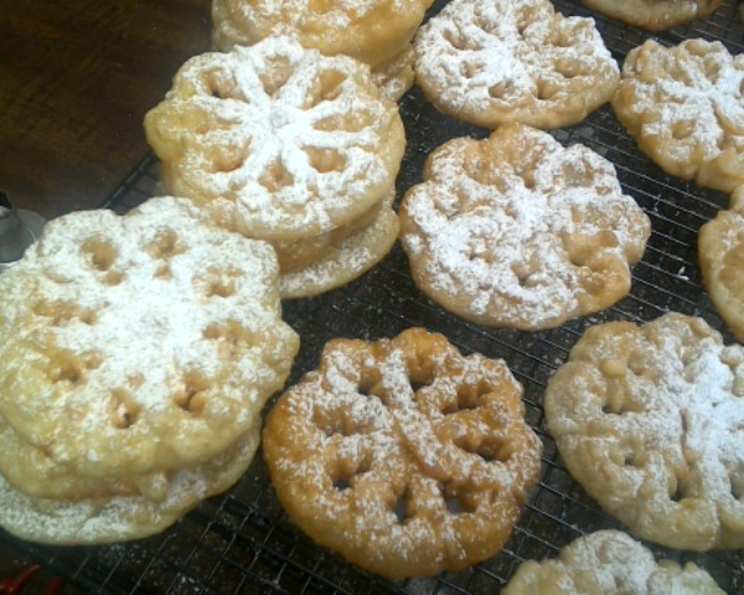

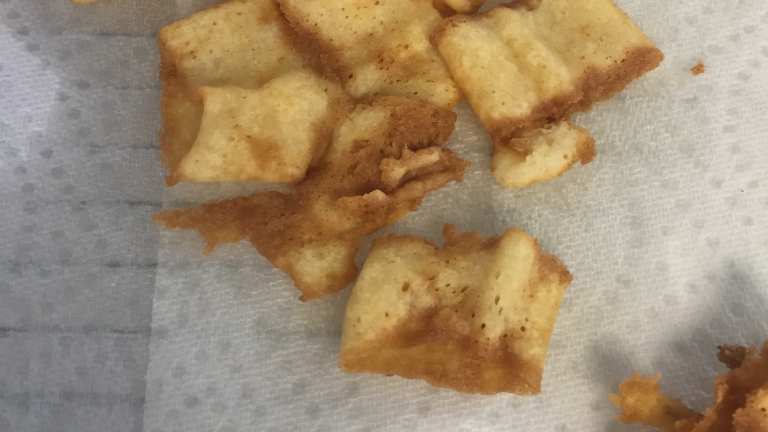
photo by Kjten Enwood


- Ready In:
- 1hr 5mins
- Ingredients:
- 7
- Yields:
-
4 dozen
- Serves:
- 48
ingredients
- 2 eggs
- 1 cup milk
- 1 tablespoon sugar
- 1⁄4 teaspoon salt
- 1 cup sifted flour
- flavorless oil (canola)
- powdered sugar
directions
- Have ready: a jelly roll pan lined with several layers of paper toweling; powdered sugar in a shaker or sieve.
- Whisk eggs, milk, sugar and salt together. Sprinkle in flour a little at a time. Beat until smooth. Let batter sit for 30 minutes.
- Heat 3 - 4" of oil in a small, deep pan to 365°F.
- Stir batter.
- Heat rosette iron by submerging in hot oil for 10 seconds.
- Lift out, shake off excess oil and dip immediately into batter just so the top edge of the iron is even with the surface of the batter. If you dip it too far, the rosette won't come off the iron.
- Plunge the coated iron into the hot oil. Don't let the iron touch the sides or bottom of the pan.
- As soon as the batter puffs, gently pull the iron out. The rosette should slip back into the oil.
- When lightly browned, carefully lift out with a fork or slotted spoon and place on paper toweling to drain.
- Reheat iron and proceed with remaining batter. You'll have to work very quickly. The frying only takes a few seconds.
- Don't be tempted to fry more than two at a time. It will cool the oil too much and you'll get flabby, greasy rosettes. The oil should not go below 355°F.
- After you've fried a few, dust them with powdered sugar.
Questions & Replies

-
My cookies turned out like this! How can I make them to look like yours?
-
-
 Why won't my rosettes come off the iron.
Reviews
-
 This recipe is one my mom made for me when I was a kid at Christmas time! I recently found an old wrought iron rosette iron at an antique sale and couldn't wait to try it out! I made the recipe as written but the batter wouldn't stick to my iron even after it rested and the iron was preheated. I had to add 1/2 cup of flour and then it was PERFECT. Worked very well! This certaintly takes some practice but is well worth it! It was hard to keep my husband from eating these as they were made! As the recipe states...it's very important to watch the temp of your oil. Too hot and they will burn, too light and they won't come off the iron or they will get oily. Let the oil heat up if you need to replensh it. I kept my iron resting in the pan so that it wouldn't cool off between cookies. I also used a heat resistent spatula to help coax the cookies off the iron. Super good!
 -
 Wow, thanks for a great recipe! I have always wanted to make these but I had a hard time finding the iron. Can we call it a wand from now on? For any one who is making these for the first time like I was, here are a few things I learned. I noticed that after you dip the wand in the batter, if you wait just a second to let it sizzle before you pull it out, they seem to slip off better when you put it in the oil. I also noticed that you want to only dip the coated wand in the oil about as deep as you dipped it in the batter, don't submerge it. Finally, my favorite, is that I noticed that it is time to flip the cookies when the holes are as brown as you want the whole cookie, that is an easy way to tell. Since it was my first time I just made them one at a time and I avoided any accidents that way. I didn't add any flour to the recipe, (though I did put 1/4 tsp of vanilla) and mine turned out lovely. But the advice to keep the iron in the oil to stay hot in between use was very helpful. Make sure that thing stays nice and hot! Thanks again, for the recipe and the reviews.
 -
 This has been a tradition for me for years, but misplaced my recipe when I moved. I, too needed to add about a third cup of flour, and they turned out beautifully. My neighbors love them! Thanks.
Tweaks
-
I add a tsp of Vanilla to mine. And if you don't want to dust them with Powdered sugar, you can use a dipping sauce like salted caramel or passion-fruit curd.
RECIPE SUBMITTED BY

My husband, Walt and I live in Huntley, Illinois; about 1 hour west/northwest of Chicago O'Hare airport. I'm a stay at home wife with 3 adult children. I collect old cookbooks, enjoy reading, gardening, canning, candy making and jewelry making. I'm passionate about my savior, singing on the worship team and volunteering for a non-profit that provides free legal services to poor families.
My favorite cookbooks are Taste of Home Contest Winning and those authored by Rachael Ray.
A pet peeve is when a cook doesn't give an alternative for a difficult to find ingredient.


