
How to Digitize Artwork: My 5 Step Process to Digitize Artwork in Photoshop
Why Digitize?
Digitizing artwork, or in other words, transferring an original piece of art from physical paper to your computer screen, is a seriously helpful skill that I use often in my business. This is the exact method I use to create wedding invitations with custom artwork and/or calligraphy. I show you exactly how to digitize your own artwork with video tutorials in my online class, Digitizing Pro. If you are an artist of any kind I highly recommend learning to digitize so that you can eventually print artwork.
Here’s how it works: I create custom artwork for each new project based on the client’s particular wedding or design style. Then I digitize that artwork in Photoshop, and use it as part of their design. The invitations are then printed off at whatever quantity they might need. Custom made artwork, that I only have to physically create ONE time. That’s the beauty of digitization. (Think about how LONG it would take to physically paint custom art on hundreds of individual invitations……it just wouldn’t be feasible.)
If you are curious of my entire invitation design process, come back for next week’s post!
As creatives, time is our most precious and limited resource. We only have so much time available to create the things we want to create, but that doesn’t mean we are limited in the ways our art can serve and support us. Digitizing allows us to streamline and scale our work - creating it once, and repurposing it over and over again. Saving us time, and growing our revenue potential.
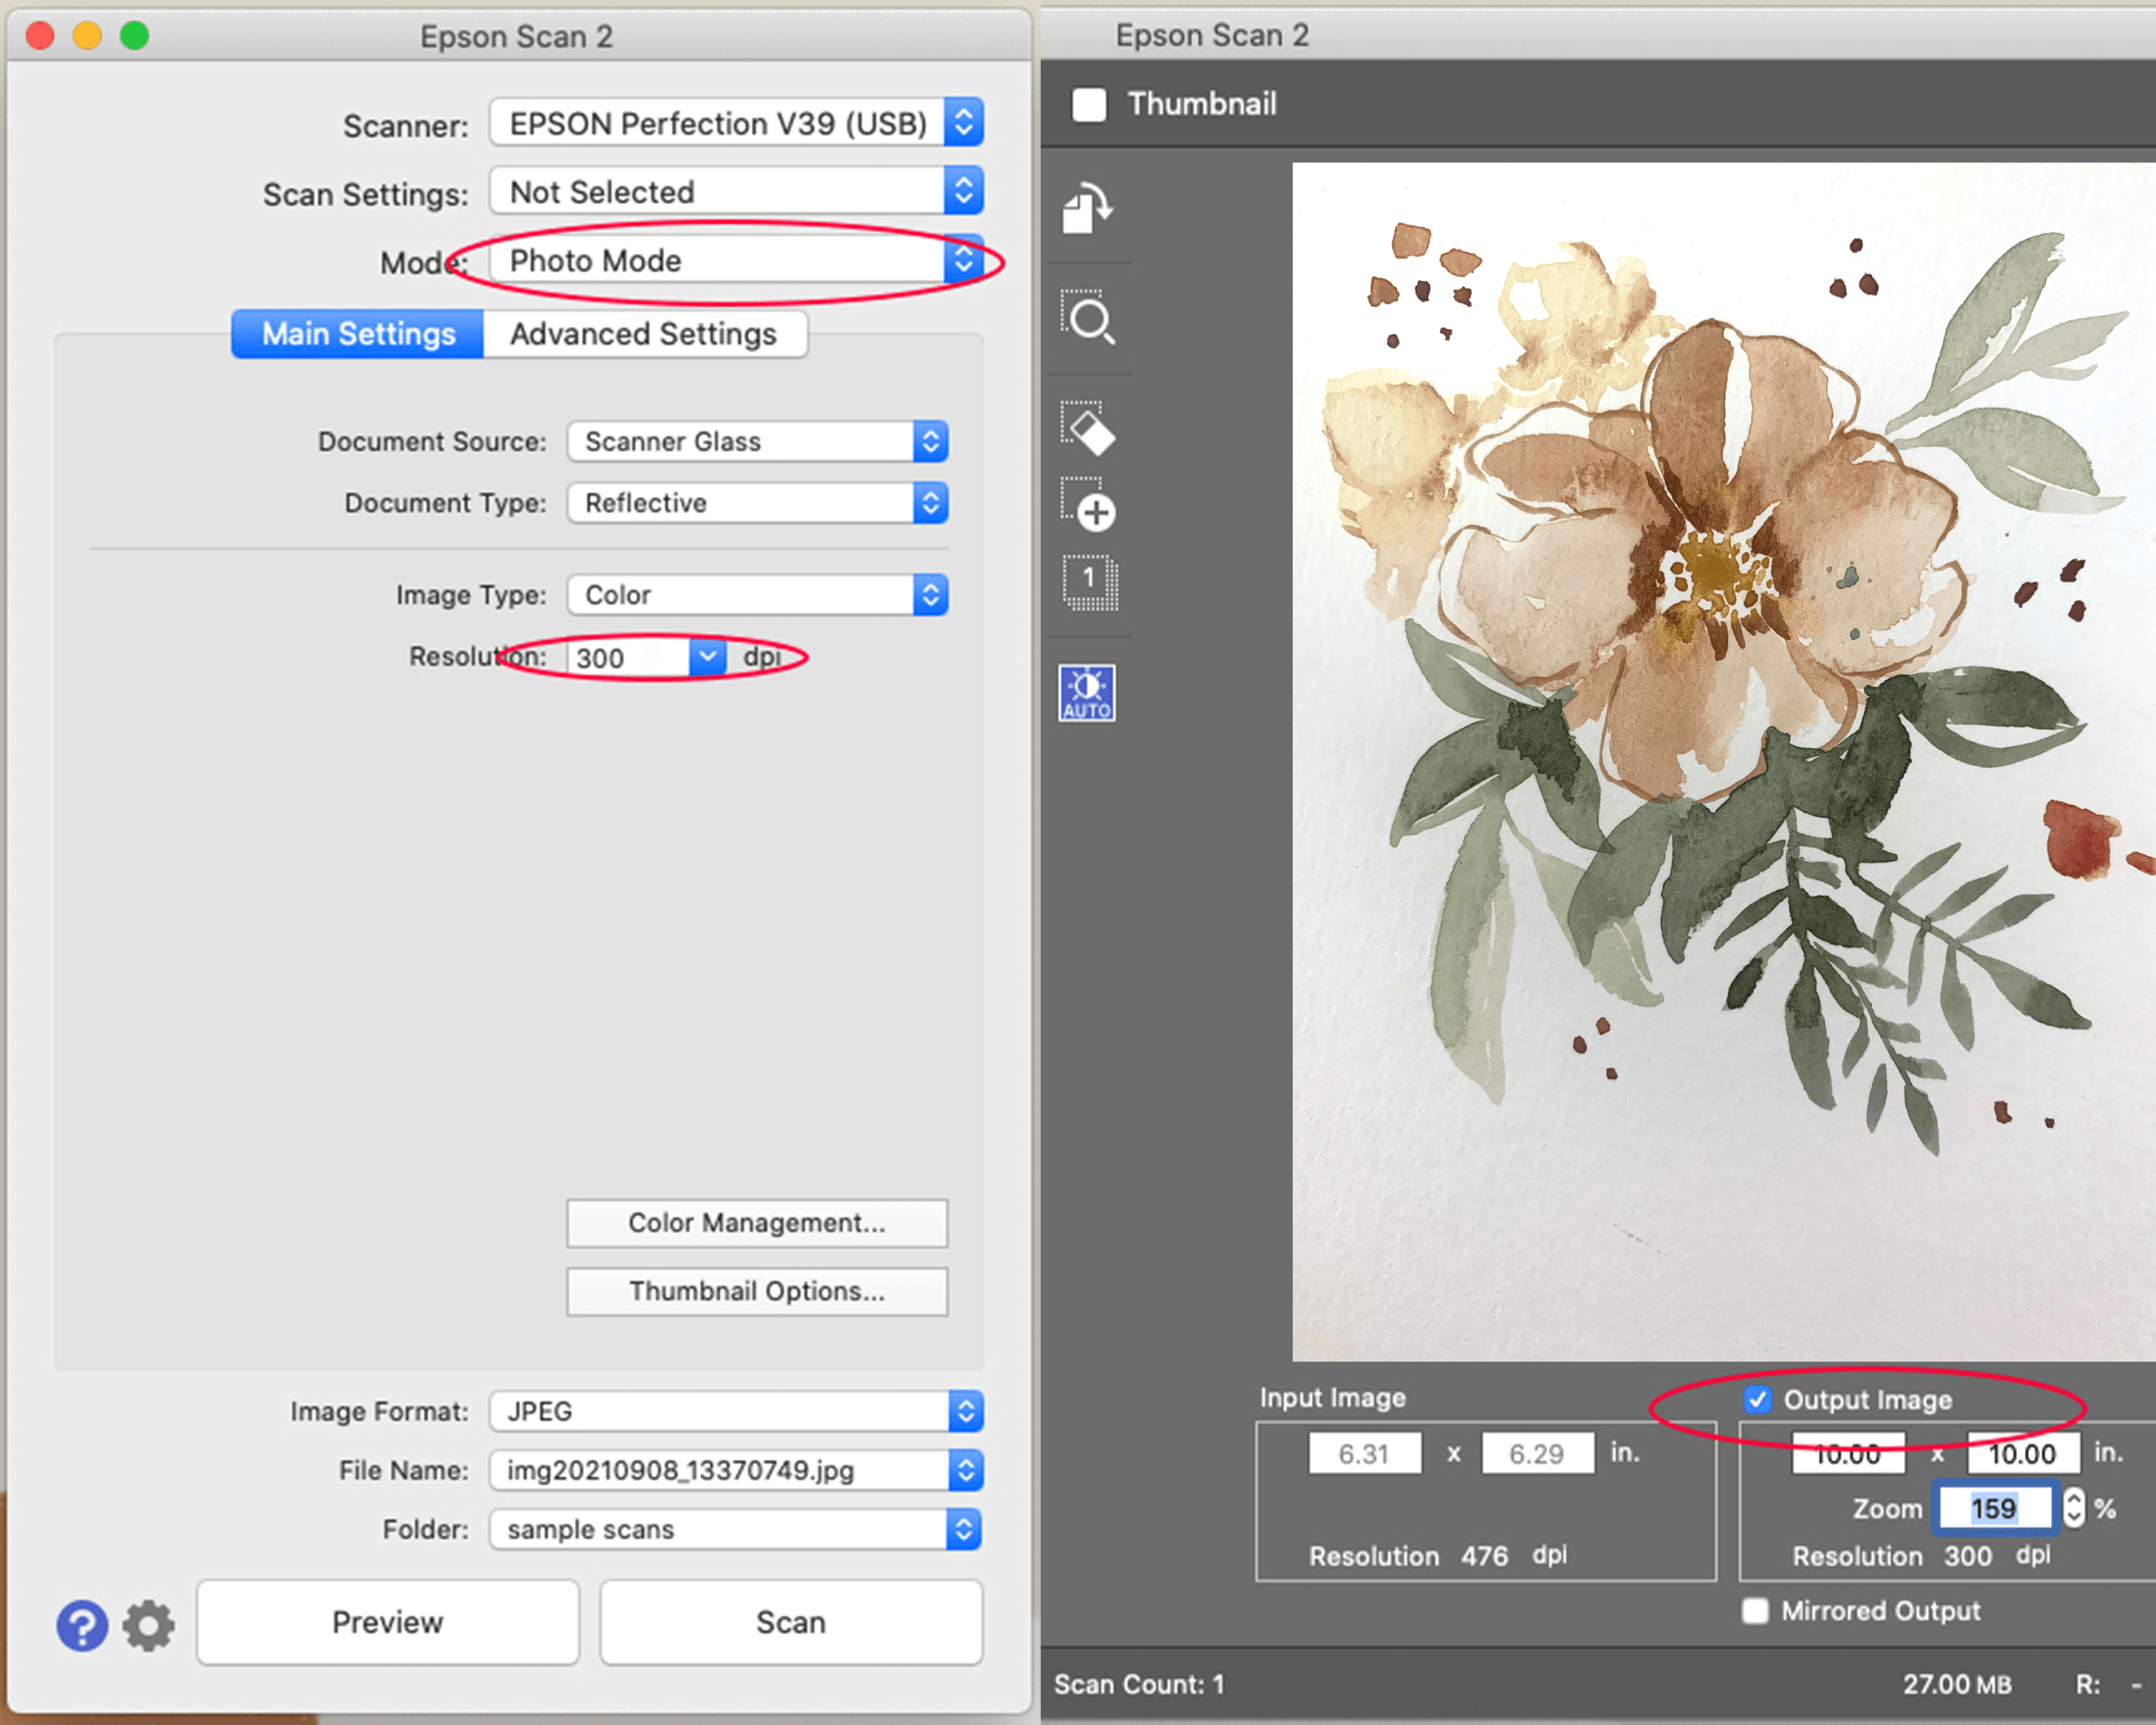
Step 1: Scan
The first step is to scan your artwork! An important tip here is to scan it in at a final art size that will be large enough for your project, for example, 5x7 or 8x10 (if you are unsure, always go LARGER!! You can easily scale down the size in Photoshop, but enlarging images will make them pixelated.)
Be sure that the resolution is set at at a minimum of 300 DPI. DPI stands for dots per inch. The higher the DPI, the more colored pixels will be captured within the image, creating more clarity and better image quality overall.
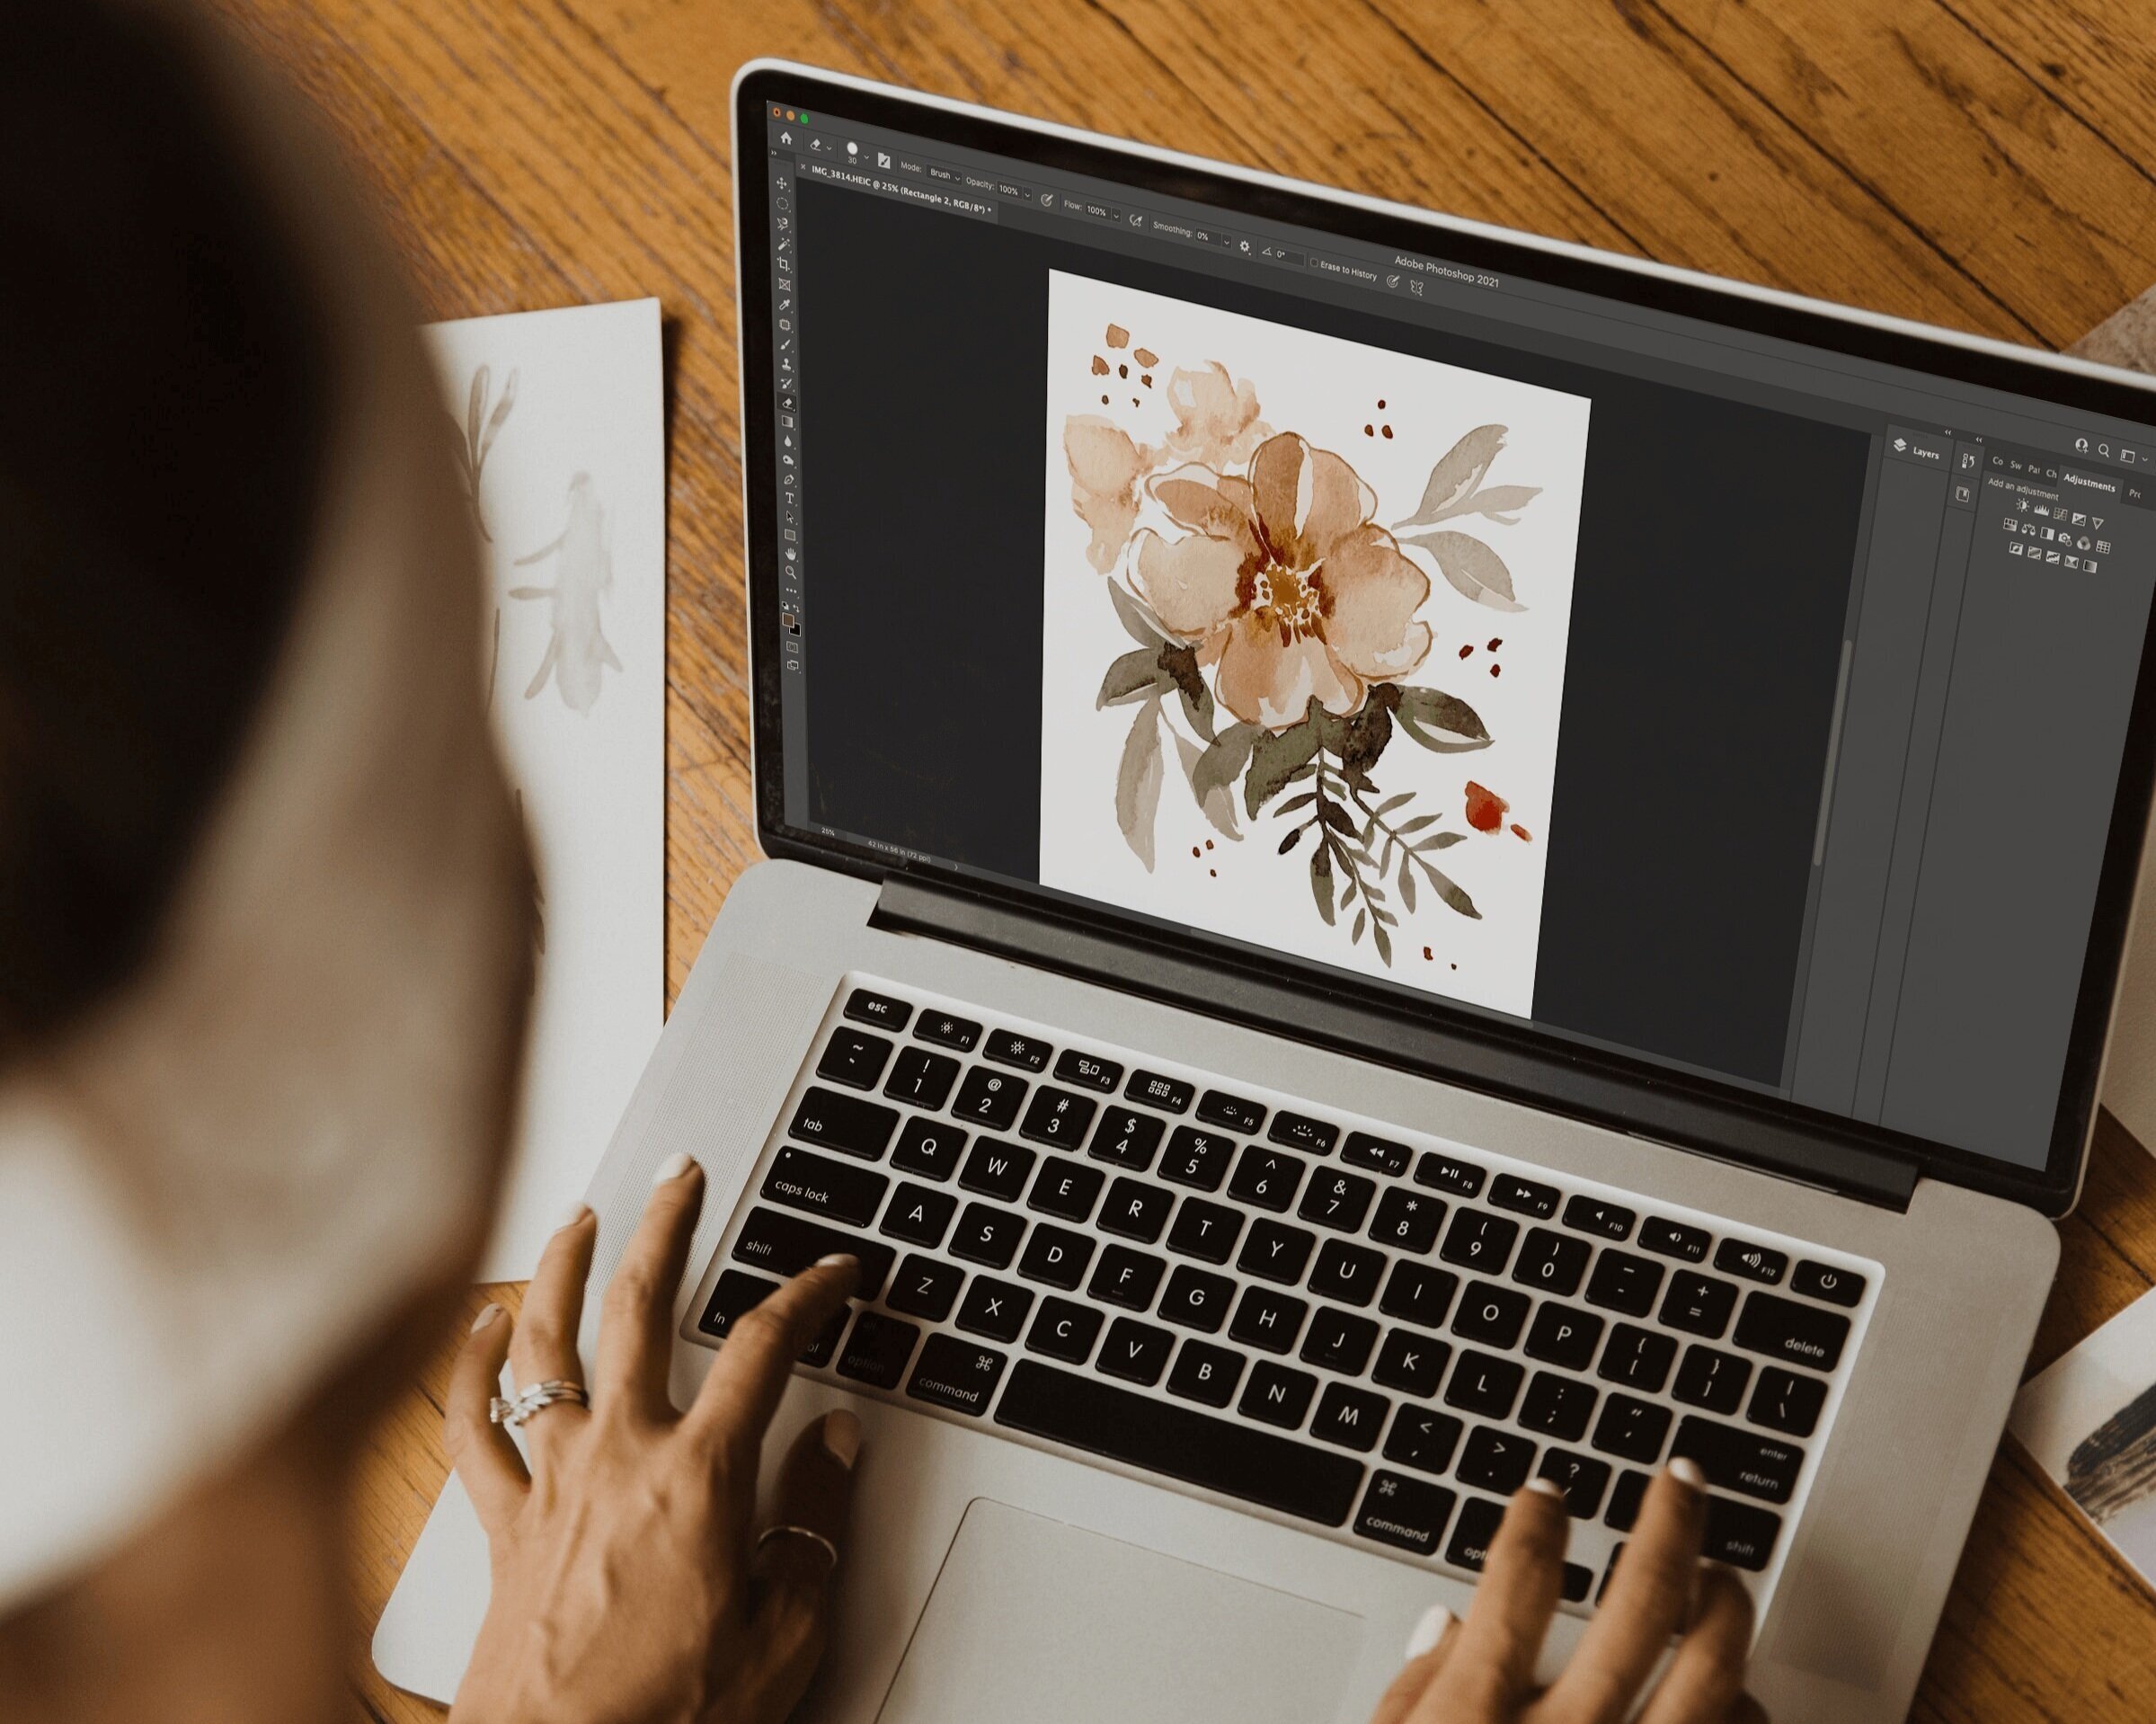
Step 2: Open in Photoshop
You will need Photoshop to open your newly scanned image to begin the editing process. If you do not already have Photoshop, I definitely recommend subscribing to Adobe Suites if you are a designer, or at the very least, Photoshop and Illustrator. There are just no other programs or apps that can compete with Adobe!
Again, remember to open your file at the correct size and resolution. Be sure that the DPI is set to 300, and color mode is CMYK (this is the color mode we will use for any artwork that will be printed.)
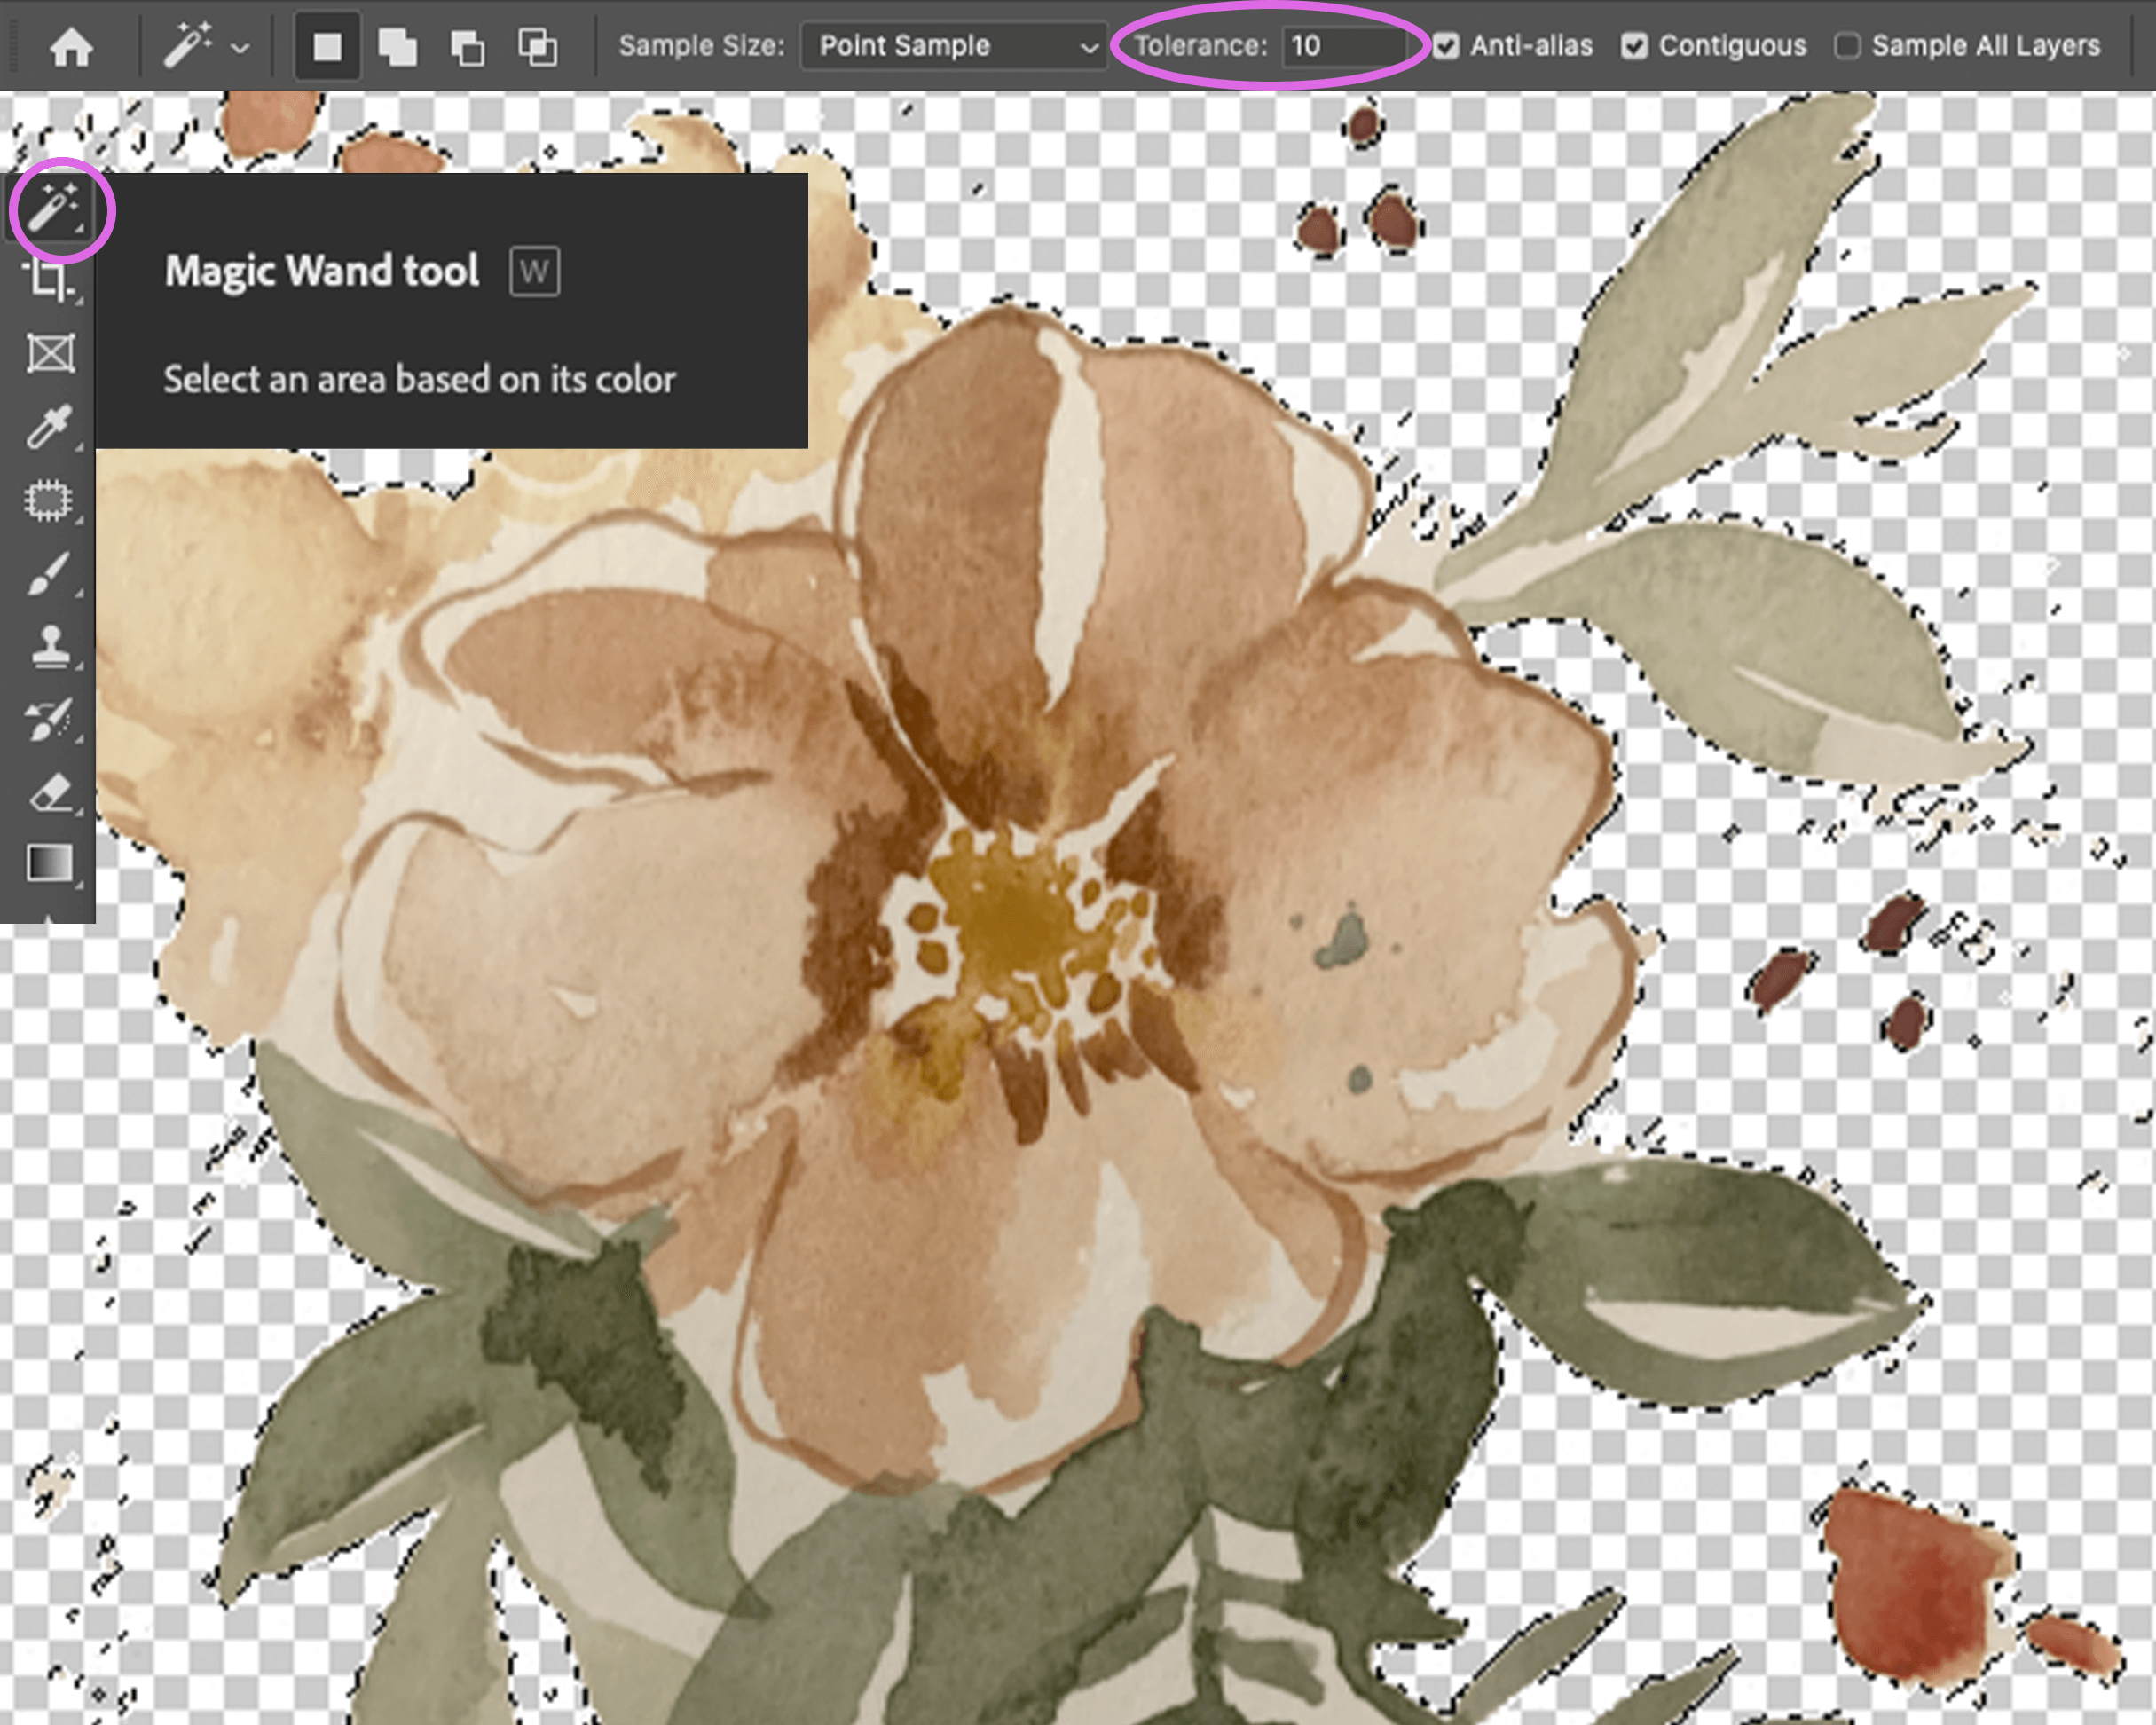
Step 3: Remove the Background
These next few steps I explain in more detail through video tutorials inside Digitizing Pro.
Use the magic wand tool to select the background area where your paper is. We want to get rid of this so that we are left with only the artwork itself. From there, we can add a new background, or use a transparent background to use within another design.
The higher the contrast, the easier this step will be. It’s okay if you can’t highlight the entire background at once, break it down into smaller pieces and erase them as you go. Just be sure that you are not erasing any pieces of your artwork. You can adjust the wand tolerance at the top of your workspace to pick up more or less of the background pixels.
You will know that the background has been deleted when this gray and white checkered pattern appears behind your image.
Step 4: Touch up
Next, use the eraser tool to clean up any leftover areas and smooth edges. ***SHORTCUT: Use the left and right brackets [ ] on your keyboard to easily change the size of your eraser for easier and quicker editing!
Sometimes it helps to place a dark colored background behind the artwork so that you can see any of the small paper areas that may have gotten left behind in the last step.
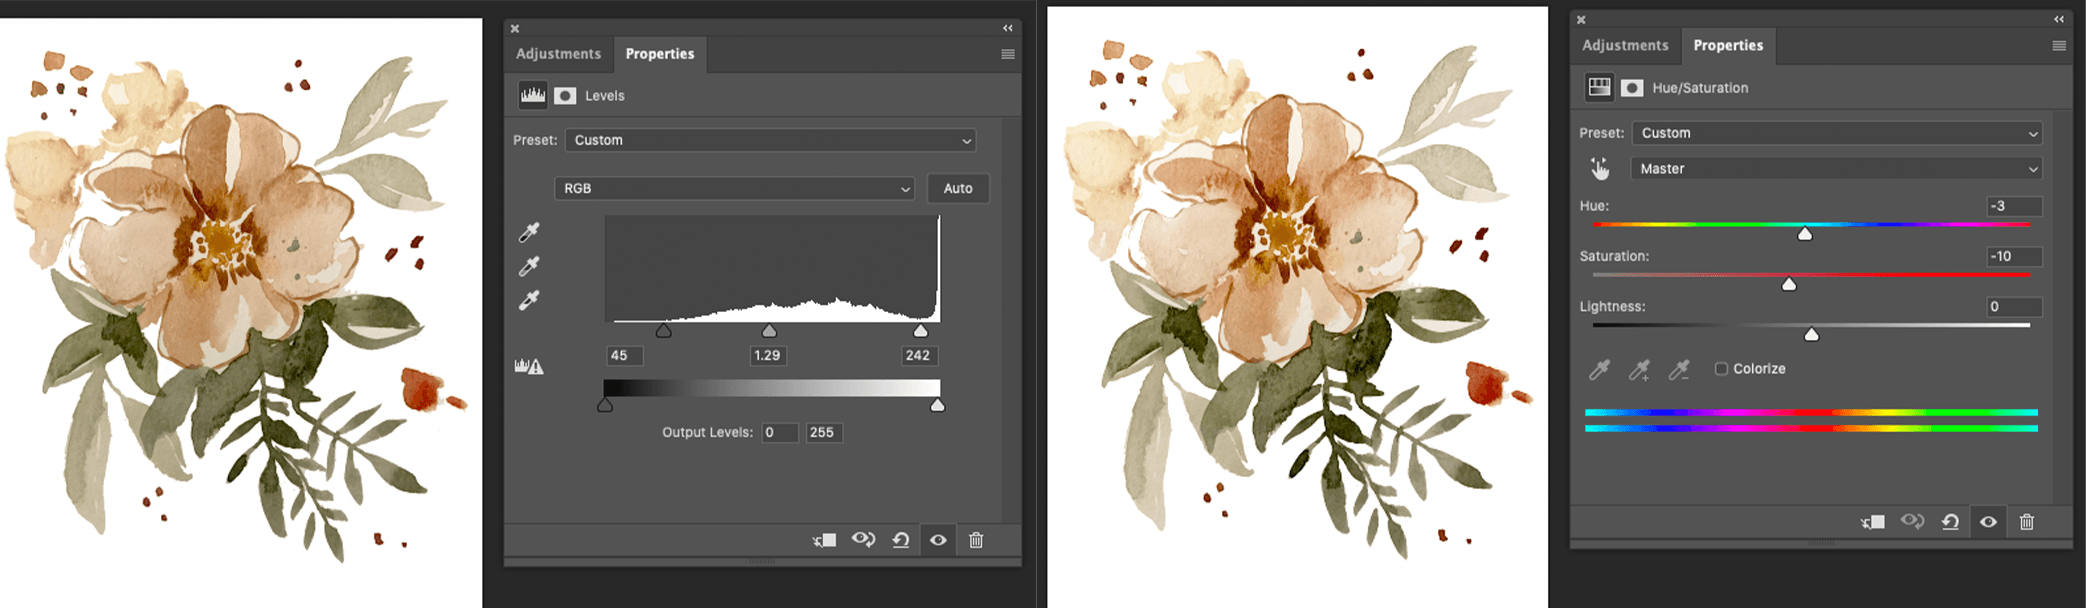
Step 5: Edit your image
Once we’ve gotten rid of the background, and touched up any smaller areas with the eraser, it’s time to start editing our artwork. This can be adding more contrast, changing the color tones, resizing, moving, or fixing any imperfections or mistakes.
Start by opening the Adjustments panel to change the color, brightness, and density, if needed. I like to start off with the Levels slider first. This will help us accentuate the dark and light tones that may have gotten lost in the scanning process, or just to make the image more bold!
Then, open the Hue/Saturation panel to edit the saturation and change the color tones.
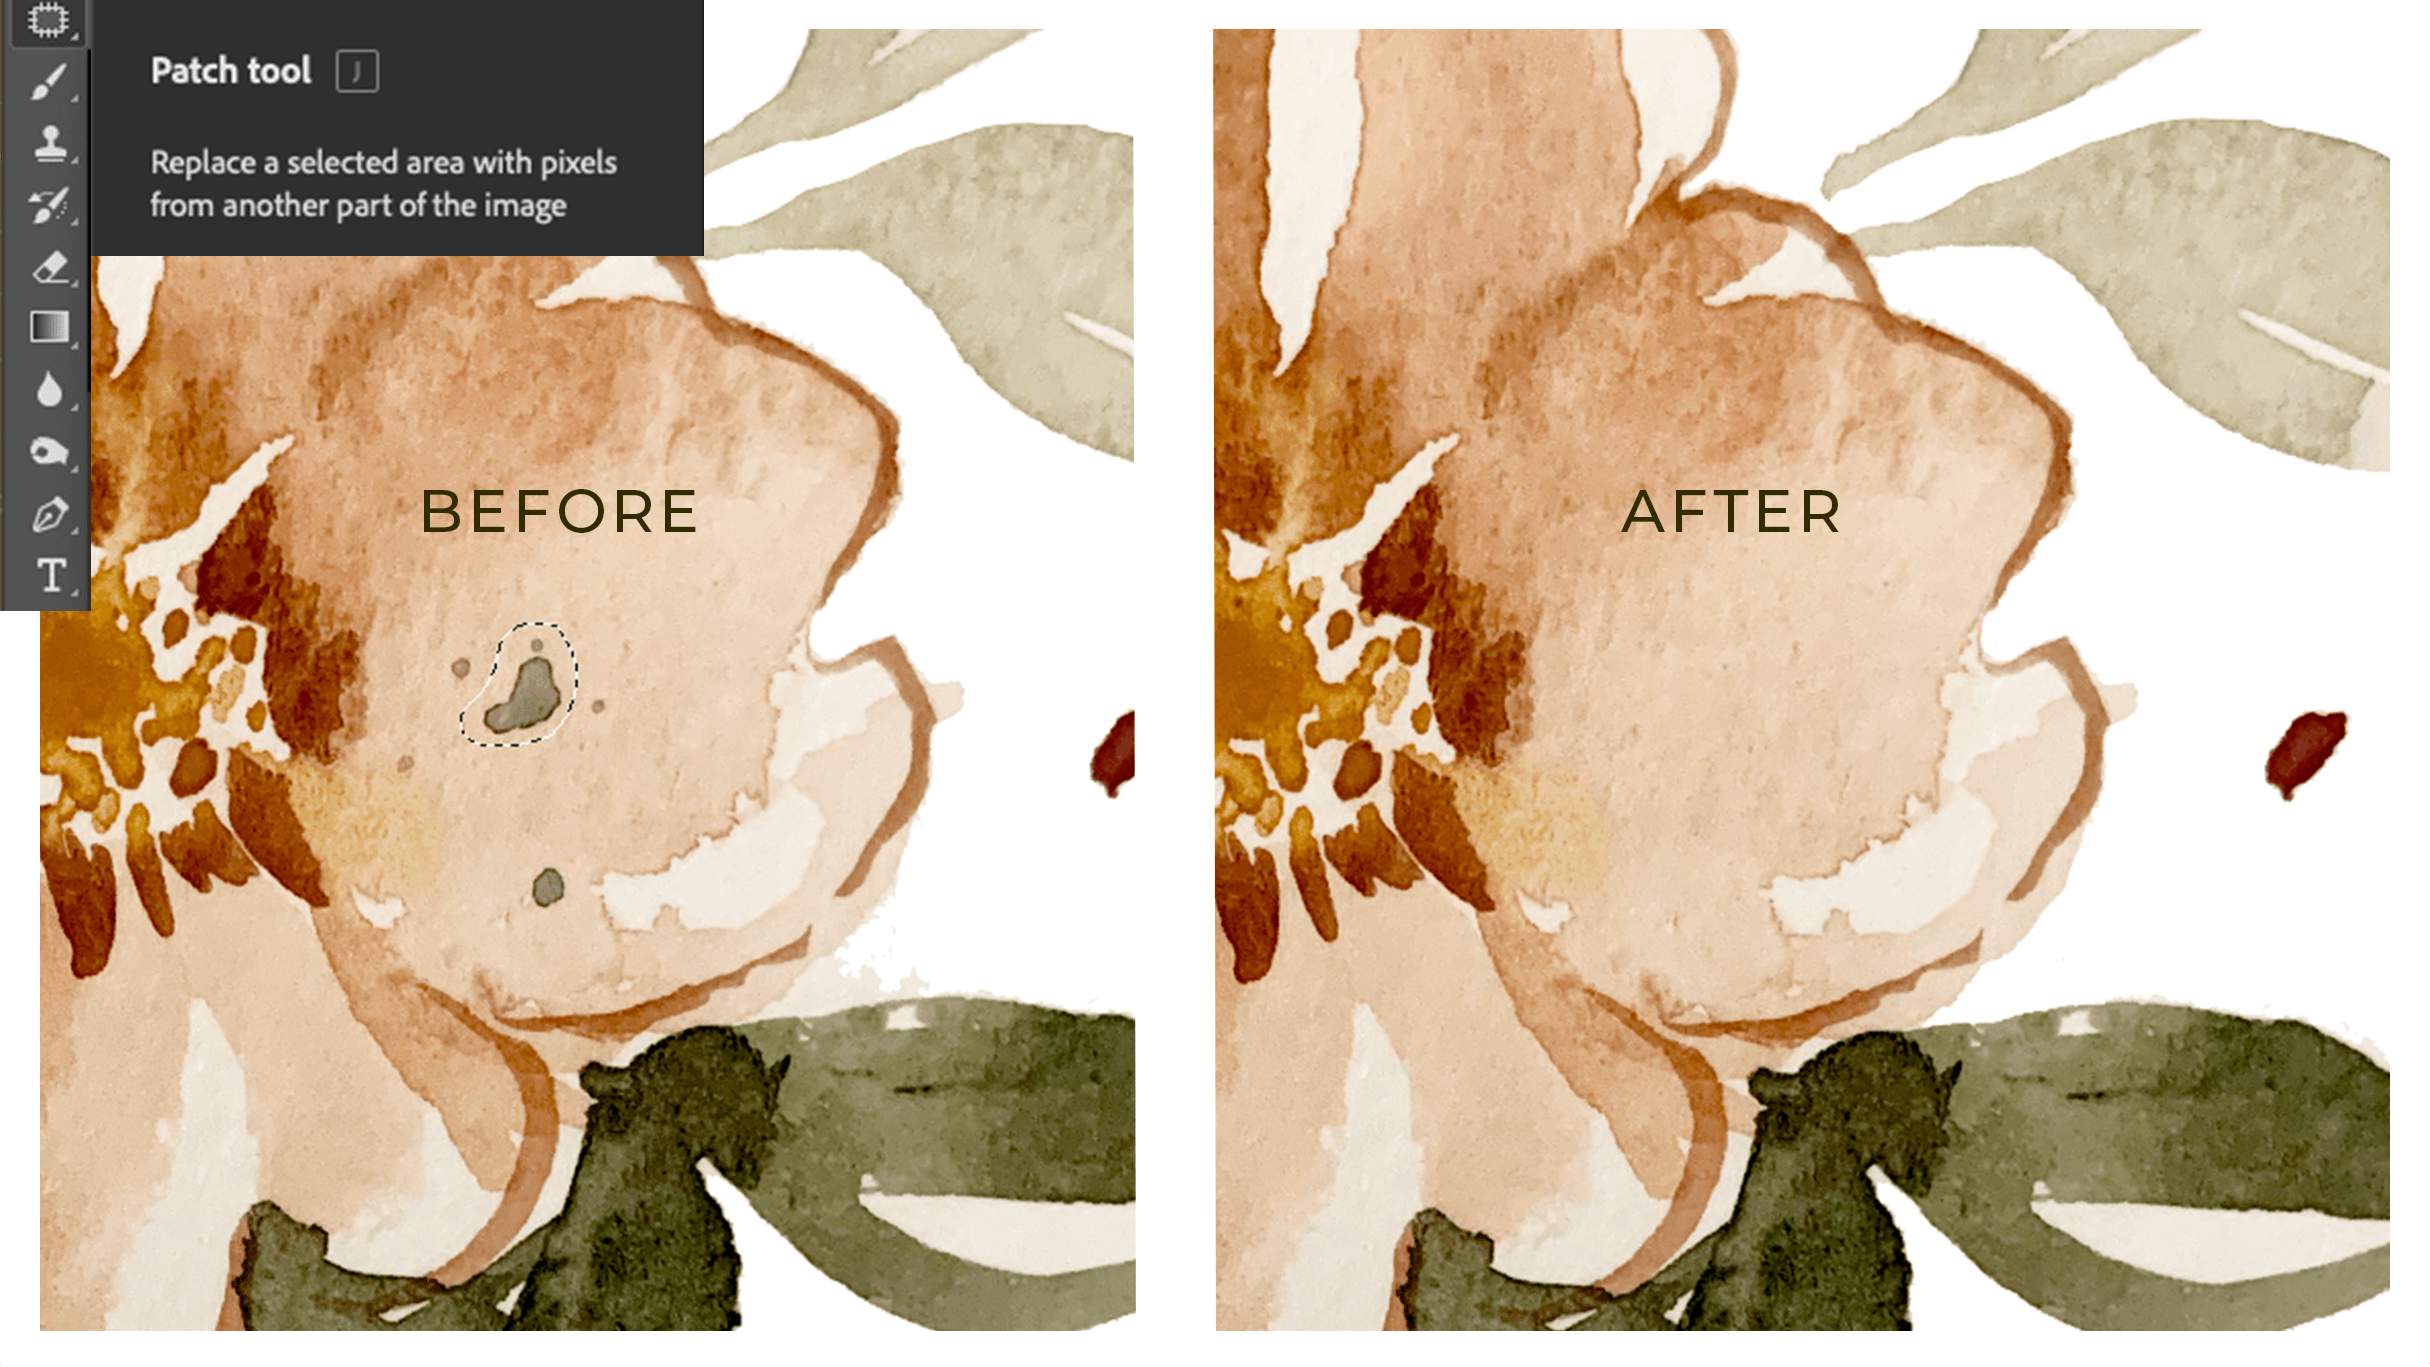
Use the Patch and/or Stamp Tool to touch up or smooth over any imperfections or mistakes within your artwork. (This is one of my favorite parts of the process!)
Scan, Open in Photoshop, Remove the background, Touch up, Edit, aaaaaaaand Repeat.
This is my basic 5 Step Process for Digitizing Artwork in Photoshop! Hopefully you found some part of this helpful. I use some version of digitizing every single week in my business, and believe it is one of the most important skills to maximize your reach. If you want to learn even more, and learn with me step by step, check out Digitizing Pro.
There are almost endless possibilities when you learn to digitize your art. Tell me, how will you use digitization in your own creative business?!