46
Liquid UI Server aka GuiXT Server / SAP MessageServer Configuration Through Liquid UI Server
« on: March 21, 2018, 03:26:09 PM »
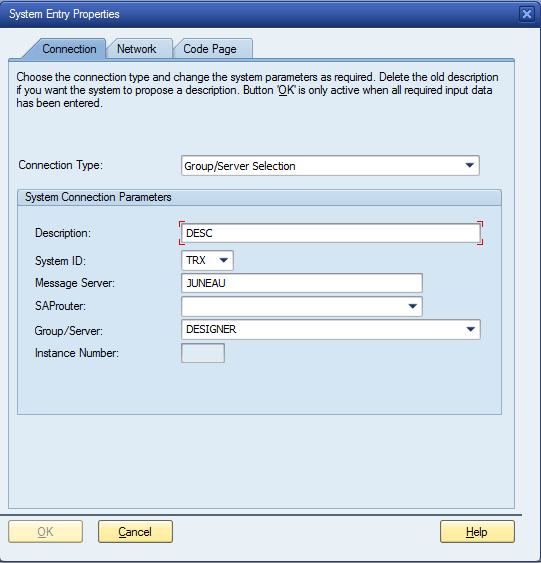
SAP Message Server configuration using Liquid UI Server:
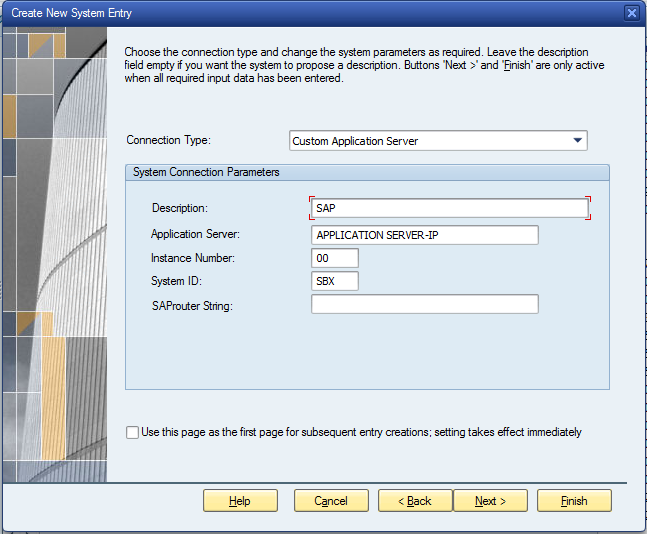
Sample SAPgui Connection:
Sample SAPPROXY.INI:
[control]
proxycount=1
[Proxy1]
ListenPort=3210 // (Liquid UI Client Instance/Port Number)
TargetServer=/M/<MessageServer-STRING>/S/32<SAP Server Service Port Number>/G/<SAP Server Group> // (SAP Server Host Name or IP Address)
GuiXT=10
M -> Stands for Message Server Eg: Juneau -> Message Server Name
S -> Stands for Service Port Number
G -> Stands for Group Name Eg: DESIGNER -> Name of the Group
Note: Service Port Number is found in "services" file at below path on Machine Configured with Message Server
C:\Windows\System32\drivers\etc
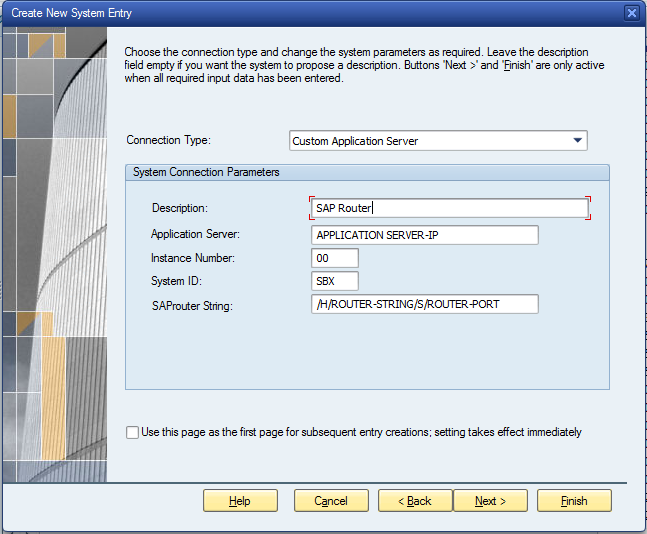
Sample SAPgui Connection after Liquid UI Server configuration:
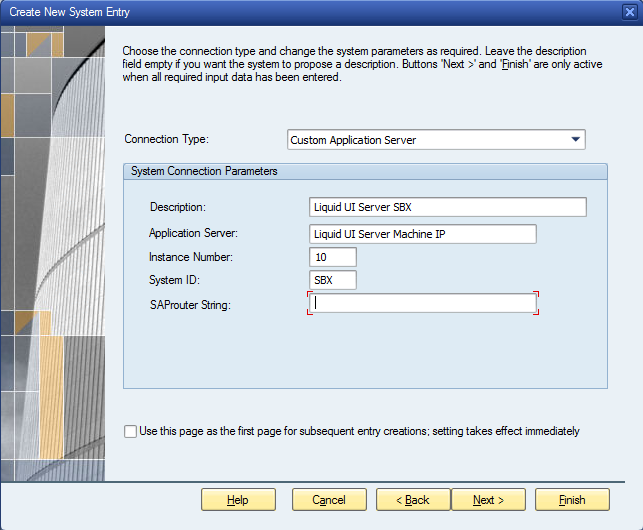
Sample SAPgui Connection:
Sample SAPPROXY.INI:
[control]
proxycount=1
[Proxy1]
ListenPort=3210 // (Liquid UI Client Instance/Port Number)
TargetServer=/M/<MessageServer-STRING>/S/32<SAP Server Service Port Number>/G/<SAP Server Group> // (SAP Server Host Name or IP Address)
GuiXT=10
M -> Stands for Message Server Eg: Juneau -> Message Server Name
S -> Stands for Service Port Number
G -> Stands for Group Name Eg: DESIGNER -> Name of the Group
Note: Service Port Number is found in "services" file at below path on Machine Configured with Message Server
C:\Windows\System32\drivers\etc
Sample SAPgui Connection after Liquid UI Server configuration: