Teaching Annotation with Google Keep
Teaching annotation to high school students is an ongoing struggle for so many teachers. It’s one of those skills and I find myself continually reinventing ways to teach it and explore it with students. I have faced so many different roadblocks on the path to teaching annotating. Do these scenarios sound familiar?
Students can’t write in their books - they are library copies
I have three classes and only one class set of novels
Students complain about annotating taking too long
Students refuse to mark in their books
Students lose the annotation bookmark I’ve given them to focus their notes
Students “fake” their annotations just to get credit when I “grade” them
Any other good ones? Over a decade of teaching, I feel like I’ve heard it all! This year, however, I feel like I’ve found a new and sustainable way of reframing how I look at annotation. Yes, it does involve some tech, but don’t be intimidated! It’s a low-tech approach and works on multiple devices.
What is Google Keep?
Google Keep is an app I’ve used forever, but only really for personal to-do lists. It’s a sticky-note type of app that allows you to create notes, color code them, check off items on a list, and even share notes with others. Google Keep is connected to all of your other Google products (slides, drive, docs, etc.), so all it requires for your students is a Google login.
Getting Started with Annotation Focal Points
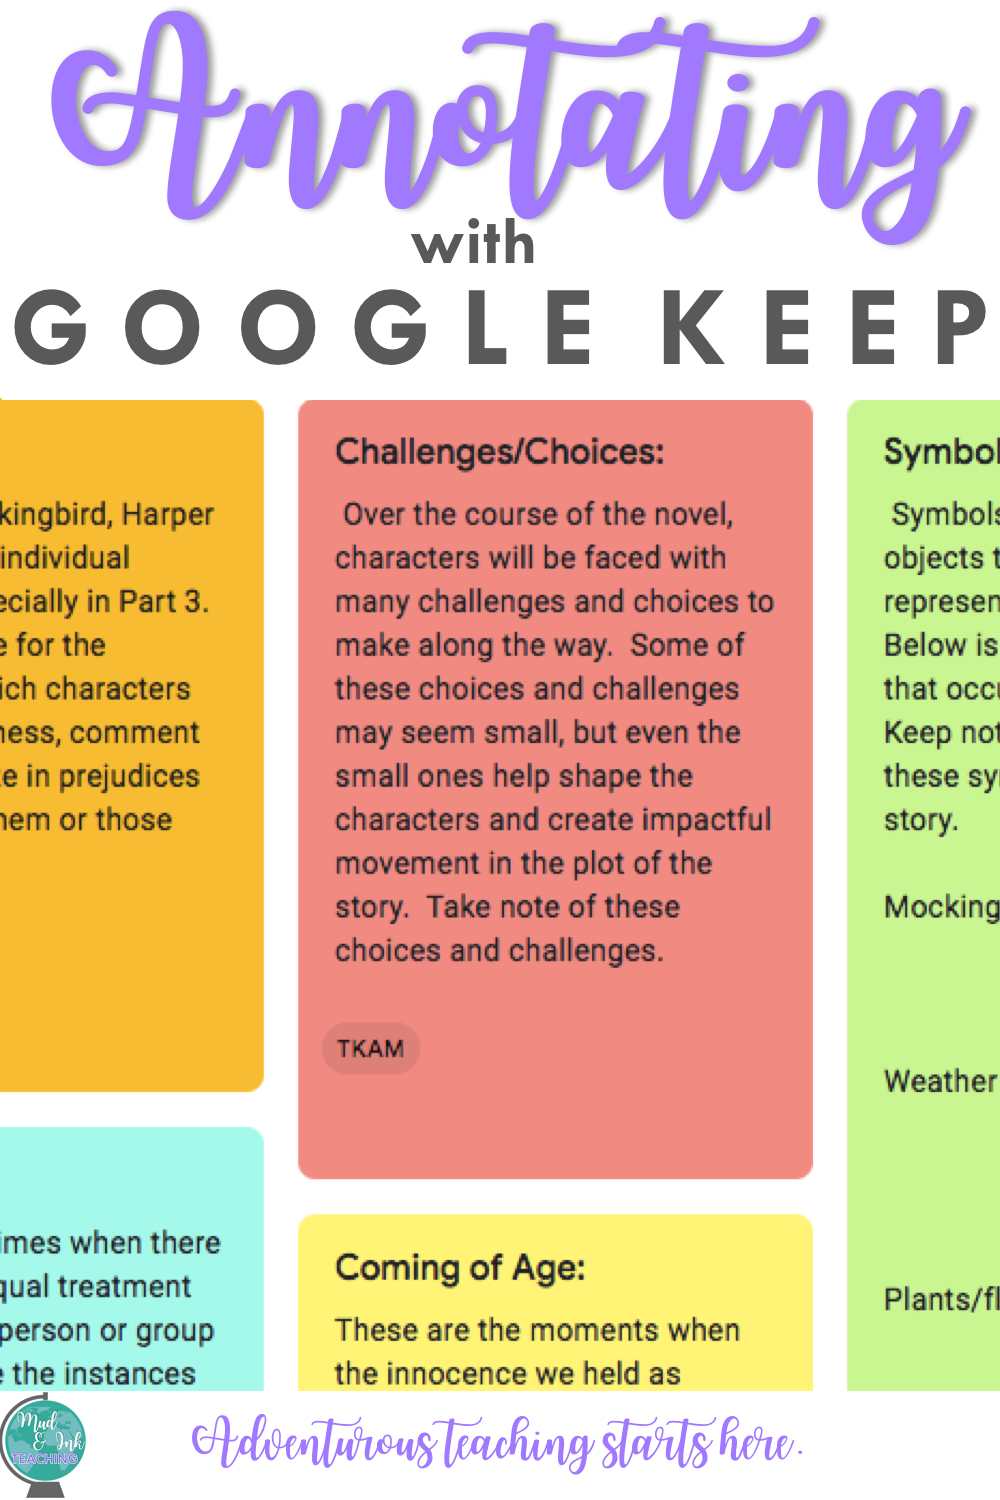
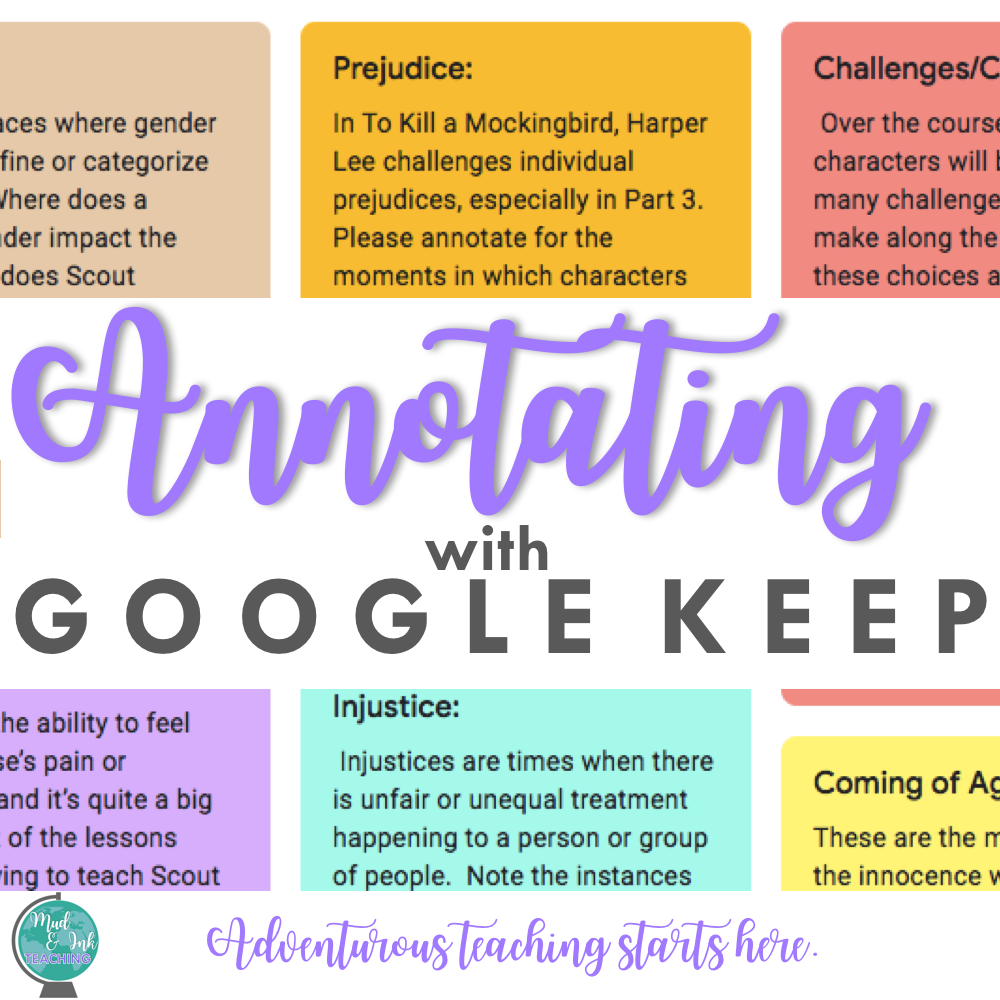
This may seem obvious, but when it comes to annotating, students should have a direct, clear purpose for doing so. Yes, it’s nice to have students mark “C” when they notice a characterization trait, but is that what you’re assessing at the end? For example, when my students are annotating in To Kill a Mockingbird, it’s for major topics (for which they will later create theme statements). On their annotation guide/handout, I tell them to focus on: coming of age, prejudice, empathy, gender roles, and symbolism. That’s it. Those are their Annotation Focal Points.
Using Google Keep to Track Annotations

Now that students have their Annotation Focal Points, they will create as many Google Keep notes as you have focal points (if you have four focal points, they’ll have four Keep notes).
Send students to keep.google.com
Make sure students are logged into their student Google accounts
On the left hand side of the screen, have students click EDIT LABELS. There, they will create a new label titled with whatever book you are studying.
Click on that new label so that it is highlighted on the left hand side of the screen. You are now creating notes under that label, so they will be nicely sorted when students need to access them later.
Where it says “Take a note”, have students copy and paste (or type) their first Annotation Focal Point into the note. The Title can just be a one-word topic and then the note can be the longer version of the focal point that you gave them.
Have students repeat this step for each focal point.

Now, their notes are ready! Every time they read or every few lessons, students can stop here to add to their notes.
Personally, I like to encourage students to annotate for general items in their books as well as these focal points. I tell the students that we are using Google Keep as a highlight reel of the BEST pieces of evidence that match up with our focal points. Good annotating means consistent interaction with the text, so I want them to practice that as well, but as we discussed earlier, sometimes, that’s just a pipe dream. Google Keep is a great alternative that offers an organized, focused approach to monitoring important concepts while reading, but it’s not the perfect solution, either.
Assessing Student Annotations
Since each student is keeping track of their own annotations, there are a few ways you could collect or assess the annotation on Google Keep.
Create an assignment on Google Classroom. Have your students:
Take a screenshot of their Keep notes and submit that image.
Copy and paste the notes they have for one of the categories that YOU select
Give students question that requires they use their notes from Keep - no books allowed!
There are lots of other ways you could assess their annotations, but these are a few that I’ve tried and liked so far. My favorite part? I will NEVER collect books to check-in annotation ever again!!
How else have you used Google Keep in the classroom? Share your strategies with us below in the comments! I’m actively using this while teaching my Great Gatsby and To Kill a Mockingbird units and loving it so far!
Don’t forget - if you love trying new ideas and getting inspired by others who are adventurous just like you, join our Adventurous Teaching Academy on Facebook!
SHOP THE MUD AND INK STORE: