The Simple Clothesline
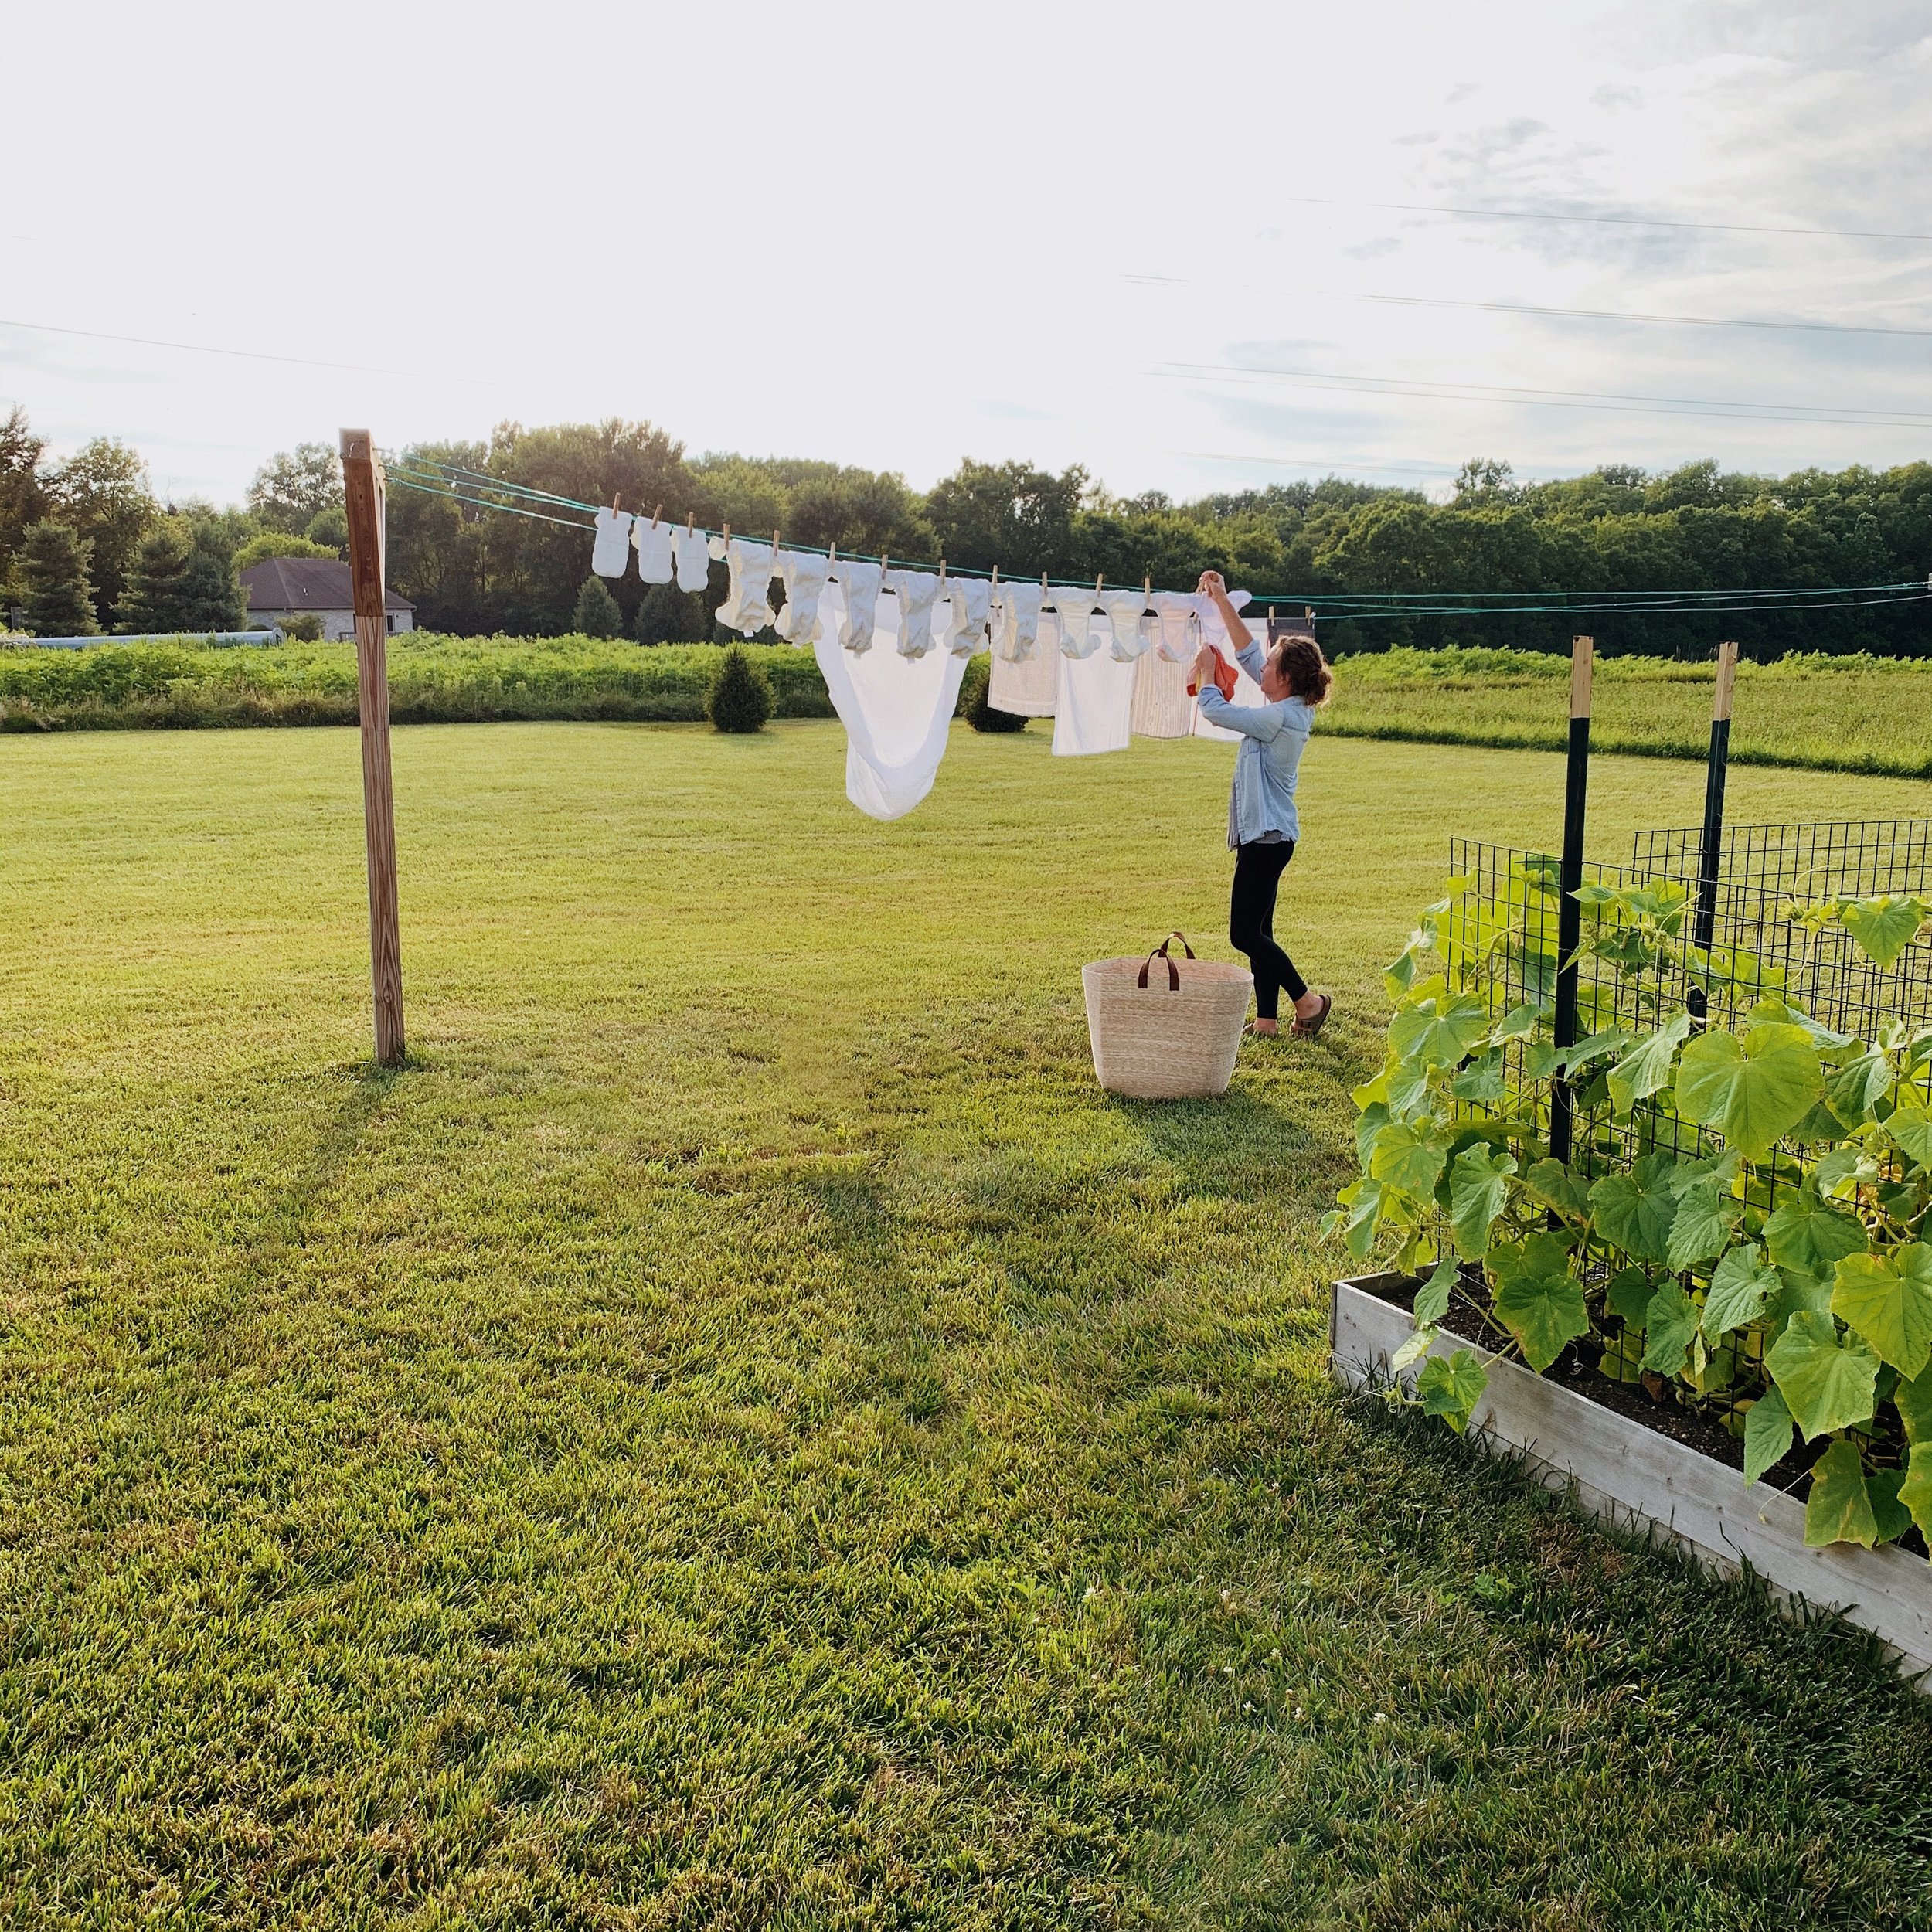
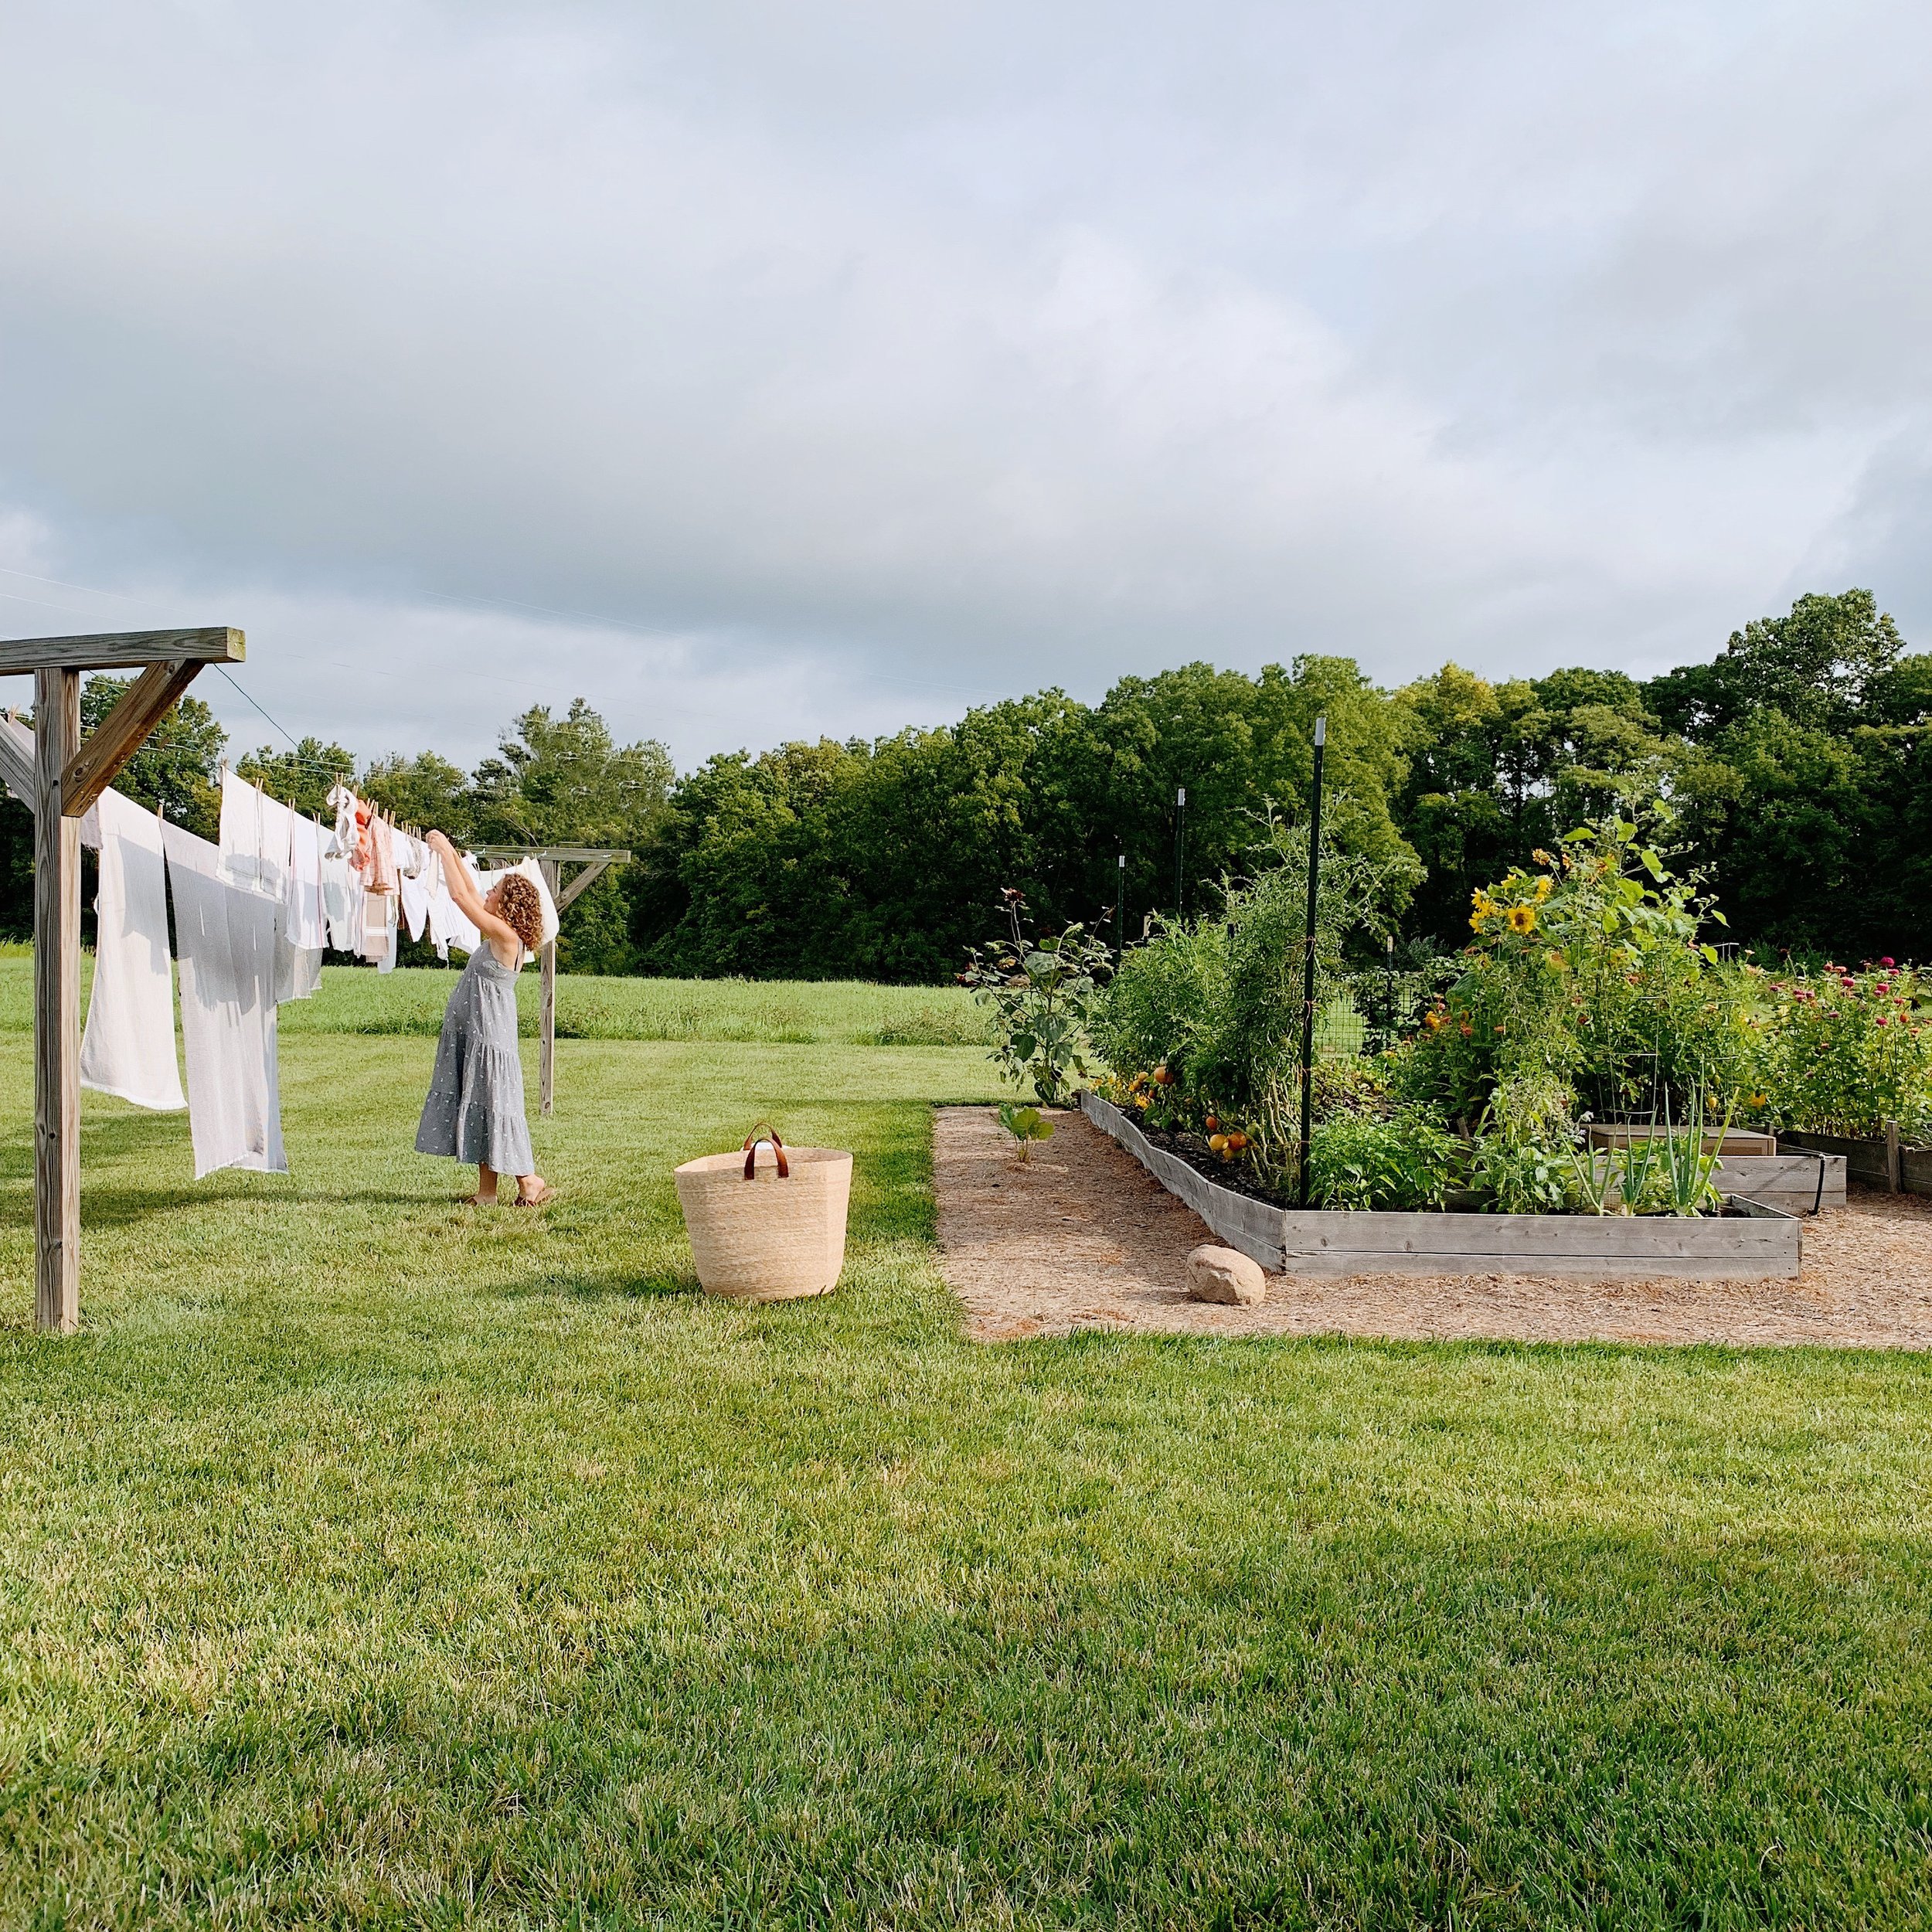
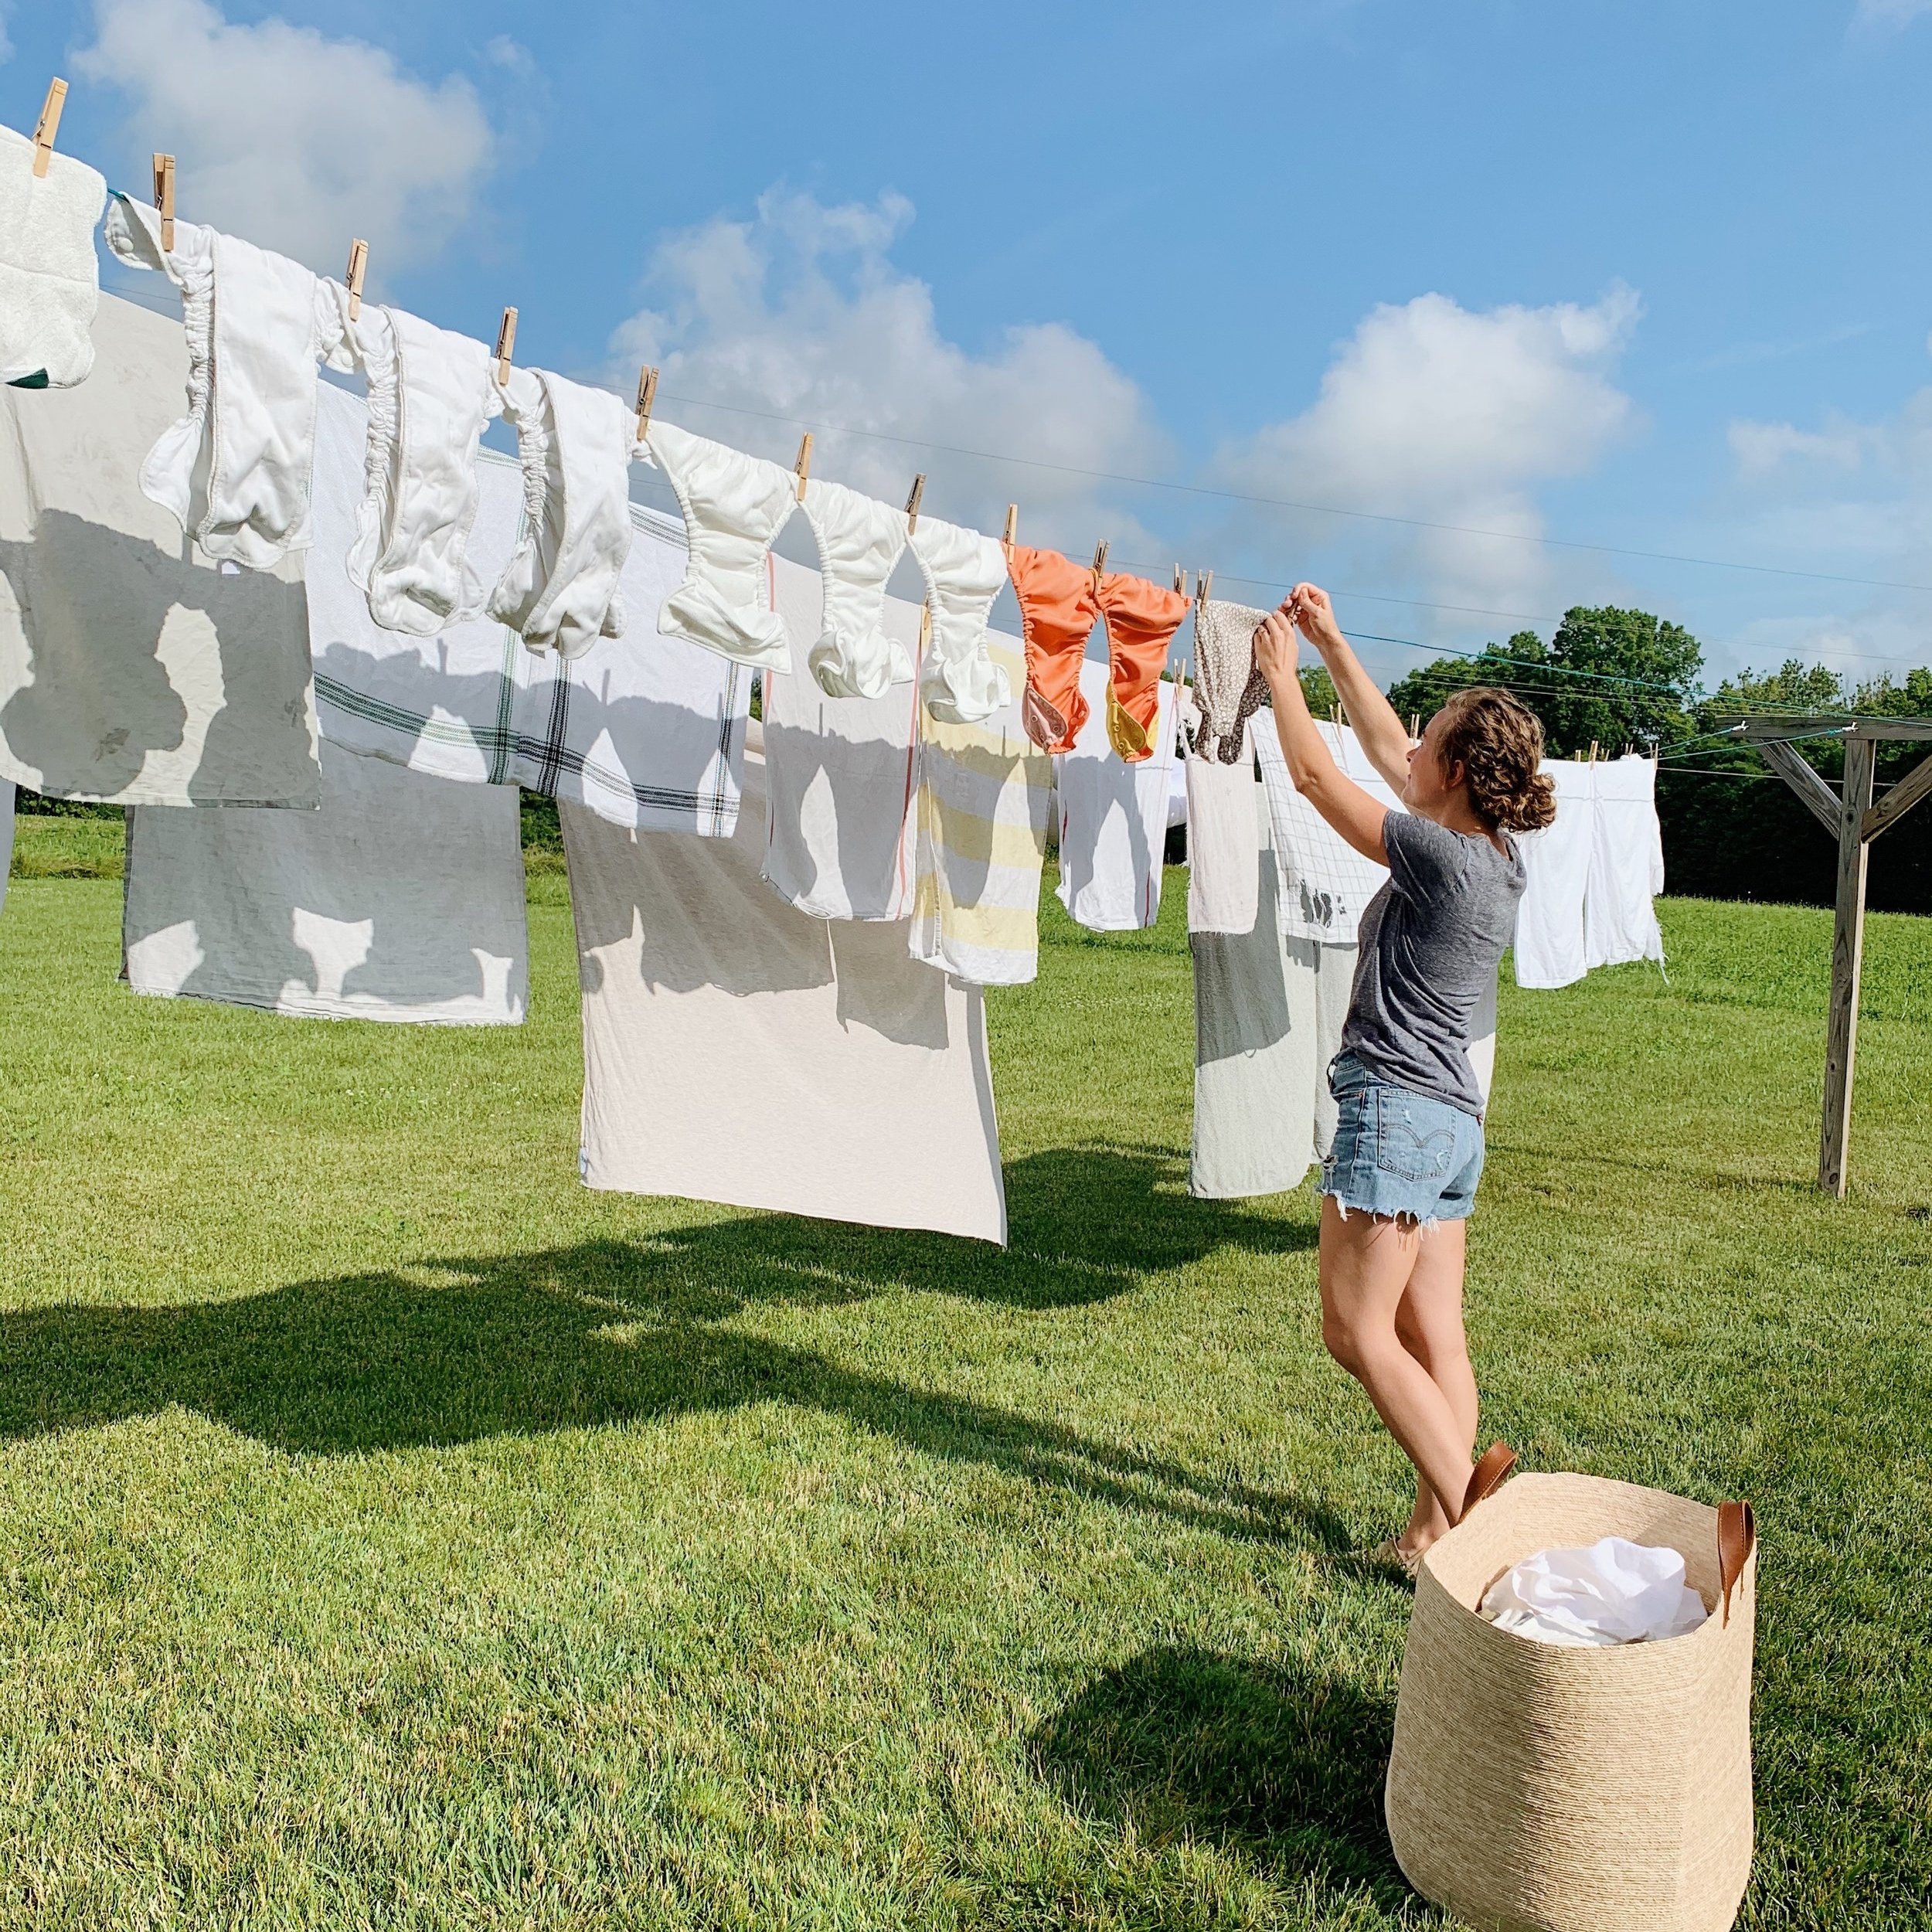
There is little I love more than sunshine, open windows, and line-dried laundry. I have my parents to thank for that upbringing, I presume. We always had a clothesline when I was growing up. So did my Grandma. I thought everyone had a clothesline! Hanging laundry outside is like second nature to me, but as I’ve grown and moved and received countless messages from people with questions, I’ve quickly realized it’s not so second nature for others but that you might be interested in giving it a try. I’m thrilled!
Funny story… Tyler and I moved in together right after I graduated from college. We got a little one bedroom apartment with a balcony. I immediately started hanging all of our laundry over the railing to dry. Tyler thought I was crazy. Ha! Fast forward to us buying our first house… it was in the city and we had next to no yard. We did, however, have a railing up the stairs to our backdoor. Again, I hauled all of our laundry outside and draped it over every square inch of that railing. Sheets, towels, underwear, you name it. I’m sure our neighbors thought we were crazy. When we built this house, I told Tyler I wouldn’t move in until we had a clothesline. LOL. To say I love line-dried laundry would be a vast understatement.
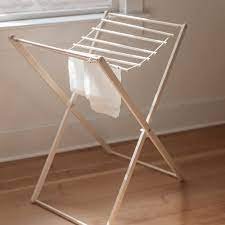
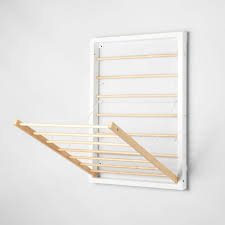
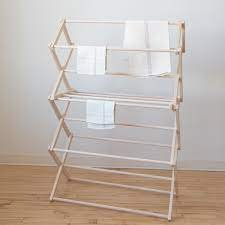
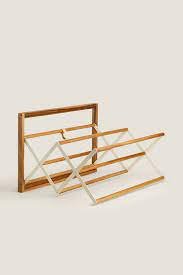
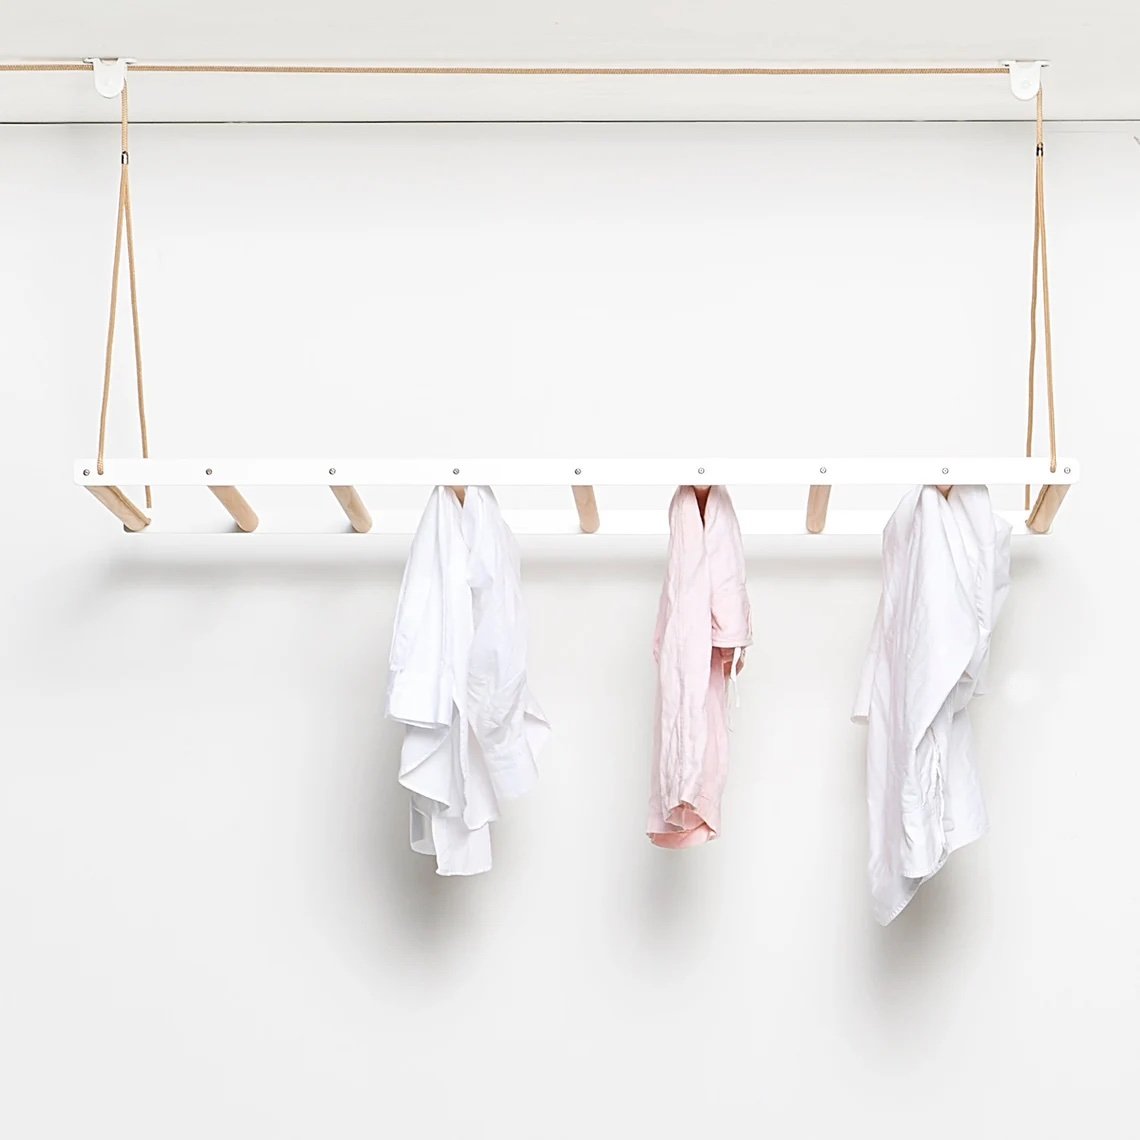
Now I know many of you may live in areas that prohibit clotheslines. I personally think it’s silly, but who am I to judge. No one can tell you you can’t hang things in your house to dry, though, so consider an indoor drying rack! There are tons of cool ones out there today:
But! If you can have a clothesline outside, I would highly recommend. It’s incredibly simple, inexpensive, makes your laundry smell amazing, instantly removes stains, is great for the environment, and I personally find it extremely therapeutic. I’ve provided some thoughts below and some details on how we built our existing line.
PLEASE NOTE:
The DIY information shown below is in regards to how we built our existing clothesline. There are probably a million ways to build one. Feel free to adjust the plans for your own wants and needs. Tyler and I will be the first to admit that, five years later, we would totally do things differently. We get extremely strong winds out here. If we had it to do all over again (and we do plan to re-build ours in the next year or two), we would use steel instead of wood for the posts.
C L O T H E S L I N E D I Y
A clothesline is the epitome of simplicity to me. No matter what yours looks like (umbrella rack, pulley system, stair railing, lines spanning wooden poles, back of chairs, etc.), the act of using the sun and a gentle breeze to dry laundry can’t get more simple. That does not mean it’s quick and easy. Simple, to me, does not mean faster, cheaper, or easier. It does, however, mean finding joy in the most basic of things in life; honoring them for exactly what they are - and are not.
Like I said above, there are a MILLION ways to build a clothesline. The supplies and instructions shown below are in reference to the line we currently have and use. Feel free to adjust for your own needs.
S U P P L I E S
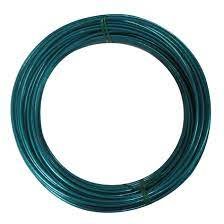


Clothesline Wire - A lot of stores sell rope intended for clothesline use, but we’ve always used a plastic wrapped metal wire. It withstands all the elements/seasons and lasts forever.
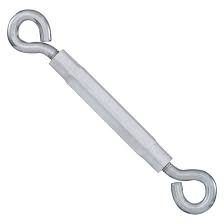
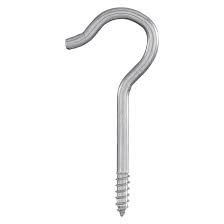
(3) Hook & Hook Turnbuckle - You will need one (1) of these on the end of each wire. So in our case, we used three (3) total.
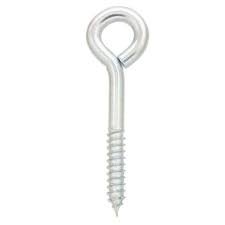
(3) Thread Eye Bolt - You will use these on the the opposite end in which you use the turnbuckles. We used three (3).
(3) Screw Hook - These are what the turnbuckles attach to. You will need one (1) of these for every turnbuckle used. In our case, we used three (3).
(3) 4x4x12’ Exterior Grade Lumber - We used pressure treated lumber for our clothesline, but you could use cedar, redwood, or any lumber suitable for exterior use in your area.
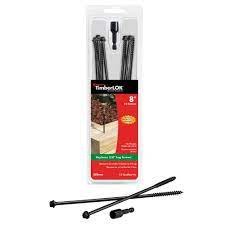
8” Lag Screws - These are very strong and perfect for outdoor use. You will need just one box.
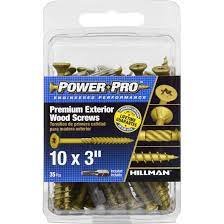
Exterior Grade Screws - Any exterior grade screws should be sufficient, but these are the particular ones we frequently use. 3” should be plenty long.
E X T R A S
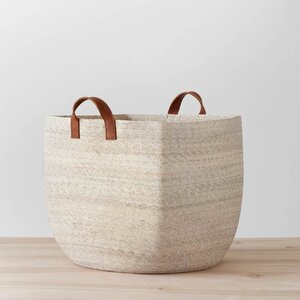
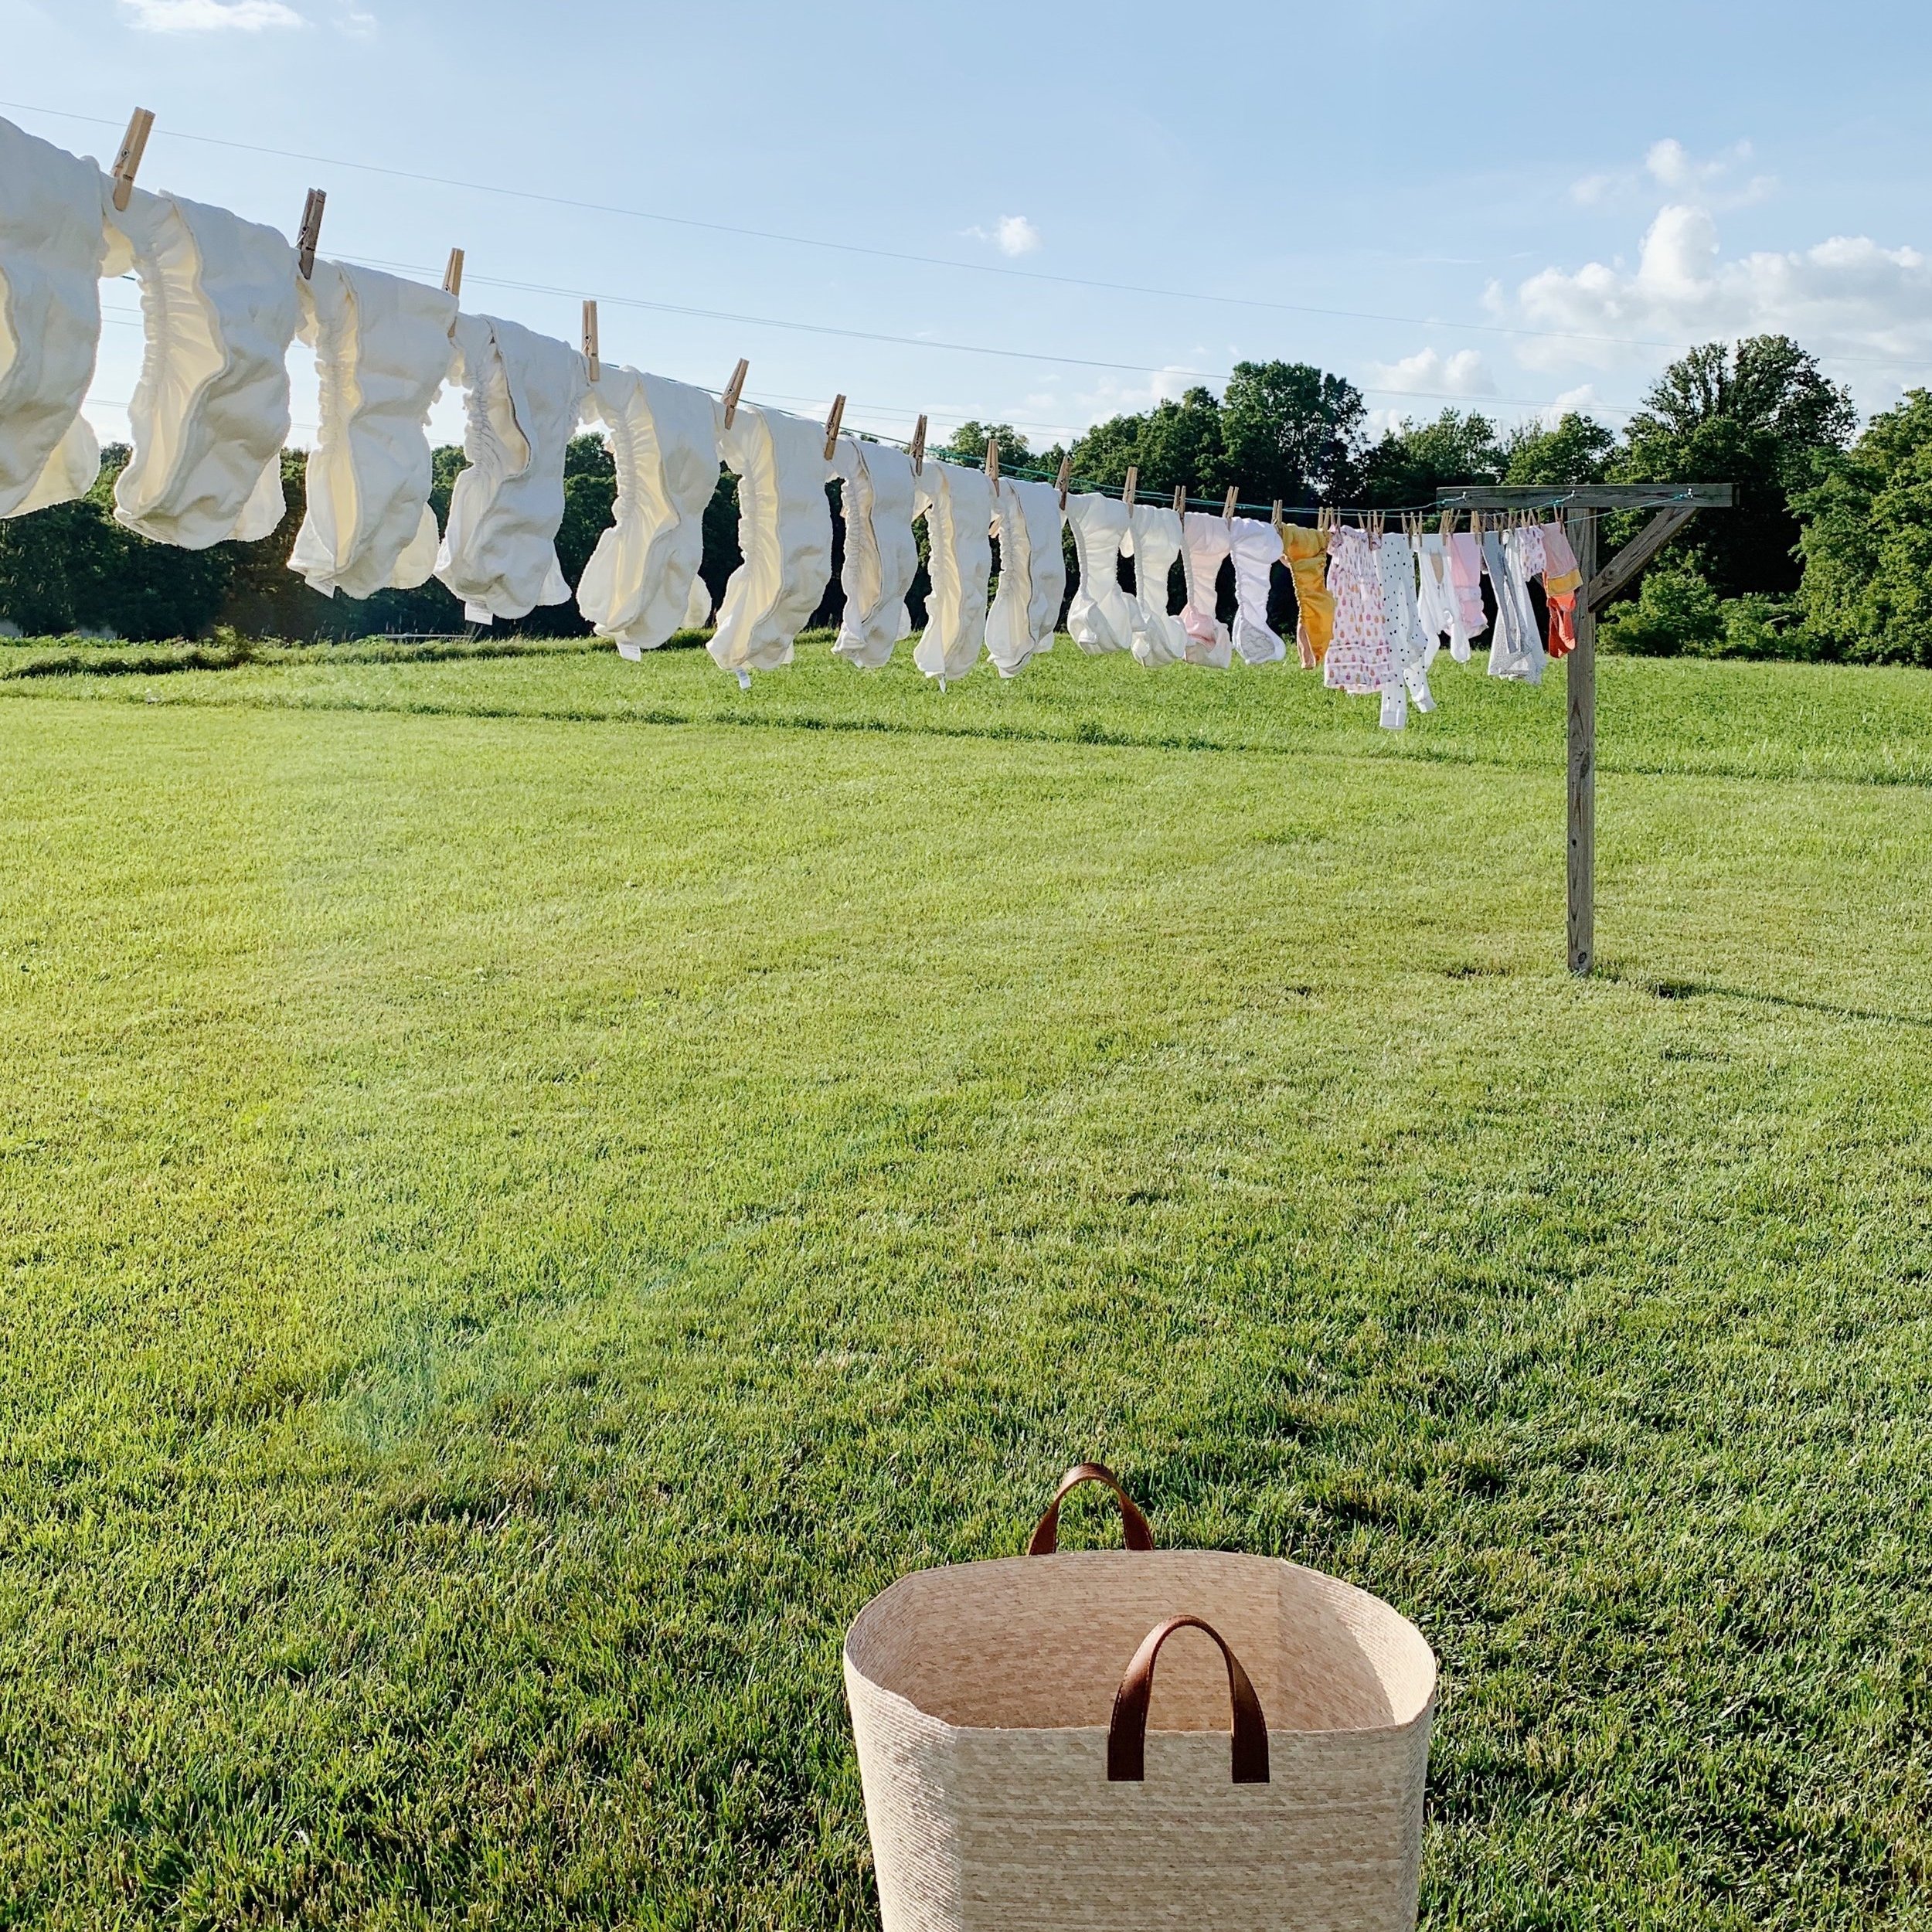
Laundry Basket - It seems weird to profess love for a basket, but this one is the best of the best. Truly! I’ve tried so many over the years, and this one takes the cake. It’s beautiful AND functional. I use the size large to haul tons and tons of laundry to and from the clothesline. It is the BEST. Worth every single penny.
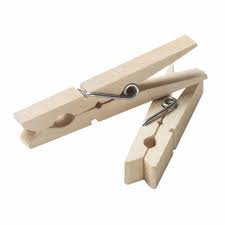
Wood Clothespins - Inexpensive but perfect. There are several styles available these days, but I always use these basic ones that withstand our high winds very well. I often find the trick to getting laundry to stay on the clothesline in high winds has less to do with the particular clothespins used and more about how the laundry is hung on the line.
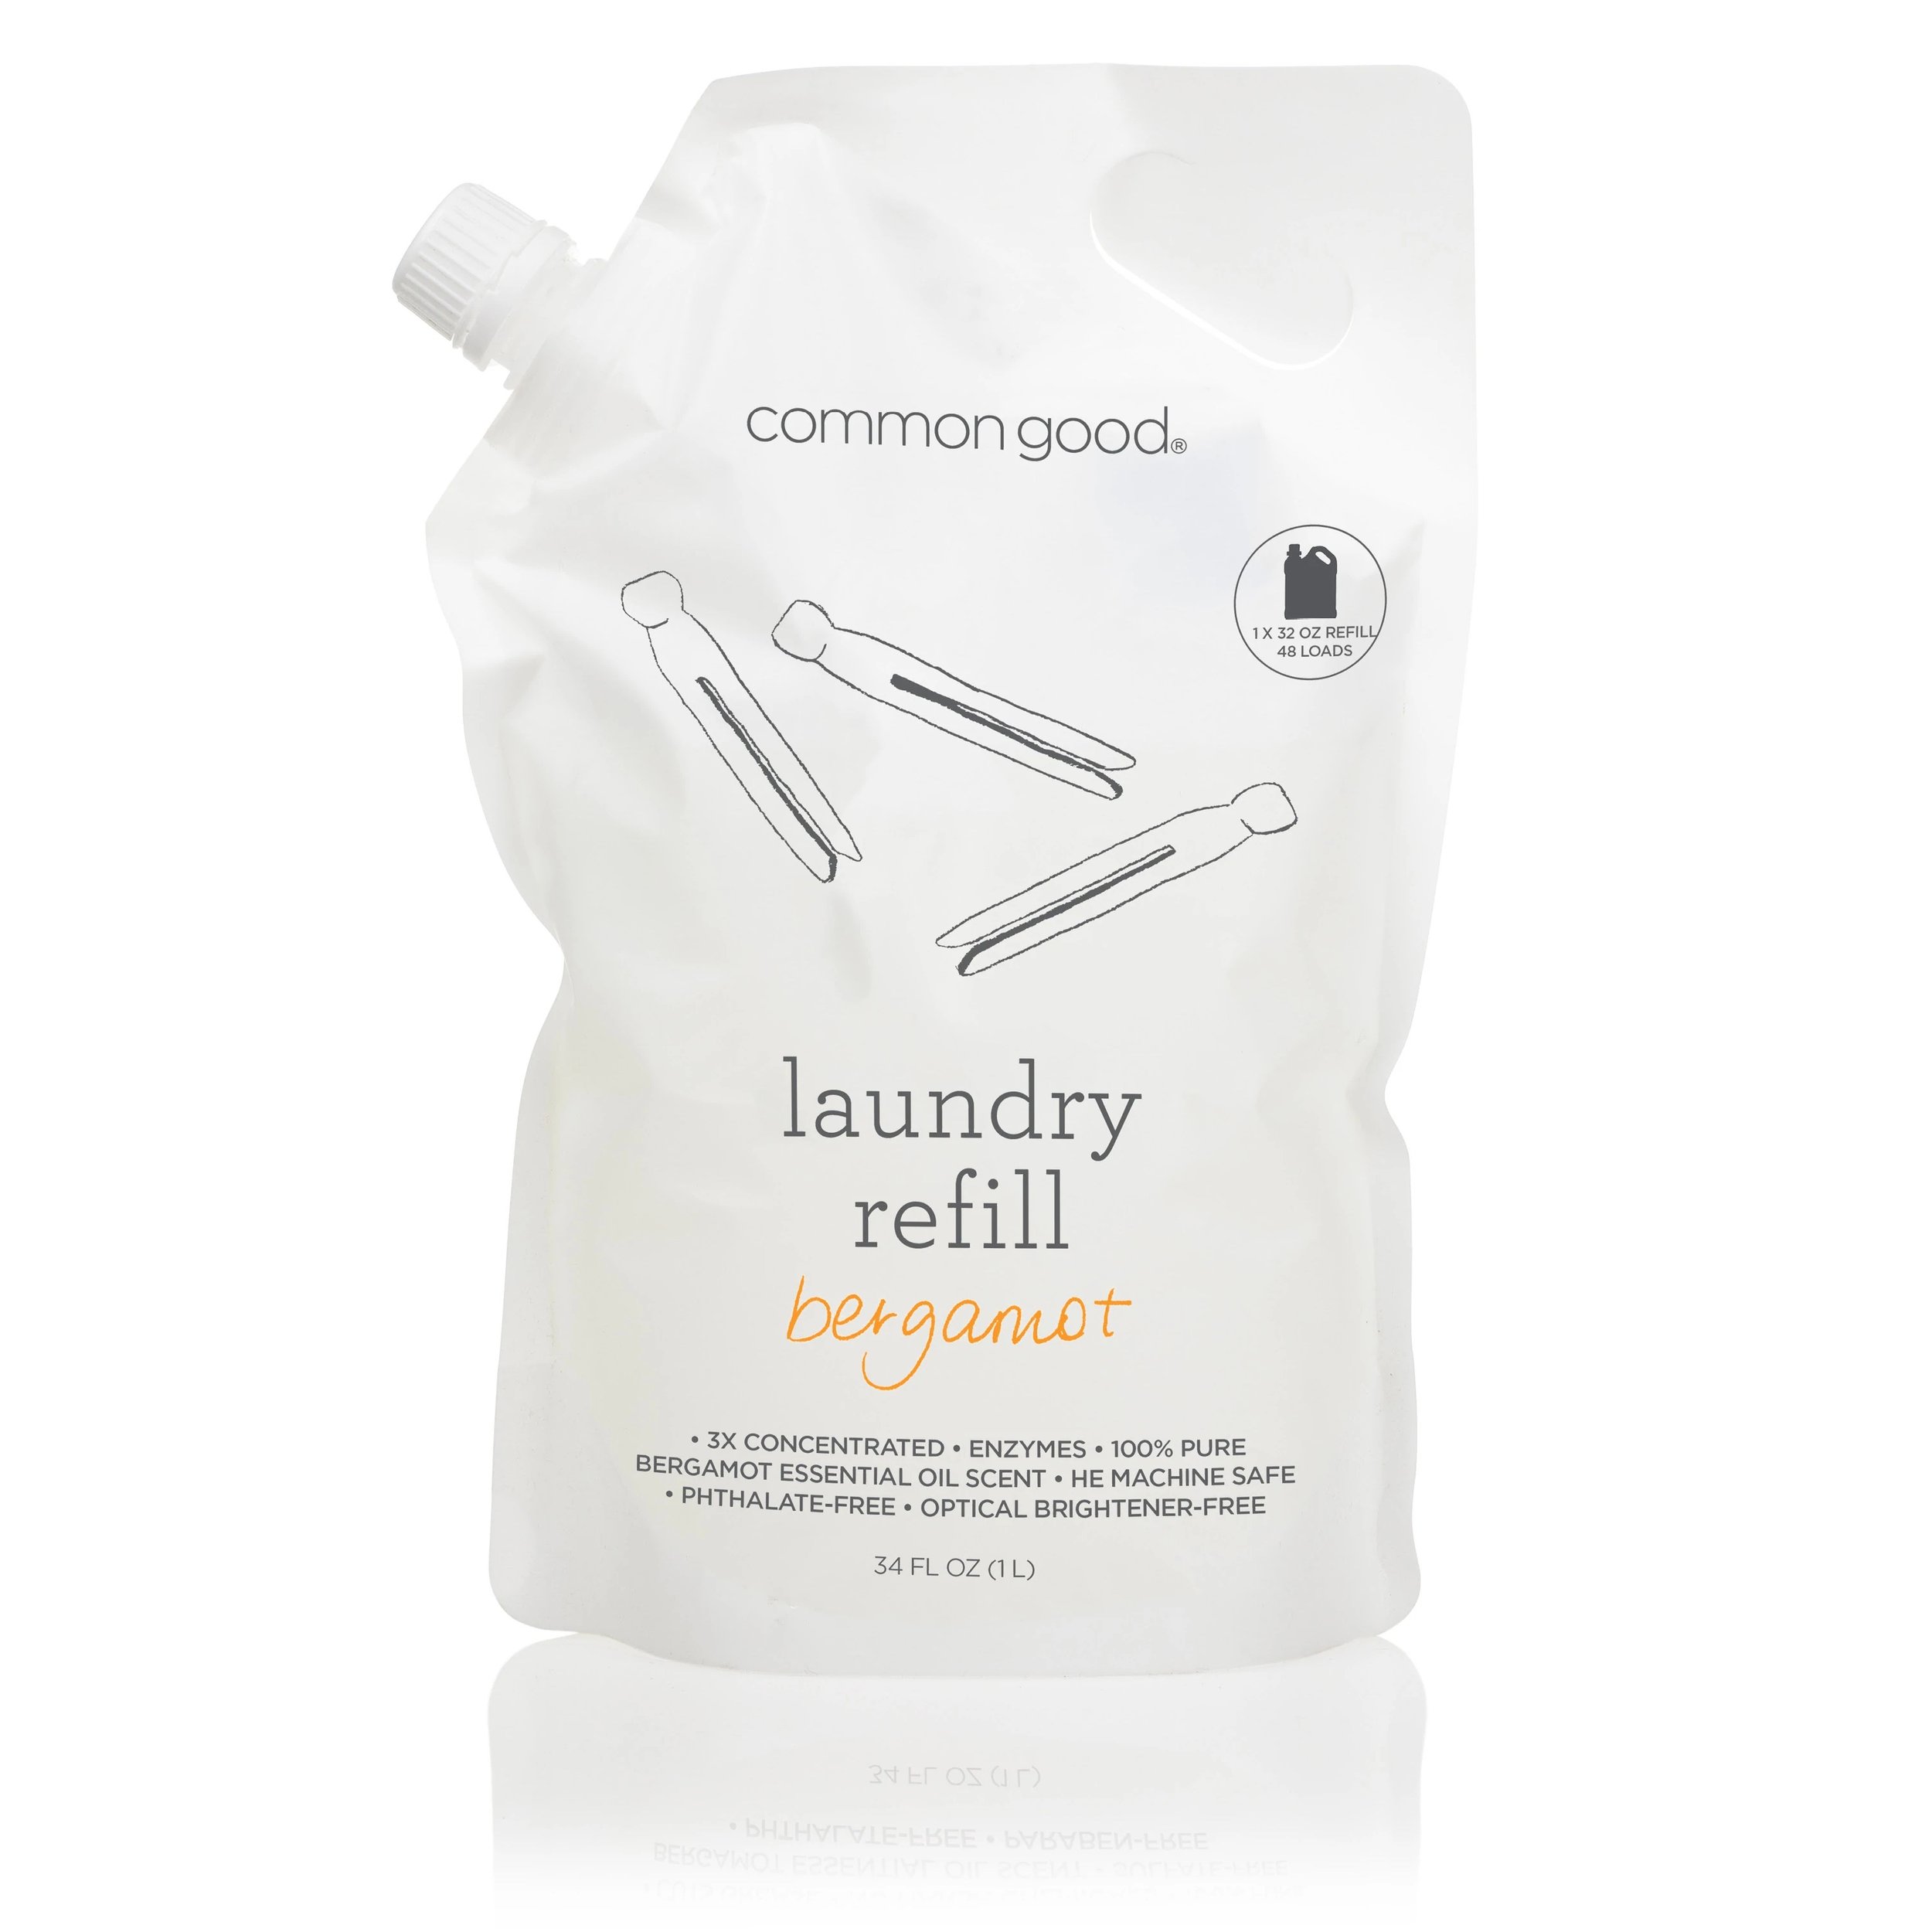
Laundry Detergent - This is the detergent I use the majority of the time and love. It also comes in unscented, but the bergamot is very light and nice (I don’t usually like scented things, candles give me a headache, but this is very very subtle). If I’m not using this I’m using Branch Basics.
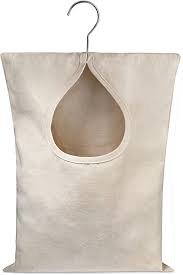
Clothespin Bag - I actually just use one of the linen bags our bedding came in to store our clothespins, but I know many people use something that attaches to the clothesline like this. This one looks nice. I keep our pins/bag in my laundry basket at all times. In my experience, storing them outside, no matter the bag, often leads to wooden pins growing mold/mildew and lots of critters looking to make a home inside the bag. If you’re going to buy a hanging bag, I’d still recommend storing it indoors when possible.
I N S T R U C T I O N S
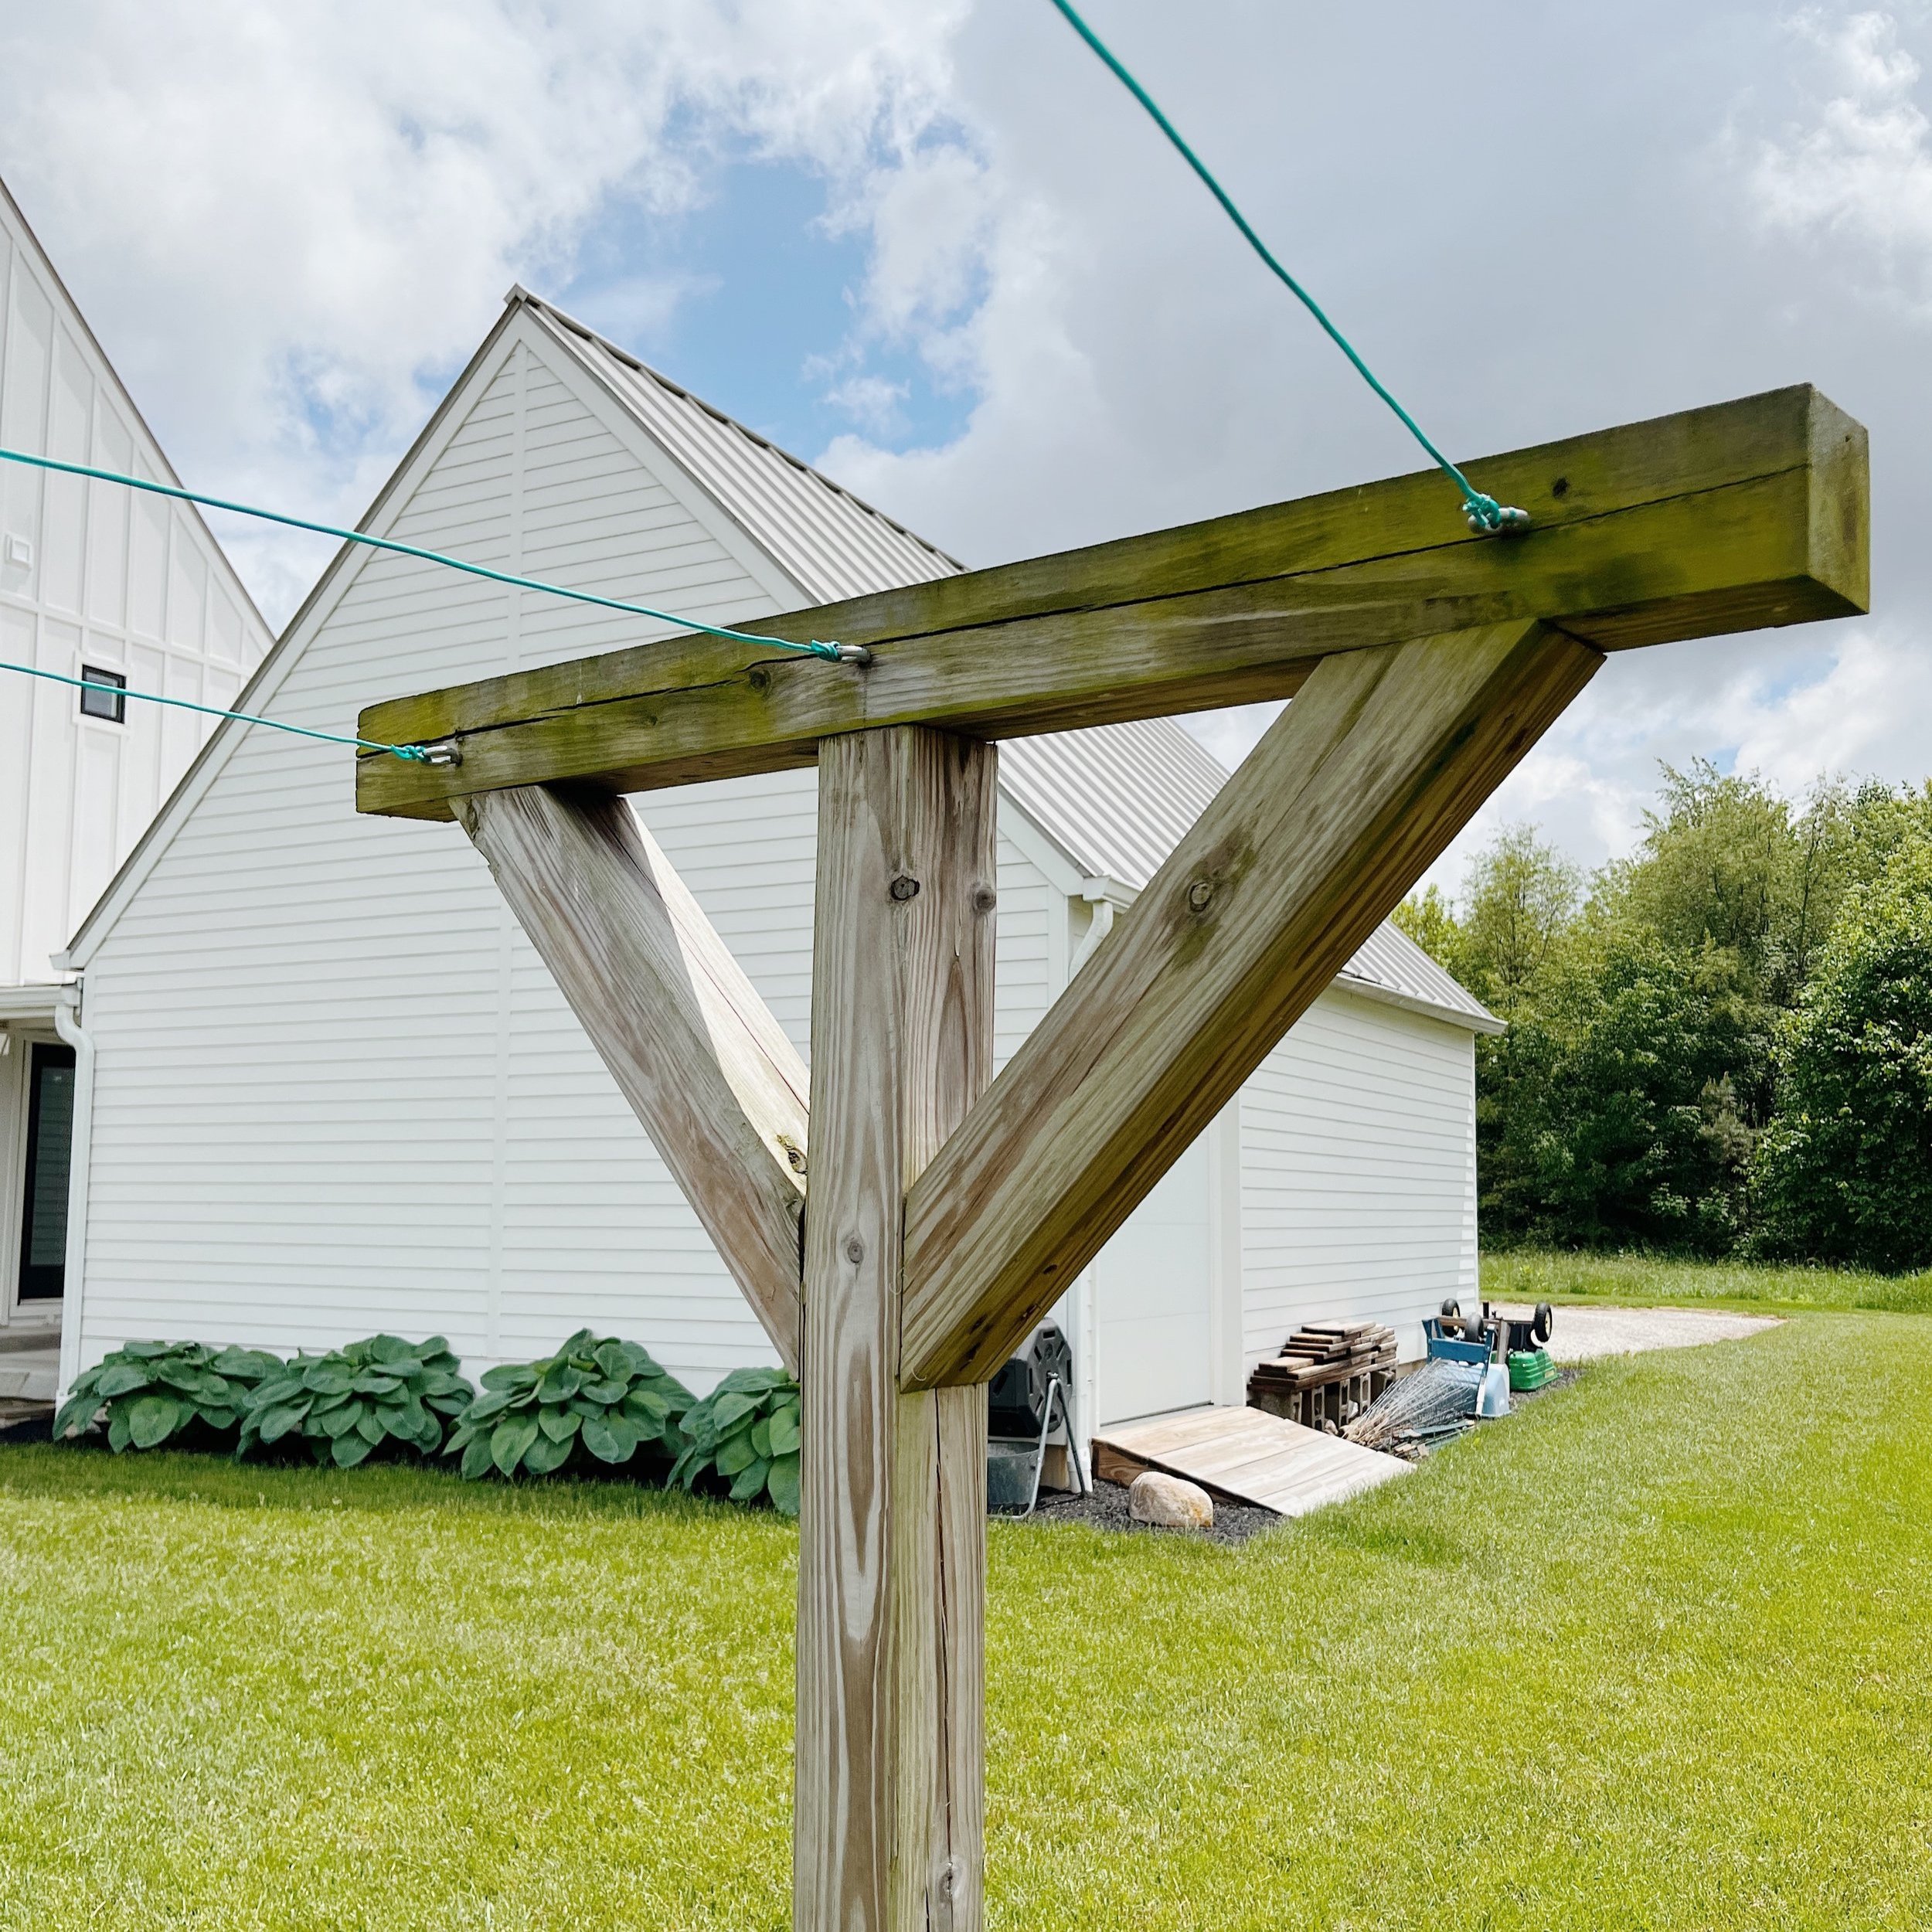
To build one (1) clothesline that is 7’ tall and 30’ wide with three lines:
Determine clothesline location. Orient lines so that you can take advantage of prevailing winds. For example, we most commonly have winds blowing west to east. Therefore, we oriented our clothesline to run north and south. This is not required, but it is helpful, if you have a choice. It’s also ideal to locate the lines in full sun and away from trees. Full sun will give you the ability to line dry year round, and the proximity to trees will greatly impact the amount of pollen, bugs, and bird poop you can expect.
Determine clothesline size. Our poles are approximately 30’ apart and we have three lines spanning that distance. While I can easily fill up the line, it’s still a pretty sufficient amount of space for a family of four. With that said, I do laundry often. If you wait and do all of your laundry in one day and want to hang it all out at once, you may need significantly more space.
Cut 4x4x12’ lumber as follows:
Cut 2’ off of one (1) 4x4x12’ piece.
Repeat. You should now have two (2) 4x4x10’ pieces (these will be your vertical poles) and two (2) 4x4x2’ pieces (these will be your diagonal supports for one vertical pole).
Take remaining 4x4x12’ piece and cut it into two (2) 4’ pieces (these will be your top cross bars) and two (2) 2’ pieces (these will be your final diagonal supports).
Dig a hole around 36” deep (we did 36” because our frost line is around 3’. Adjust as needed for your geographical location.) and twice the width of your clothesline pole - so around 8-10” wide.
Situate pole in the middle of the hole. Prop it with large wooden props or have someone hold the pole upright. Level the pole so that it’s standing completely upright.
Mix a batch of instant cement according to the manufacturer’s instructions. Pour the cement into the hole. Wait at least two hours before proceeding, although I’d probably wait a good 24 hours to be extra sure it’s secure. Definitely wait a day or two before you hang anything on the lines to dry.
Once concrete is set, attach top cross bar to vertical pole using 8” lag screws. We screwed ours in right through the top. Repeat on the other vertical pole.
Cut the four (4) remaining 2’ pieces at the appropriate angle to be your diagonal supports. Attach one on each side of your pole using 3” exterior-grade screws. Repeat on the other vertical pole.
Now you’re ready to attach your lines. Pre-drill three holes in each top cross bar. Attach three (3) screw hooks on one cross bar. On the opposite cross bar, attach three (3) thread eye bolts.

Screw hooks on north end of clothesline.

Thread eye bolts on south end of clothesline.
Cut clothesline wire into three identical lengths. The clothesline wire linked above is 100’ in length, so you should end up with three pieces round 33’.
Securely attach one end of clothesline wire to thread eye bolts. We just wrapped ours around as tightly as possible. Nothing fancy.
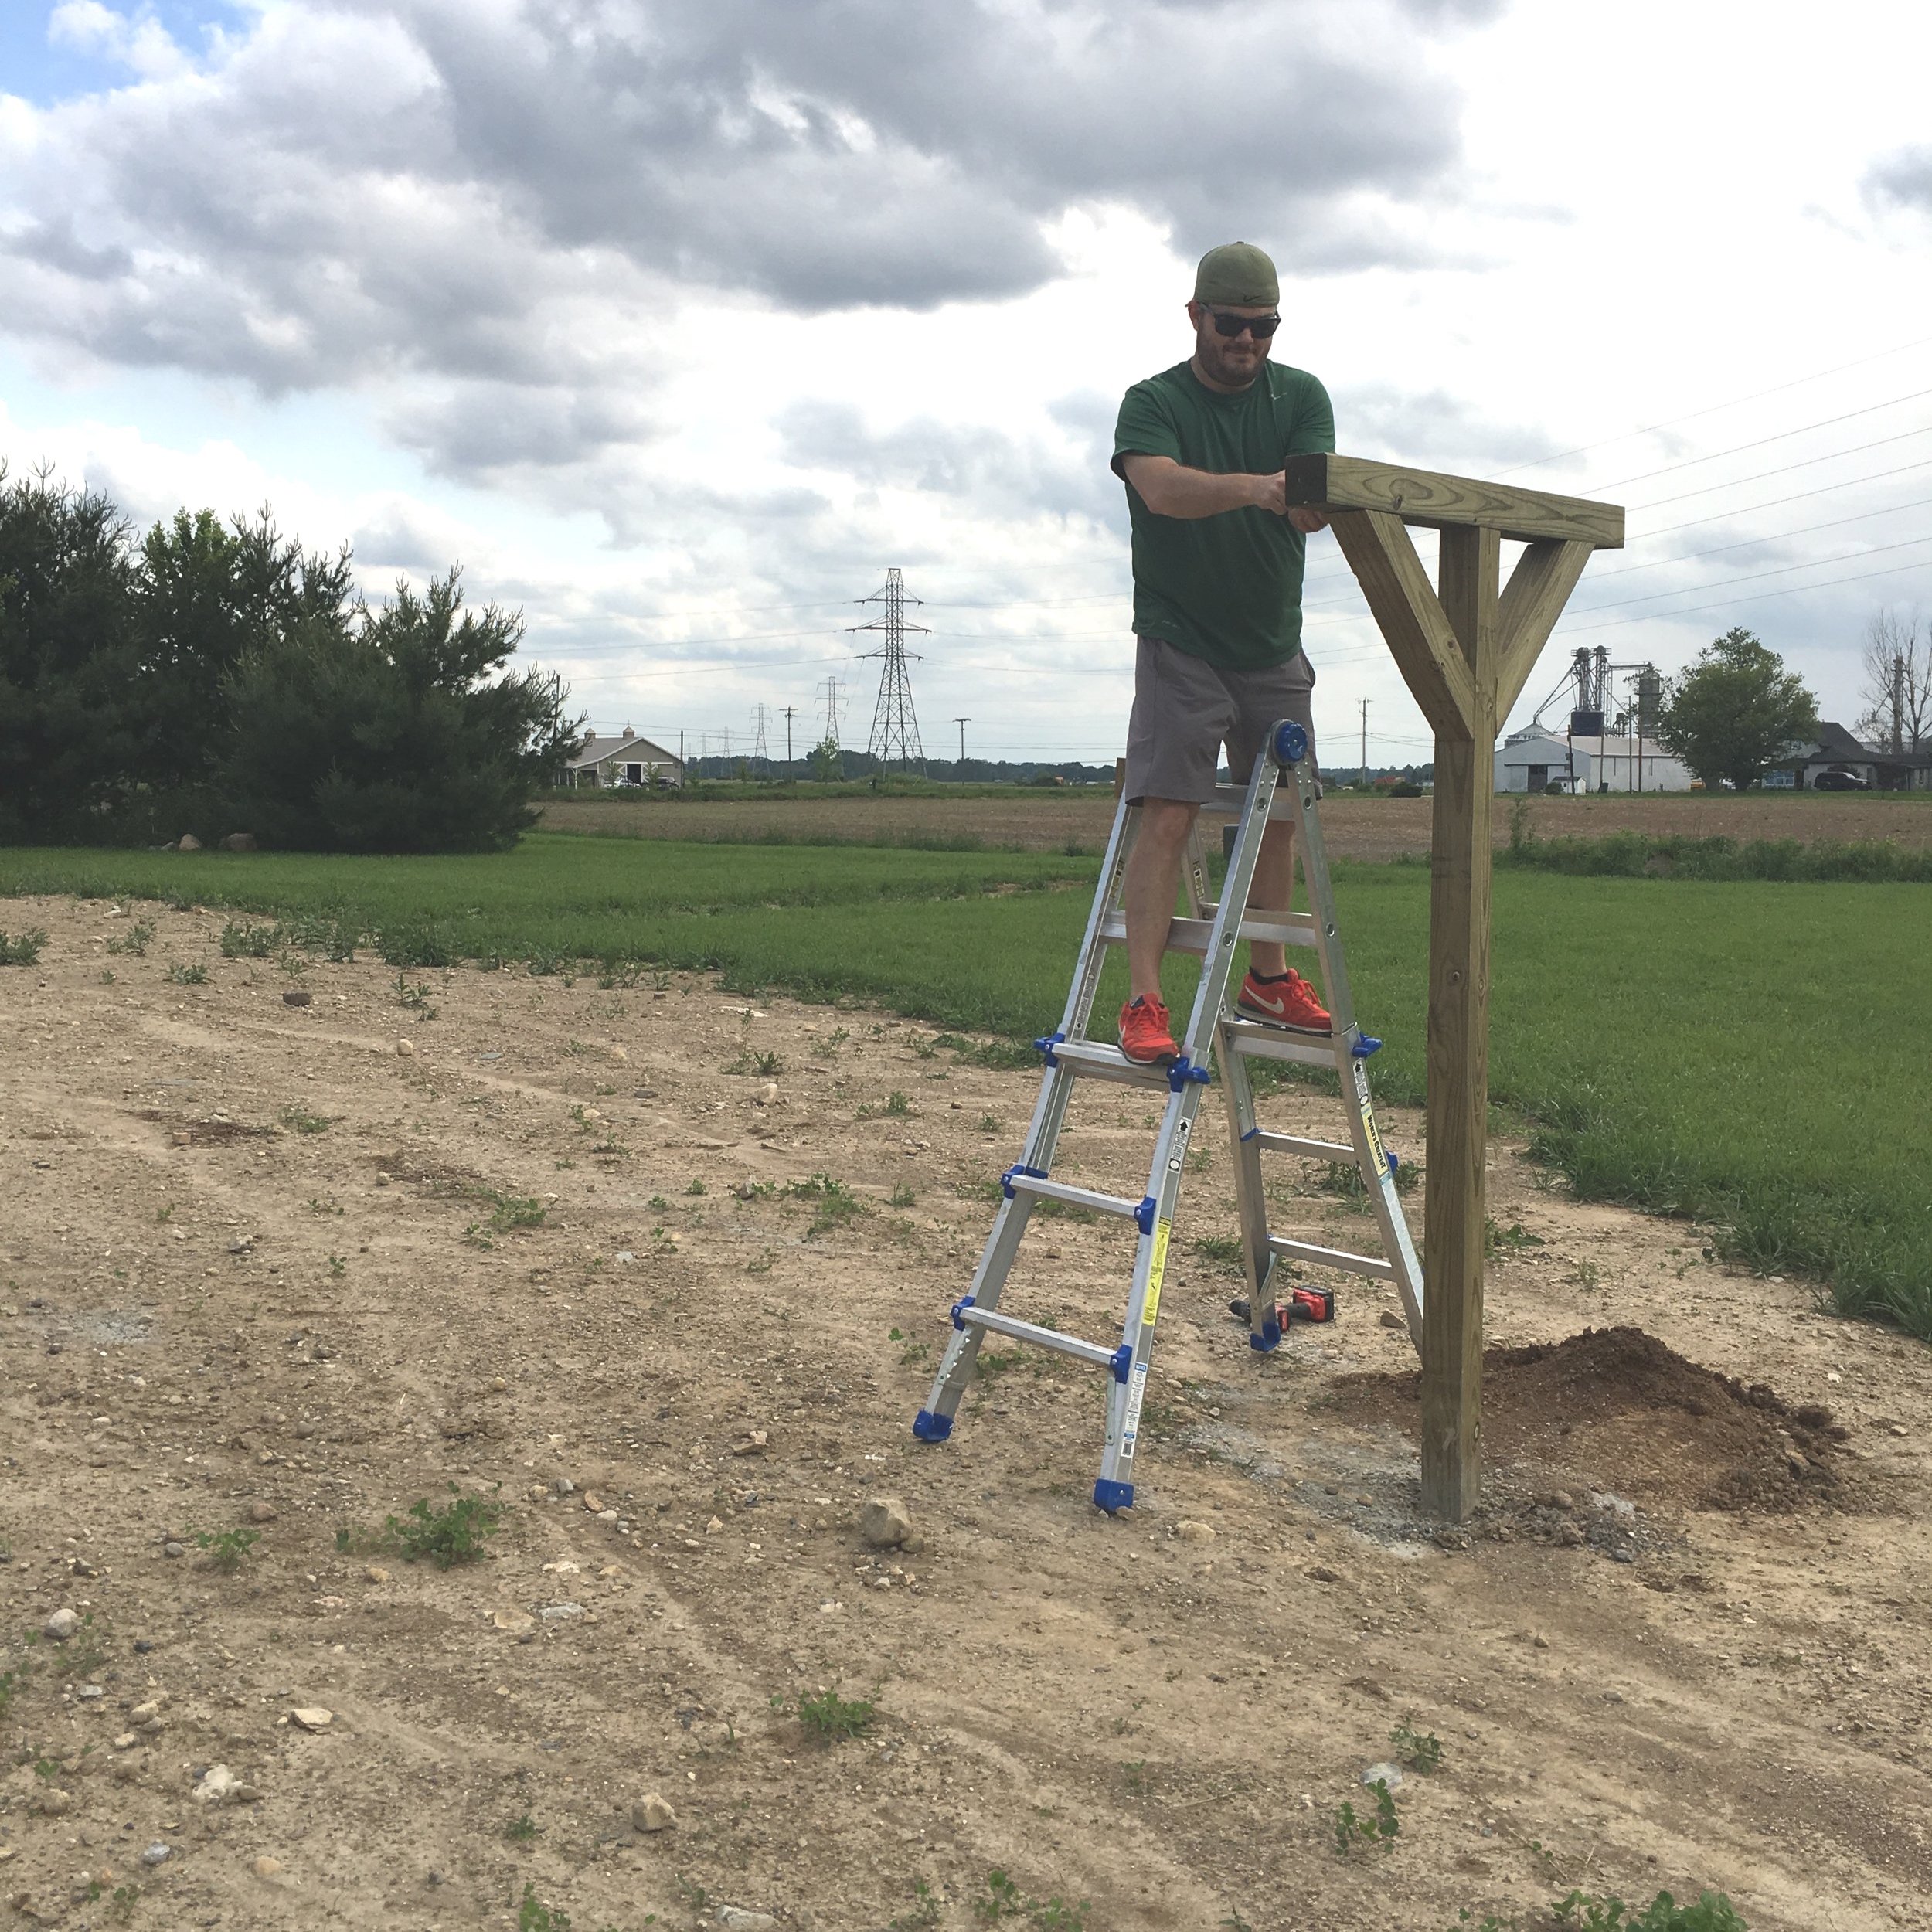
FYI - You can see where our current design has failed us over the last five years in this image. Our winds are so strong that our 4x4 top crossbar has split where our thread eye bolts are screwed. We’ve made it work by drilling new holes above/below the previous holes, but it’s just a matter of time until the whole thing needs replaced. You could definitely just replace the top cross bar, but we’re planning to redesign the entire thing out of steel in the future.
Securely attach the other end of clothesline wire to turnbuckle. Repeat for all three lines. Again, we just wrapped ours around as tightly as possible. Nothing fancy.
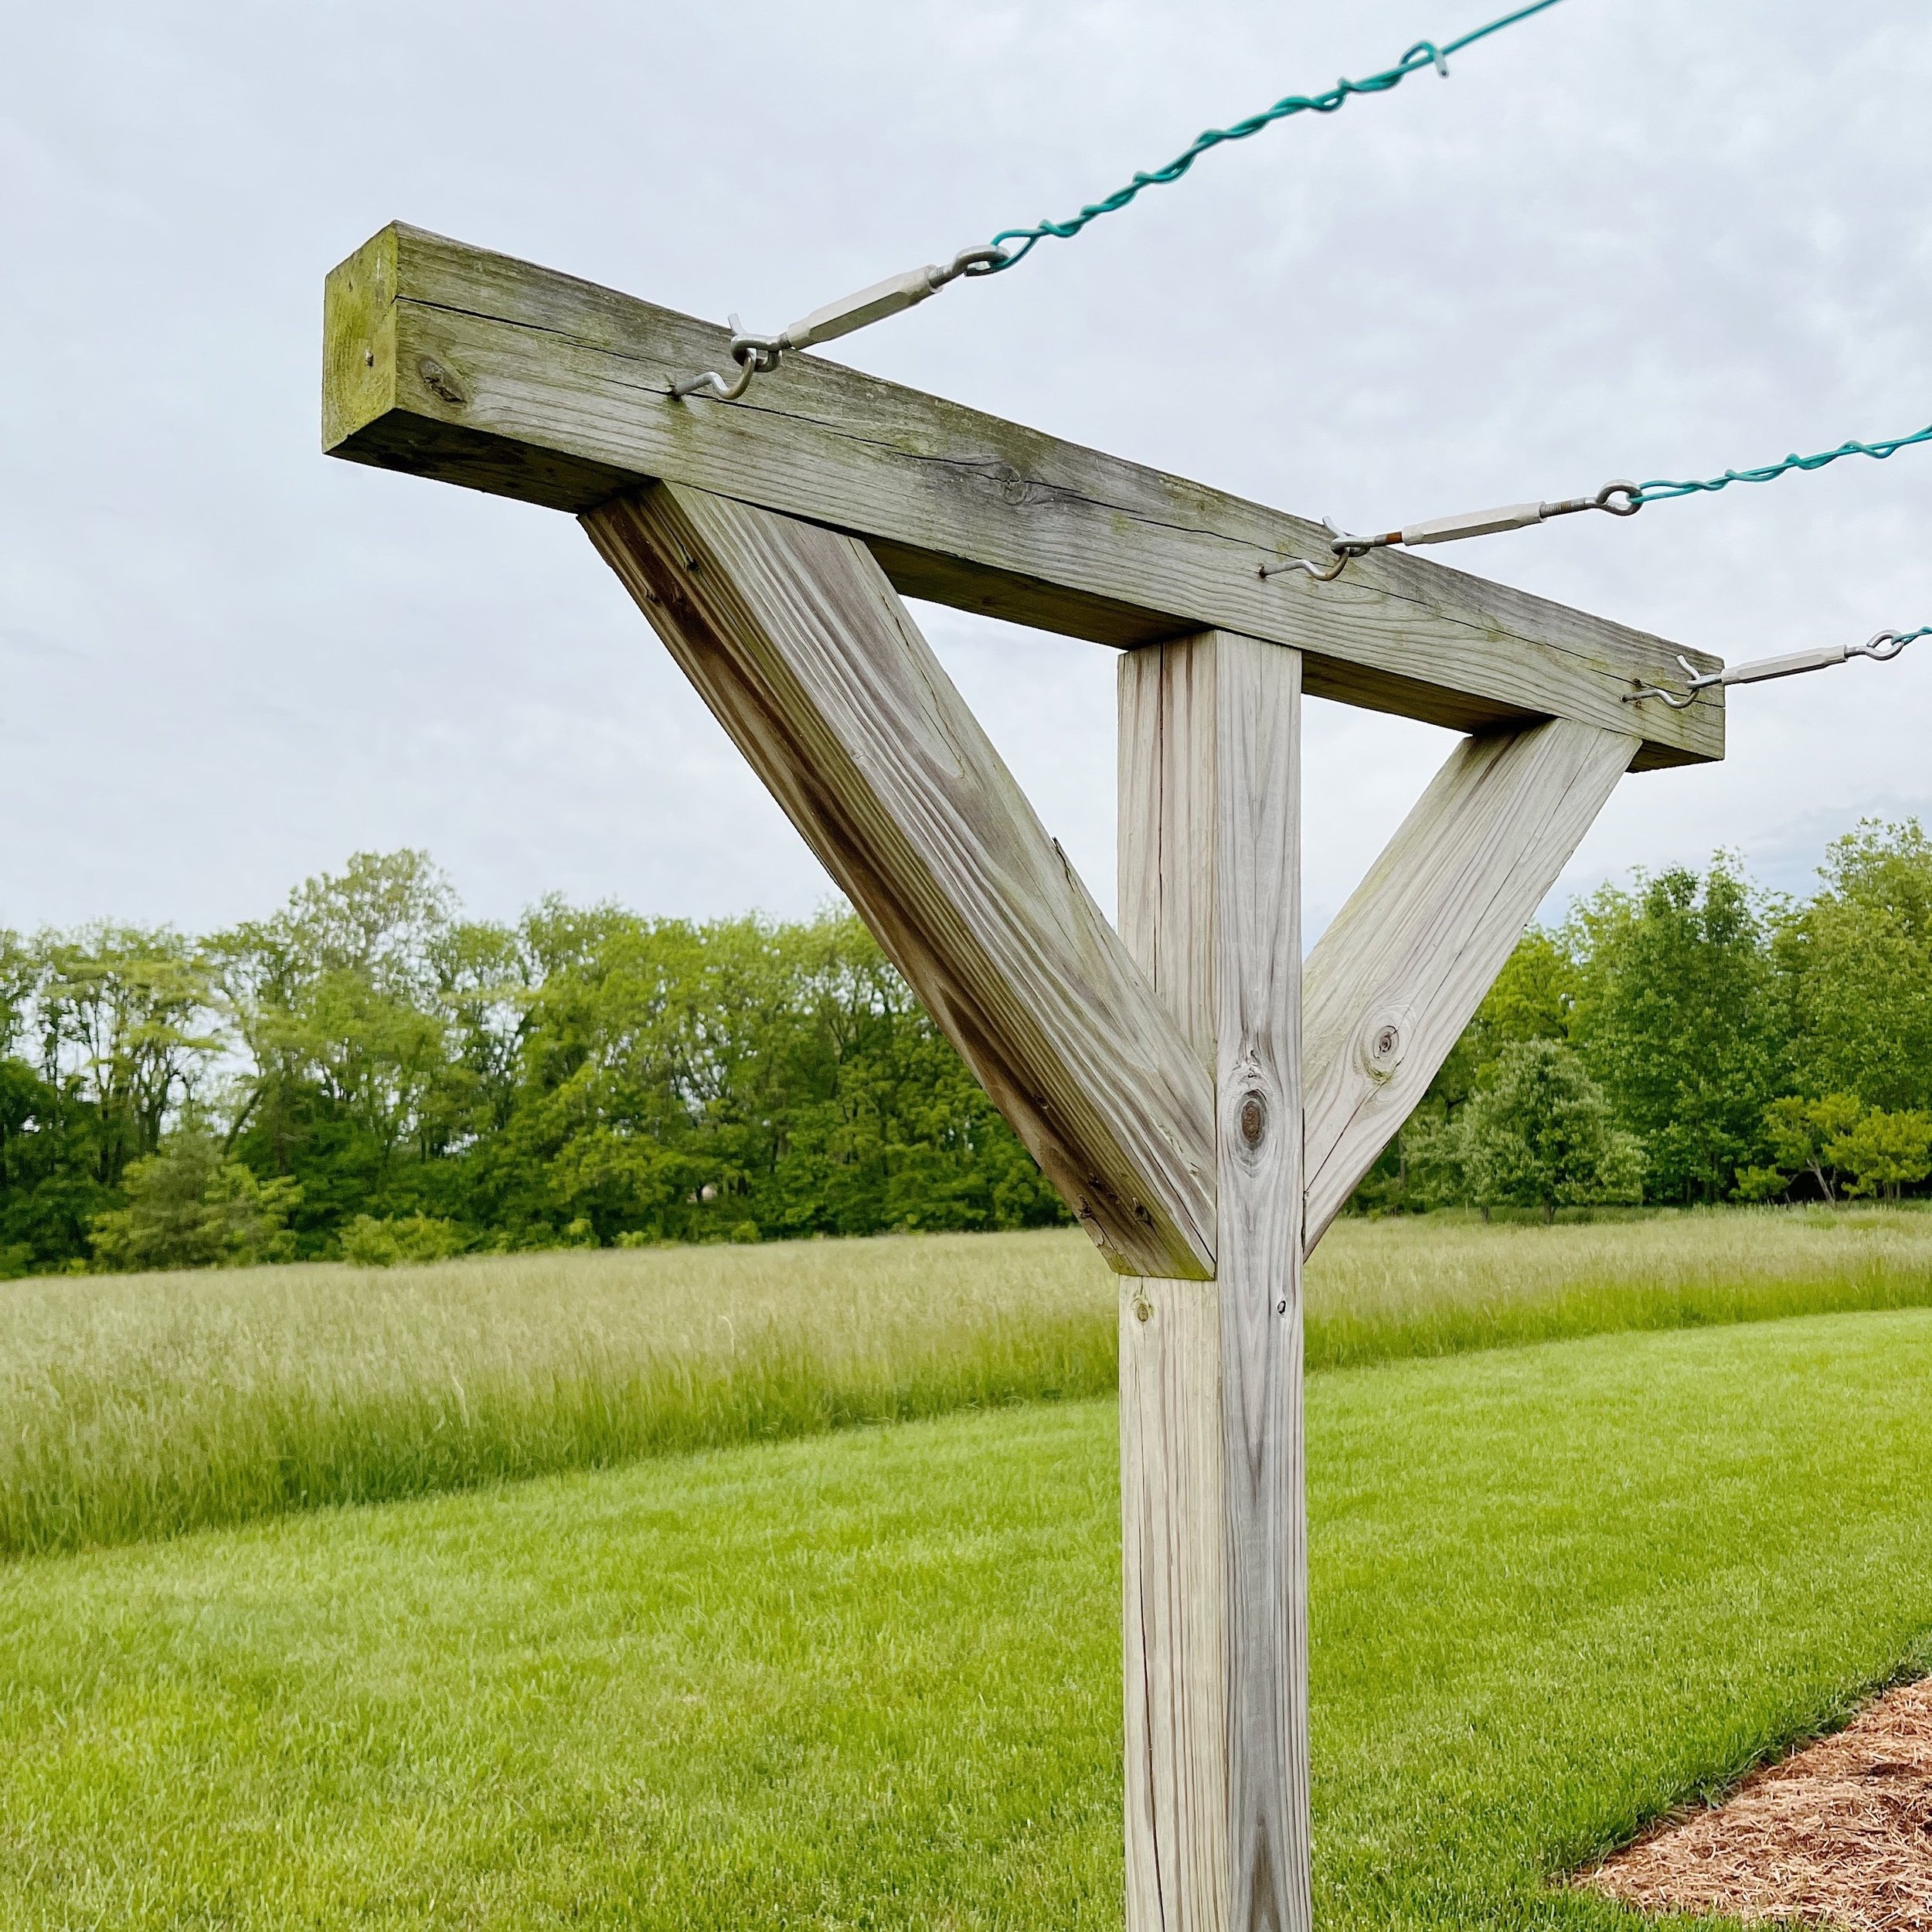
Slide other end of turnbuckle onto screw hook. Tighten turnbuckle until clotheslines are taught. Now you’re ready to hang some laundry!

FAQ
Don’t your clothes get all stiff and scratchy?
Yes, and that’s my favorite part. Ha! Tyler thought it was weird at first, but now he loves it, too. I guess it’s what I’ve always known since we used a clothesline at home when I was growing up, but if it really bothers you, I’ve heard adding a little white vinegar to your wash or just some vigorous shaking will help. If it’s a really windy day, the laundry isn’t nearly as stiff. And even if your laundry is a little crunchy, it will soften with use in a matter of minutes. It doesn’t stay like that forever!
Do birds poop on your laundry?
It definitely happens, but not nearly as much as you might think. I’d say it happens to us maybe a handful of times in an entire year. Keeping your clothesline away from trees is very helpful.
What about bugs? Don’t you get bugs all over your laundry and then bring them inside the house?
It really depends on the time of year, but yes, bugs definitely happen. Autumn is usually the worst for us, but even still, it’s not bad at all. I just shake the laundry well before putting it in the basket to haul inside.
Does the sun fade your laundry?
Absolutely, but I see it as a positive. The sun is the very best stain remover, so it does wonders on your light-colored laundry. If you have clothes you don’t want to fade, I always turn them inside out to dry.
Can you still use a clothesline in the winter?
Absolutely! The trick is to wait for a sunny day. I’ve dried laundry with snow on the ground in freezing temperatures many times. As long as you have some sunshine and maybe even a little breeze, it still works like a charm. It just takes a bit longer.

Do your lines get dirty/mildewy? How do you clean them?
Maybe it’s the plastic coated lines we use or the fact that our line isn’t located near any trees, but we’ve actually never had any issues with our lines being dirty. Or maybe it’s just because I use them all the time? I’m not sure.
Does your laundry have creases/lines where it hangs over the clothesline? What about indentations from clothespins?
I got a lot of questions about this, and to be perfectly honest, I’ve never even thought about it before. Ha! With time, I suppose you figure out the ideal way to hang certain things - both in terms of reduced lines and in saving yourself some work and getting things to lay properly. For instance, if Marin’s shirt as ruffles on the sleeves, I always pin those down when I hang it on the clothesline so that they don’t stick out in weird ways. Sheets are always hung in half, so yes, we do have a line down the middle, but it’s never bothered me in the least. You don’t see it once you make the bed anyway.

Do you have to iron your laundry after it’s been on the clothesline?
The great thing about the clothesline is that it naturally removes all wrinkles as the laundry dries! Whereas a dryer tends to shrink fibers and make things all wavy/lumpy, the clothesline does the complete opposite.

This post is not sponsored or in partnership with any of the aforementioned brands but the article contains affiliate links. When you shop via the links above I may make commission on a sale at no additional cost to you. All opinions are my own.