
We frequently ask our hip muscles to fire at the far ends of their range of motion, whether we’re carving a ski turn, climbing, or quickly changing direction during a game of pickup soccer. The thing is, our hips don’t always respond well to our lifestyle. Sitting for long periods of time, sticking to sports that can limit mobility, and skipping out on stretching can lead to brittle, achy joints. Hips are the center of it all, and making sure they’re strong and healthy can help with core stability, back pain, IT-band issues, knee and ankle pain, and more. Restoring mobility in your hips is the first step to building a strong base, but you also need to strengthen the joints through their full range of motion for stability, performance, and injury prevention. So it’s important to incorporate hip-specific moves into your workout routine.
Doug Kechijian, a doctor of physical therapy and the CEO and cofounder of Resilient Performance Systems in New York City, and Kelly Starrett, a physical therapist, the founder of MobilityWOD, and author of the bestselling Becoming a Supple Leopard, share five moves below that will help build strength and resilience.
Do these exercises two to three times per week, and continue with the mobility work we outlined here at least once a week for maintenance. Focus on correct form. It doesn’t matter how many reps you can do—what’s important is movement reeducation. Your goal is to strengthen your hips through their full and proper range of motion to improve stability and reduce stress on the joints.
Tools You’ll Need:
- Hand weights
- Glute-hamstring developer (GHD)
- Bench
- Yoga mat
- DynaDisc or pillow
The Moves
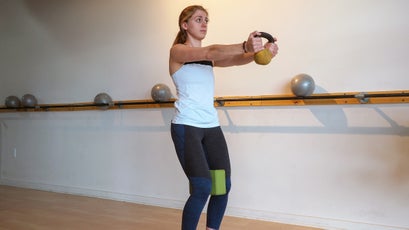
Counterweight Squat
What It Does: Increases mobility in the posterior capsule of the hip joint to improve forward flexion, and strengthens the quads
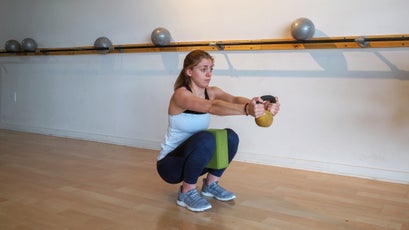
How to Do It: Stand with your feet hip-width apart. Place a yoga block or small foam roller between your knees (this can decrease pain associated with hip impingement and allow you to achieve greater depth in the squat). Keeping your weight on your heels, bring your knees forward slightly, and activate your hamstrings and abs to trigger a posterior pelvic tilt (the bottom of your pelvis should come forward as the top rotates backward). Hold the counterweight out in front of you, arms parallel to the ground, and then bend your knees forward to slowly lower into squat as low as you can go. Hold the squat for 30 seconds to a minute (as a stretch), and then stand back up. Perform two sets.
Try to use the lightest counterweight possible that still allows you to achieve a full-depth squat. Start with five or ten pounds, and adjust as needed. The idea here isn’t to increase the size of the counterweight but to decrease it as you improve. “If somebody needs so much counterweight that the arms become a limiting factor, this drill probably isn’t a great choice,” says Kechijian.
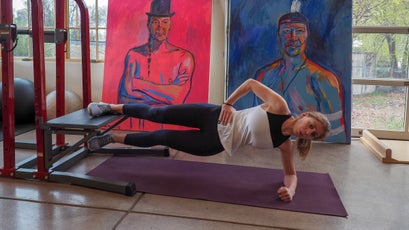
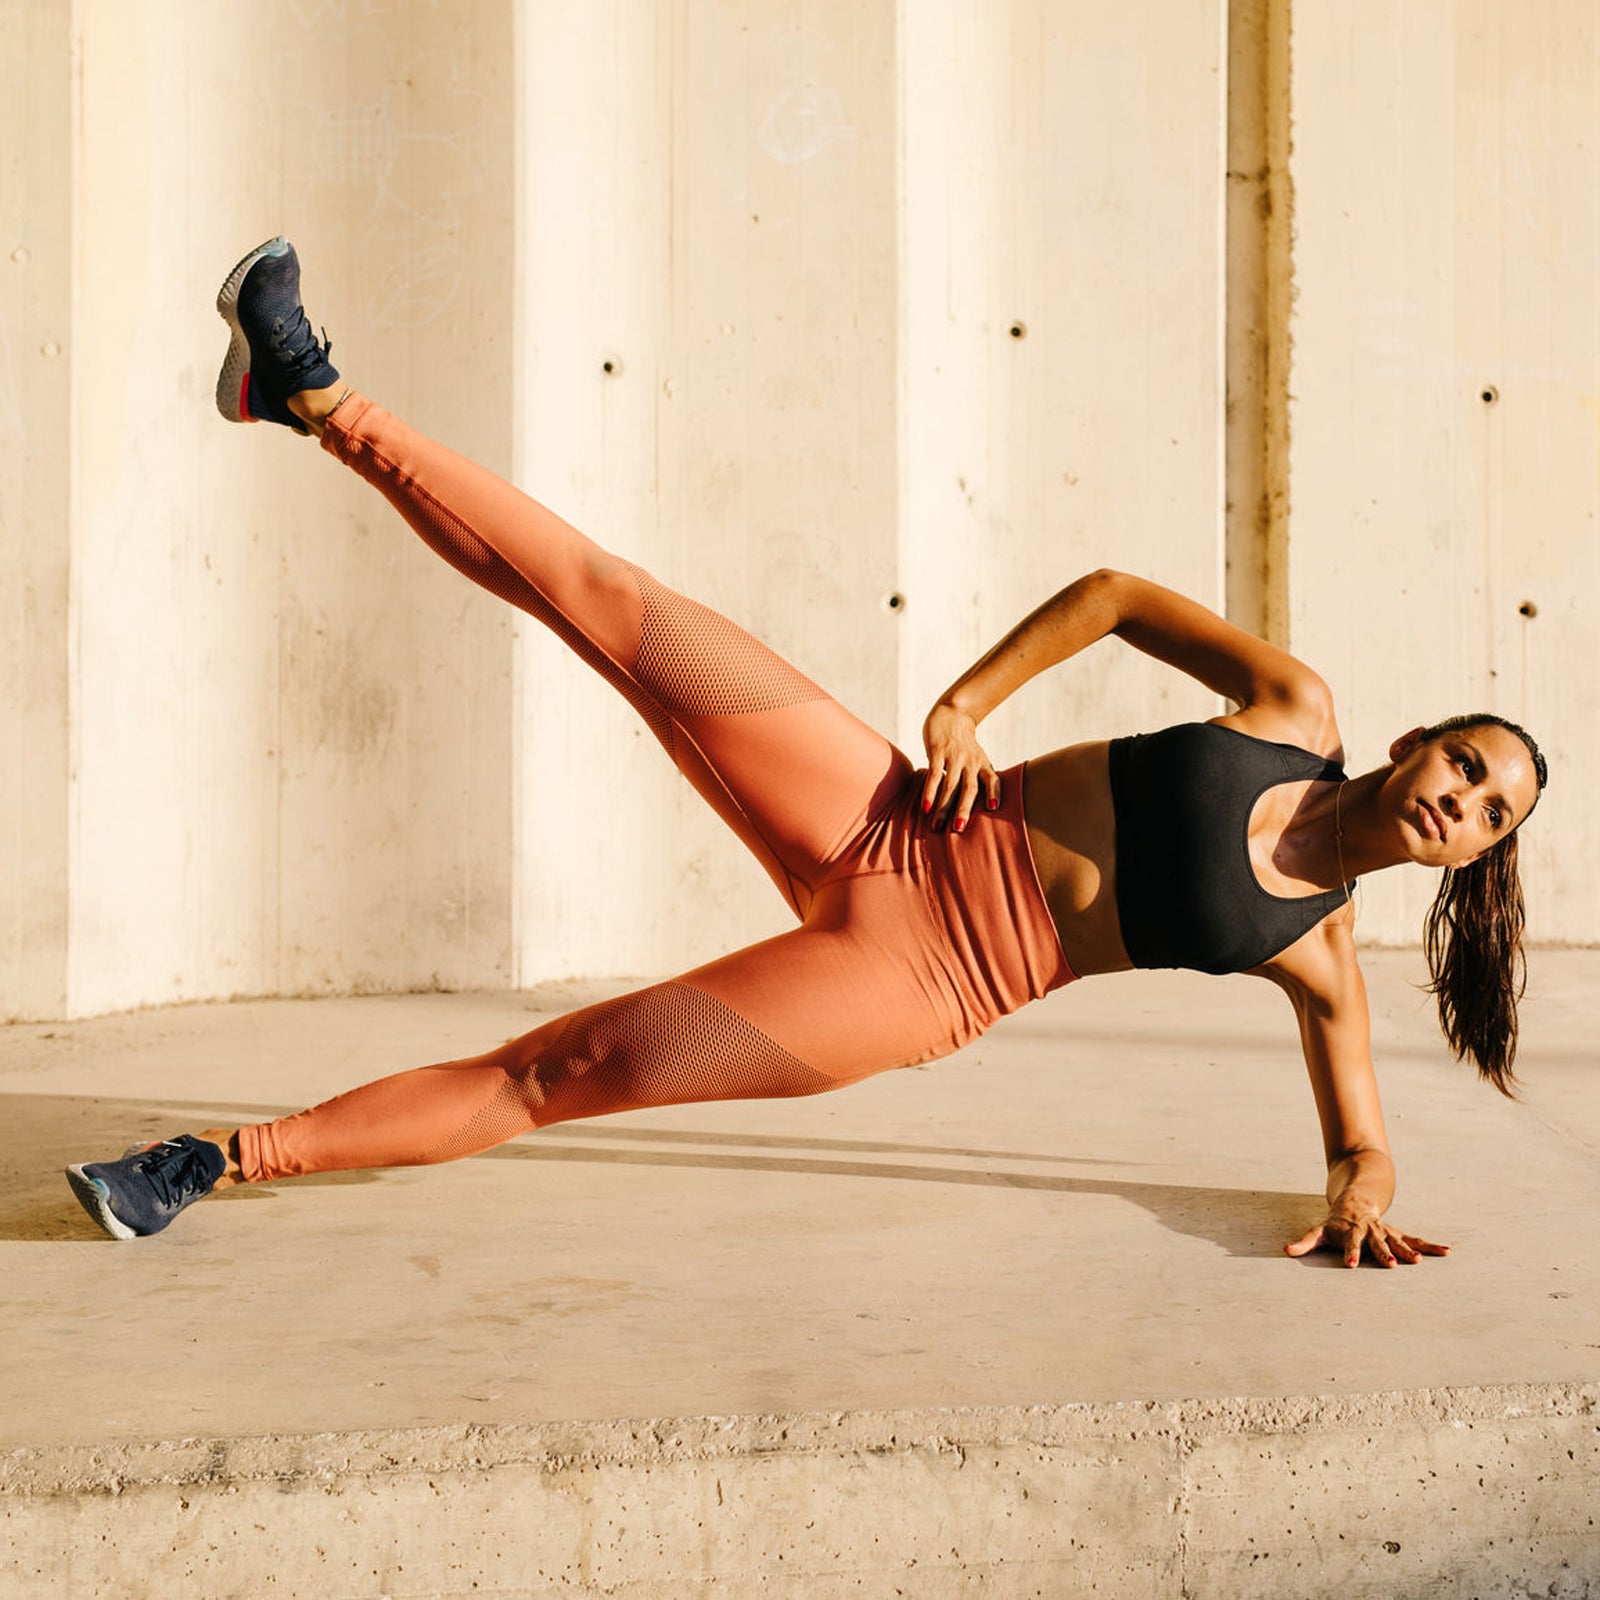
Bench Side Plank, Extended
What It Does: Strengthens the groin (hip adductors) and core muscles
How to Do It: Lie on your side with your feet at an exercise bench. Place your upper foot on top of the bench. (Your lower foot should be below the bench.) With your forearm on the ground, lift your hips to enter a ridged side plank. Your body should be in a straight line from your feet through your hips and up to your shoulders and head. Hold the plank for 30 seconds to a minute, then repeat on the other side. Perform two to three sets.
If the exercise is too difficult, you can make it easier by positioning the bench higher up your upper leg to reduce the length of the lever.
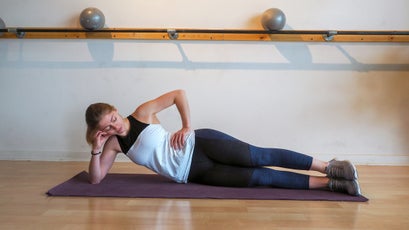
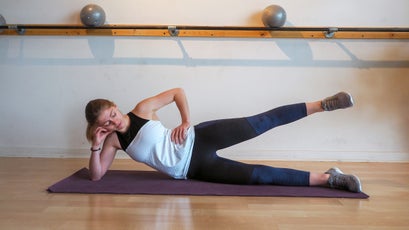
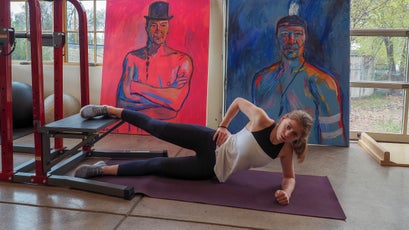
Side-Lying Leg Lifts
What It Does: Strengthens the hip-abductor muscles
How to Do It: Lie on your side, with your legs straight and stacked. Use your lower arm to support your head. Place your upper hand on your hip for stability and to make sure that it doesn’t move. Raise your upper leg as high as you can without hiking your hip—the point is to keep your pelvis as neutral as possible—and then slowly lower it again. Keep your upper leg in line with your bottom leg throughout the movement. Complete two to three sets of 10 to 15 reps per side.
Progress the exercise by placing a resistance band around your ankles to make it more difficult.
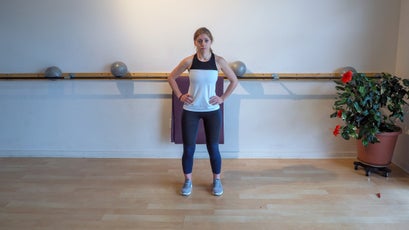
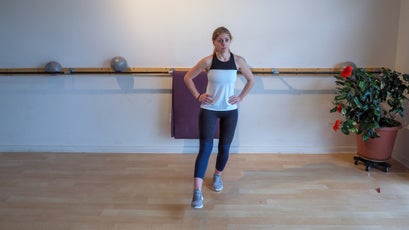

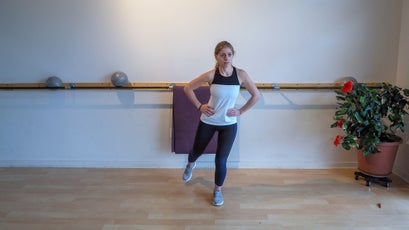
Single-Leg Balance Reach (Multiplane)
What It Does: Stabilizes and reeducates the muscles on the correct movement pattern from the ankle through the knee and to the hip
How to Do It: Stand with your feet hip-width apart and your toes pointing forward. Place your hands on your hips. Balance on one leg, with a slight bend in your knee, and lift the other leg. Keeping your pelvis and shoulders level, and your standing knee in line with your second toe, reach the lifted leg out in front of you toward 12 o’clock on the ground. Hold the reach for a few seconds, then return to the starting position without touching the ground. Now reach your leg out to the side, to either nine o’clock or three o’clock (depending on the leg), and return it to the starting position. Finally, reach your leg behind you toward six o’clock, and return. Continue in this pattern for as many reps as you are able with good form, then switch and repeat on the other leg.
Progress the exercise by standing on an uneven or soft surface, such as a DynaDisc or pillow.
Glute-Ham Raise
What It Does: Strengthens the glutes and the hamstrings while you work to isolate the hips from the lower back
How to Do It: Position yourself facing forward on a glute-hamstring developer (GHD) machine. Place your arms at your sides (easier) or crossed in front of your chest (harder). Extend your knees to lower your upper body as far as you can, or until it’s parallel to the floor, while keeping your body in a straight line from your knees through your hips and up to your head. Contract your hamstrings and glutes to rise back up without bending at the waist. Perform two to three sets of as many reps as you can with good form.
If you don’t have access to a GHD, you can also perform this exercise on the floor with a partner. Kneel on the ground with your knees bent at 90 degrees and your feet directly behind you. Have a partner hold your ankles down (firmly, so you don’t face-plant). Perform the exercise as described above.
“This is essentially an active hip-extension drill and a plank for the back of the body,” says Kechijian. “The idea is to minimize the involvement of the lower back during the concentric portion of the movement.” If the hips move out of the line formed between the shoulders, the hips, and the knees during the movement, don’t drop down so far.