All About Interfacing
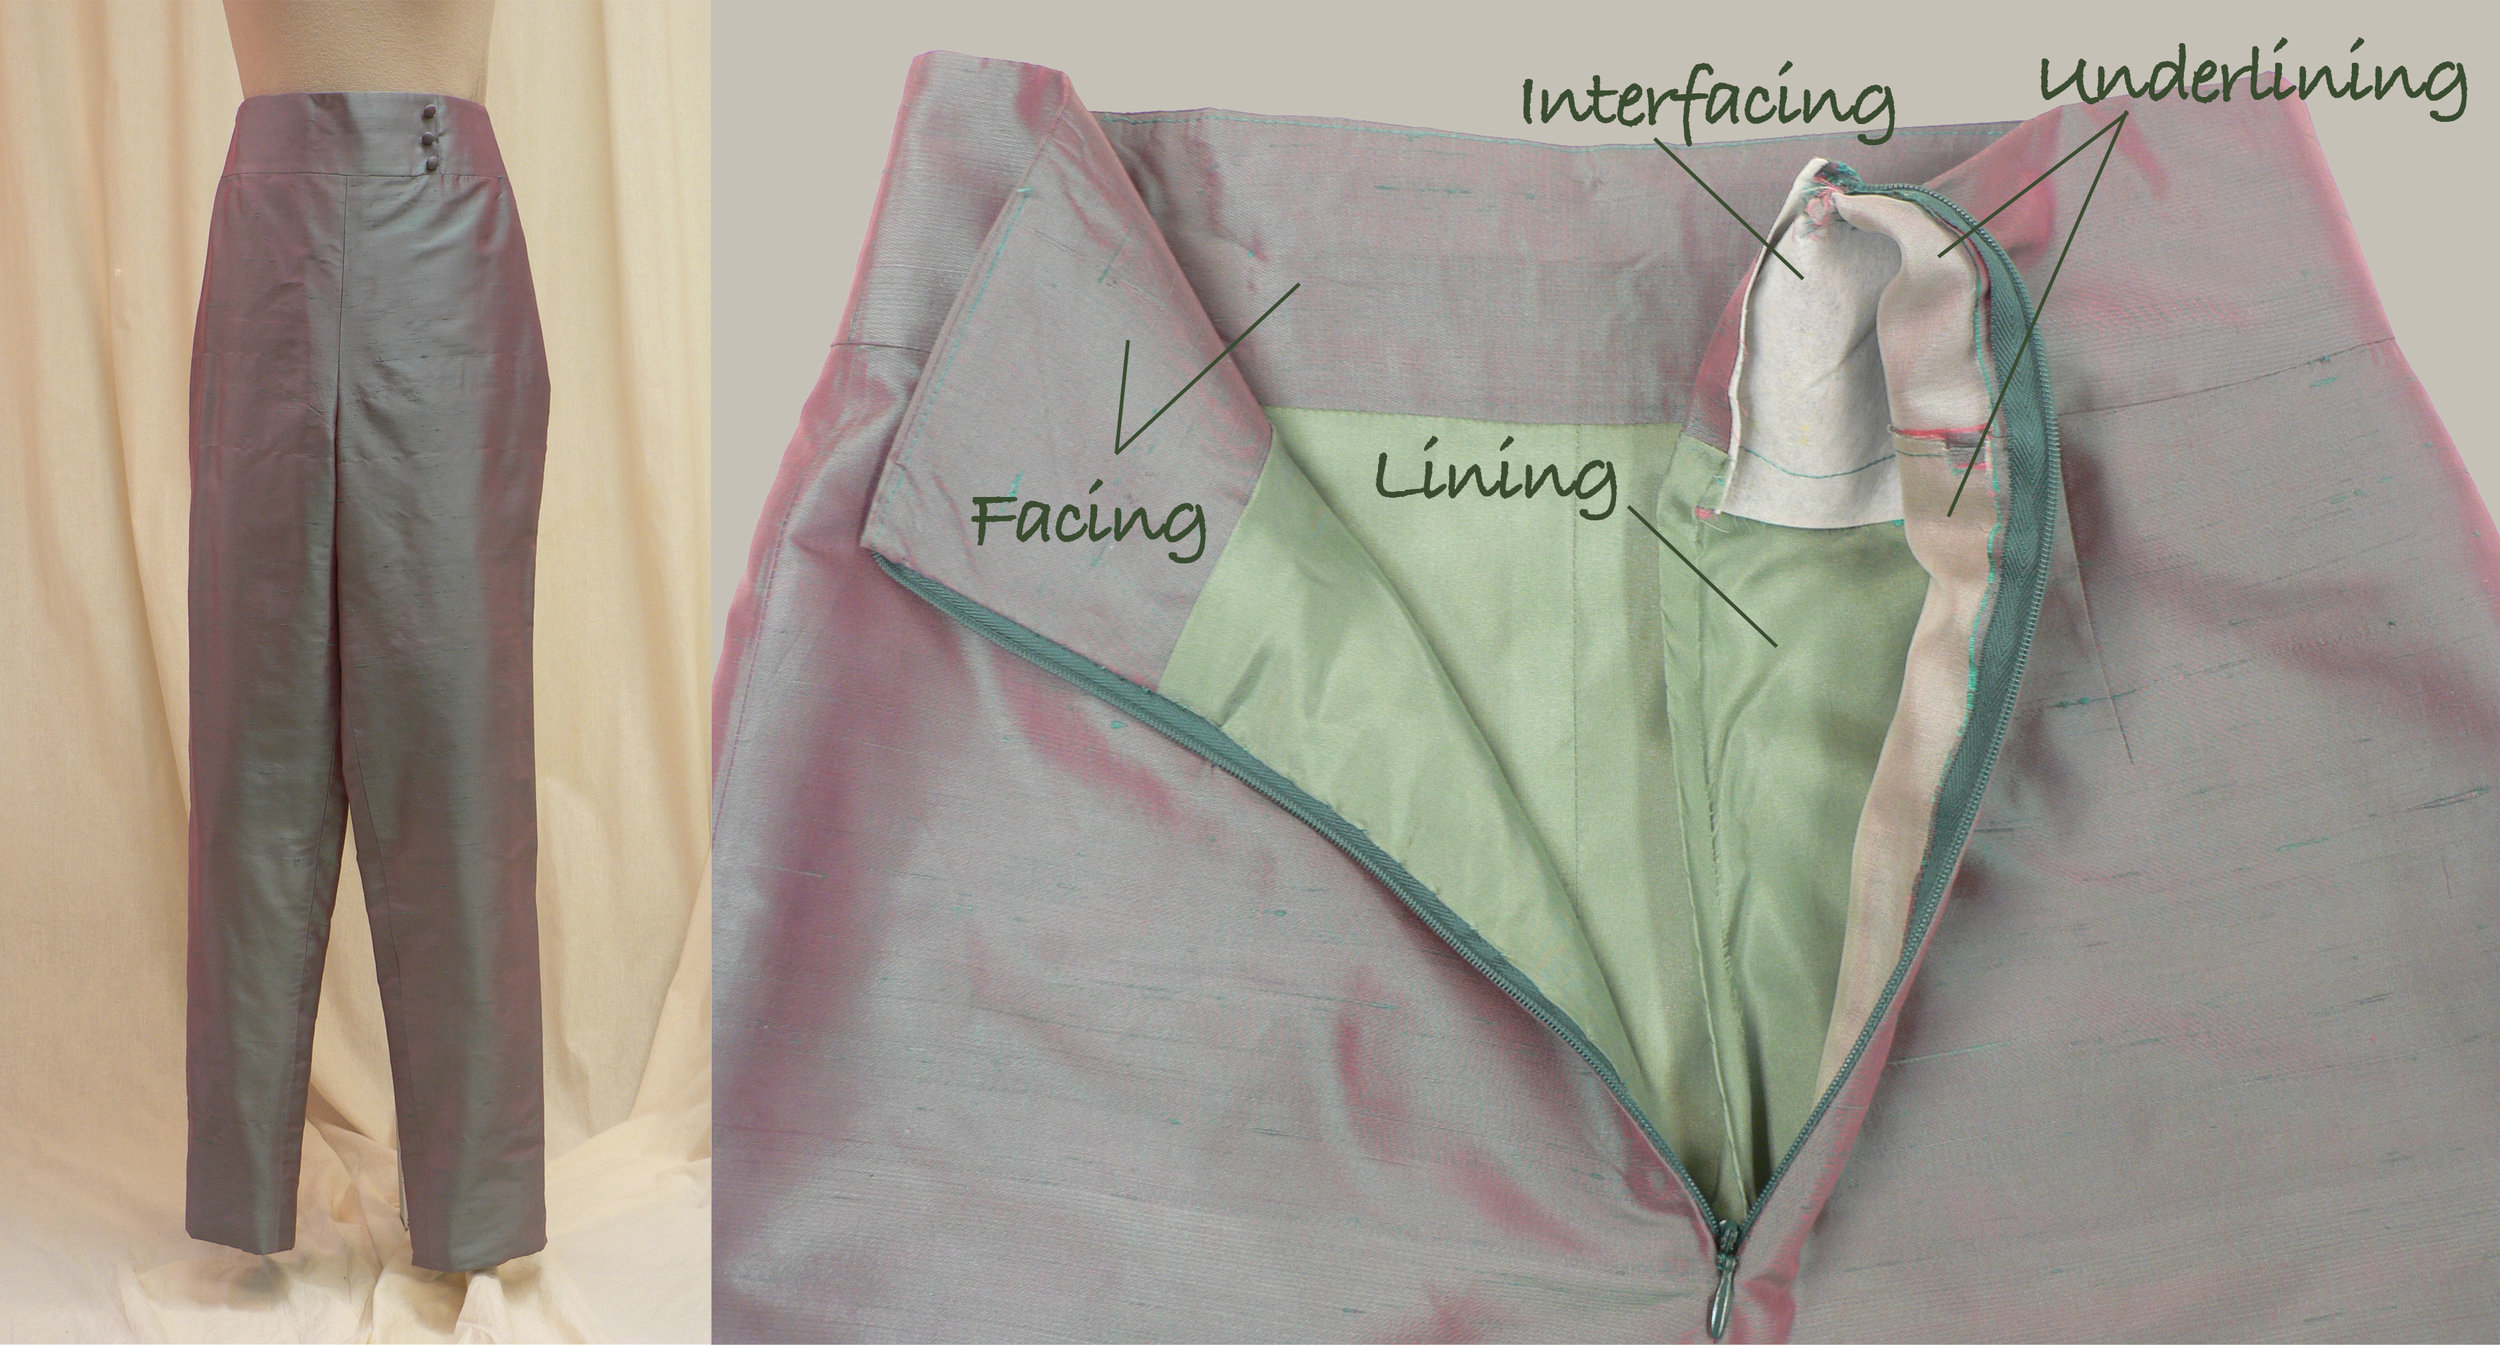
Interfacing plays an extremely important role in the overall success of garments. Facings and other garment components such as cuffs and collars need to be interfaced in order to support the fashion fabric – otherwise the garment looks limp and unprofessional. But the addition of interfacing doesn’t mean that your garments need to look stiff or rigid. Selecting the right interfacing for the fashion fabric, garment style, and wearer’s preference is the name of the game: once you start to experiment with different interfacings, you’ll develop your own interfacing style.
Choosing an Interfacing
I offer a limited number of high quality interfacings in my webstore, concentrating on interfacings that provide soft and supple support. Learning to select the best interfacing(s) for a particular garment takes practice and experimentation. But it’s not hard. The best way to choose an interfacing is to make a test “sandwich” with your fashion fabric(s) and potential interfacing(s).
Making a test sandwich:
Layer your fashion fabric(s) and interfacing as they would be layered in your garment. For your test sandwich, save fabric scraps when cutting out your garment. Don’t use too small a scrap: something around 2” x 3” is fine, and it certainly doesn’t have to be a perfect rectangle.
For instance, if you’re deciding what interfacing to use on the front facing of a silk blouse, your sandwich will be fashion fabric/interfacing/fashion fabric. If you’re considering a fusible interfacing, fuse the interfacing to one of the scraps of fashion fabric, and then make your sandwich in the order that reflects the garment.
Assessing the test sandwich:
Next, assess what you’ve got: hold one end of the sandwich between your fingers and assess the resulting curl; place the sandwich over your wrist and assess the amount of support; lay the sandwich against the part of the your body where it would be used and assess the feel and effect.
My most important word of advice:
Most novices tend to over-stabilize the fashion fabric. Interfacing with a light touch usually provides superior results.
Pre-Shrinking Interfacing
Almost all interfacings should be pre-shrunk before applying them to the fashion fabric. Developing a system of pre-shrinking your interfacings is important since you’ll be adding interfacings to just about every garment you ever sew. Lots of sewers pre-shrink the interfacing as soon as they purchase it – then there’s never a question of whether or not it has been pre-shrunk, and the interfacing is always ready when you’re starting to work on a garment.
Pre-shrinking interfacings by soaking in hot water:
To pre-shrink washable interfacings, loosely fold the yardage of interfacing, and soak the interfacing in ample hot water for about 15 minutes. Make sure that all the layers are in contact with the water – if folded compactly, the middle layers might not become saturated. There’s no need to agitate the interfacing, and the agitation could make the adhesive on fusible interfacings come loose.
Gently remove the interfacing from the water, lay it on a towel, and roll the towel to remove the excess water. Don’t wring the interfacing to remove the water.
For woven interfacings, hang over a drying rack or shower rod, and allow the interfacing to air-dry. For knitted interfacings, especially delicate ones, lay flat to dry, or lay the interfacing across the top rungs of a drying rack. If the interfacing is folded to fit on the drying rack, you’ll want to turn it periodically, perhaps refolding it so the same portion isn’t on the inside of the folds.
Pre-shrinking interfacings by using steam:
You can pre-shrink many – but not all – fusible interfacings as you apply them to the fashion fabric with your iron. This takes a little practice, and it helps to be familiar with how much a particular interfacing shrinks.
Cut the interfacing out using the appropriate pattern piece, for instance a facing. Now work right at your ironing board. Lay the cut-out fashion fabric on the ironing board, wrong side up. Then lay the interfacing on top of the fashion fabric, with the adhesive side of the interfacing against the wrong side of the fashion fabric. Bring the edges carefully into alignment and also make sure that the two layers are flat and smooth.
Hold the iron over – but not touching – the interfacing and steam heavily. As the steam hits the interfacing, you can sometimes see the interfacing shrink up. After steaming thoroughtly without touching the iron to the interfacing, press the interfacing in place. Don’t worry if the interfacing is now very slightly smaller than the cut fashion fabric – it’s usually only 1/8” to 1/4” and well within the seam allowance.

