In my opinion, there are two seasons for pie: summer and fall. The fillings may change, but the childlike excitement remains the same. There, wrapped like the most delicious gift, lies the best of the season. In the fall, we celebrate pumpkins, apples and nut-flavored custards, each slow-cooked and transformed to perfection.
Like fall, summer also has its pies. But here and now, we revel in the vibrancy of the season, the rich reds, deep blues, and never-ending purples; and we marvel at the complexity of that ideal sweet-tart balance of flavors. We take more than just a moment to revere stone fruit and luscious berries, individual Technicolor masterpieces whose flavors are slowly perfected over time under a hot summer sun.
Honestly, it's a wonder any delicious summer fruit actually makes it home. (Personally, I always overbuy, so I have treats to enjoy immediately even as I transport my "official purchase" back to the kitchen.) But when it does, my bounty almost always ends up in a pie.
If you think about it, almost any summer fruit works in pie: berries, stone fruit — even grapes and fragrant melon — so long as the fruit has had a chance to ripen. Fully ripened, the fruit has that rare balance of sweet-tart notes to create an ideal harmony of flavors.
When shopping for pie fruit, the trick is finding fruit at that perfect stage of ripeness; even under a double-crust, quality shows. Under-ripened fruit hasn't yet had the opportunity to develop enough sugar for pronounced flavor; conversely, over-ripened fruit is simply too sweet, and generally too soft for good pie texture.
The trick with a great summer fruit pie is to keep it simple. Give the fruit enough room to shine, without overwhelming the pie with a bunch of other flavors.
A fruit pie should always be about the fruit
Some of the best fruit pies are the ones where the fruit isn't even cooked at all but simply piled high, like a summer treasure stash. Berries are a natural for no-cook pies; because the fruit is tender, but has just enough texture for a tempting bite, they really don’t need anything more than a simple binder before they're mounded in a pre-made pie shell.
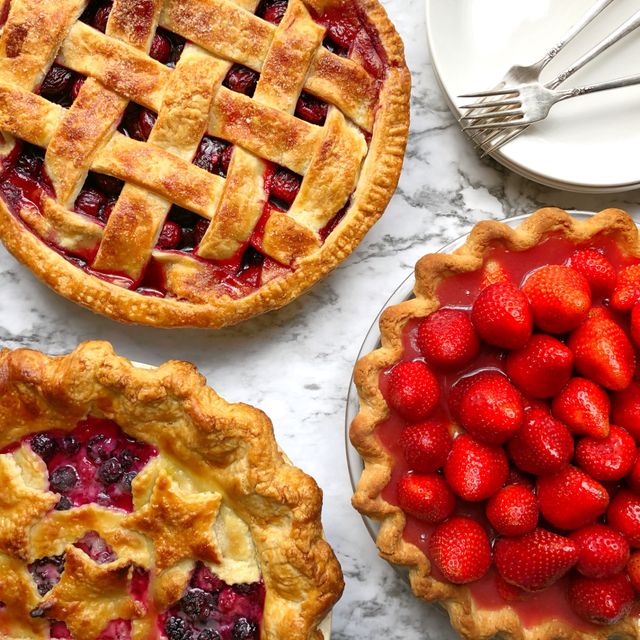
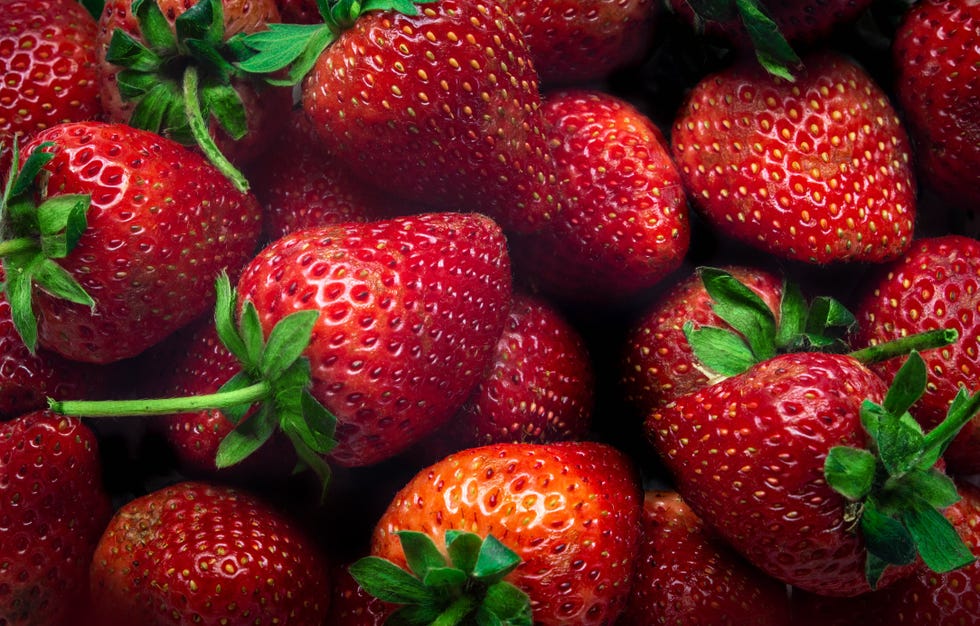
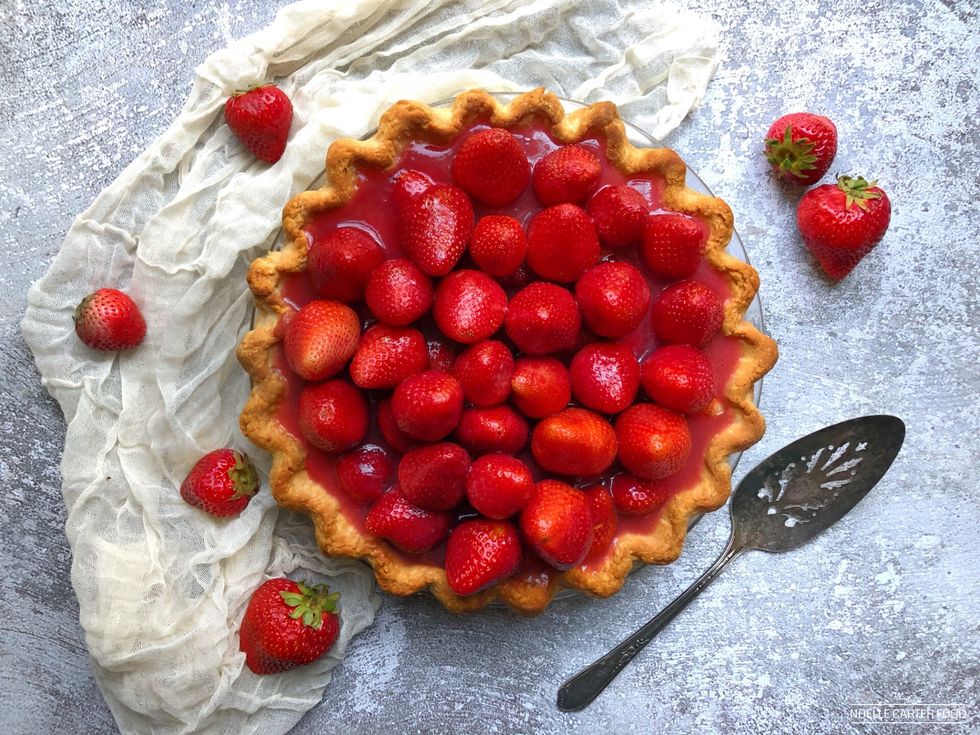
Strawberries may be my favorite no-cook filling; packed into a flaky golden-brown shell, their vibrant red coloring and fresh flavors are perfect for any summer celebration. When making strawberry pie, I always like to make a glaze using just a few flavorings to subtly compliment the berries. One natural is a rhubarb glaze, as rhubarb is such an excellent flavor pairing with strawberries. Chop a few cups of rhubarb and infuse them in a simple syrup flavored with a bit of orange juice (orange brings out the flavor notes in both rhubarb and strawberries). When the syrup has taken on a rich red shade, I'll add in a little cornstarch to thicken.
A note about thickeners and pie consistency
As fruit cooks, or is macerated, it softens, releasing its juices. To keep these juices contained in the pie (and to keep the filling from dissolving into a soup), a thickener is added. There are a variety to choose from, the most popular being cornstarch, flour, and tapioca. Each has its characteristics and strengths. When choosing a thickener, look for one that compliments the flavor and overall harmony of the pie.
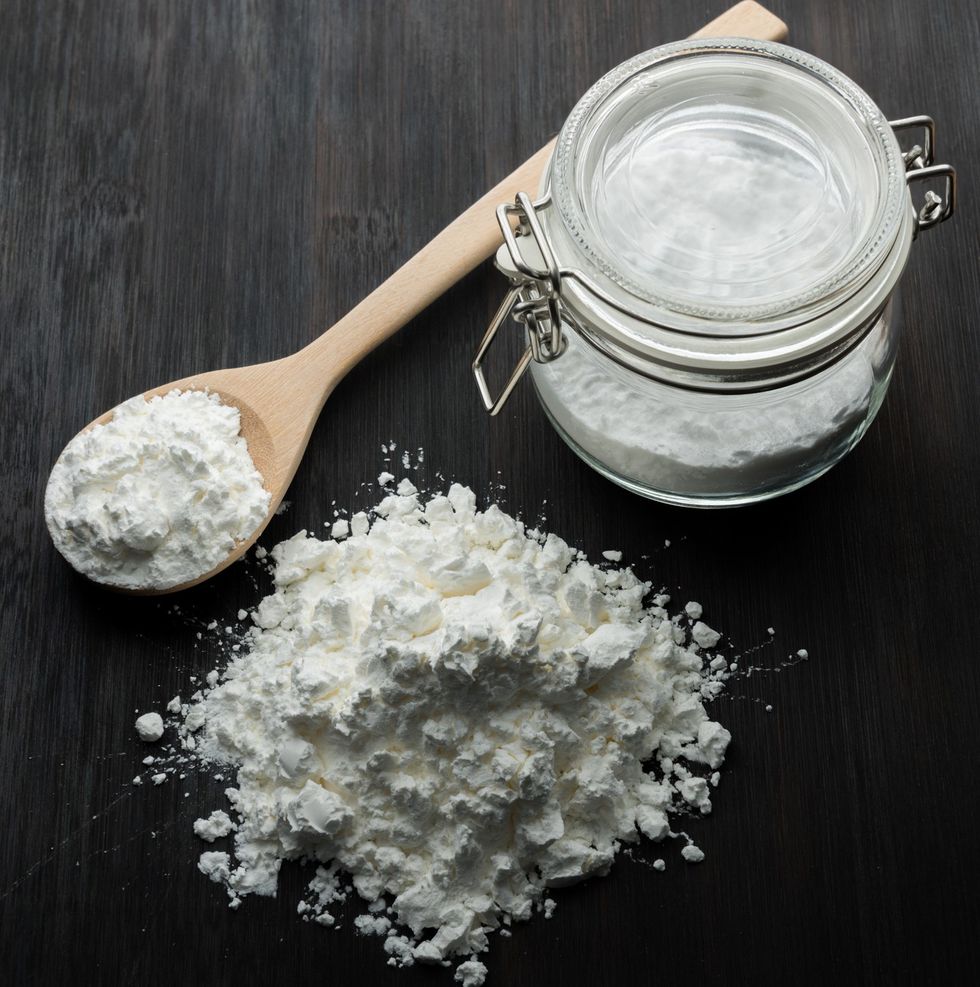
Cornstarch is most common in no-bake pies. Not quite transparent, it's soft, gel-like texture is strong enough to hold a mound of fresh fruit as the pie is sliced. It also sets up quickly; a pie coated in a cornstarch-based glaze is usually set an hour or so after filling.
Flour isn't as strong as cornstarch and more is needed to strengthen the holding power of a filling. But it's readily available and gives the filling a nice, creamy texture. Flour is often used in baked fillings, where it softens the flavors of the fruit and gives the pie filling a richer feel with every bite.
Tapioca (most pie recipes I've seen call for quick-cooking tapioca) results in a bright, clear filling, though the pearls, if not fully cooked, can give the pie a slightly grainy texture.
At the end of the day, a properly thickened pie should have a filling that is strong enough to suspend the fruit as the pie is sliced, but gentle enough to give when someone takes a bite. You don't want the pie to run, or look dry; it's all about achieving a silky ooze.
When baking the pie, check to make sure the filling is noticeably bubbling, to make sure the thickener has had enough time to cook through and properly activate. Once the pie is out of the oven, cool it long enough to give the filling time to set up and thicken.
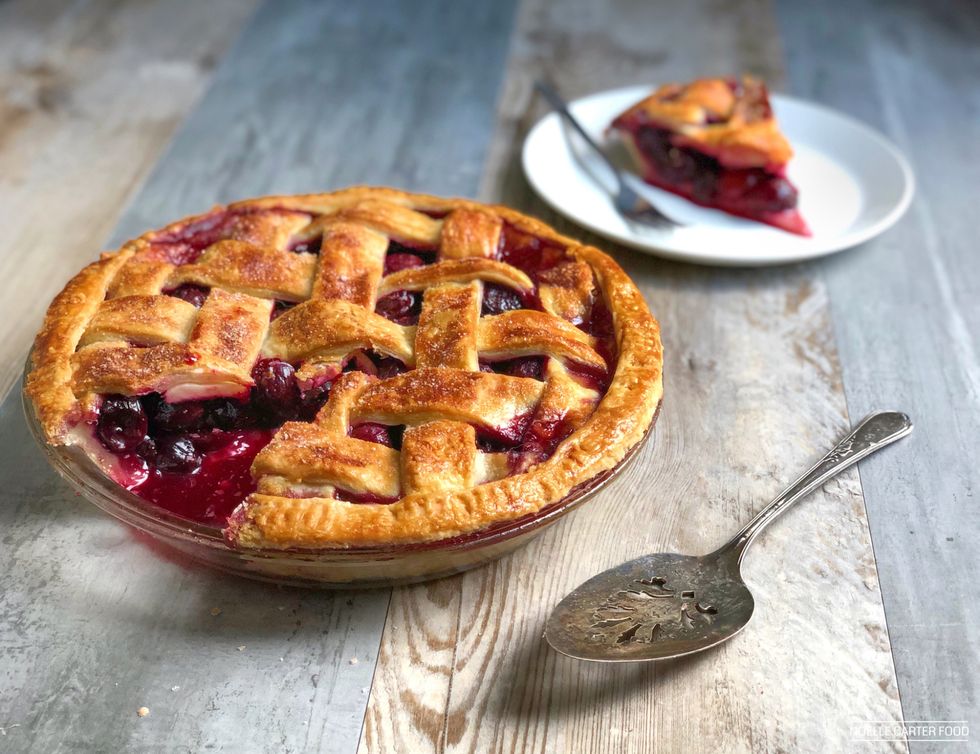
Another classic summer pie is cherry. Most store-bought cherry pies used canned sour cherries; while fresh sour cherries are ideal, their window of availability is so small, it may be hard to find them during their short season.
Because I prefer fresh cherries, I most often use sweet cherries, which are much easier to find. Because they're naturally sweeter, these cherries don't need as much sugar, and I want to keep the flavorings simple. A touch of almond extract actually heightens the flavor of the cherries (it's a natural pairing to any stone fruit); likewise, a shot of brandy or port really enhances the depth of flavor in the fruit.
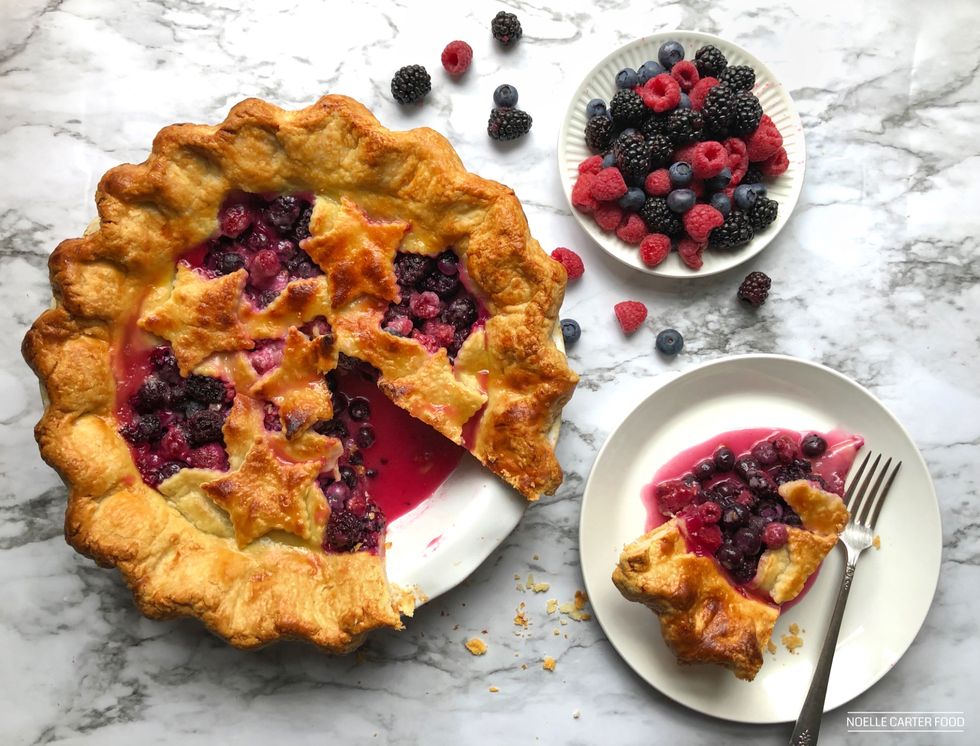
When I'm entertaining, sometimes there is nothing more dramatic than slicing into a double-crust pie, particularly when it's filled with a variety of colorful berries. To make the pie, I leave the berries to speak for themselves, adding just enough sugar to balance the tart flavors, and adding a drizzle of lemon juice to brighten the fruit notes. Fresh out of the oven, it's a show-stopper, patriotic-colored berries cradled under a golden-brown flaky crust, rich with butter flavor and baked under a dusting of sugar. It's summer, in pie form.
Crust tips
Important as the fillings are, a pie’s success often comes down to the crust. Simple as a crust may appear — it’s a handful of ingredients that should come together quickly — there are a few things to keep in mind to make a good crust memorable.
Keep all of your ingredients cold, and have a light touch when you bring them all together. This will prevent liquids and fats from absorbing into the flour, which would otherwise make for a tough crust.
Choose your pie crust fat wisely. Pie crust recipes vary with respect to what fats they call for, with some calling for shortening, others butter, and still others using lard or even oil. (I prefer to use a combination of shortening and butter — shortening for flakiness and butter for flavor and color. By mixing the shortening with the flour blend first, the fat coats the flour, keeping the final dough flaky.)
Add a touch of vinegar with your liquid when hydrating the crust: vinegar also helps to “shorten” the dough, making for a more tender crust. (I use cider vinegar — while the vinegar will smell as the dough is made, the aroma will dissipate as the pie bakes.)
Finally, work quickly. I always use a food processor when I make my pie dough. Growing up, I learned how to make the dough by hand from my mother, using a fork or a pastry cutter to mix the dough. But several years ago, I started using a food processor and never looked back. Not only does the dough come together in a fraction of the time, but the ingredients stay cold, giving the final crust better texture as it bakes.
While they may be called "no-bake" pies, most pie crusts still require some time in the oven before they're ready for a no-bake filling; this is called par-, pre- or blind-baking.
To par-bake a crust, assemble and fit it into a pie dish (I prefer glass, just so I can check to make sure there aren't any bubbles underneath the dough), trimming any excess dough and crimping the edges as desired. Line the dough with parchment or foil, and weigh it down using pie weights (while you can find ceramic and metal pie weights at cooking and gourmet stores, you can simply weigh the dough down using a cheap bag of dried beans or rice). Bake the shell until you begin to notice some color on the sides of the shell, 15 to 20 minutes; then remove the lining and weights, prick the shell (this helps to release steam and prevent bubbles from forming under the crust) and bake until the shell is dry and lightly colored, an additional 15 to 20 minutes.
Even if I'm baking the filling, I will often par-bake the crust for 20 minutes or so before removing the weights and adding the filling, just to make sure the bottom fully bakes to give the pie perfect texture throughout. In fact, this is a trick a number of professional bakers use. Because there's nothing worse than an under-cooked, soggy crust.
If you’re still nervous about your pie-making skills, go for a trial run before you have to bake for the big day. As many pies as I’ve baked, I still like to practice once or twice before I have to perform in front of guests. The practice gets me back in the game and keeps my skills fresh. Plus, there’s nothing like having some extra pie around this — or any — time of year.
Flaky Pie Dough
Total time: 20 minutes, plus chilling times. Makes enough for 1 (9-inch) regular or deep-dish pie, with extra dough for a decorative border, if desired.
- 1 tablespoon sugar
- 1/4 cup water
- 2 1/4 teaspoons cider vinegar
- 2 1/4 cups (9.6 ounces) bleached all-purpose flour, chilled
- Generous 1 teaspoon salt
- 4 tablespoons cold shortening or lard
- 1/2 cup (1 stick) cold unsalted butter, cut into 1/2-inch cubes
- Ice water, if needed
1. In a small bowl, combine the sugar with the water, stirring until the sugar is dissolved to form a simple syrup. Stir the cider vinegar in with the syrup. Cover and refrigerate until well-chilled.
2. To make the dough using a food processor, pulse together the flour and salt until thoroughly combined. Add the shortening and pulse until incorporated (the dough will resemble moist sand). Add the butter and pulse just until the butter is reduced to pea-sized pieces. Sprinkle the syrup over the mixture and pulse a few times until incorporated. Remove the crumbly mixture to a large bowl and very gently press or knead the mixture until it comes together to form a dough, adding additional ice water, a tablespoon at a time, if needed. Mold the dough into a disk roughly 6 inches in diameter. Cover the disk tightly with plastic wrap and refrigerate for about 1 hour.
3. To make the dough by hand, whisk together the flour and salt in a large bowl. Add the shortening and incorporate using a pastry cutter or fork (the dough will resemble moist sand). Cut in the butter just until it is reduced to pea-sized pieces. Sprinkle the syrup over the mixture, and stir together just until incorporated. Gently press or knead the mixture until it comes together to form a dough, adding additional ice water, a tablespoon at a time, if needed. Mold the dough into a disk roughly 6 inches in diameter. Cover the disk tightly with plastic wrap and refrigerate for about 1 hour.
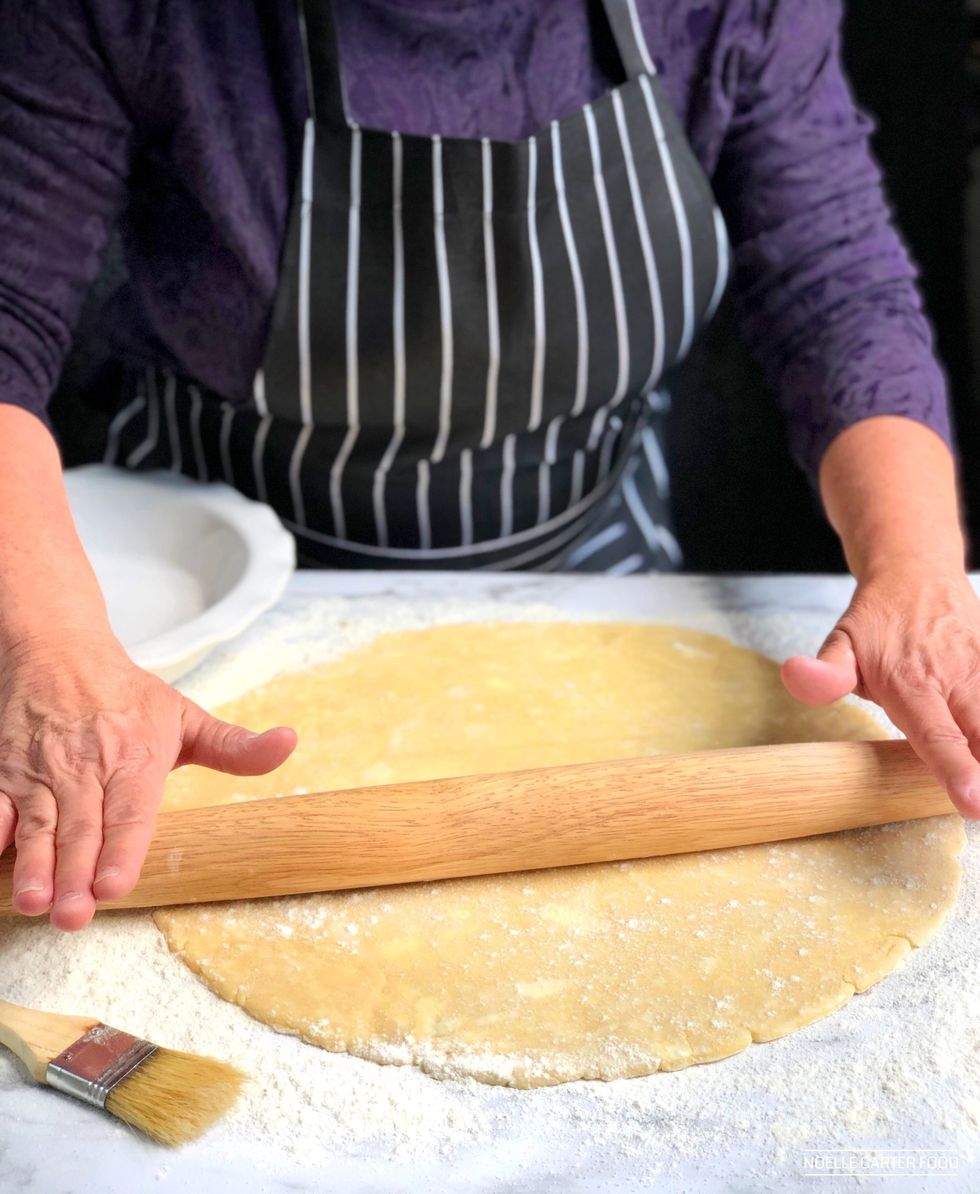
4. On a lightly floured surface, roll out the dough into a large round roughly 1/8-inch thick. Place in the baking dish or pan, trimming any excess that extends more than 1 inch from the sides of the dish and crimping the edges as desired. (One trick I use is to roll out the dough onto floured parchment or wax paper, invert and center the pie dish over the dough and then flip the dough into the dish.) Use any extra dough to make a decorative border (brush the edges of the unbaked crust with water or egg white before pressing any cutouts or other decorations) or save it for later use: Form the dough into a disk, cover tightly and refrigerate until needed. Freeze the formed shell for 20 to 30 minutes before filling and baking.
5. To pre- or blind-bake the crust: On a lightly floured surface, roll the dough out into a large circle approximately 1/8-inch thick. Place in a baking dish or pan, trimming any excess that extends more than 1 inch from the sides of the dish and crimping the edges as desired. Use any extra dough to make a decorative border, or save for later use (it makes great cookies served with jam). Freeze the formed shell 20 to 30 minutes before filling and baking.
6. Heat the oven to 400 degrees. To pre- or blind-bake the crust, line the frozen shell with parchment or foil and fill with pie weights. Bake until the outer edge of the crust is set and lightly golden, 15 to 20 minutes. Remove the weights and liner, prick the sides and bottom with a fork (to prevent air bubbles), and bake until the bottom of the crust is dry and lightly colored, an additional 15 to 20 minutes.
Note: From Noelle Carter. Adapted from a recipe I developed years ago and first published in the Los Angeles Times.
Fresh Strawberry Pie with Rhubarb Glaze
Total time: About 1 hour, plus chilling times. Servings: makes 1 (9-inch) pie
- 1 cup sugar
- 1 1/3 cups water, divided
- 1/2 cup orange juice
- 3 cups chopped rhubarb
- 4 tablespoons cornstarch
- 8 cups hulled strawberries, from about 2 1/2 pounds
- 1 pre-baked 9-inch Flaky Pie Dough single pie crust
1. In a medium, non-reactive saucepan, stir together the sugar, 1 cup water, orange juice, and rhubarb. Bring the mixture to a boil, then reduce the heat to a gentle simmer and cook, stirring occasionally, until the rhubarb is tender and the liquid has thickened a bit, 15 to 20 minutes. Remove from heat.
2. While the liquid is coming to a simmer, whisk together the cornstarch and remaining water to form a slurry. Stir the slurry into the pan, then heat the liquid over medium-low heat, cooking until the liquid just begins to bubble and the texture thickens, 3 to 4 minutes, stirring constantly. Remove from heat and strain the mixture, pressing the rhubarb to extract any extra liquid. Discard the rhubarb, or save for another use.
3. Arrange the strawberries in the prepared crust. Pour the thickened filling over the berries, then refrigerate for 3 to 4 hours to set the filling before serving.
Note: From Noelle Carter.
Cherry Pie
1 ½ hours. Makes 1 (9-inch) pie
- ¾ cup sugar, plus extra for sprinkling over the pie
- 6 tablespoons quick-cooking tapioca or ¼ cup cornstarch
- 6 cups sweet cherries, stemmed and pitted
- 1 teaspoon almond extract
- 2 tablespoons brandy or port
- 2 batches prepared Flaky Pie Dough
- 1 egg, whisked, to form an egg wash
1. Heat the oven to 350 degrees.
2. In a large bowl, whisk together the 3/4 cup sugar with the tapioca or cornstarch. Stir in the cherries, coating completely, then stir in the almond extract and brandy until evenly combined.
3. Line a 9-inch pie plate with half of the pie crust. Pile in the cherries, sprinkling any additional sugar/cornstarch mixture over the cherries that did not originally stick to the fruit.
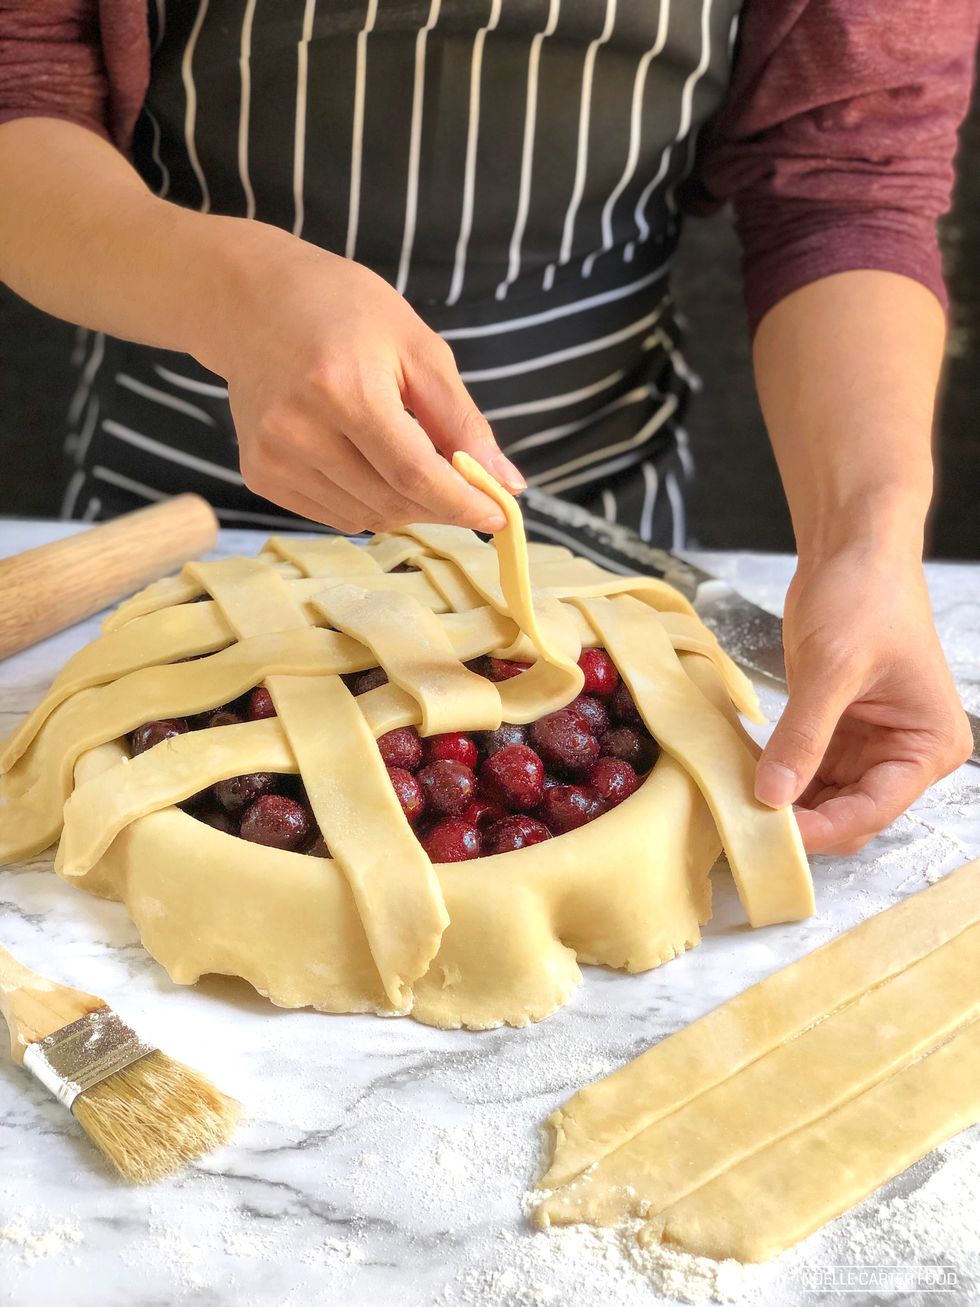
4. Prepare the top crust, adding decorative cutouts or cutting lattice strips if desired. Cover the top of the pie with the prepared top crust, sealing the edges with the egg wash and cutting vents if needed.
5. Brush the top of the crust with the egg wash, and sprinkle over a light coating of sugar.
6. Place the pie in the oven and bake until the crust is a rich golden color and the filling is bubbly and thick, about 1 hour and 15 minutes; rotate the pie halfway through for even coloring, and tent if needed to prevent over-coloring.
7. Cool before serving.
Note: From Noelle Carter.
Mixed Berry Pie
1 1/2 hours. Makes 1 (9-inch) deep dish pie
- 1/4 teaspoon salt
- 1 1/2 cups sugar, plus extra for dusting the top of the pie
- 9 tablespoons flour, plus extra for rolling out the dough
- 1 1/2 pounds mixed berries (raspberries, blackberries and blueberries)
- 3 tablespoons lemon juice
- Prepared flaky pie crust dough (2 batches), chilled
- Egg wash (1 beaten egg) and coarse sugar, if desired, for dusting the crust
1. Heat the oven to 400 degrees.
2. In a large bowl, whisk together the salt, sugar and flour. Gently stir in the berries, then drizzle over the lemon juice and gently stir to combine. Set aside while you shape the crust.
3. Remove one of the pie dough disks from the refrigerator to create the bottom crust.
4. On a well-floured board, roll the dough for the bottom crust to a thickness of about 1/8 inch. (It might help to roll the dough on a large sheet of floured parchment or wax paper. The dough then can be more easily lifted and inverted over the pie dish.)
5. Gently lift and center the dough over a nine-inch deep dish pie dish; if the dough cracks, simply press the crack together to seal, or patch with a little leftover dough. Ease the dough into the pie dish, making sure to remove any air bubbles from underneath the dough, and trim the edges, saving any scraps.
6. Fill the shell with the fruit filling, mounding the fruit in the center of the pie.
7. Roll out the top crust, cutting decorative cutouts or lattice strips if desired. Decorate the top of the pie, brushing the egg wash as needed to adhere the decorations or lattice. Sprinkle sugar over the decorations or lattice, avoiding the outer edge of the crust where the sugar is more likely to burn.
8. Bake the pie on the lowest rack of the oven until the crust is a rich, golden color and set, and the filling is bubbly throughout, 45 minutes to 1 hour. If any part of the crust browns too quickly, tent with foil, and if the bottom crust browns too quickly, move the pie to a higher rack.
9. Cool the pie before serving.
Note: From Noelle Carter.
Noelle Carter is a chef, food writer and culinary consultant at Noelle Carter Food. She was the longtime Test Kitchen director and food writer at the Los Angeles Times and a longtime contributor to “The Splendid Table,” a nationally-syndicated radio program from American Public Media. A native Southern Californian, she also holds a degree in film from the University of Southern California. Follow Noelle on Twitter @noellecarter.
Get Shondaland directly in your inbox: SUBSCRIBE TODAY
