With the prices for food continually going up, now is the best time to grow your very own fresh produce. Either getting yourself an allotment from your local council, or finding a space in your garden is a fantastic way to get your fingers green and grow something amazing.
If you have no clue on where to start with your new allotment, don’t panic because we have created a how-to guide to make sure it’s not too overwhelming to start your growing journey.
Step One – Assess the plot and check the rules
Different local councils will have a varied set of rules when it comes to allotments, so once you have confirmation that the plot of lands is yours, check over the do’s and don’ts. For example some councils will not allow you to put a shed on the plot, whereas others will, there may also be designated car parks. So it’s best to know what you can and can’t do.
Once you have sussed the rules, and you’re happy with them, you should go and visit the plot you have been given. This will then allow you to know exactly how to tackle it.
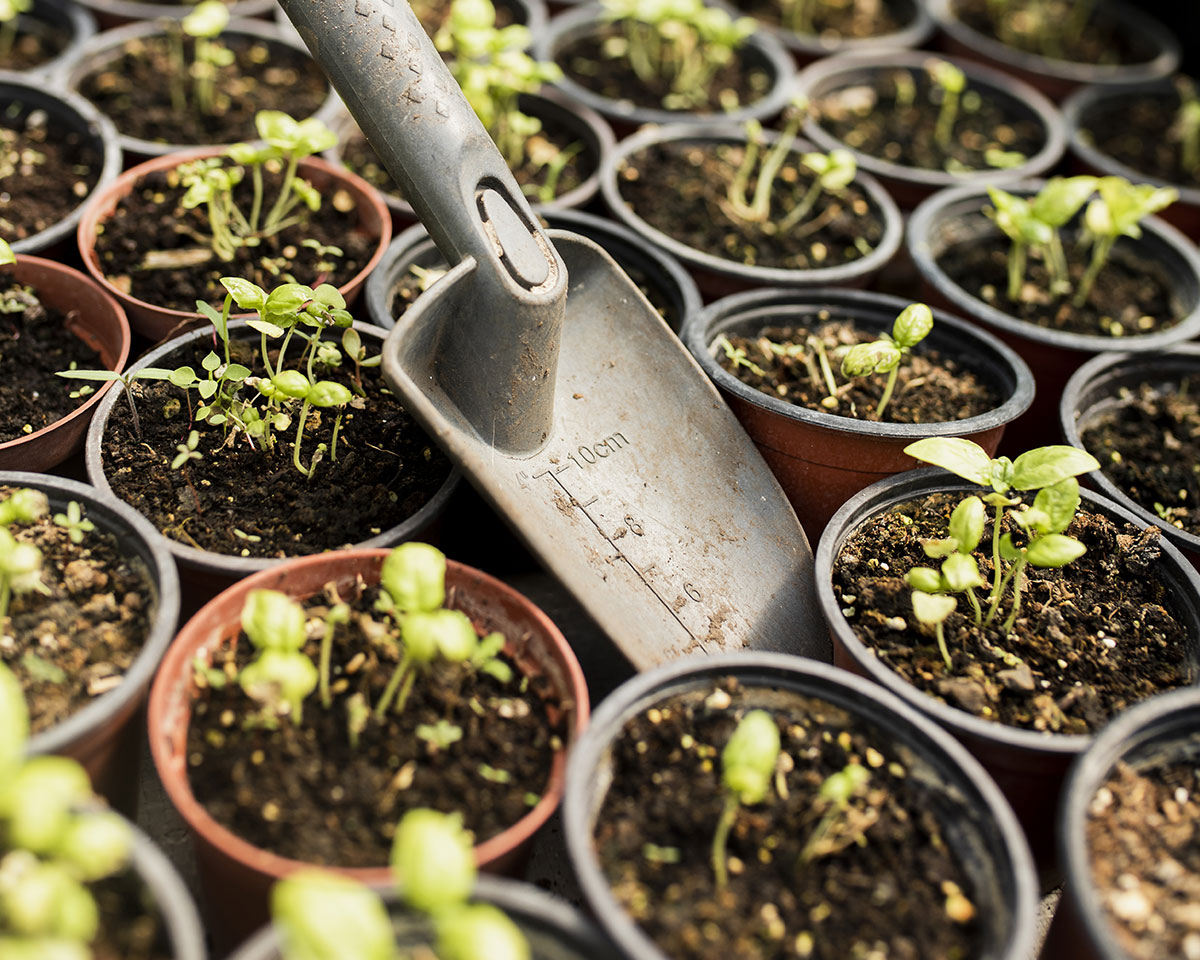
Step Two – Gather allotment equipment
Once you have seen the state your allotment is in, you can figure out what kind of equipment you will require to get it up and running, as well as what equipment is required for maintaining it.
You’re most likely going to require some form of cutting, digging and trimming tools. It may be a little bit pricey but we would suggest spending a little bit extra to make sure you get some tough equipment, the last thing you want it a fork that breaks on you!
If you want to stick to a budget, look on sites like Facebook Marketplace, or eBay, for some second-hand gems. Likewise joining gardening themed groups on social media, may also help you find some equipment still in good shape.
Once you become established up at your allotment you will most likely make friends with your neighbours, or entice your own friends to join, you can then share equipment between you. This is a perfect solution should you require something for a one-time thing.
Step Three – Prepare the plot
Knowing what condition your plot of land is in and having some basic tools at the ready, means you can move on to preparing it. You might be really lucky and have it all ready to go. However, most councils will charge you a fee for doing this, so unless you’re willing to pay, it’s all on you to rotavate your allotment.
Start by cutting down grass and digging up those tough weeds. There may still be plants growing within the soil so carefully dig these up to establish what they are, and if you want to keep them.
Next you will want to clear out any debris like stones, rocks, rubbish, wood etc. This will enable you to loosen the soil, which will make it easy for you to then use a Rotavator, or similar hand-held equipment, to plough through the gravel and get it ready for growing plants.
Step Four – Create an allotment plan
With your allotment plot all settled and ready to go, a plan is your next step. There is no point throwing whatever seeds you can find into the group and hoping for the best, this would end up in chaos.
Start by thinking about what produce you would like to have fresh, if you’re a newbie to growing altogether, think about some of the easier fruit and vegetables to grow. Some produce we suggest giving a try are:
. Carrots
. Runner Beans
. Kale
. Potatoes
. Strawberries
. Rhubarb
. Radishes
. Tomatoes
After establishing what you want to grow, you will then need to understand when each one will need to be planted. Certain fruit and vegetables need to be set at different times of the year, to ensure they can grow in the right conditions, most seed packets will tell you the growing conditions and timeframe on the back of them.
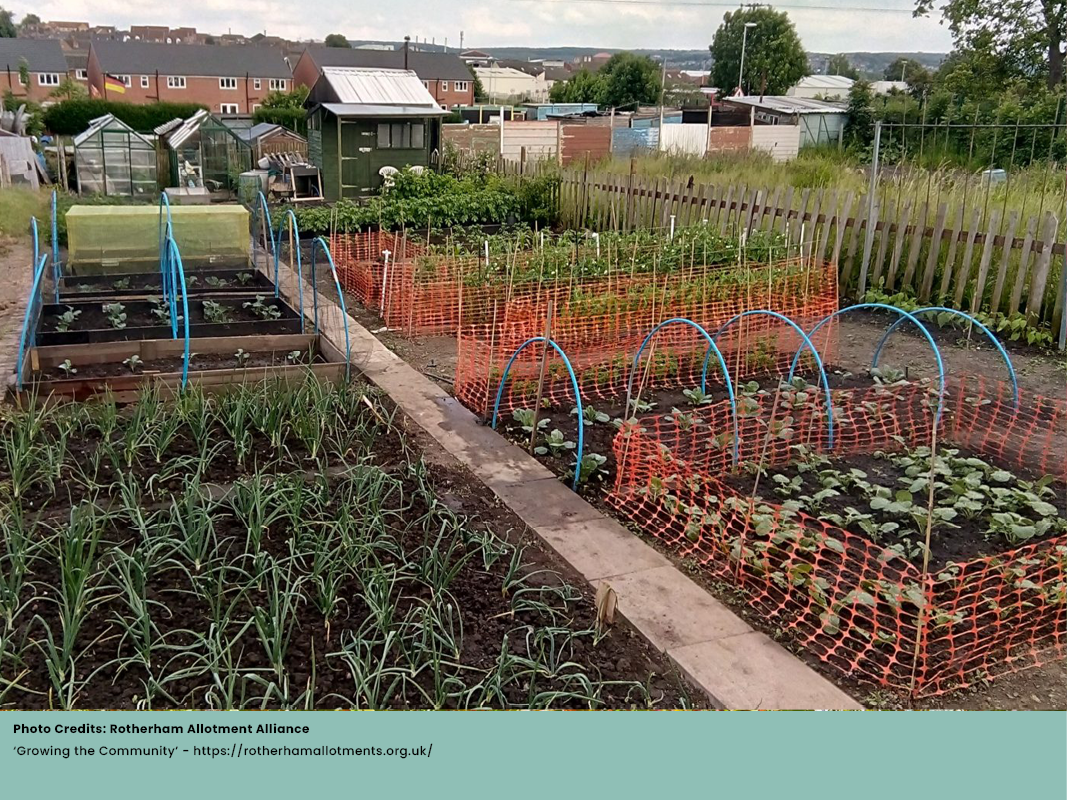
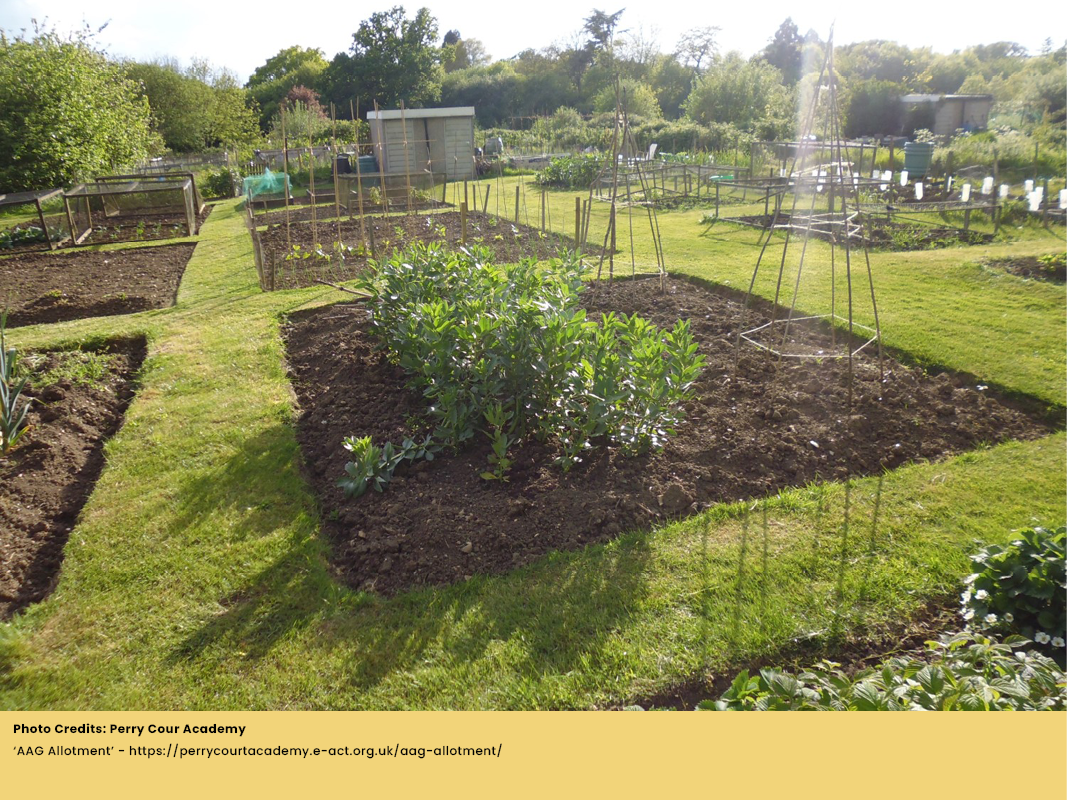
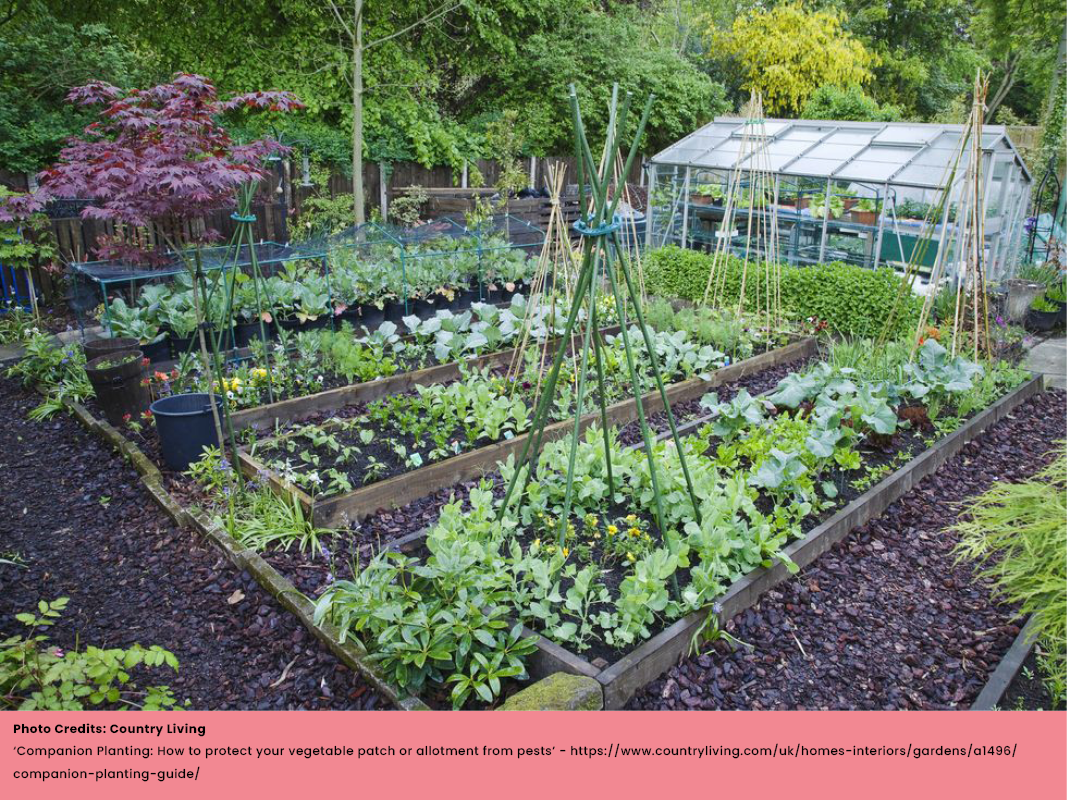
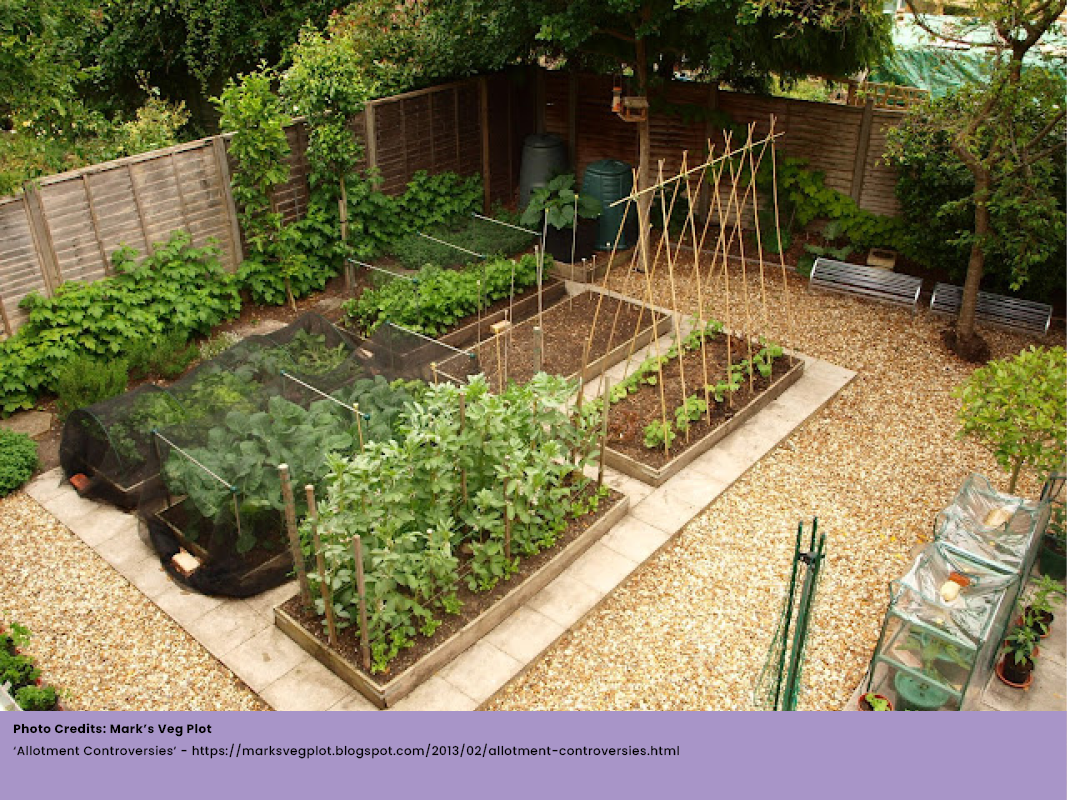
Map out the different sections of your allotment for each growing produce. You may want to use lines, or create sections using wood (broken palettes are perfect for sectioning your garden). If you’re lacking some inspiration have a look around at the allotments around you, or search online.
Step Five – Allotment Essentials
Now that your allotment is ready to go, your plan is perfected and you’ve put in the first lot of produce it’s time to think about some allotment essentials to help you grow the best of the best.
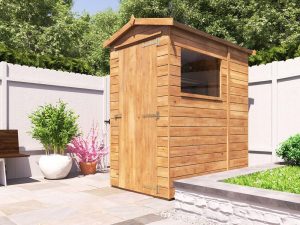
. A Storage Solution – Having somewhere to store your tools and equipment is a good way to keep your allotment tidy and well kept. We have a range of Garden Sheds that are perfect for the job, so check them out to see what you can fit on your allotment. A shed can also double up as a shelter to keep you out of those short rain showers.
. A Water Butt – This piece of kit is super handy for your allotment, it saves you having to trek back and forth with a watering can. You can also create a system to store the rain water that falls, saving you even more hassle.
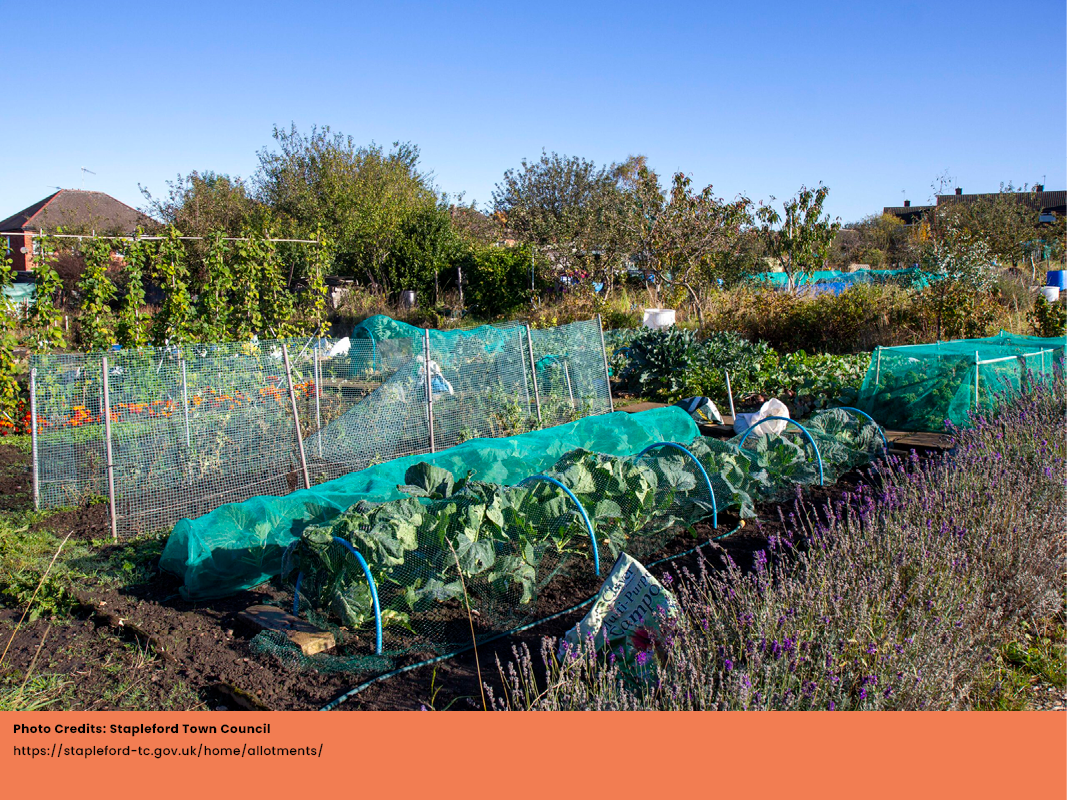
. Netting – Netting is a great investment to make as it helps protect the fruit and vegetables growing. You can buy all different kinds of netting such as insect netting, butterfly netting to pea and bean netting.
. Garden Gloves – This sounds like something very simple and obvious, but it’s one that always gets left at home. Get a pair specifically for the allotment, ones that you can keep up there, or in the boot of your car. You never know when you’re going to need them!
. Fertiliser – This one will require you to do some research to know what is best for your crop, but fertiliser will help your allotment thrive. You can buy natural or chemical fertiliser, but we do advise brushing up on your knowledge before buying.
Now is a fantastic time to get green and give gardening a go, as mentioned there are plenty of groups on social media to join and get even more inspiration!
 Back to blog