A Short Guide to Get Started With Astrophotography
The growing popular hobby is perfect for those of you who have an interest in astronomy.

Getting into the world of astrophotography is not as difficult as you may think. If you have ever gone out with friends or on your own to photograph a blue moon, a comet, and any other celestial event, you have already taken the right step. Astrophotography allows people to explore some of the more exciting aspects of astronomy without a degree and with very little equipment.
At the worst, you will capture stunning photos of the night sky that you can share with friends and family, you can even frame them perhaps. At its best, you might find yourself capturing photos that could rival some of NASA’s “pictures of the day.” In either case, you will develop a sublime hobby that will give you more insight into our vast universe. However, we are getting ahead of ourselves. If this is your first rodeo, read along.
What in the world is astrophotography?

Go on almost any major social media platform, type in the hashtag astrophotography, and you will come across a plethora of out of this world photos of light trails, galaxies, the moon, the stars and more. In most cases, the vibrant shots are taken by astronomy enthusiasts near and around their hometown with equipment they might have lying around the house. Astrophotography is the photography of astronomical bodies and celestial events, including stars, the moon, the sun, planets, asteroids, and galaxies. However, you should be aware of the multiple subcategories of astrophotography when starting your research.
Astrophotography that includes earthly terrain in its image is called landscape astrophotography, astro-landscape photography, or sometimes simply nightscape photography. This does not include simple landscape photos with merely the night sky in the background. The sky and whatever is in it still have to be the photo’s focal point or subject. A picture purely of the sky is often called deep-sky astrophotography, or just astrophotography.
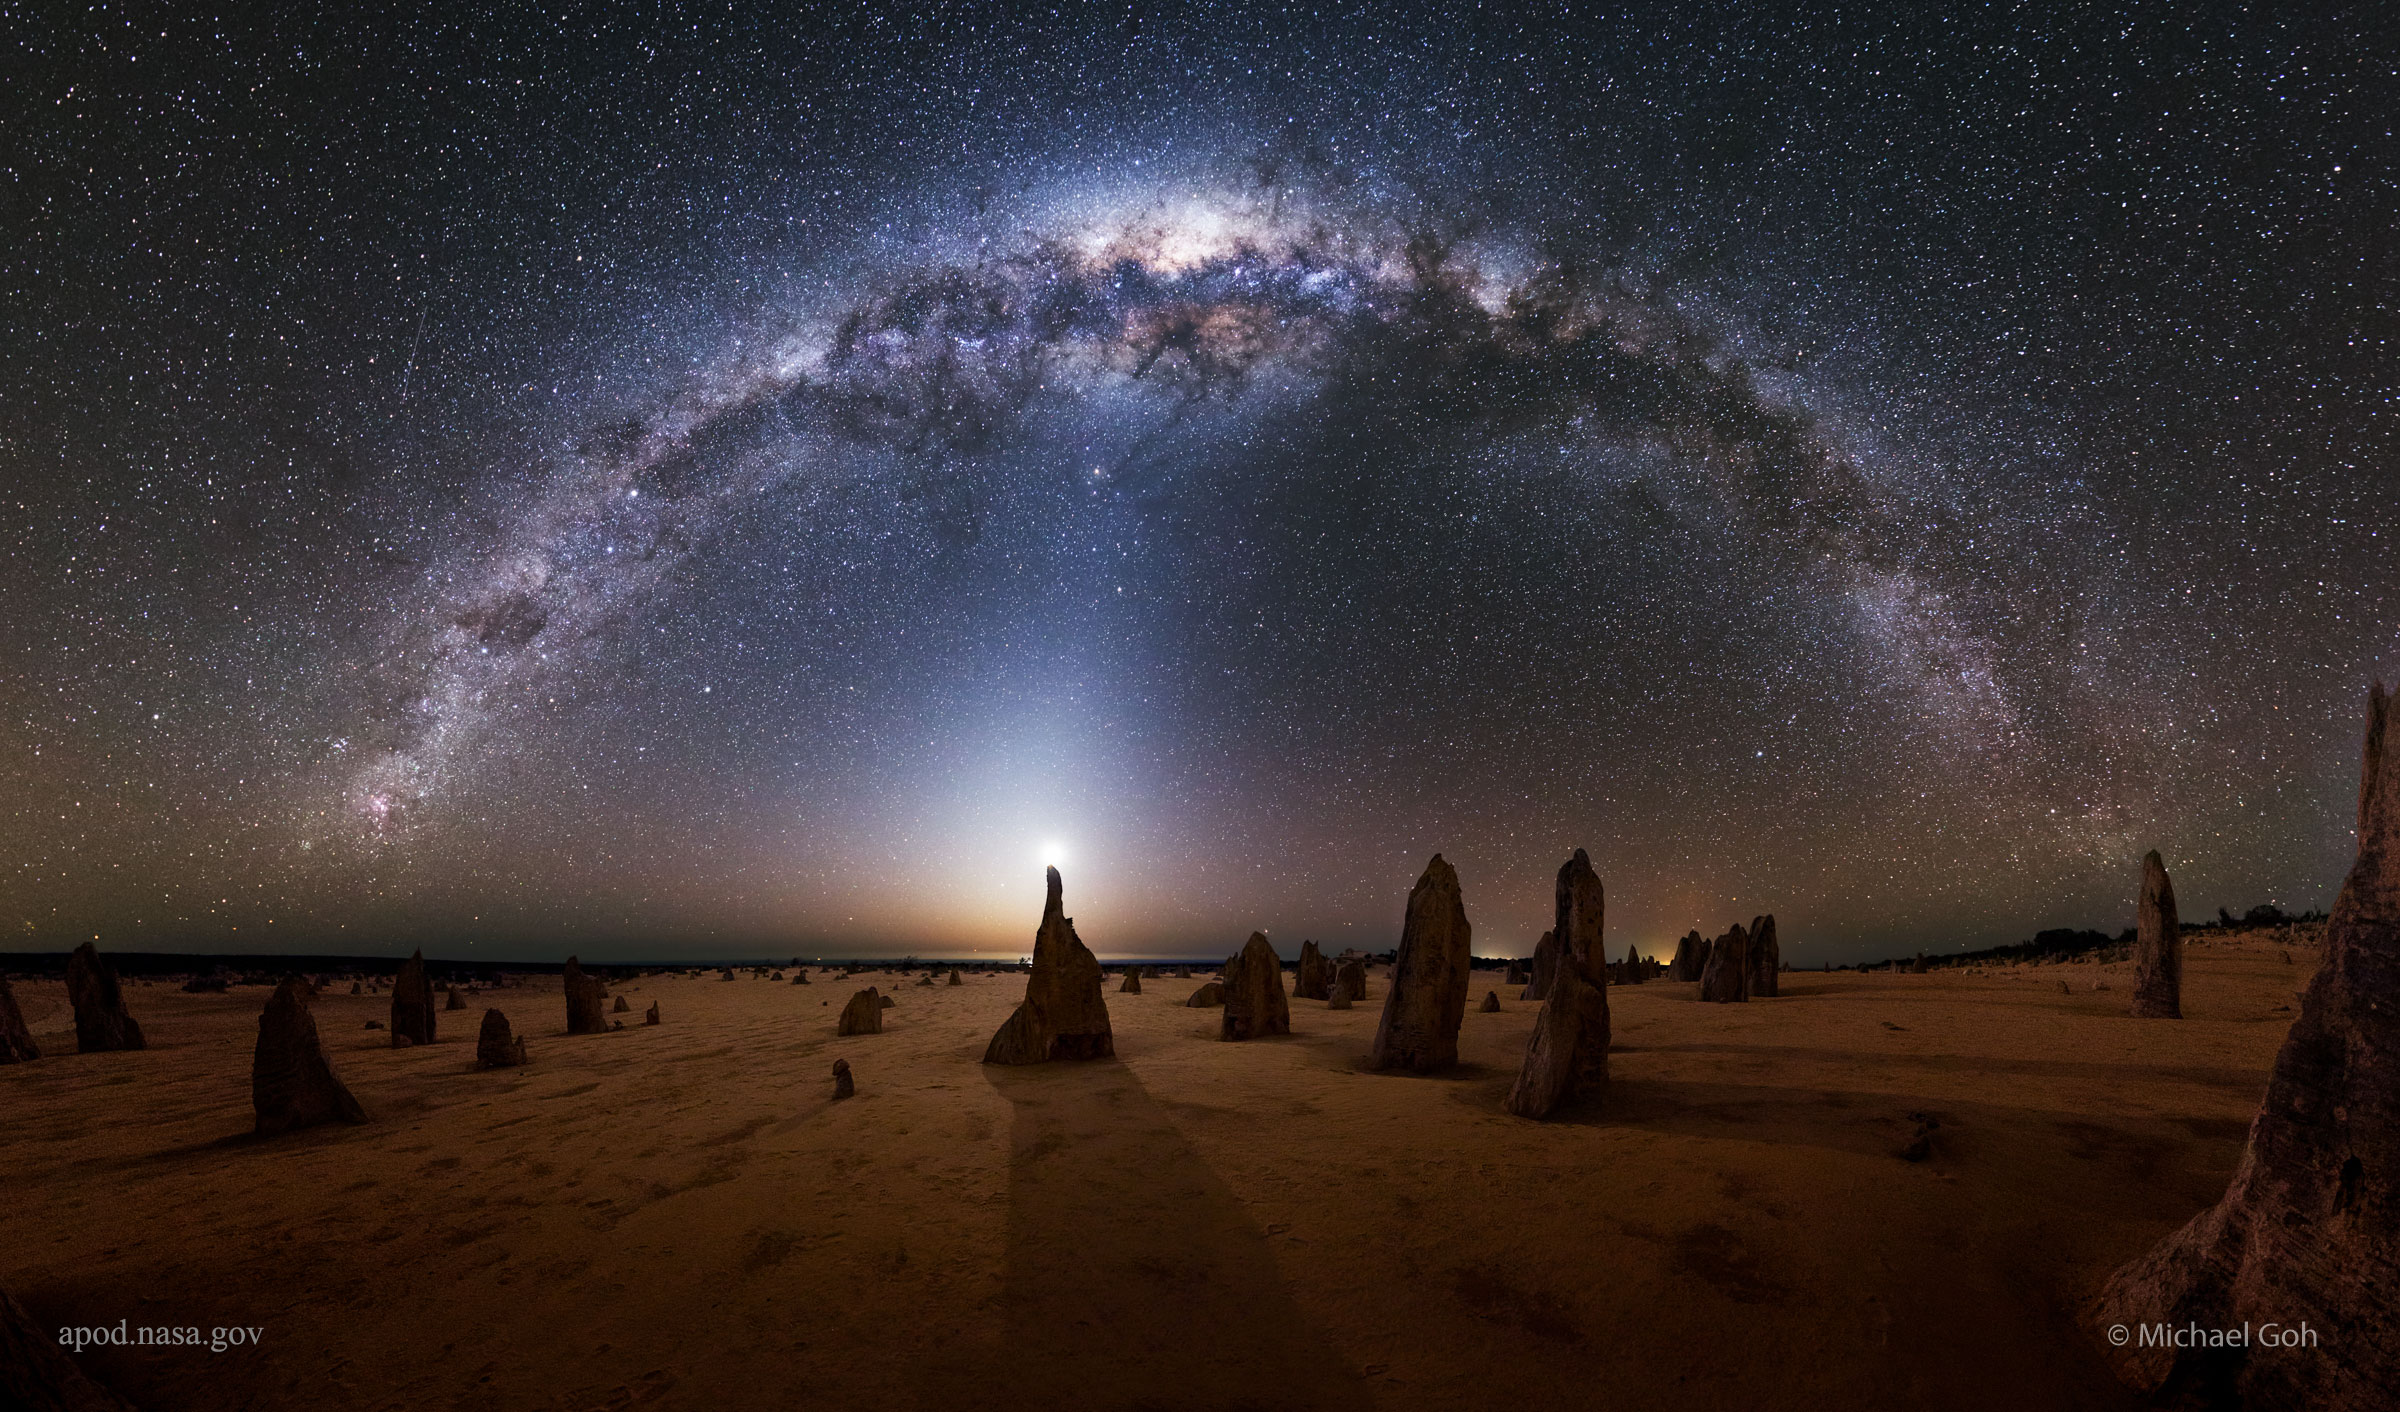
An astrophotograph can be taken with a point-and-shoot camera, the Hubble Space Telescope, or anything between. Common pictures include star trails and Milky Way photography. Believe it or not, or most astrophotographers use a telephoto lens to capture most of their photos. Even some far away nebulas and galaxies can be photographed using a telephoto lens. Nonetheless, it is important to mention that a dedicated telescope and tracking mount are used to ensure the best quality and most accurate photos.
Today we are going to set our attention on the type of photography you can do with just basic equipment. One of the most appealing aspects of astrophotography is that people of all ages and skill levels can get started.
John William Draper was taking pictures of the night sky before it was cool
John William Draper, a physician and professor of chemistry at New York University, is considered by many to have been the first modern astrophotographer. His daguerreotype of the moon became the first astrophotograph ever taken in North America. For the uninitiated, the daguerreotype was the first commercially successful photographic process in the history of photography and was extremely popular from around 1839 to 1860. Draper exposed a daguerreotype plate to the moon, “which had been conveyed by a double convex lens,” wrote Draper in his laboratory notebook. An image of the moon was created, producing a crescent shape that is reminiscent of the lunar phases. Draper was not fully recognized for this historic moment. It was not until much later that researchers and photographers alike highlighted the photographic and astronomic significance of this event.
Finding the right location free from light-pollution is going to be your first step
The good news is that you probably have almost everything that you need to get started. Yes, there is some impressive astrophotography gear out there. However, things can get very, very pricey. Even more so, you don’t need this equipment to get started. Most of the photos you see on social media are taken using a DSLR camera on a tripod. Some of the most recent mobile phones, like the iPhone 12 pro-Max and Google Pixel can also take some decent landscape astrophotography. We are going to focus on DSLR photography. But, before you grab your camera, we need to find the right location.
Now, you can’t just step out of your home and point your camera at the night sky and hope for the best. Light pollution from even a small town will have dramatic effects on the results. You have got to get away from your town and city because of the massive amount of light you will let into your camera. Even a full moon can mess with your pictures. Make it a camping trip. Go out into a safe remote area like the forest or a field on a night where there is a new moon. Of course, check the forecast and make sure that you have a clear night sky.
This can be one of the most difficult parts of night sky photography, and often just driving out and away from your city is not enough. We recommend taking the time to plan your trip and go to the location ahead of time during the day. Make sure the place is safe and easy to work with. If you are worried about light pollution, we recommend checking with the International Dark-Sky Association. The IDA provides people with the locations of dark sky preserves in a city near you.
Next, you are going to want to familiarize yourself with the Earth’s rotation

If you are planning on taking star trail photographs, the Earth’s rotation will work in your favor. However, in most other cases, it is just going to be trouble. Star trail photographs rely on long-exposure photography, following the movement of a star or stars, and creating a trail effect as the earth moves. But if you want to shoot deep space objects as they are, you will have to try something different.

Get your hands on a Star Tracker. While attached to a tripod and your camera, the device moves your camera smoothly and at precisely the same rate as the Earth spins. There are a wide range of options available on the web, with many experienced photographers having their go-to Star Trackers at varying price points.
However, if you do not want to spend any money, one of the easiest things you can do is shoot using short exposure with wide-angle lenses. You can get stunning landscape astrophotography this way too.
What camera and lens should I use?
Most astrophotography centers around three things, a DSLR camera, a tripod, and a wide-angle lens. The best cameras for astrophotography are the ones that allow full manual exposure control and have excellent low-light performance i.e., a DSLR camera. If you want to get even more specific, the Canon EOS 60da is considered by many to be one of the best options out there. This special version of the 60d has higher infrared sensitivities than standard models that enables it to pick up faint details in deep-sky objects much better than its cousin. But, again, most DSLRs will help you accomplish your desired result.
Nonetheless, and just as equally important is the lens, as this will have the biggest effect on your images. The general rule of thumb is to find the widest lens that is practical for your camera and price range. The ideal lens is between 10 and 20 mm, with a 1.4-2-8 f-stop. One of the most popular lenses is the Rokinon 12mm f/2.0, highly praised for its sharpness and price.
Don’t forget your tripod and invest in a remote shutter release
No matter what type of photography that you are doing, you are going to need a tripod. A tripod will keep you from blurring your photos or missing the perfect shot. It should be durable and strong enough to hold firmly onto all your equipment, especially if you invest in a larger Star Tracker. Finally, invest in a remote shutter. Perfect for long exposures, this will help you capture the shot that you need without even touching your camera. An accidental bump or misplaced finger could ruin your photo. In short, you want your camera to be as stable as possible. These two investments help reduce human error.
Pick an object to shoot

If you are not shooting star trails, you are probably on the lookout for some deep space object. We do not recommend simply pointing your camera at the night sky, hoping for something to shoot. Programs and apps like TheSkyX and NightSky allow users to see what planets, galaxies, and stars are visible in the night sky near your exact location. Using these tools, you can create a list of objects that you want to photograph based on three factors, the brightness of the object, the type of gear you are using, and your skill level.
Go out and start shooting
Do your research, but do not overthink it. Again, the most important part of the process is finding a place dark enough to shoot. Once you do that, you are more than halfway there. Use the gear that you have. Some of our favorite astrophotographs have been taken with nothing more than a five-year-old DSLR camera. You will be surprised with what you can accomplish.
Be safe, and happy shooting.
 SHOW COMMENT ()


