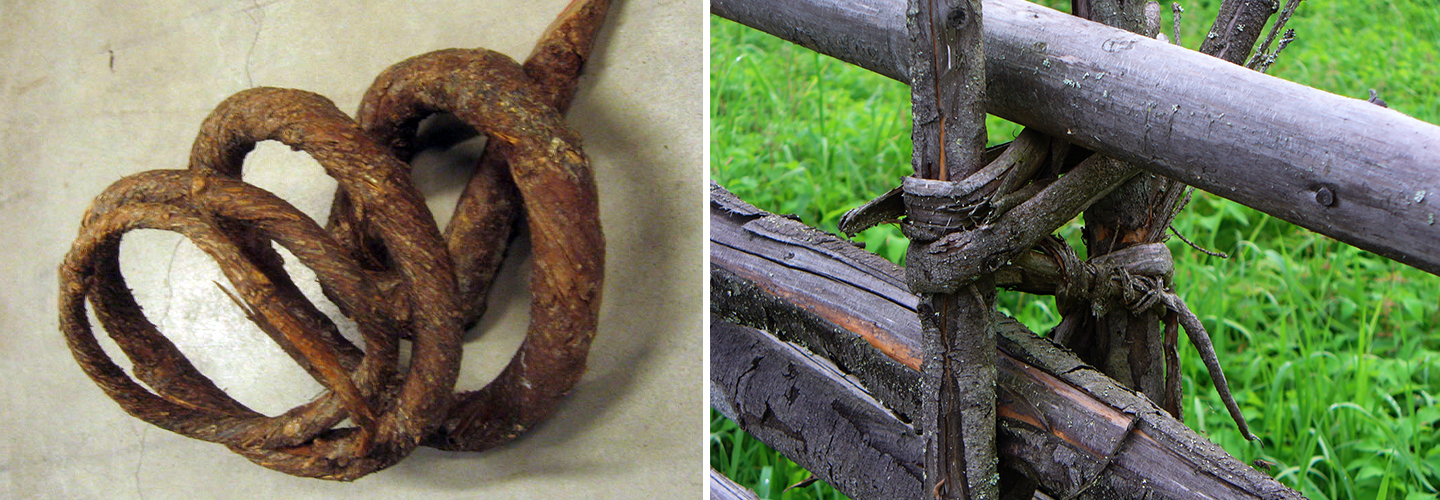
In addition to the vertical posts and the round poles installed between the posts, withes are also needed to tie the separate wood components to make a durable fence. A withe is like rope made of wood. It is as durable and flexible as possible. Flexible rowan, spruce twigs, small firs, birch and willow have been used as withe materials. Spruce is a more durable material for this purpose than rowan. Small firs are a more readily available material. The most suitable tree is one that is thin, with few and delicate branches, height of 1.5 metres and grown in a dense coppice.
The withes must be split while they are fresh. Cut a small fir from the root (or tear it from the ground with roots). Start splitting by holding by the topmost branches. Gently pull by one branch and just hold the other one. Split along the centre line all the way to the butt. If you see that the tree does not split evenly, you can correct the split by using a knife. Make sure to leave some branches at the top of the withe – they are needed as a “brake” when the withes are tied to the vertical posts. If the withes are of a poor quality or if you need particularly pliable withes, heat them on the ambers of a campfire until they are supple.
Storage
A withe can be twisted more easily when it is wet, so withes can be stored in a bundle for example in water. In the old days, they were put in a river or ditch to await the building of a roundpole fence. This keeps them from drying.
Instructions for twisting a birch withe
Select a darkened and rough birch sapling usually one metre high, growing on its own. In other words, do not pick a shoot growing from a stump or one that has green branches. A withe is not made from a branch of a tree, either.
Twisting a withe is easiest when it is still in the ground, but it can also be removed along the butt. Remove the bark from two opposite sides between a knife and thigh or between a knife and thumb, and do not twist the last 5 cm or so from the butt or from the point where the twisting ends.
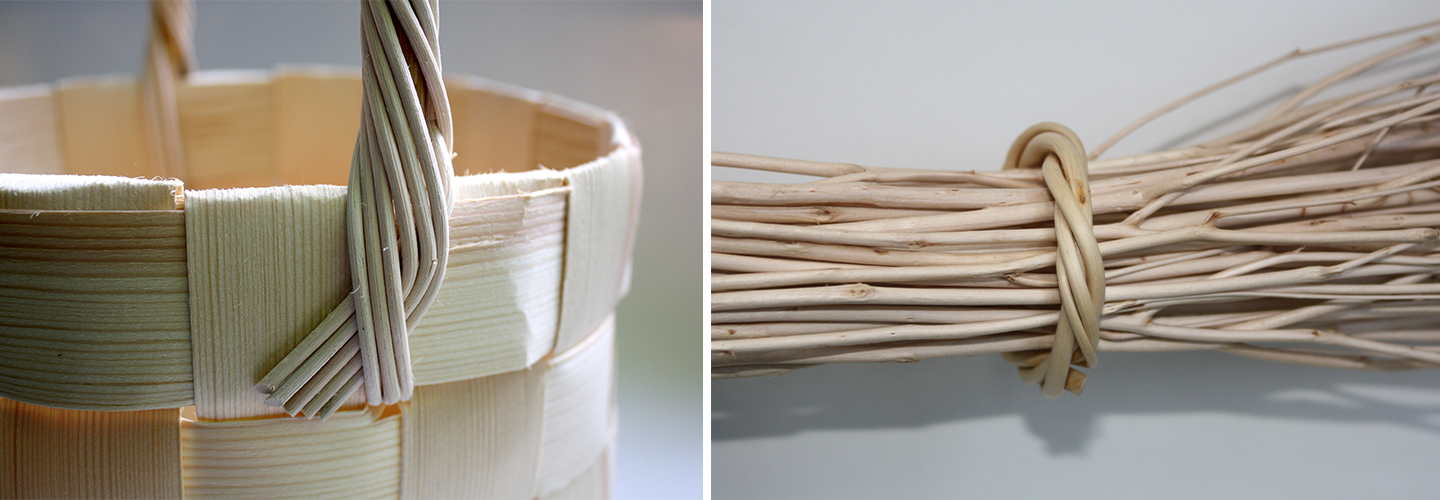
Press the butt of the detached shoot between your foot and some hard base. Start twisting from the top by twirling a spiral between your fingers, and try to accomplish a “crank” as soon as possible. Then, use this lever, in other words the part that has already been twisted, for twisting a rotary movement. In other words, use the twisted part as a lever, but do not twist at the point where the change takes place. If necessary, guide the twisting with one hand or foot so that the grains start to twist over a longer distance, usually about 3 to 5 cm. The withe must always be twisted gently along the stem, not in just one place, because that may break the withe. When you come to a knot, twist again until the stem twists, or sometimes it is just best to bypass a knot. Leave the last 5 to 10 cm of the butt end untwisted so that you can use the withe. This untwisted portion serves as a “needle”.
I remember that in my childhood I was told this:
“If you make a tight band (for a whisk or sauna whisk), you will get a husband who is napakka.”
I think I succeeded well here, because my husband is really napakka.
Napakka means tight, durable, long-lasting, something of just the right size.
Because whisks, brooms and sauna whisks were made when the twigs were fresh,
you had to remember that they get tighter when they dry
so that the bonds would also hold when dry.
– Marjatta Flander-Airola –