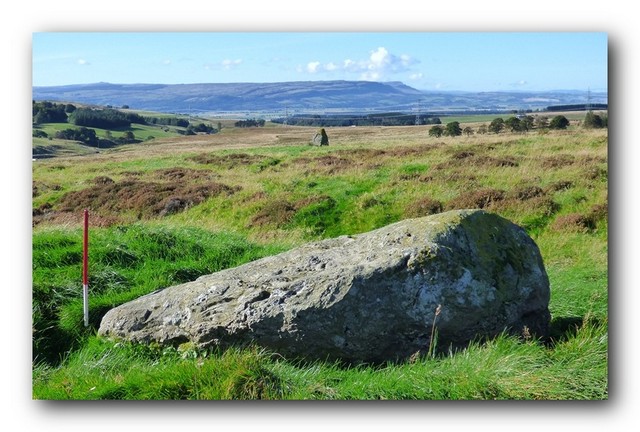
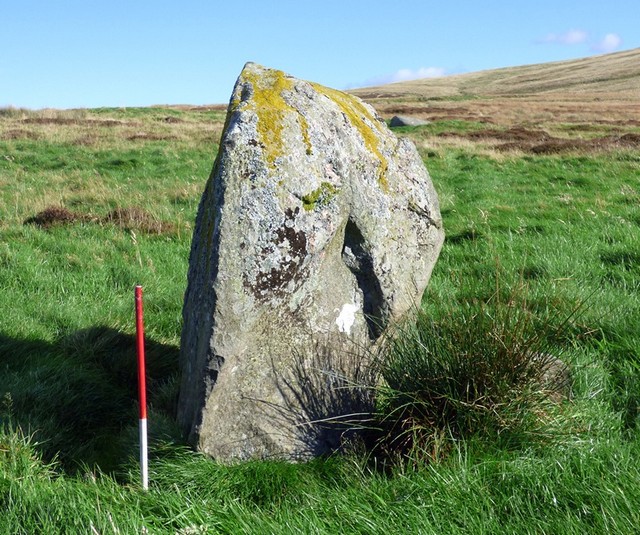
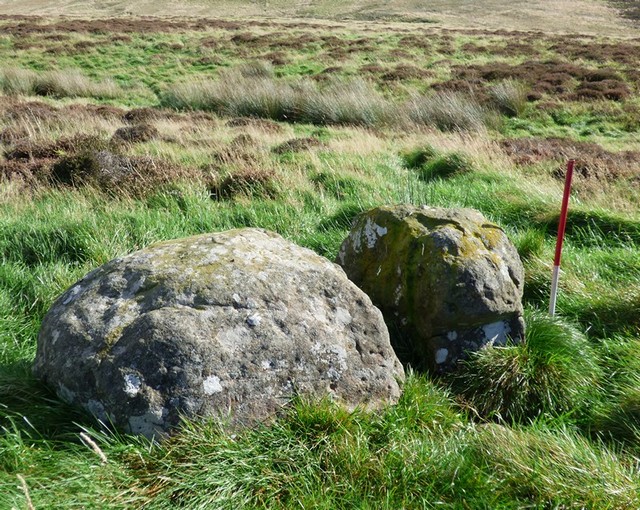
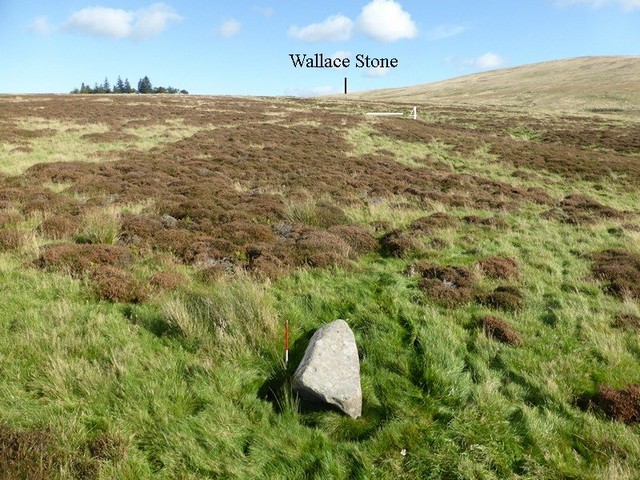
Stone 1 with the Wallace Stone beyond.
A single stone row measuring 290m long, including five widely spaced large-sized stones situated on a south west facing slope. One of the stones (known as Wallace Stone) is upright and remainder are recumbent. The southern stone is cup-marked and another has been split. The row is orientated ENE to WSW and is situated adjacent to a well-used historic routeway.
Location
| Scotland | Stirling | Central Scotland | NN 83310 02330 |
| Lat 56.19922 Long -3.8823393 | |||
Map showing the location of Sheriff Muir stone row.
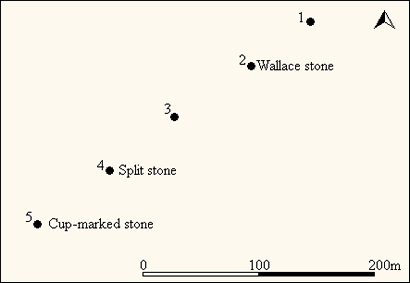
Simplified plan of the Sheriff Muir alignment.
Characteristics
| Type: Single | Length: 290m |
| No. of stones: 5 | Size of stones: Only large |
| Orientation: 73° | Altitude: 308m |
| Upper end: – | Lower end: – |
| Straight (Yes or No) : No | Sea View: No |
| Context: – | |
| Notes: Only the stone known as the Wallace Stone is upright. The other four are recumbent. | |
Other Information
| Public Access: Yes |
| Land Status: |
| Scheduled Ancient Monument: Yes |
Identification
Category: Plausible. No substantiated doubts have been expressed regarding the prehistoric interpretation of this row.
Typology
This stone row is of Type S8. Information on this form of stone row and other rows of this type is available here.
Photographs
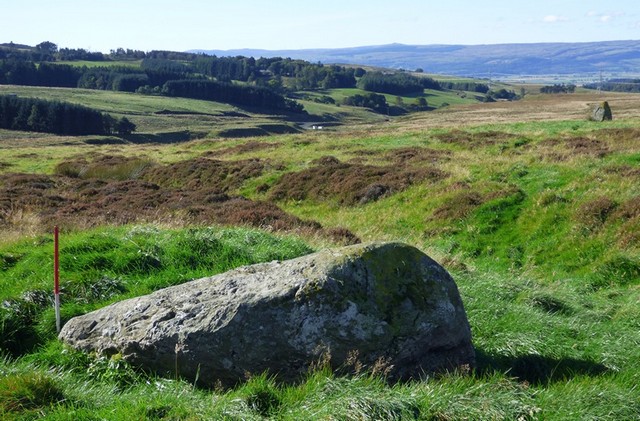
Stone 1 separated by a later holloway from the Wallace Stone in the background.
This alignment once stood beside the major routeway from Stirling towards the north of Scotland. This would certainly explain the Wallace connection and the later battle at this spot in 1715. It is probable that this was also a significant prehistoric routeway.
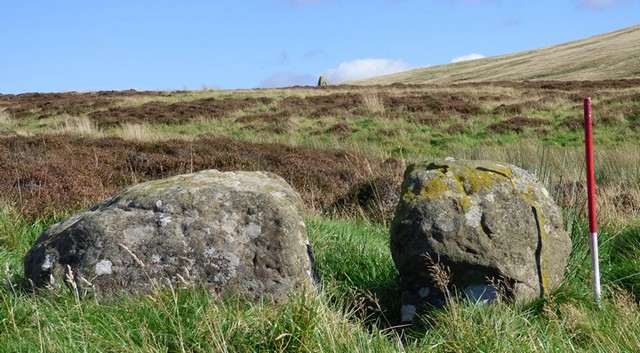
Stone 2. The Wallace Stone. This is the only stone within the alignment that is still standing. Note Stone 1 behind.View from south west (Scale 1m).
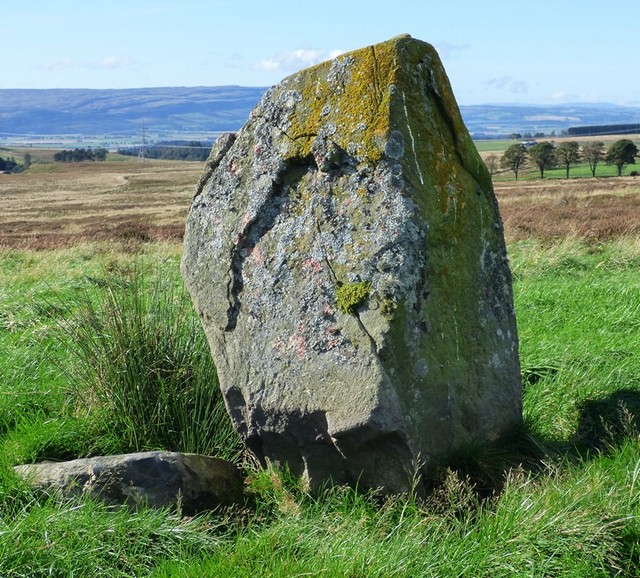
Stone 2. Wallace Stone. View from north.
Stone 2. The Wallace Stone. This is the only stone within the alignment that is still standing. Note Stone 1 behind.View from south west (Scale 1m).
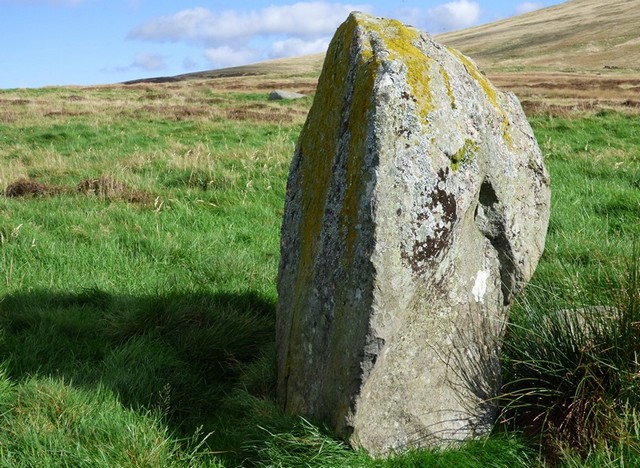
Stone 3. View from south with Wallace Stone in the background. This stone is about 8m north west of a line drawn through the other four stones.
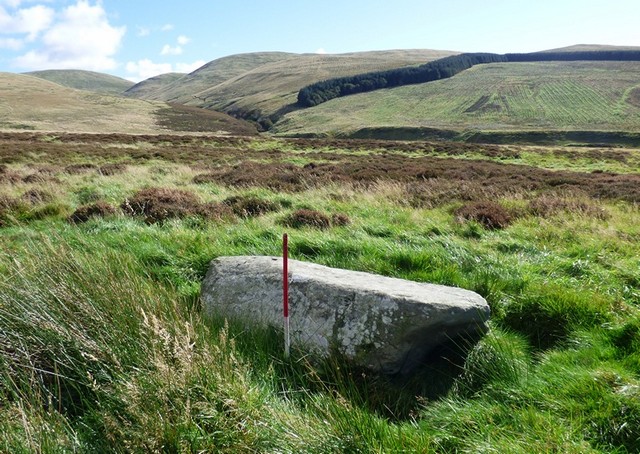
Stone 4. This stone has been split sometime after it fell. View from west (Scale 1m).
Stone 4. Split stone with Wallace Stone on the skyline. View from south west (Scale 1m).
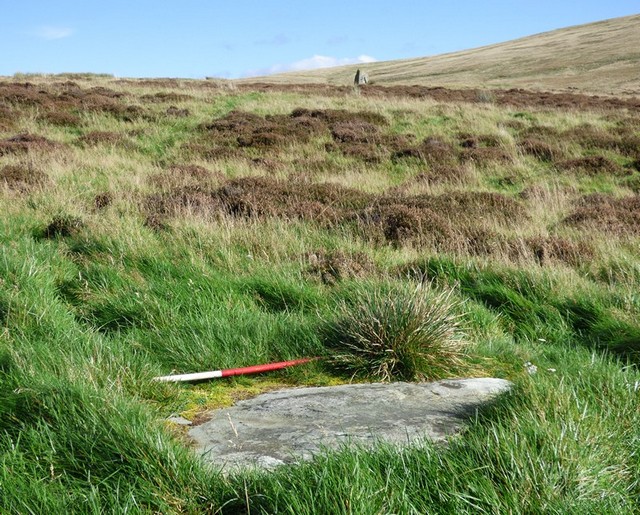
Stone 5. This recumbent slab has several cup-marks on its upper surface. View from west (Scale 1m).
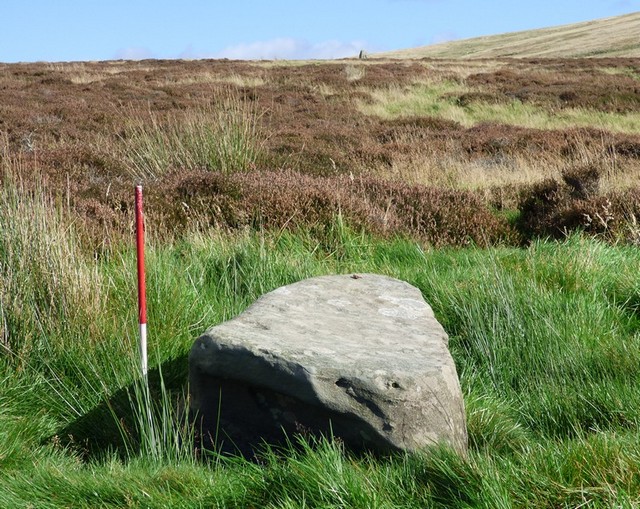
Stone 5. View from south west with Wallace Stone on the skyline (Scale 1m). Sadly the lighting was not conducive for seeing the cup-marks.
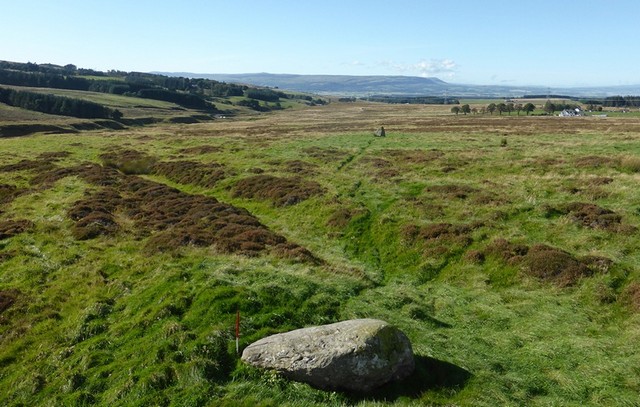
View north eastward along the row from Stone 5.
Access Information
Road verge car parking is available at NN 83209 02579. From here carefully cross the road, enter the field opposite via the gate then walk about 300m due south.
Online Resources
Megalithic Portal Modern Antiquarian Canmore
Timeline
VISITED:- 2nd October 2016
FIRST PUBLISHED:- 12th February 2016
LAST UPDATED:- 18th March 2019
