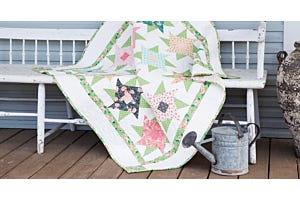
Did you receive an heirloom quilt? Do you put a lot of love into every quilting project you make? Were you gifted a quilt that you use regularly?
Many people don’t know how to care for a handmade quilt, and that’s okay. We have the professional insight and methods you need to help your quilts have a long life with you and your family.
6 Steps to Care for Your Quilts
There's no need to guess how to clean your quilt. Nor do you need to hope that the information you found on the internet about how to care for your quilt is accurate, either. We have a professional answer for you.
Let’s get started!
1. Inspect quilt.
Take some time to look over your quilt. You want to look for loose threads, stretched seams, or other issues before beginning the cleaning process.
Make a note of anything that needs to be addressed and make any necessary repairs before moving on to Step #2.

2. Shake and vacuum your quilt off.
For quilts that are not fragile, take them outside and give them a gentle shake. This will help remove accumulated dust, hair, and pet fur.
It is important to keep small particles off you your quilt. This is because small particles of dust and dirt scrape fabric fibers and cause damage.
You may use a vacuum on the low suction. Do not use a vacuum if the quilt gets pulled into the nozzle as this high suction can also cause damage.
Pro Tip: Using the vacuum method may be the only safe way to clean your quilt. Use this method if your quilt is not colorfast, you have inked signatures, or the fabrics are fragile. Because vacuuming can be too harsh on particularly fragile fabrics – be sure to test this method carefully.
If you have stubborn pet fur on your quilt, move to Step #3. Otherwise, go to Step #4.
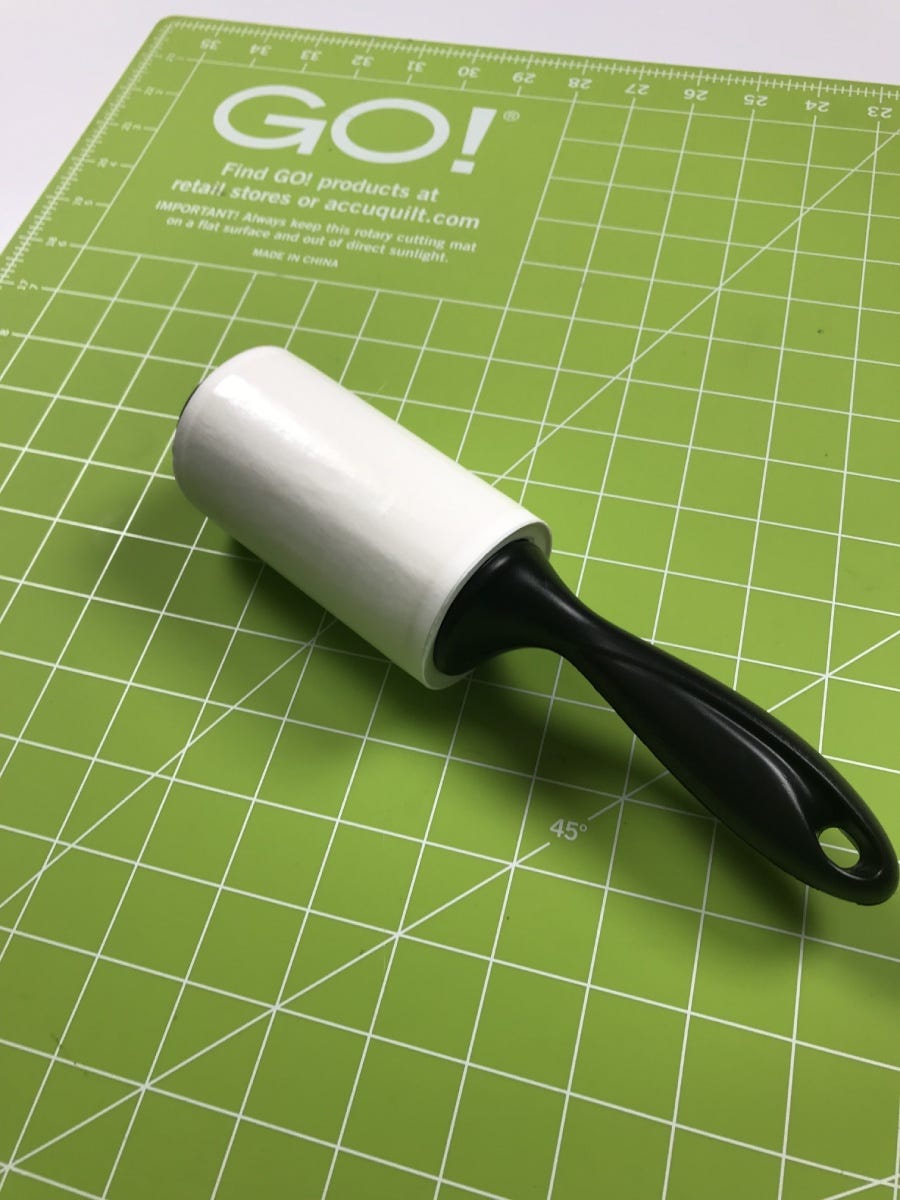
3. Gently brush.
Using a garment brush or lint roller, gently remove any stubborn pet fur. Ensure you are being careful to not use too much pressure - you don’t want to tear any stitches or fabric.
4. Wash your quilt.
You will need to decide what washing method you would like to use when you are ready to begin: professional cleaning, machine washing, or handwashing.
Handwashing is common among those who care for their vintage, hand-quilted, masterpiece, heirloom, and hand-appliqued quilts. We recommend that you avoid washing precious textiles, though.
In fact, the International Quilt Museum recommends that you speak with a textile conservator before washing fragile textiles. So, keep this in mind before deciding to wash your special quilts. If it is important to you, err on the side of caution and get it professionally cleaned.
If it is important to you, but you do not want to pay for professional cleaning, then stopping at the vacuuming step is a good option. If you want to help your utility quilt live a longer life, then hand washing is better than machine washing.
It might take a bit more effort, but a proper cleaning will help maintain the integrity of the fabric – more so than a washing machine. This will give it a longer life so you can enjoy it for many years.
Machine washing is good for utility quilts – quilts you use all the time that do not have any sentimental value. You understand there are certain risks when placing your quilt in the washer or dryer and accept them (e.g. bleeding colors, warped fabric, ripped seams, etc.).
Here are our washing instructions for caring for your quilts.
Hand Washing Quilt Instructions:
- Test for colorfastness.
- Take the time to protect your quilt before wet cleaning by testing the dyes.
- Test each color of fabric with several drops of water (and then with water/detergent solution) in an inconspicuous part of the quilt.
- Let it soak in and then blot each spot with white cloth or paper.
- If any color comes off the quilt, you must decide if you’re ok with color bleeding into the rest of the quilt. If the answer is no, then do not clean your quilt with water. If your answer is yes, a bit of color bleeding is ok, then proceed to the next step.
- Ensure your tub or sink is clean.
- Soak quilt in room temperature water.
- Do not use hard water as it will deposit minerals into your quilt.
- If you see that the water is getting extremely dirty, then change out the water.
- Use a mild liquid detergent formulated for dishwashing.
- Find a detergent with little coloring and fragrance.
- Do not scrub, beat, or squeeze the quilt.
- Use a sponge to press water through stubborn stains.
- Complete a series of 5-7 clean water rinses.
- Each rinse should take at least 15 minutes.
- Ensure the final rinse results in clear water.
- Once clean, it’s time to dry (See Step #5, Air Drying Quilt Instructions).
Machine Washing Quilt Instructions:
- Set your washing machine to its gentle cycle.
- Select the cold-water setting.
- Use a gentle, fragrance-free detergent.
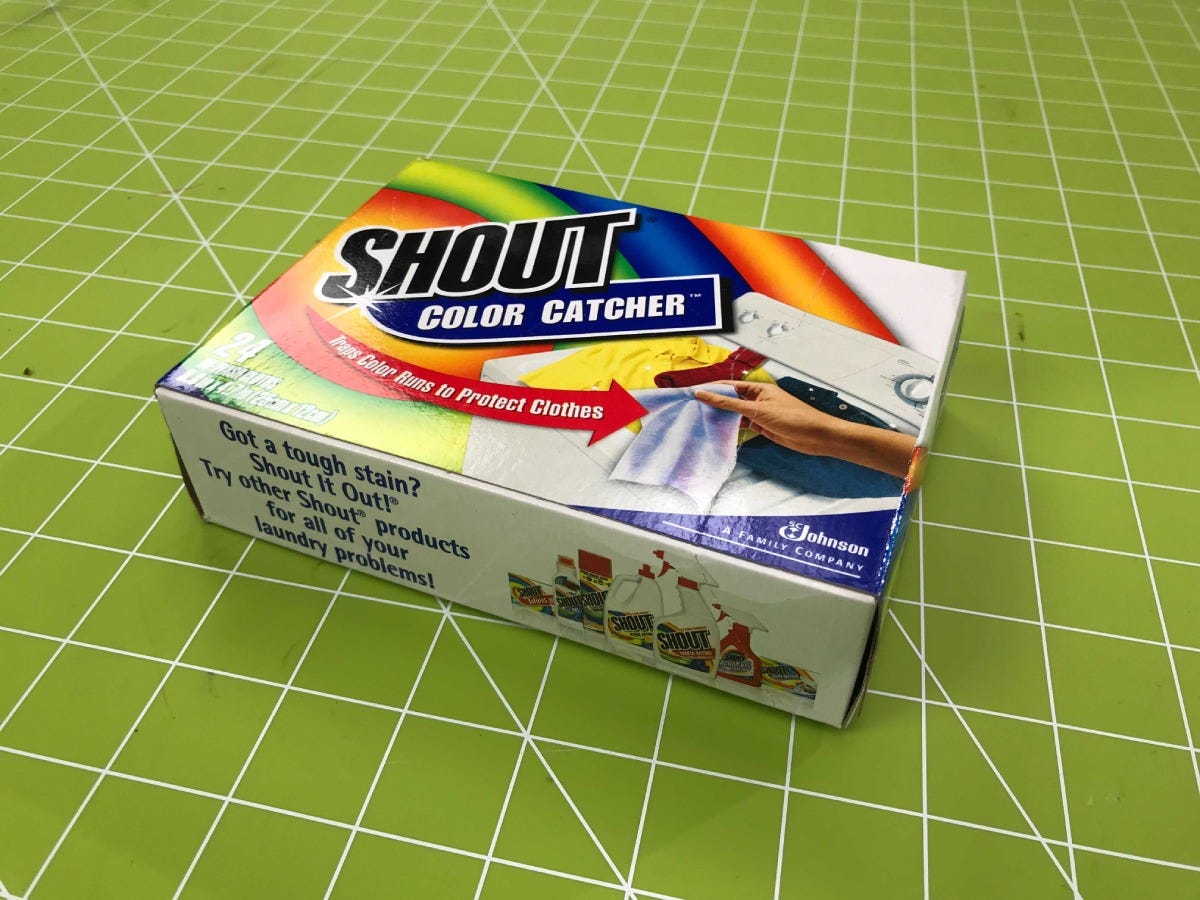
- To prevent dye bleeding, you can throw a couple of color catchers into the wash.
- Shout Color Catchers will catch dye that may bleed into the wash water – minimizing the impact on the rest of your quilt.
- Once clean, it’s time to dry (See Step #5).
5. Dry your quilt.
Once your quilt is washed, it is time to move on to the drying process.
We recommend that you follow the air-drying instructions for quilts that you want to prevent fabric shrinkage and damage. Otherwise, follow the Machine Drying instructions.
Air Drying Quilt Instructions:
- Wrap your quilt in a sheet and gently twist to wring out.
- By using the sheet, you prevent tearing your stitches and fabric.
- Using a sheet also makes it easier to move the heavy quilt to where it will be drying.
- Use a flat rack to safely dry your quilt.
- This prevents threads from snapping and causing damage to your quilt.
- Alternatively, lay your quilt on top of a large thick blanket or towels to dry.
- Use a fan to promote better circulation to aid in drying the quilt.
Pro Tip: Many quilters like to finish their quilts in the sun; however, we discourage this if you are trying to protect your quilt. This is because all light sources fade textile colors. So, be mindful if you decide to use this method.

Machine Drying Quilt Instructions:
- We recommend that you use low to no heat when using a dryer.
- Tumble dry it on low.
- Do not dry it all the way.
- Once damp, allow it to air dry to prevent damage from occurring.
6. Properly store your quilt.
How to properly store your quilt is really going to be based upon your wants and needs; however, we will be sharing our tips for increasing the longevity and beauty of your quilt.
Quilt Storage Tips:
- Store your quilts in a dry area (45 to 55 percent relative humidity).
- Ensure the storage space is clean and well-ventilated to deter pests and rot.
- Be sure to keep as much light off your quilts as possible to preserve their colors.
- Prevent permanent creasing by changing the way your quilt is folded every so often.
- Use archival (acid-free) tissue or washed unbleached cotton muslin to line shelves, drawers, boxes, etc. to protect them from yellowing your quilt over time.
- Ensure your quilts are located where the temperature is relatively stable year-round (around 62-72 degrees Fahrenheit).

GO! Enjoy Your Quilt
That’s it! Now you have the information you need to care for your quilt properly.
Was any of this information surprising to you? Do you have utility quilts that you have been washing differently? Would you consider taking an heirloom quilt to a professional for cleaning?
We’d love to hear your thoughts in the comment section!
Subscribe to our blog to receive more educational content as well as crafting, sewing, quilting, and DIY projects!