How to Make Your Own Ollas
An Easy Watering Solution for Your Garden

When I lived in Los Angeles, we were renters — only in LA temporarily — so I didn’t garden. But I thought and dreamed about it. A lot. How can you not in a beautiful city with year-round gardening weather and flowers blooming all the time? I landscaped our rental in my head over and over again, but instead of actually doing any gardening, I set about learning about water-wise gardening anticipating the day when I would have my own garden again. I spent many happy days wandering about Huntington Gardens, the water gardens at the Norton Simon Museum, longing for Italy at the Getty Villa, and delightedly exploring the Descanso Gardens. But one of the most fascinating gardens that I visited was a farm: The Urban Homestead in Pasadena.
The Urban Homestead is an urban farm in the heart of Pasadena. On a small city plot — 1/10 of an acre — they produce an incredible yield of fruits and vegetables. They also teach classes in organic gardening and have a food box program. And it’s from The Urban Homestead that I first learned about ollas.

What is an olla? how do they work?
Ollas are an ancient watering technology. They have been used for thousands of years by the indigenous peoples of North and South America. They are also known as “Roman Pots” having been used by the ancient Romans. And riffs on the same idea — a buried terracotta vessel filled with water — have been found through northern Africa, the Middle East, and Asia for millennia. This is not new. Ollas are an incredibly effective and efficient means of watering plants.
Simply put: an olla is a terracotta container which is buried underground to water nearby plants.
Unglazed terracotta is porous, so the water contained in the olla travels through the terracotta pot and into the surrounding soil. But this action is very, very slow. And it stops if the soil surrounding the pot is saturated with moisture. So an olla will never overwater your plants.
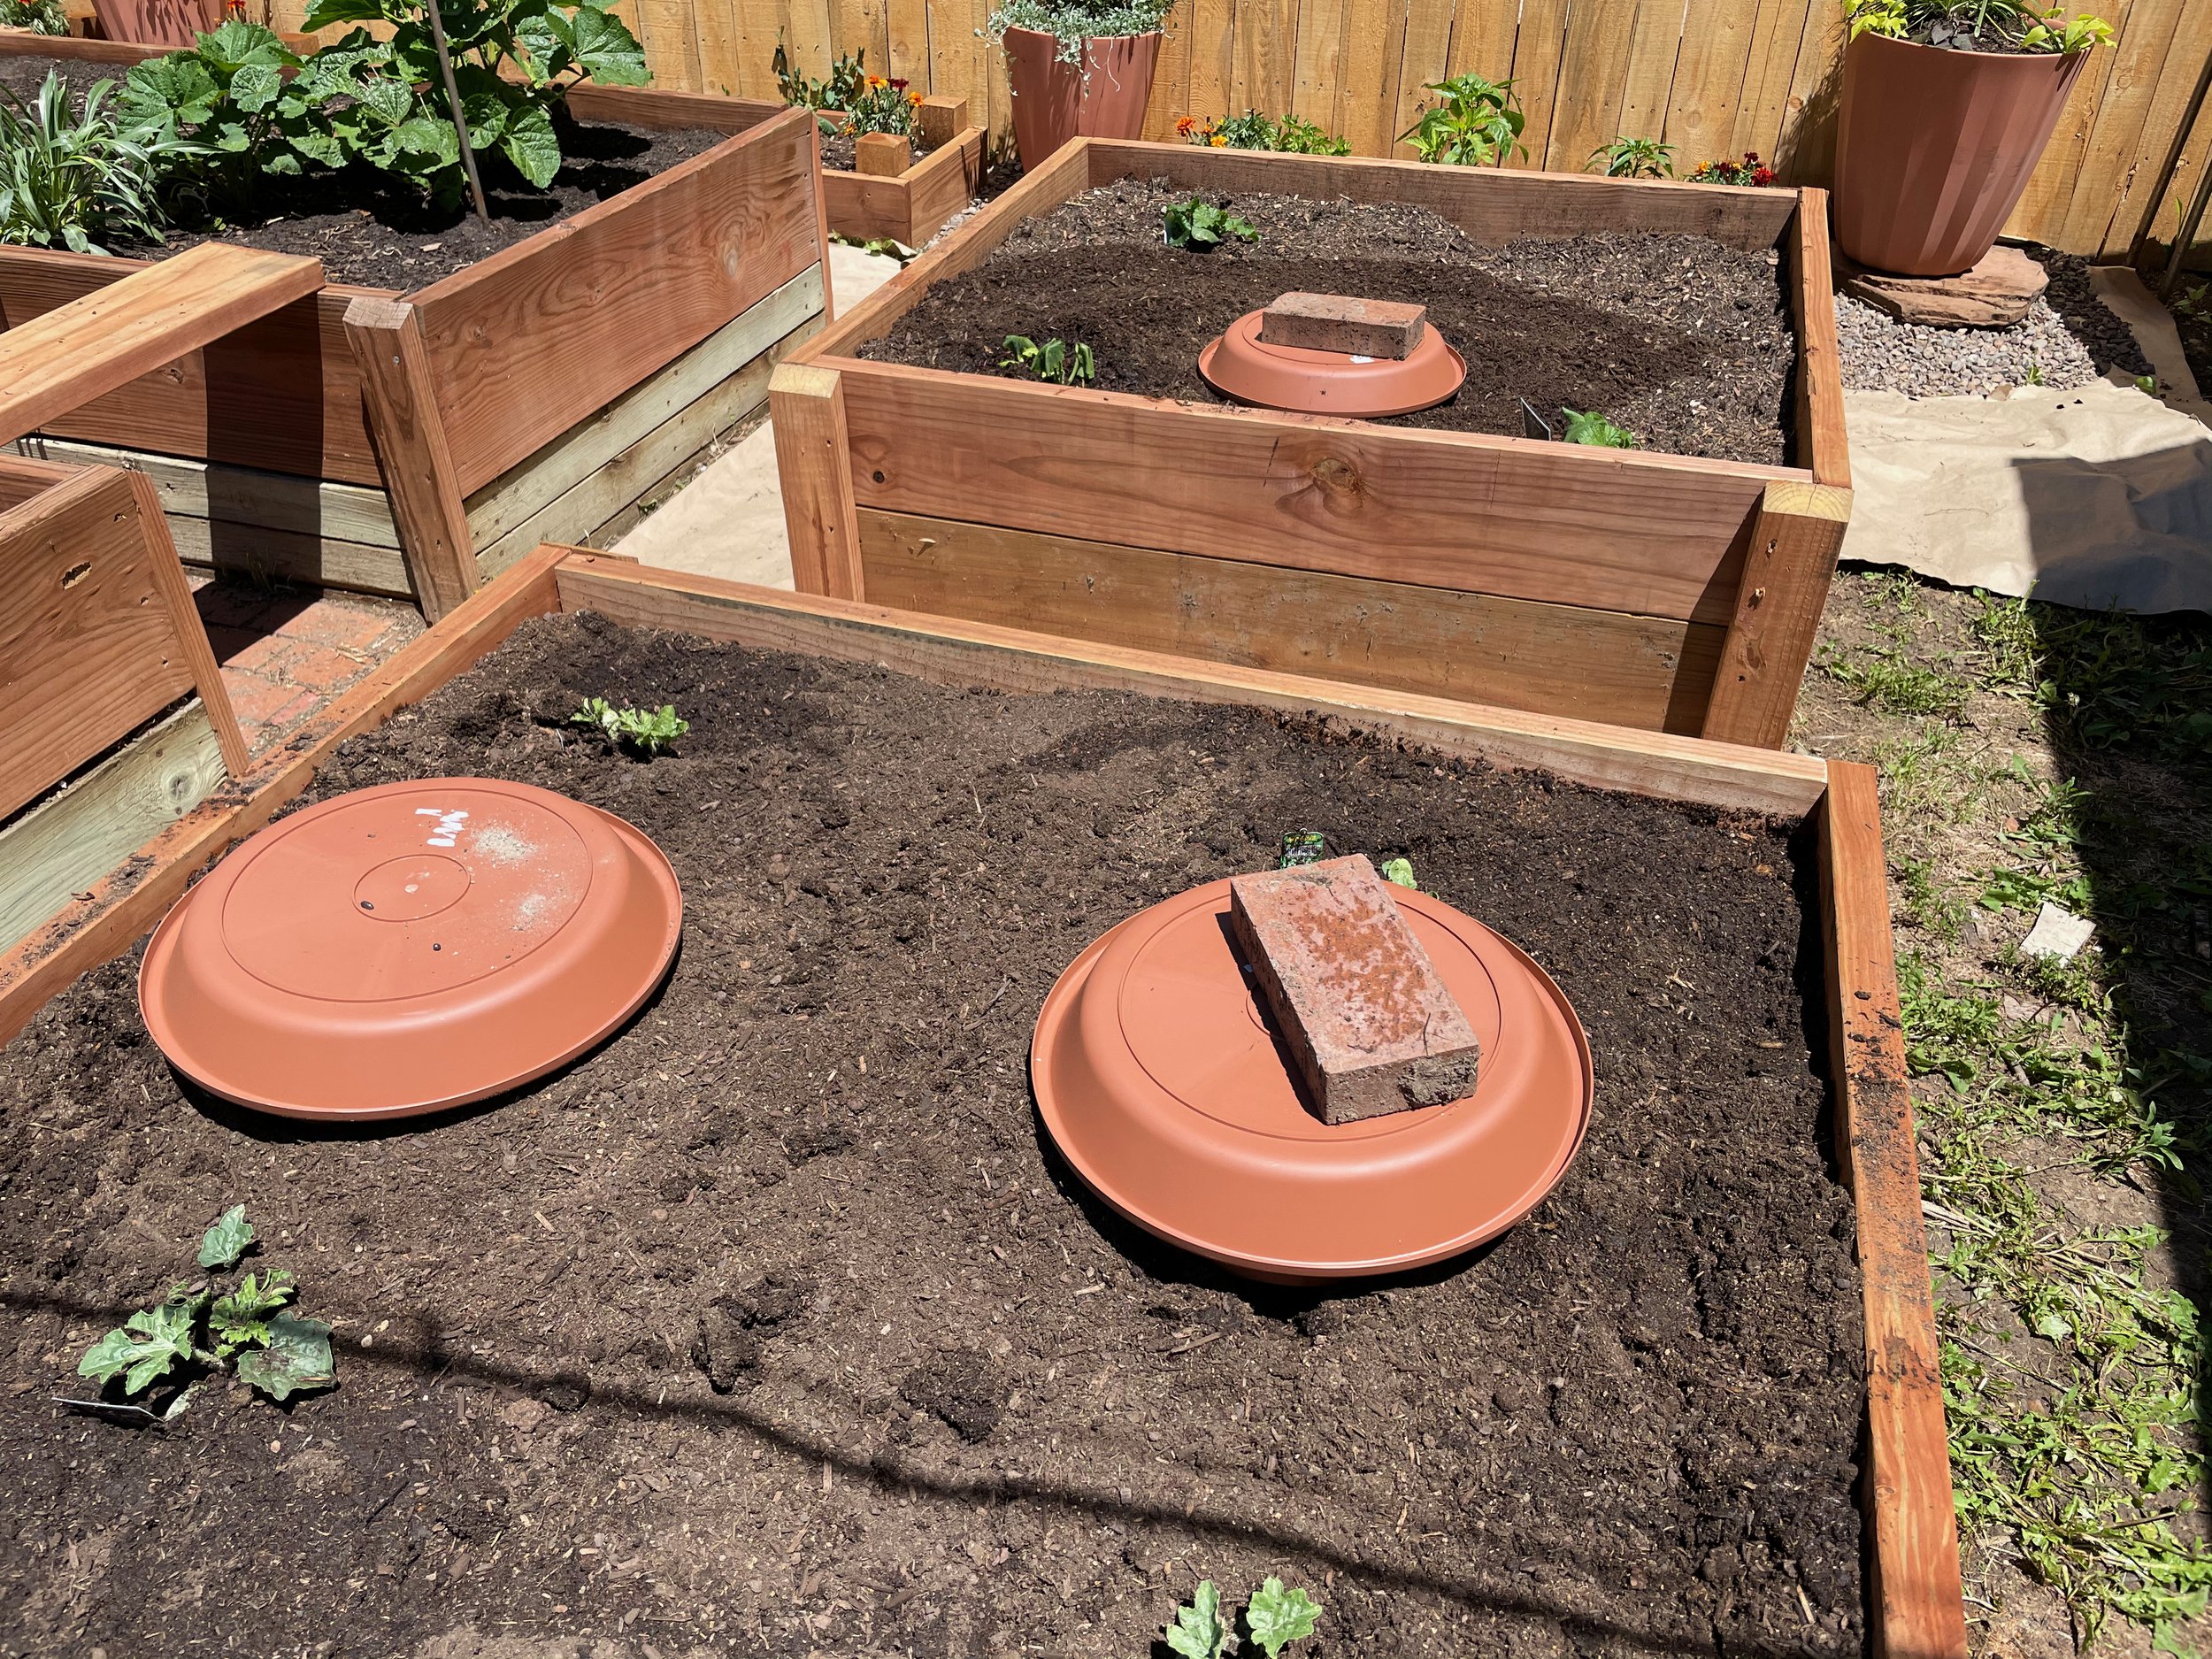
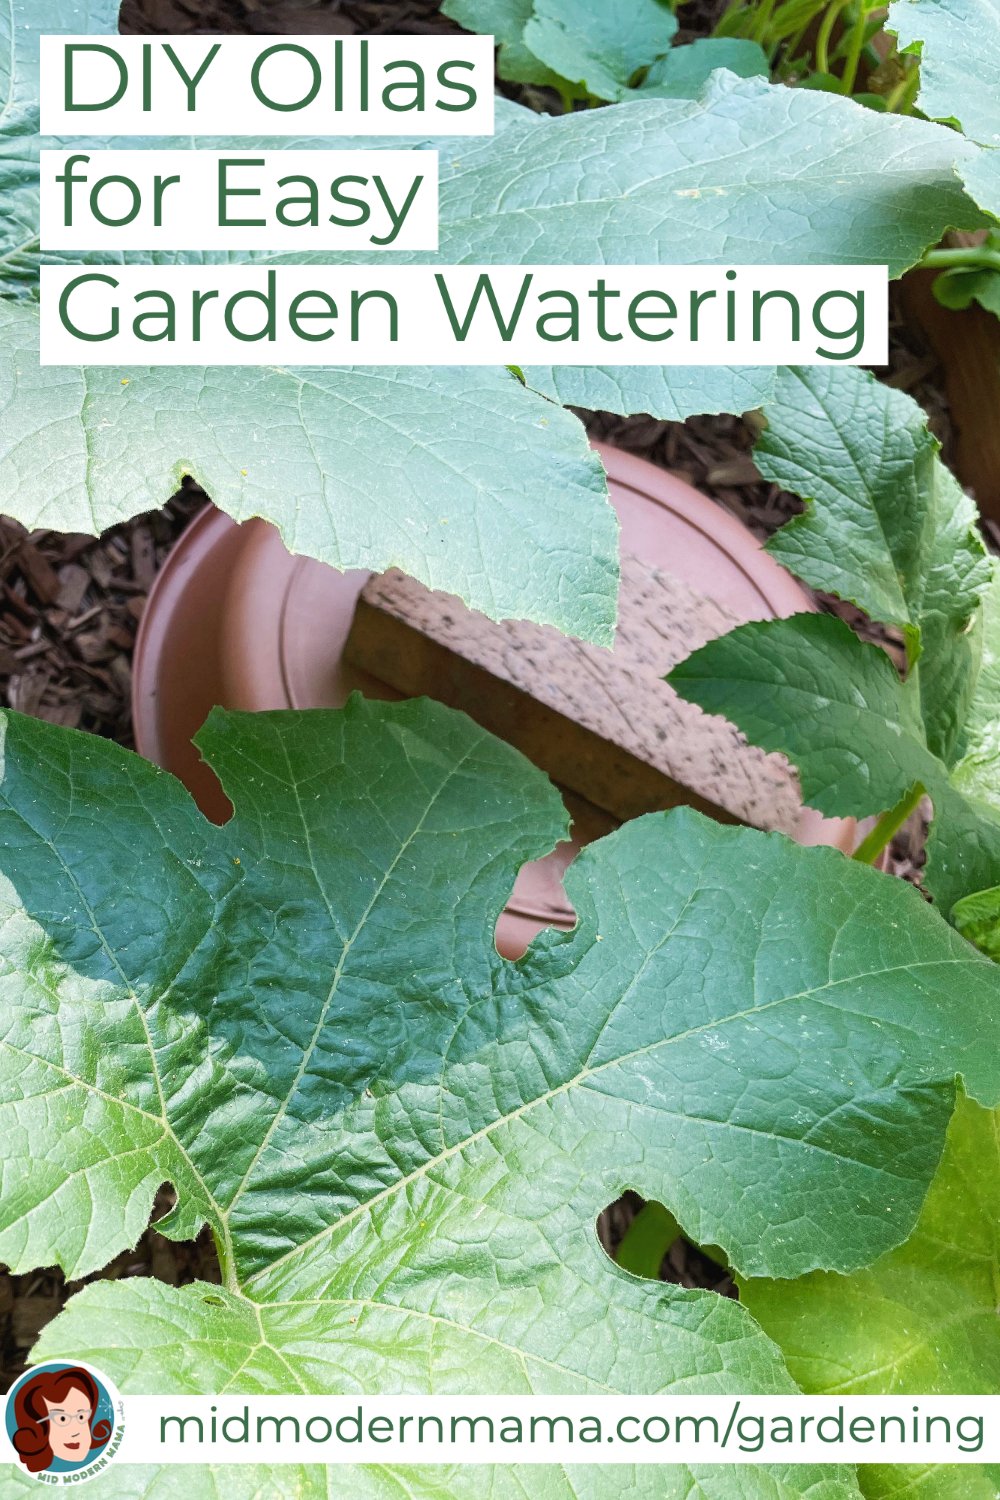
Ollas buried and filled in my garden beds. I used two large pots for each 4’ x 4’ bed.
How to Use an Olla to Water Your Garden
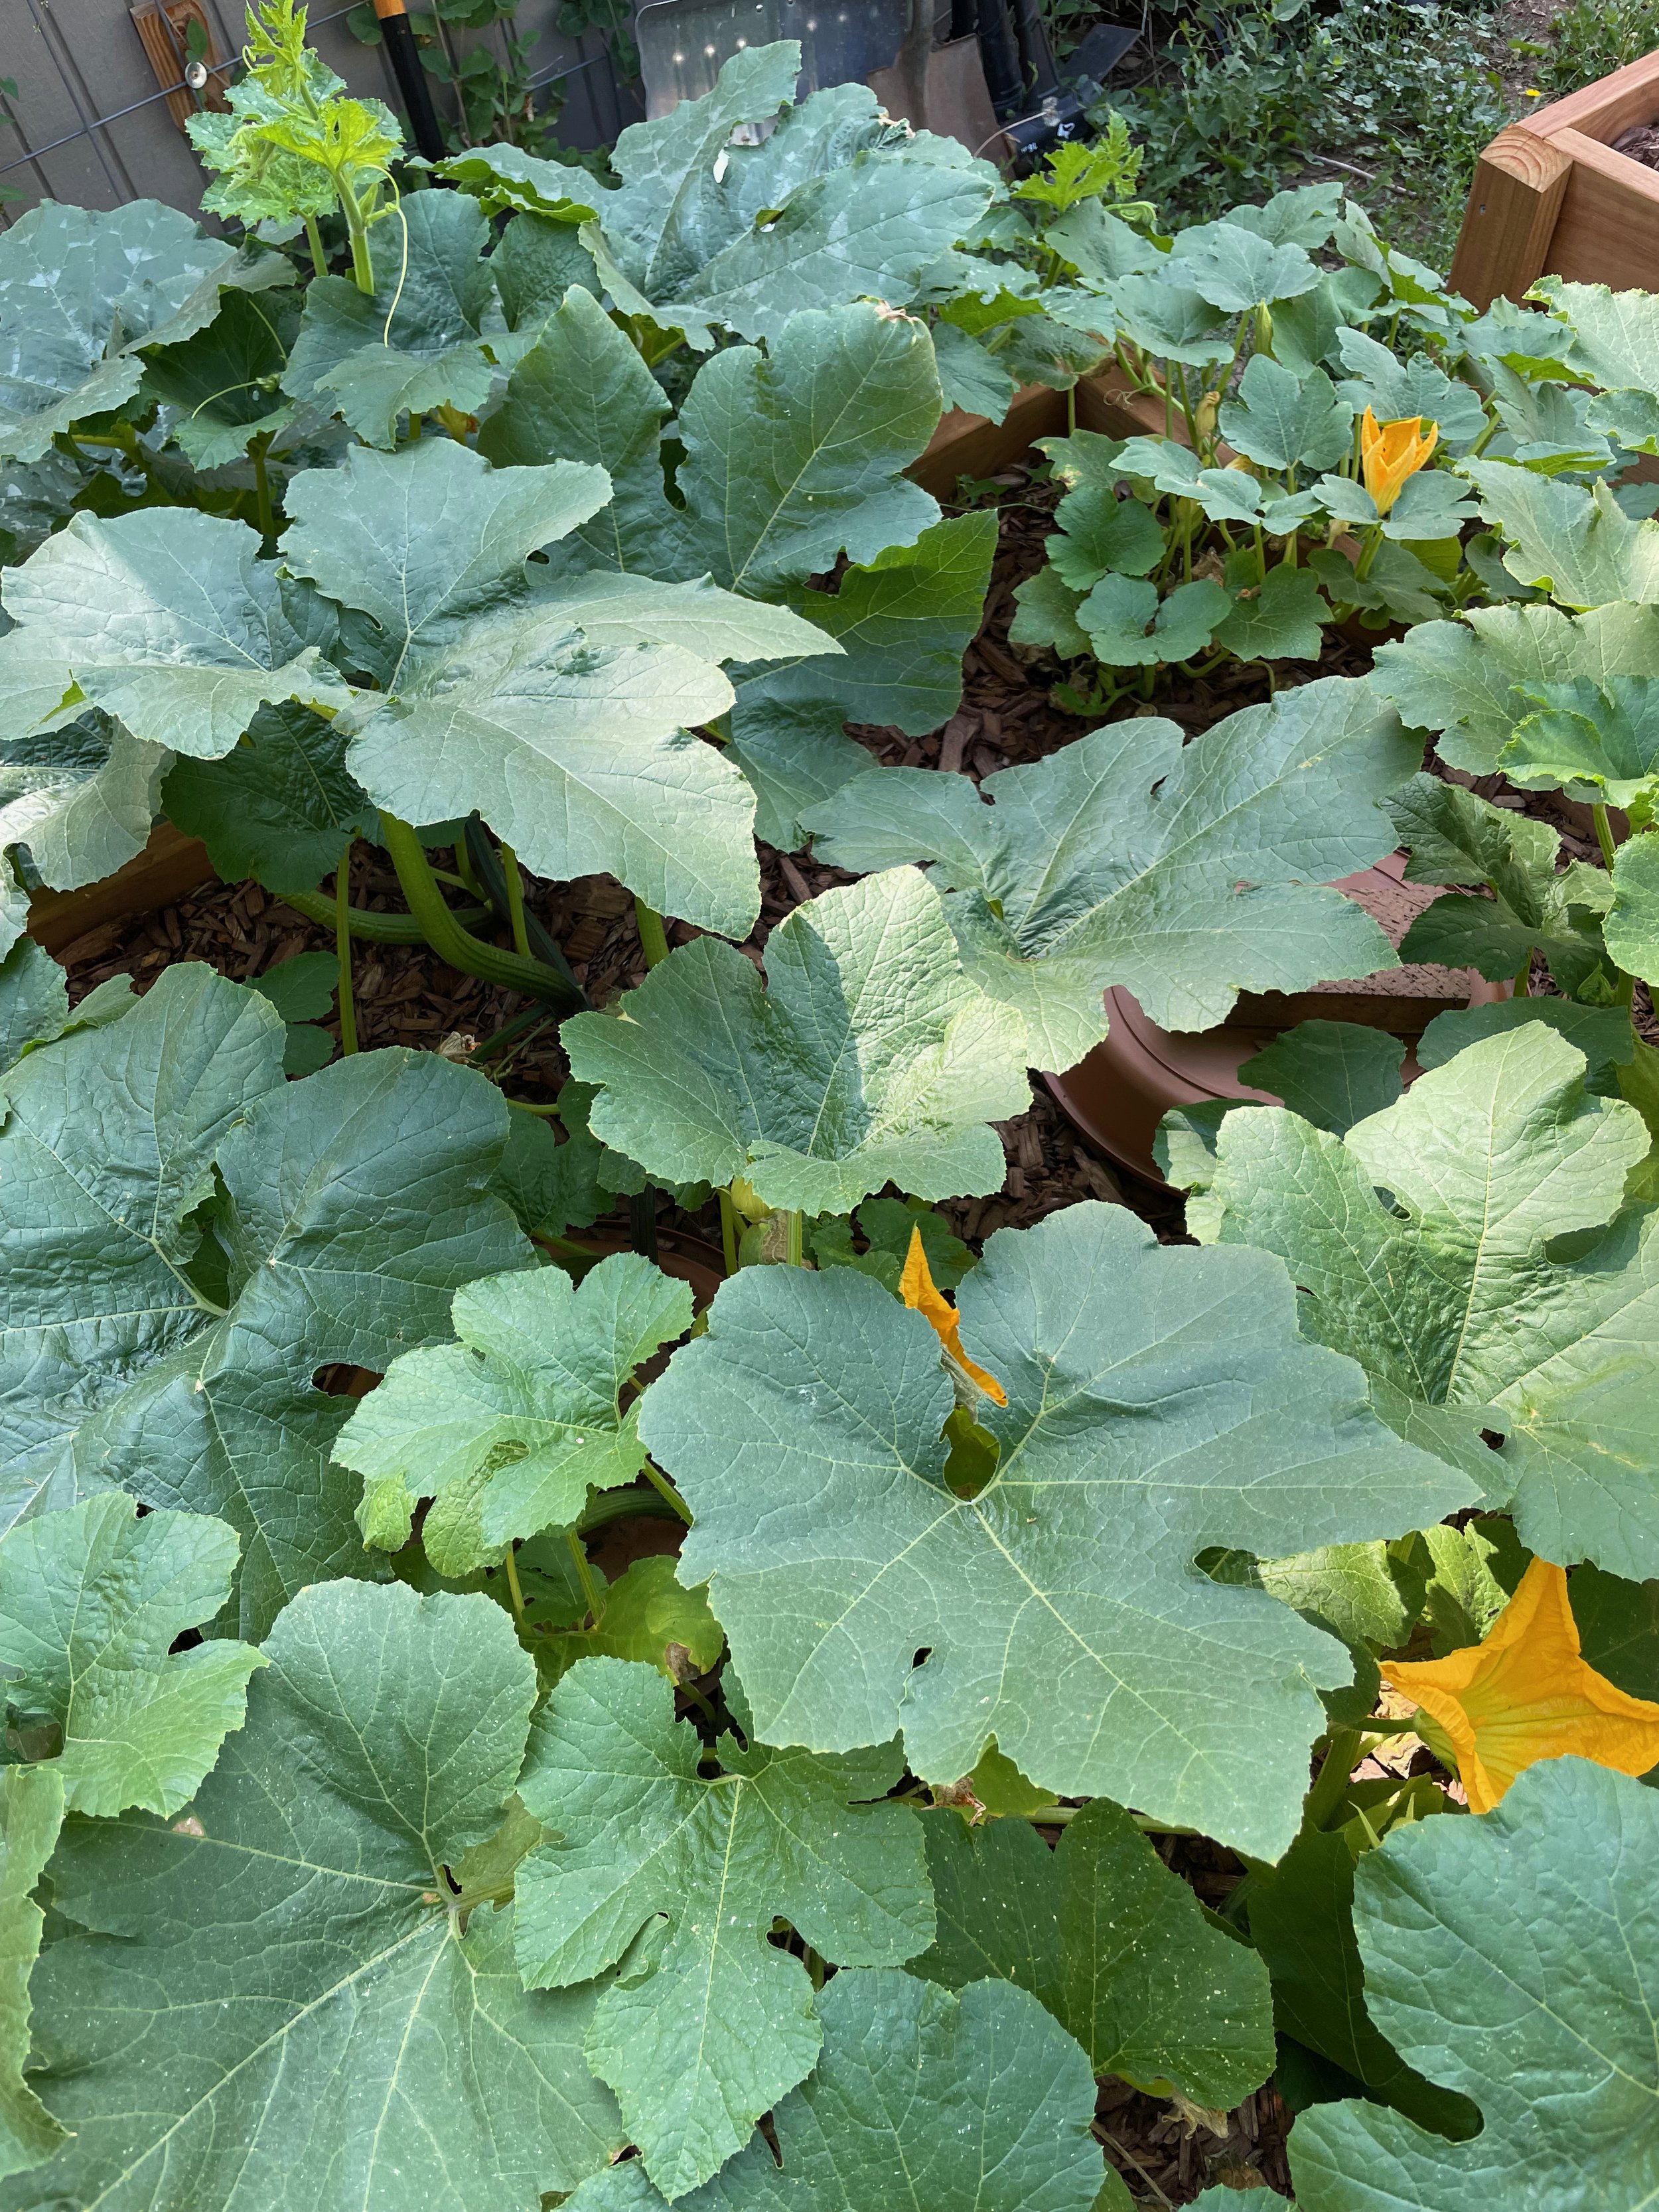
I started with four DIY ollas in my garden. I chose to use them with my pumpkin, squash, and melon plants — thirsty, fast-growing plants. I used these beds as a test to see how often they needed to be filled and how they would work to support plants all summer long. I didn’t doubt the technology — thousands of years of use must mean they are effective — but I wanted to make sure I was deploying them appropriately. So I installed the ollas and after 2 weeks — time for the roots to find the water source — I didn’t supplement the water in those two beds for the rest of the summer. I just filled the ollas when they were dry.
The results of my experiment were astonishing! I filled the ollas 1-2 times per week, used less water, and had healthier plants all summer long. It was less work, more water efficient, and easier gardening!
So what was happening under the soil? Check it out:
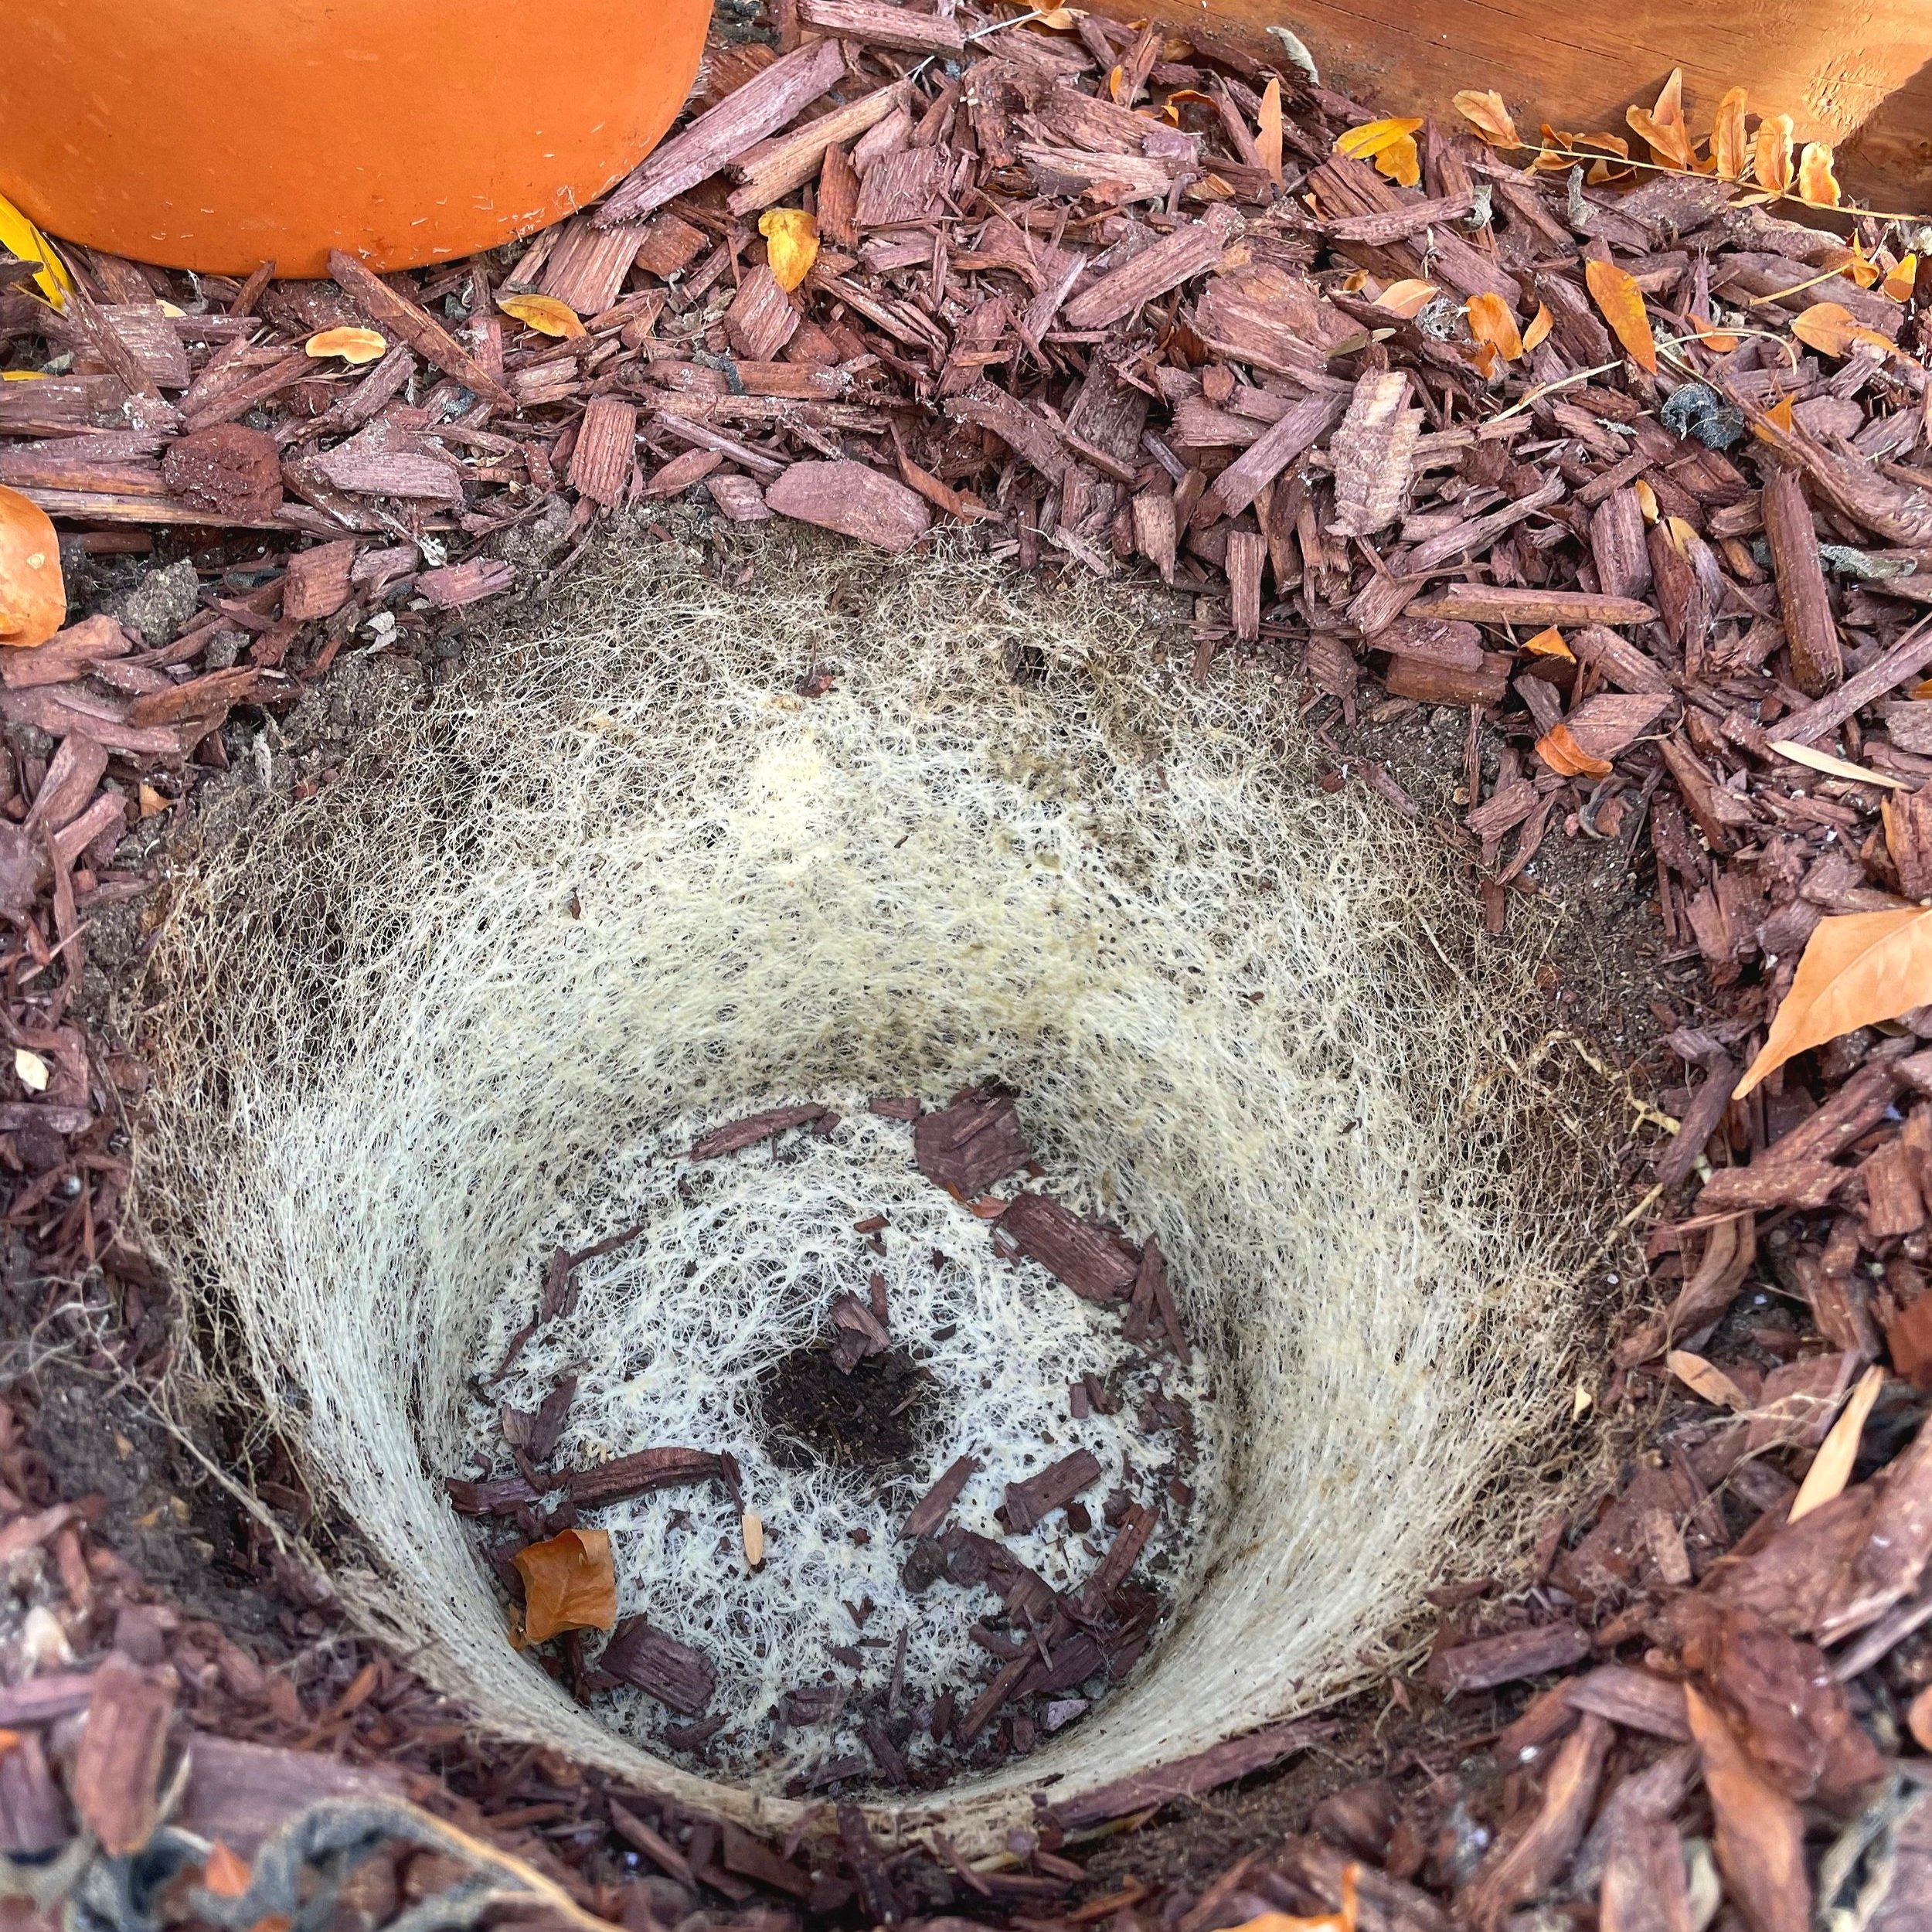

When I pulled up the ollas to store them for the winter, the mass of roots surrounding the pots was impressive. The roots of each plant had grown toward the olla, surrounding it with a water-seeking mat. For the winter, I simply filled each hole with compost. Then I washed each olla, and am storing them in a dry spot for spring.
Materials
To make one olla, you will need:
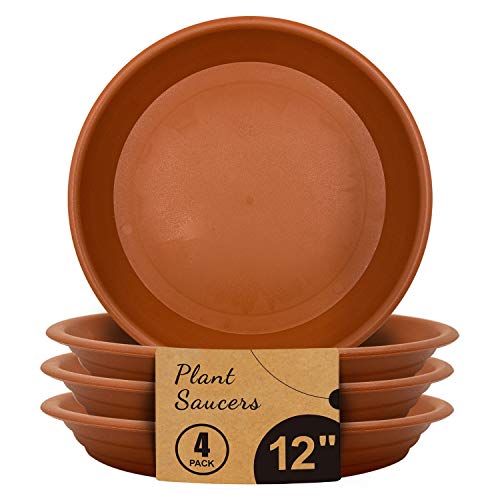
an unglazed, terracotta pot
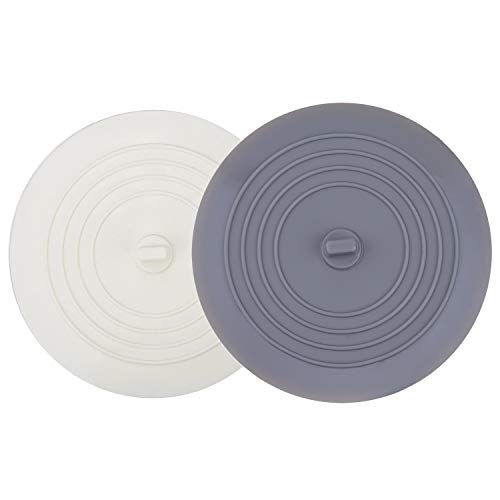
a plastic saucer which fits over the OPEN top of the pot
silicone
a stone, a piece of tile, or a bathtub drain stopper
a heavy stone or brick to hold the saucer in place
A few notes:
The pots MUST be unglazed terracotta or the water will not be able to cross through the pot walls. Plastic or glazed ceramic won’t work.
I used a plastic saucer to prevent evaporation. You could use a terracotta saucer, but there will be some evaporation.
I used stones in the bottom when I made my first ollas, but I had trouble getting a waterproof seal. Next time I make them, I will use drain stoppers with silicone. While they are plastic, they will get a tight seal which will last a very long time.

How to Make an Olla

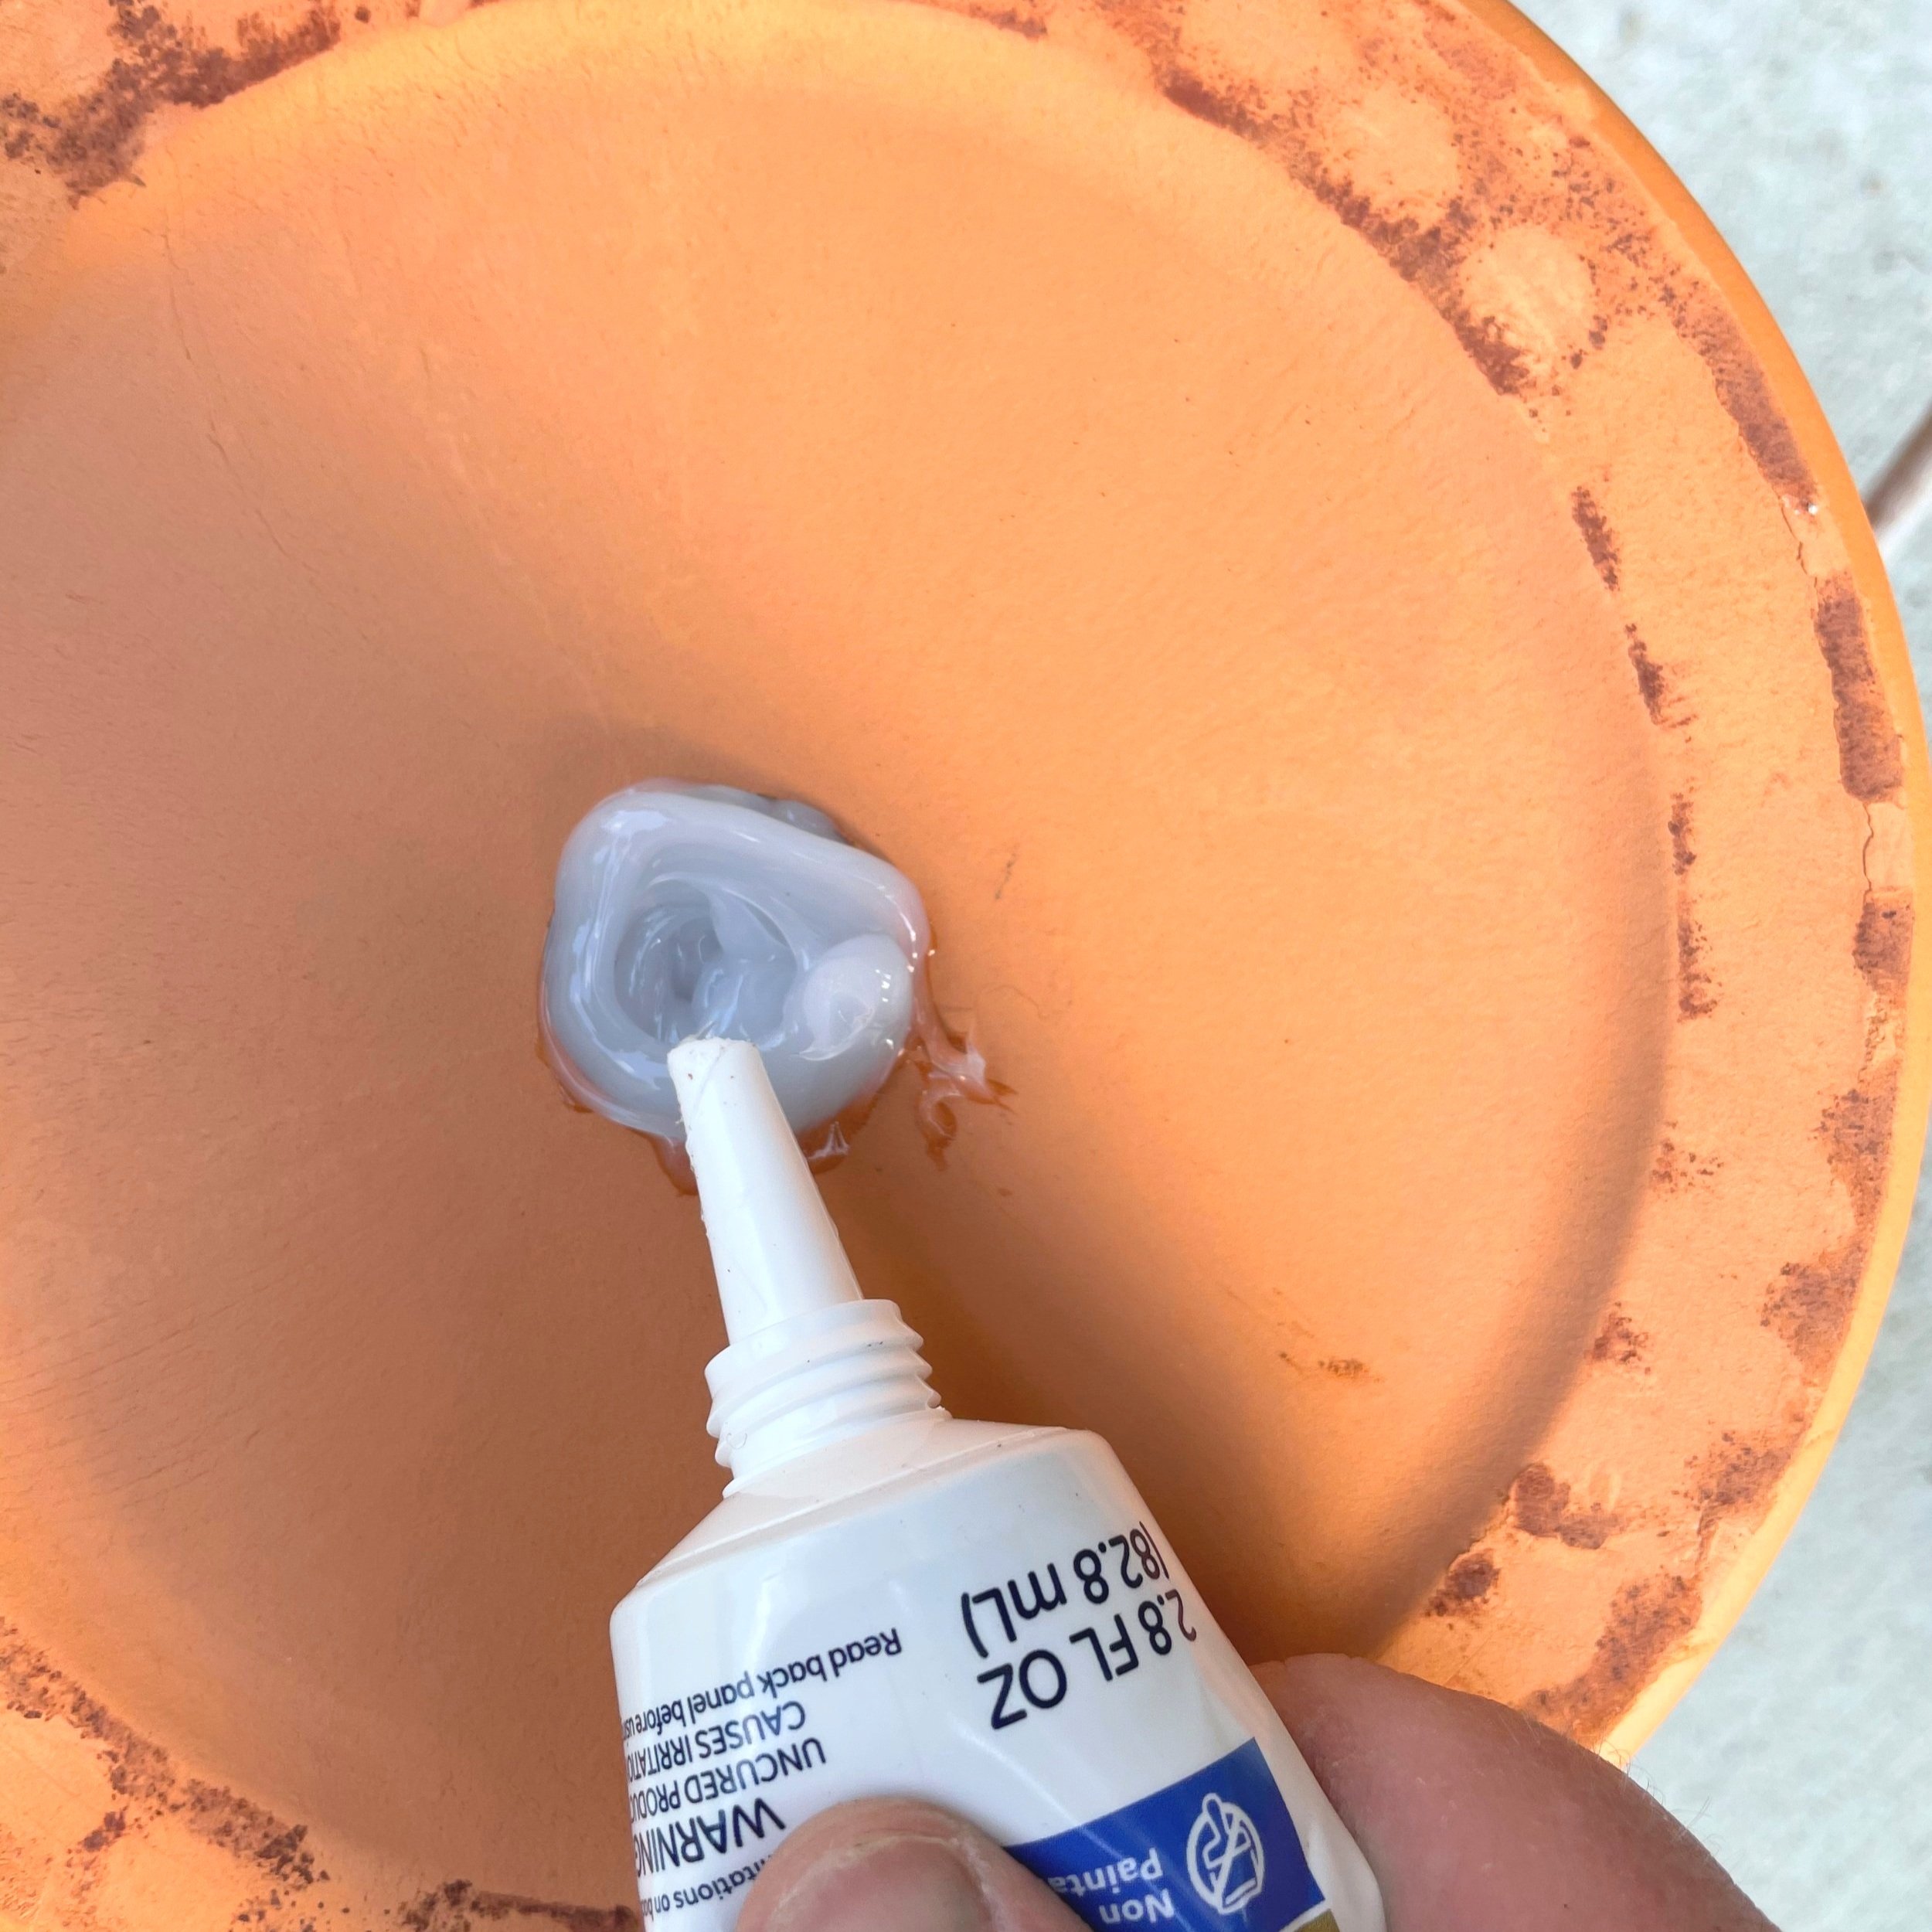
Apply the Silicone
Following the product instructions, apply some silicone to the inside of the pot around the hole at the bottom.

Place the Plug
Place the stone, tile, or tub drain plug over the hole on the bottom securing it with the silicone.

Seal Bottom & Let Dry
Flip the pot over and fill the hole with silicone from the bottom. Allow the pot to dry at least overnight.
Once the silicone is dry, fill the olla with water and test for leaks. Fill any leaks with more sillicone, and dry overnight again.

Place your Ollas
Arrange your ollas in the flowerbed or border where you will be using them. My beds are 4’ x 4’ square. I used two ollas in each bed made from 16” pots.
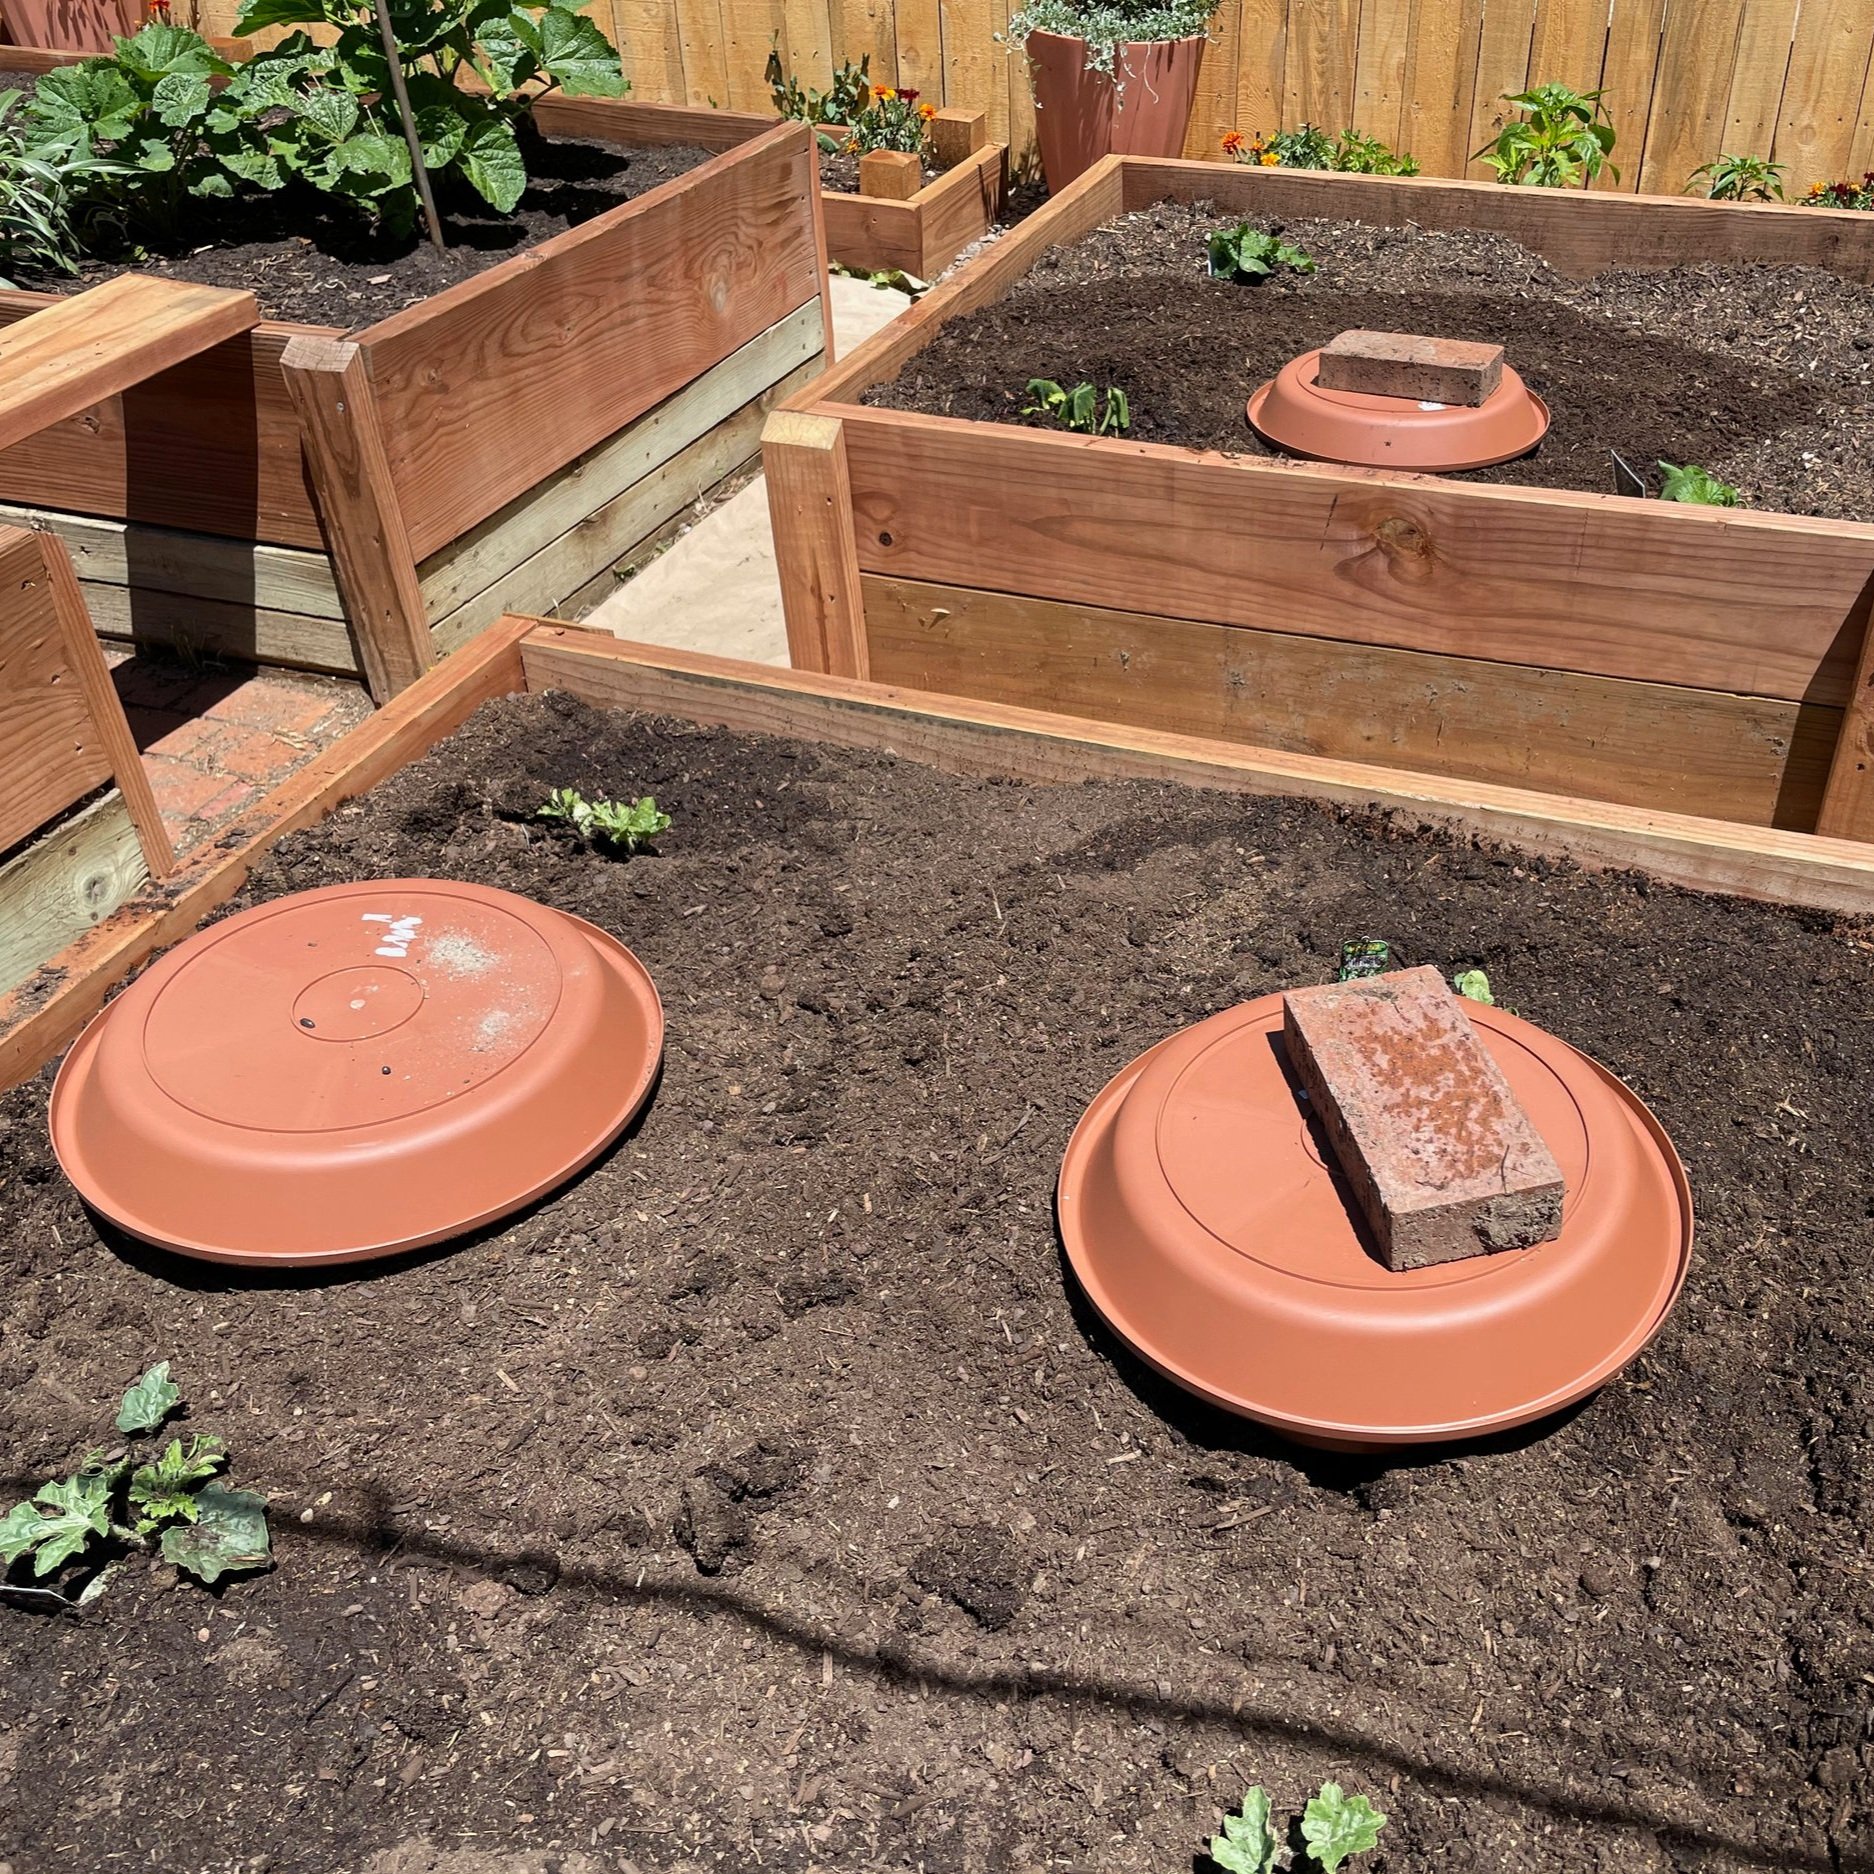
Bury, Cover, & fill
Dig a hole for each olla and bury them so that just an inch or two of the rim is above the dirt. You want a little of the rim sticking up to help keep dirt out of the olla all season.
Fill with fresh water.
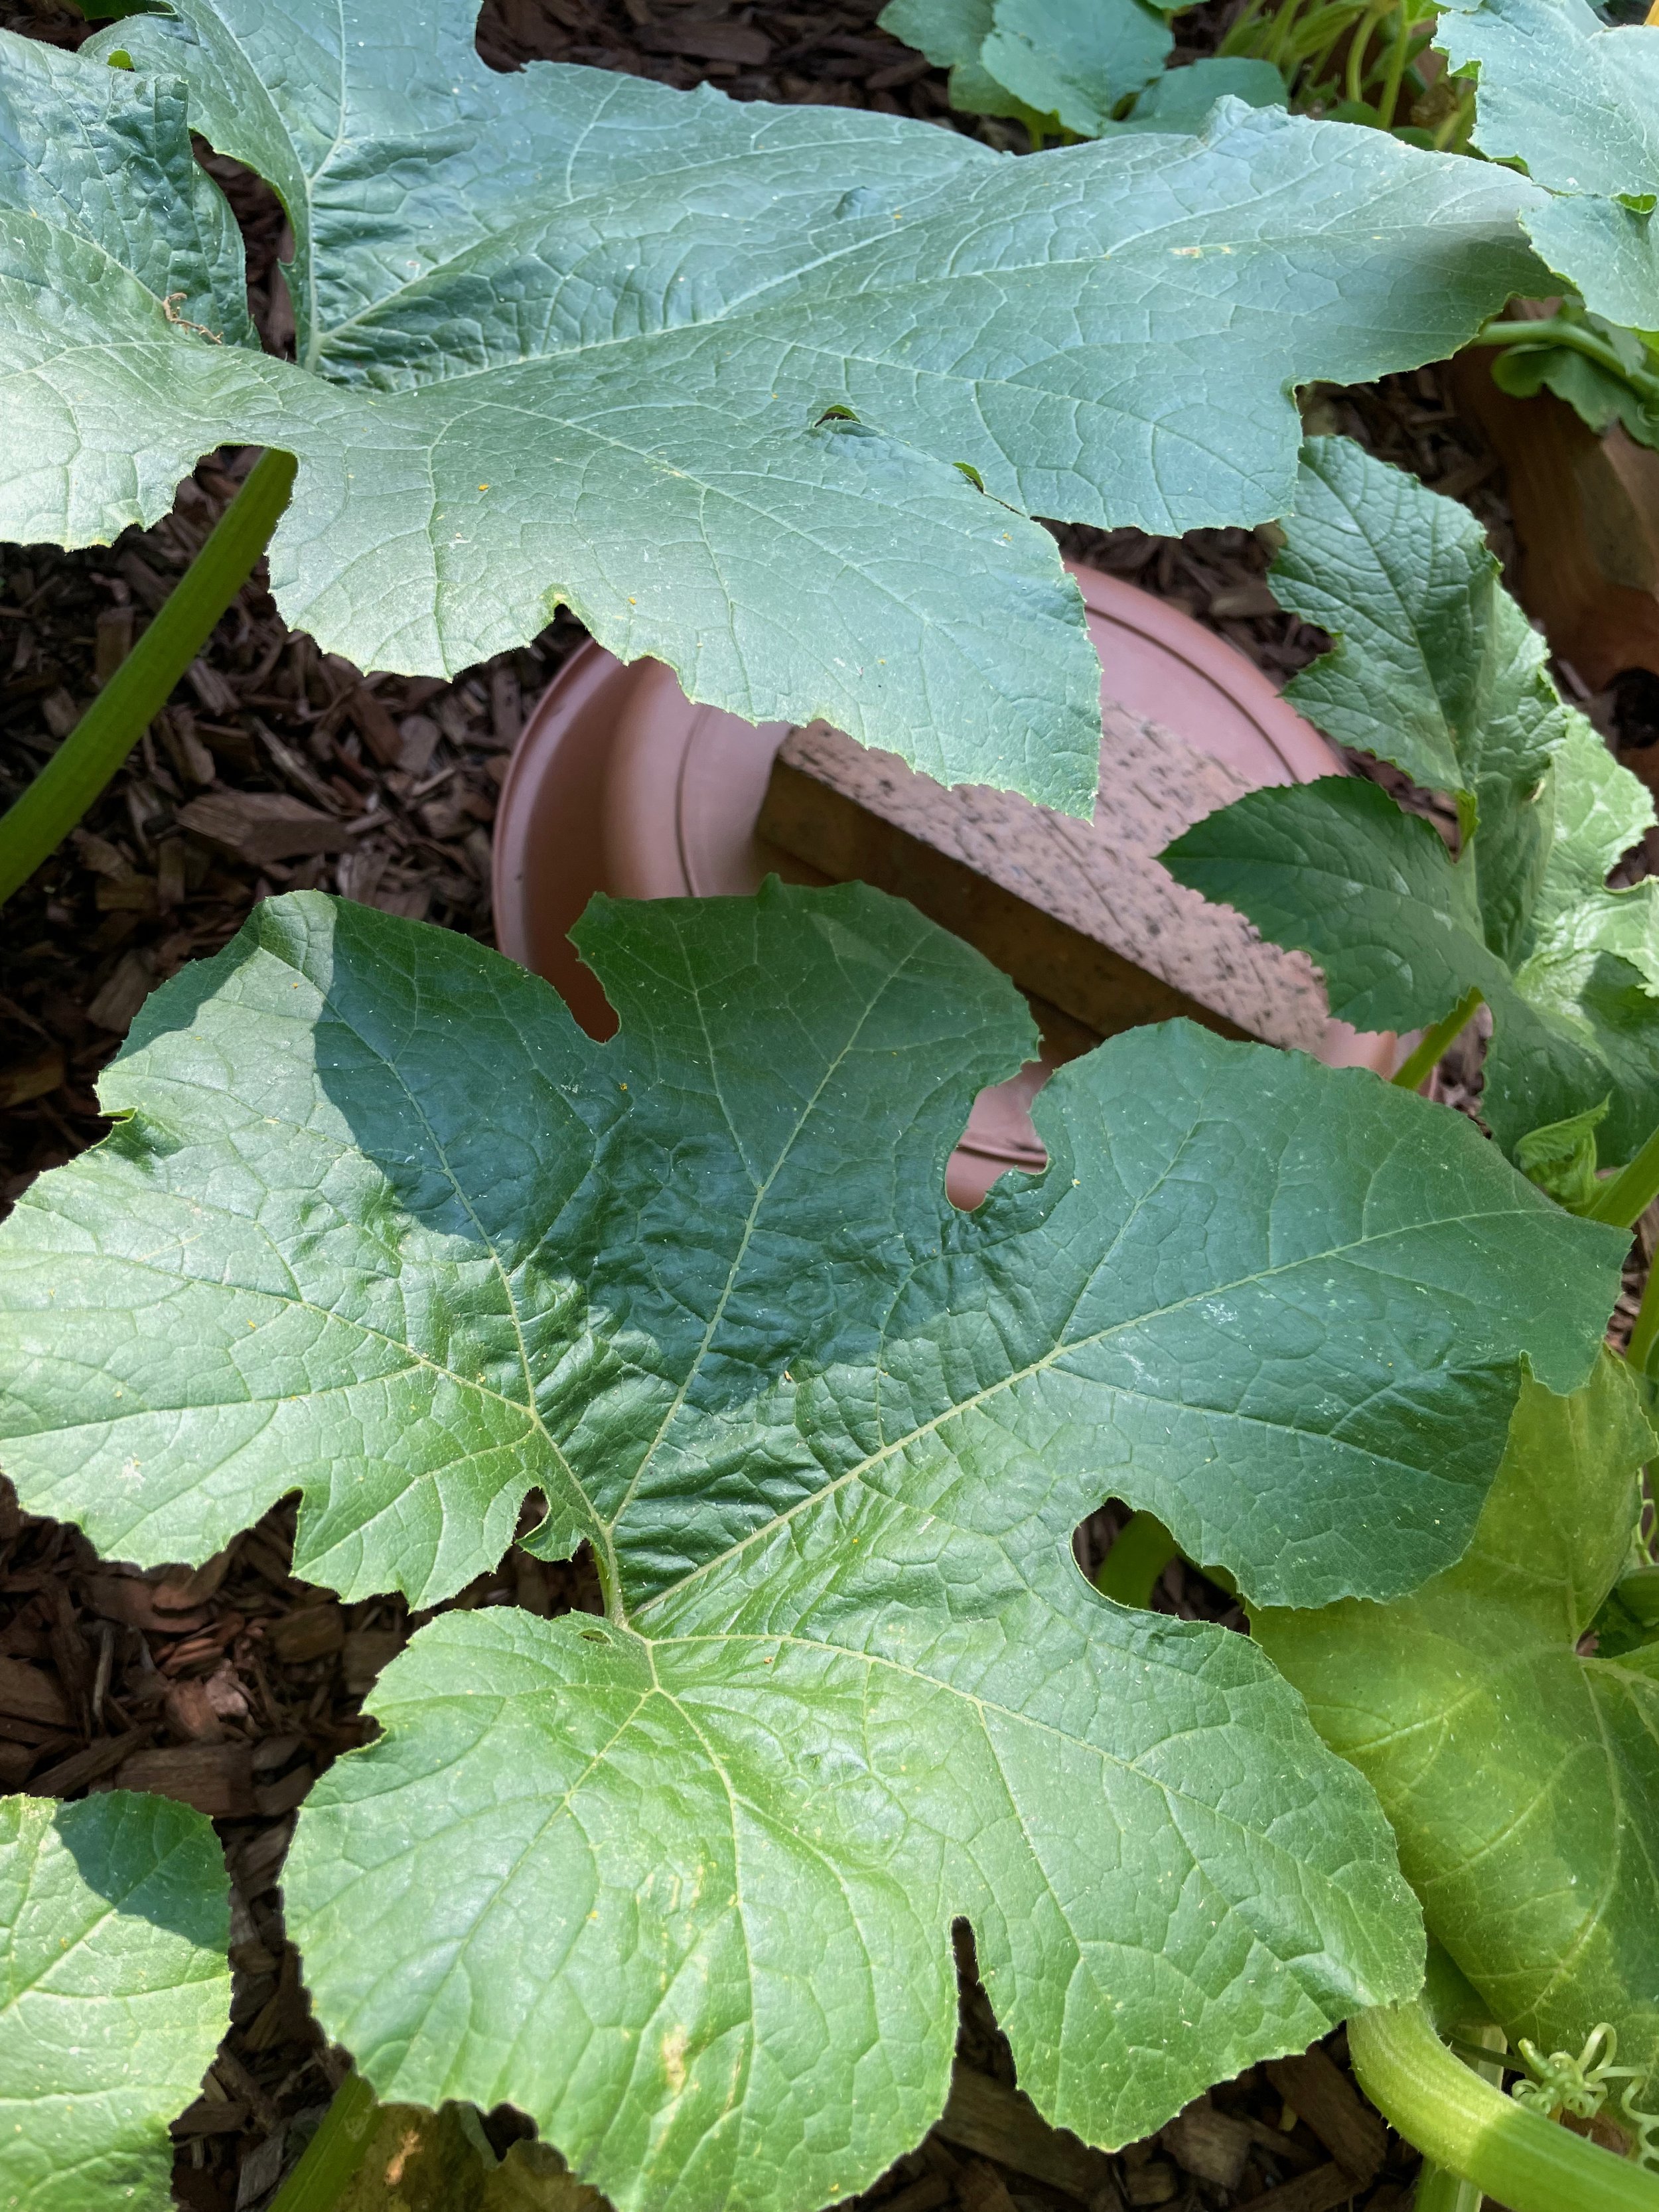
Place the plastic saucer over the top of the olla. I placed bricks on top to keep the saucers from being blown away which worked beautifully.

Enjoy!
It will take 2-3 weeks for your plants to find their new water source. Continue to water them for the first week or two and then taper off. Be sure to check your ollas every few days and fill with water as needed.
Don’t want to see your ollas? Put a potted plant on top! But after a few weeks, my plants had grown over them so they were completely obscured!
What do you do with ollas in the winter?
In Pasadena and other warm parts of the world, ollas can be used year-round. Fabulous! But here in Colorado and anywhere where the ground freezes, we have to pull them up in the fall and then bury them again in the spring. This will keep the terracotta from cracking in the freezing temperatures.
Pull the ollas up out of the ground.
Fill in the holes with compost.
Clean the ollas inside and out.
Store in a dry location to prevent cracking.
Test before using again in the spring to make sure they are watertight.
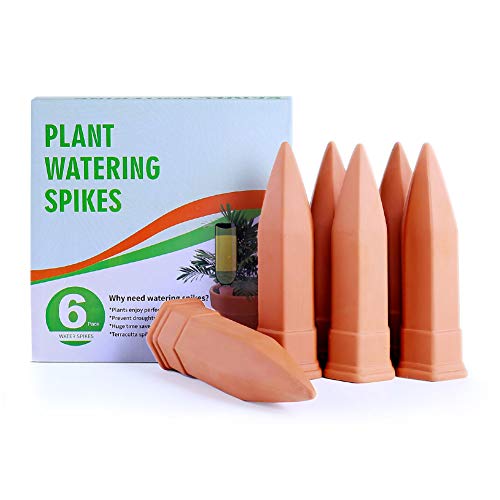
Ollas can be made in many sizes. Use smaller ollas for containers and smaller beds. And if you want a ready-made option, here are some products which use the same principles for larger or smaller gardening solutions.