


Create easy air dry clay animals step by step
Elephant
Refer to the project downloads for reference images of each animal.
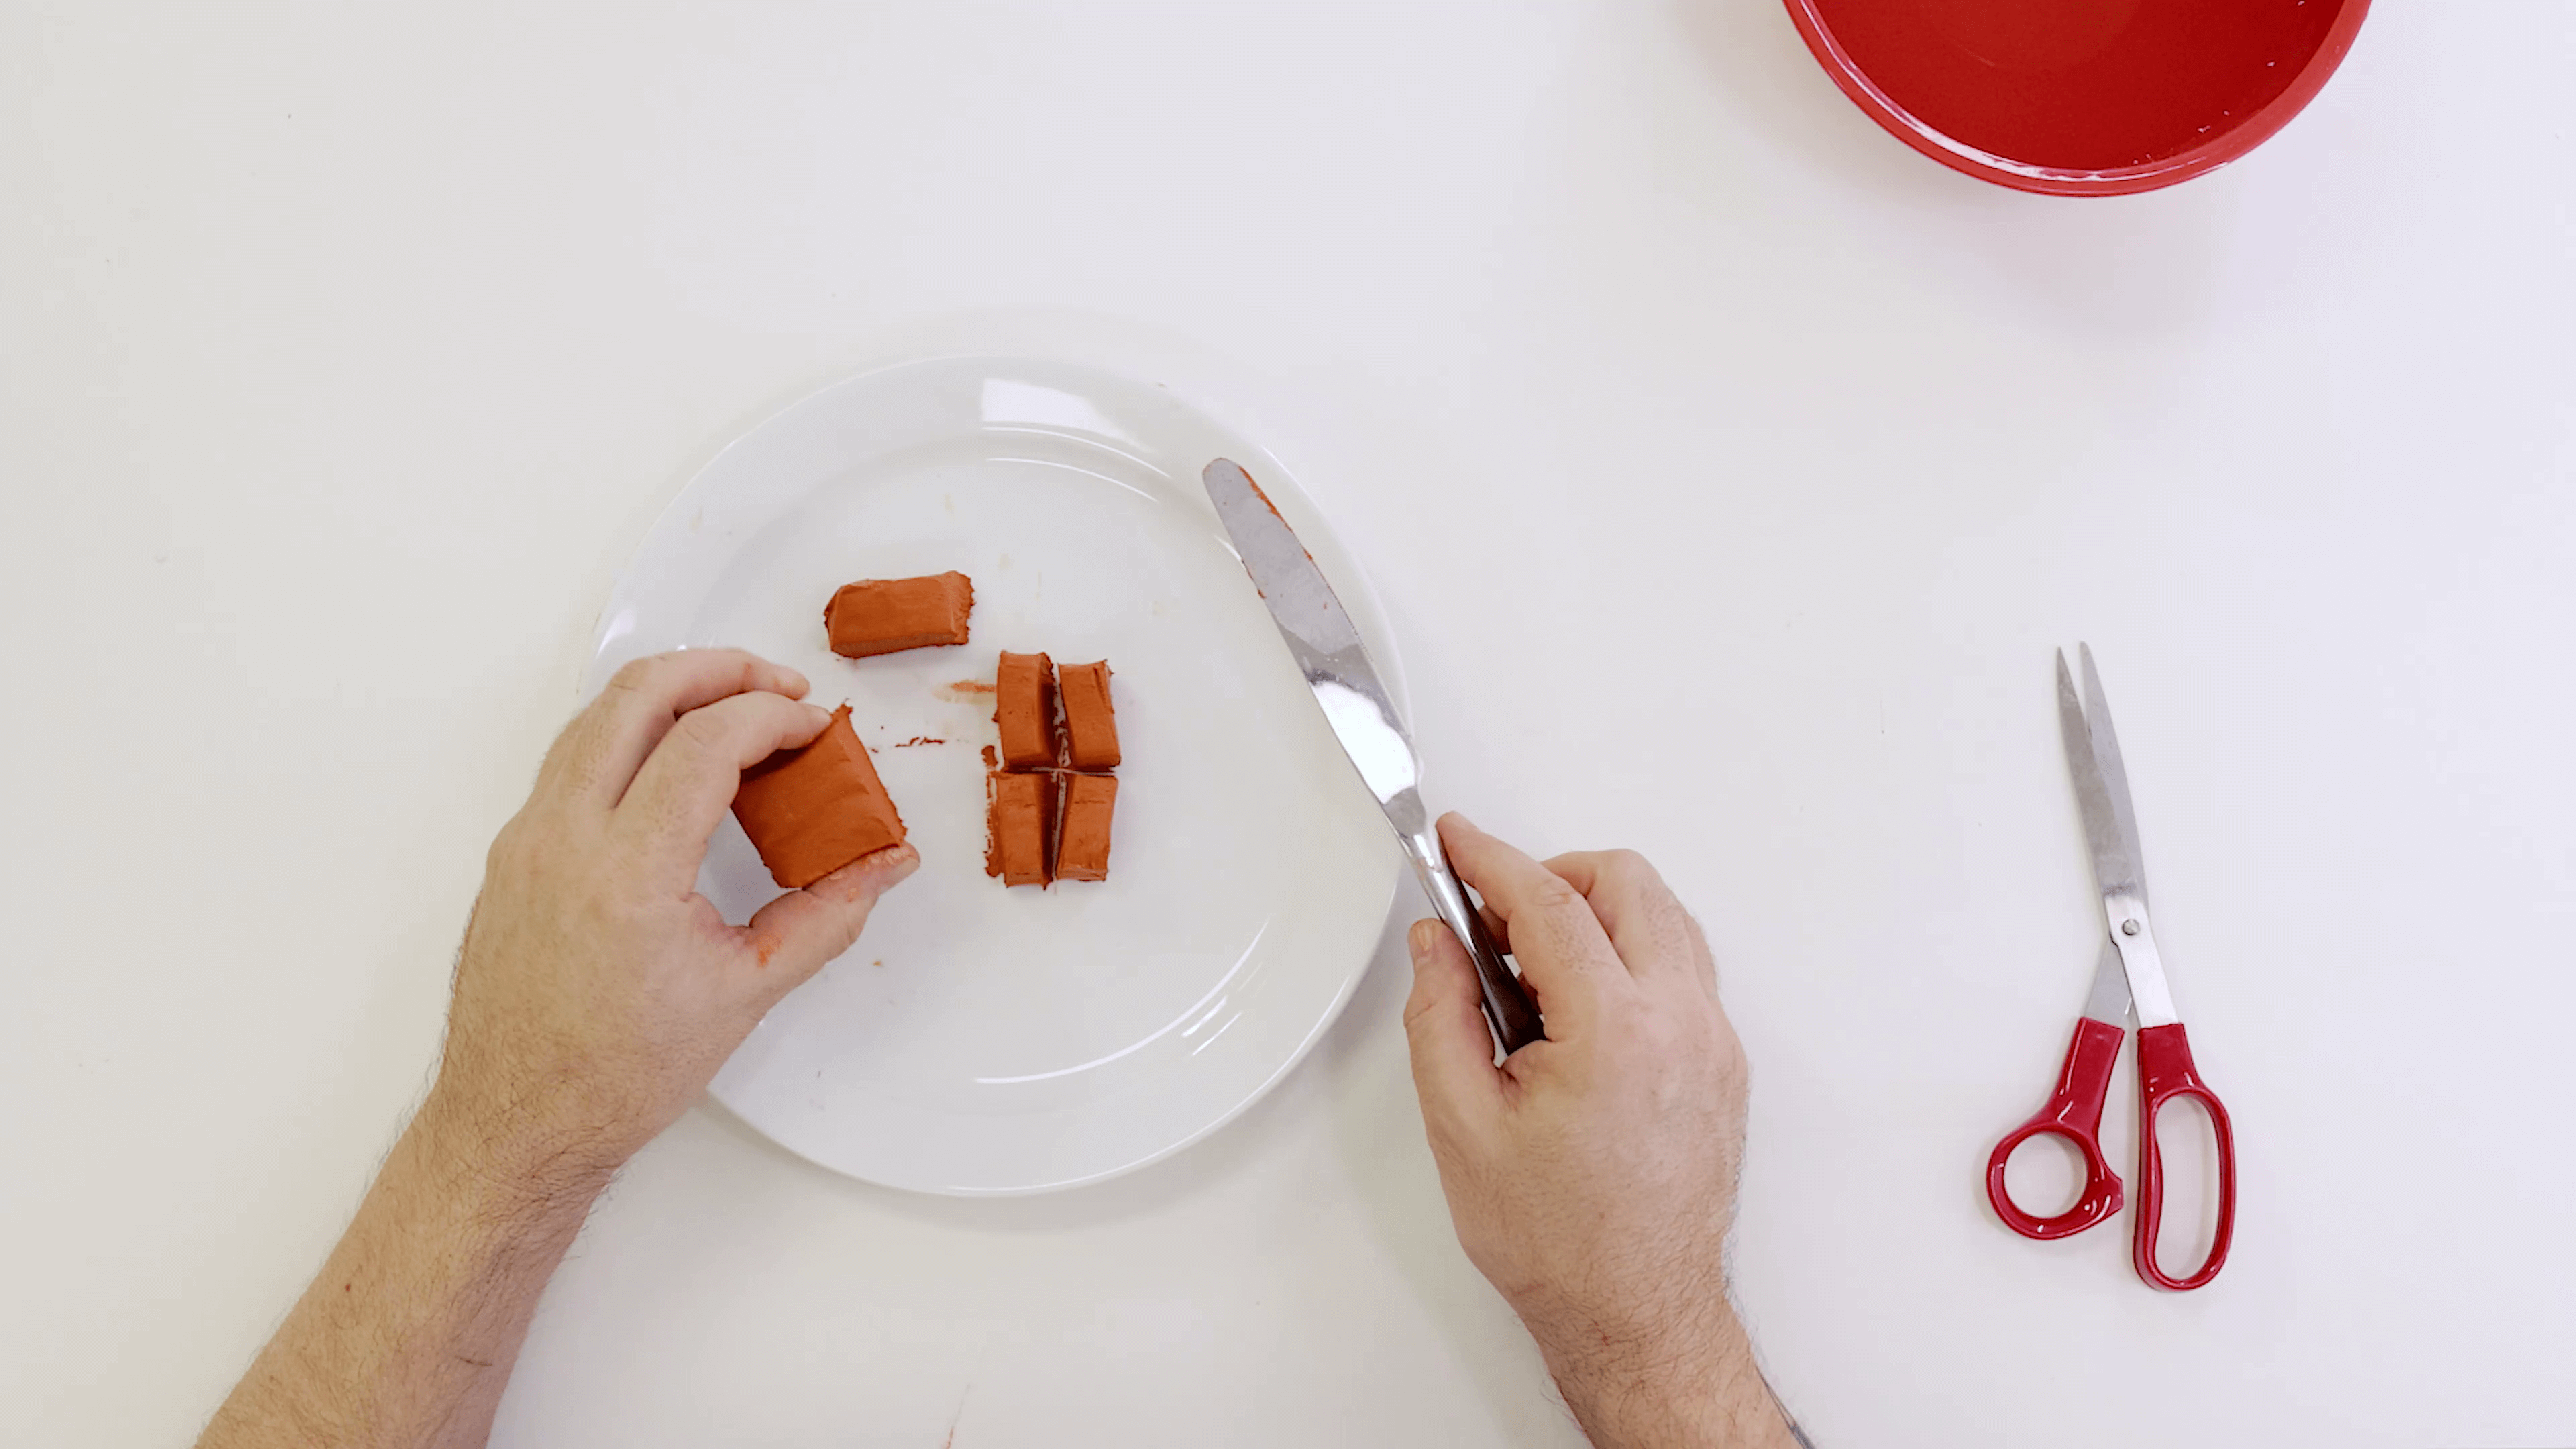
Open the terracotta clay and cut it in half. Wrap up one half and put it aside for later.
Cut the half into four small squares for the legs, a larger square for the body, and a medium-sized piece for the head.
To shape the body, roll the larger block in your hands to create an egg shape.
Each leg can be created by rolling the small blocks into tube shapes. Press the legs onto the plate so they stand upright.
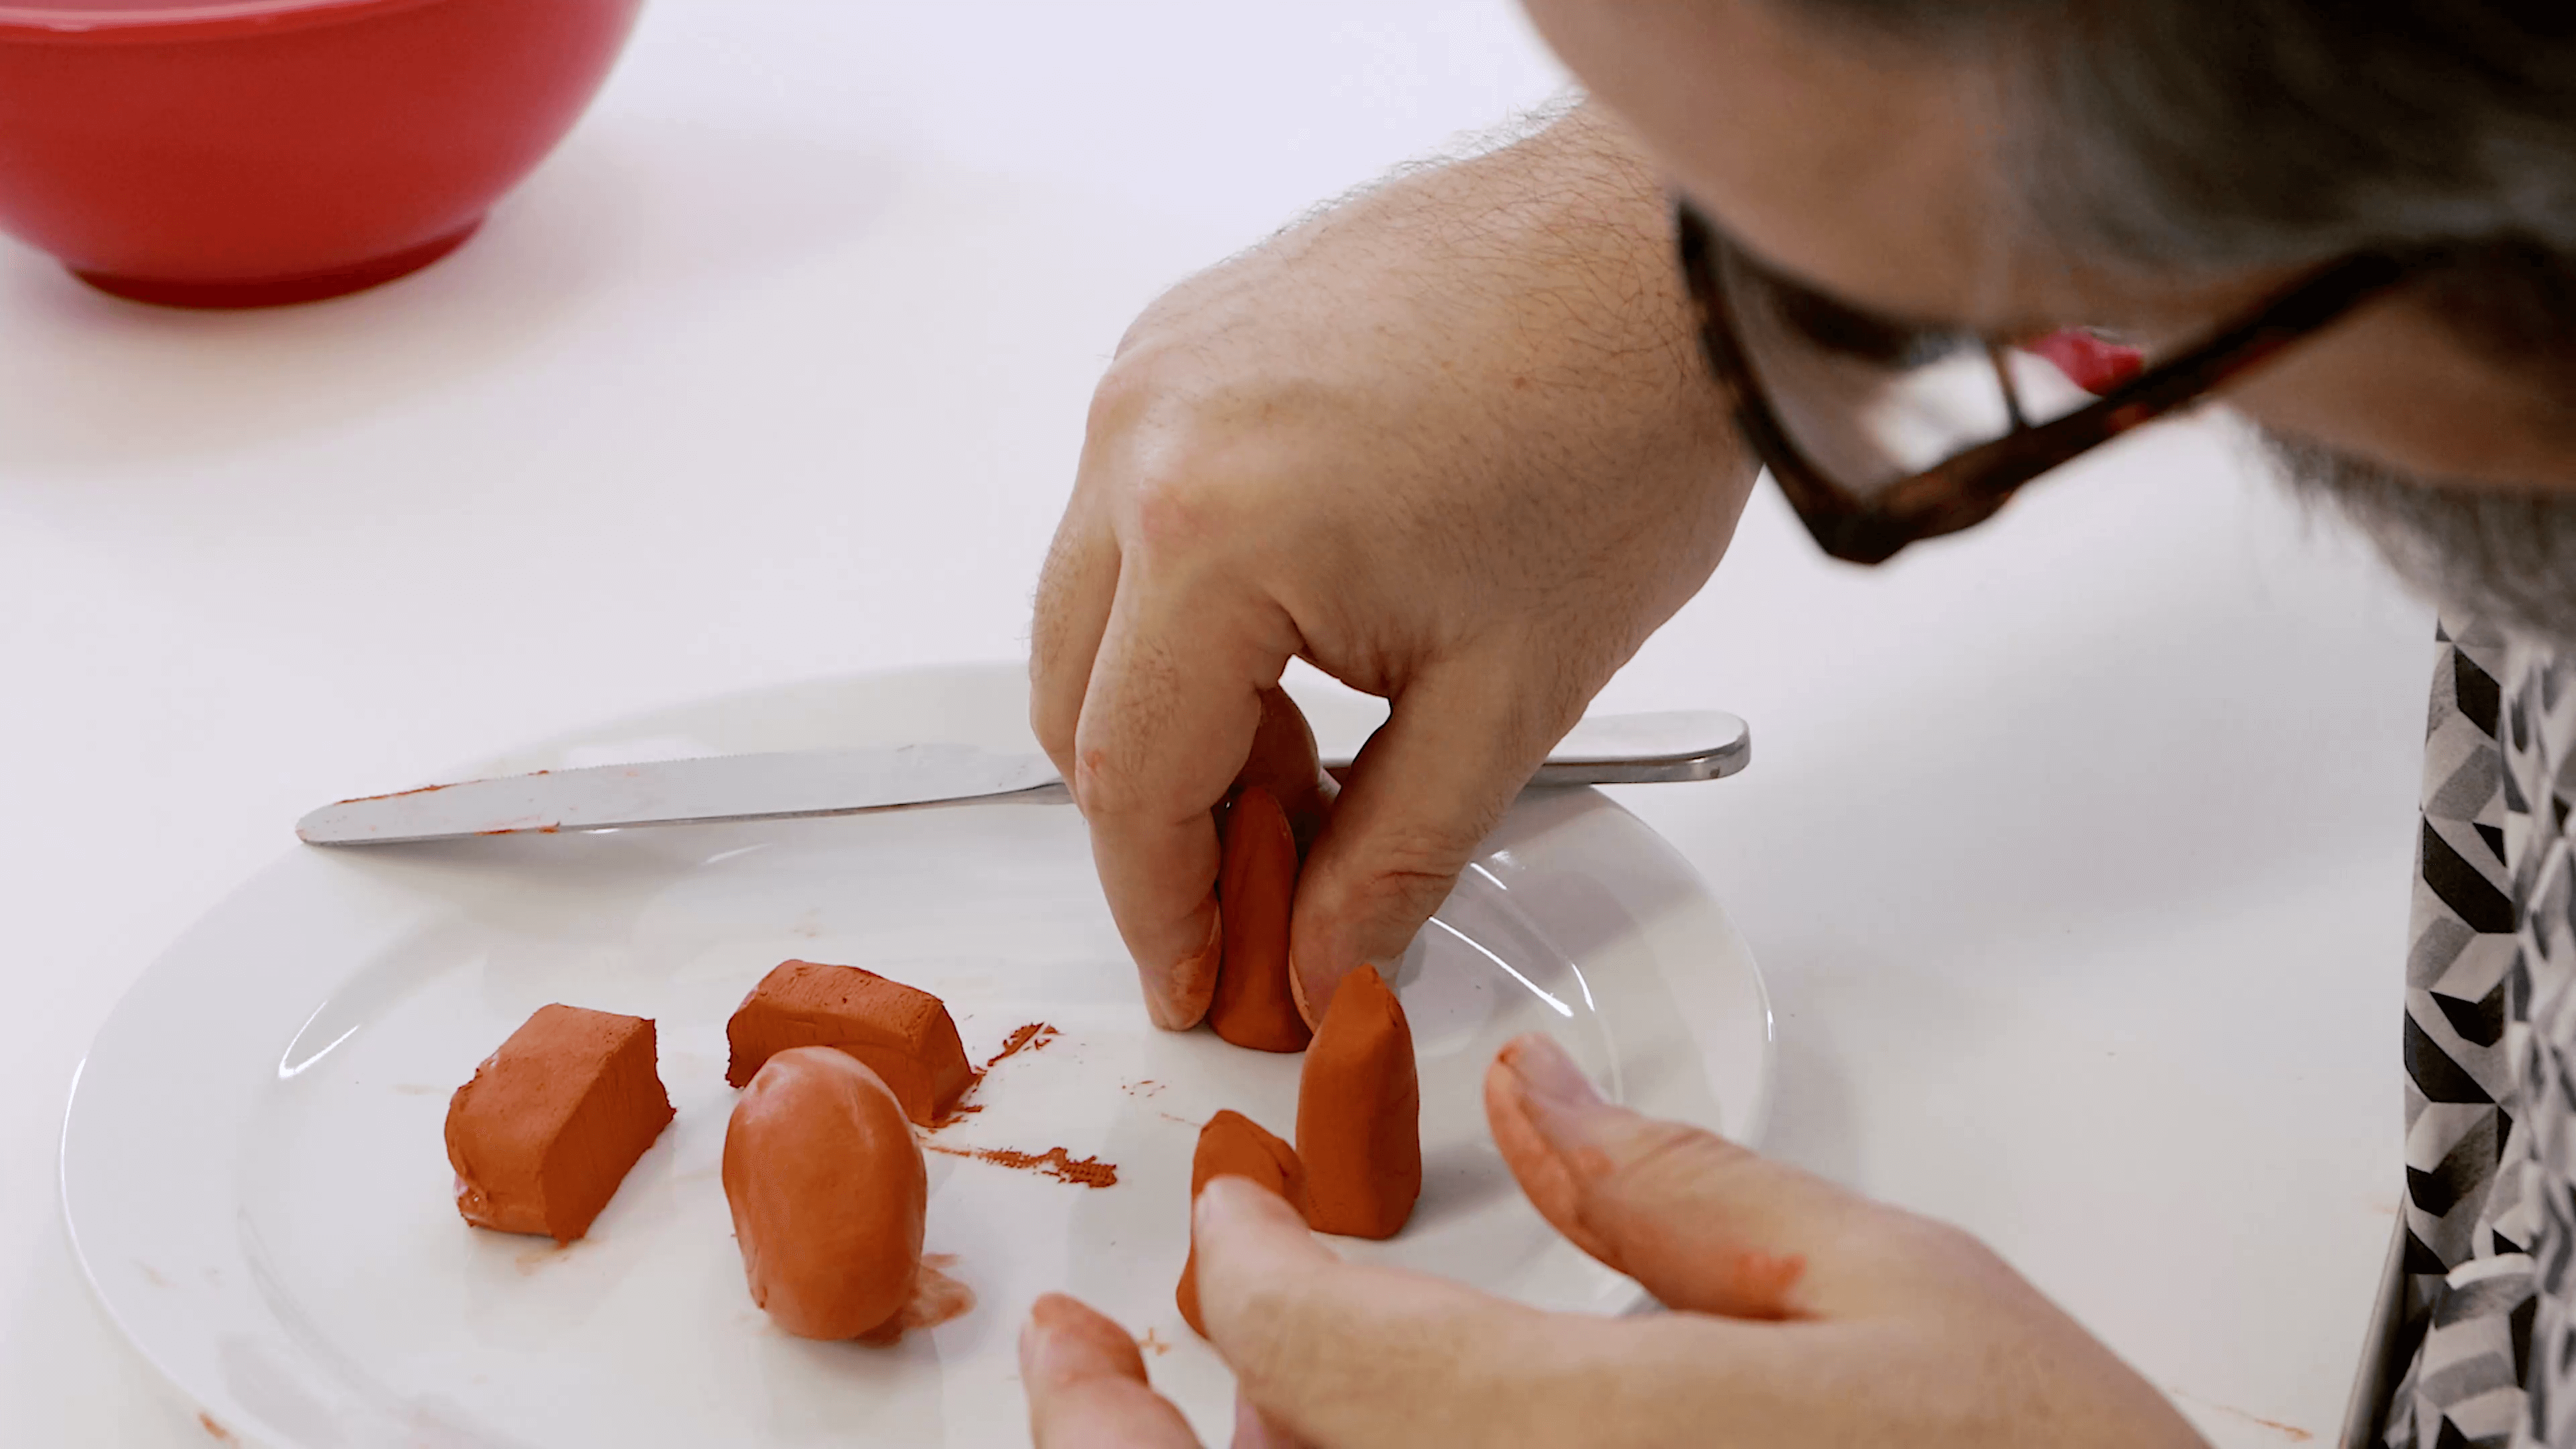
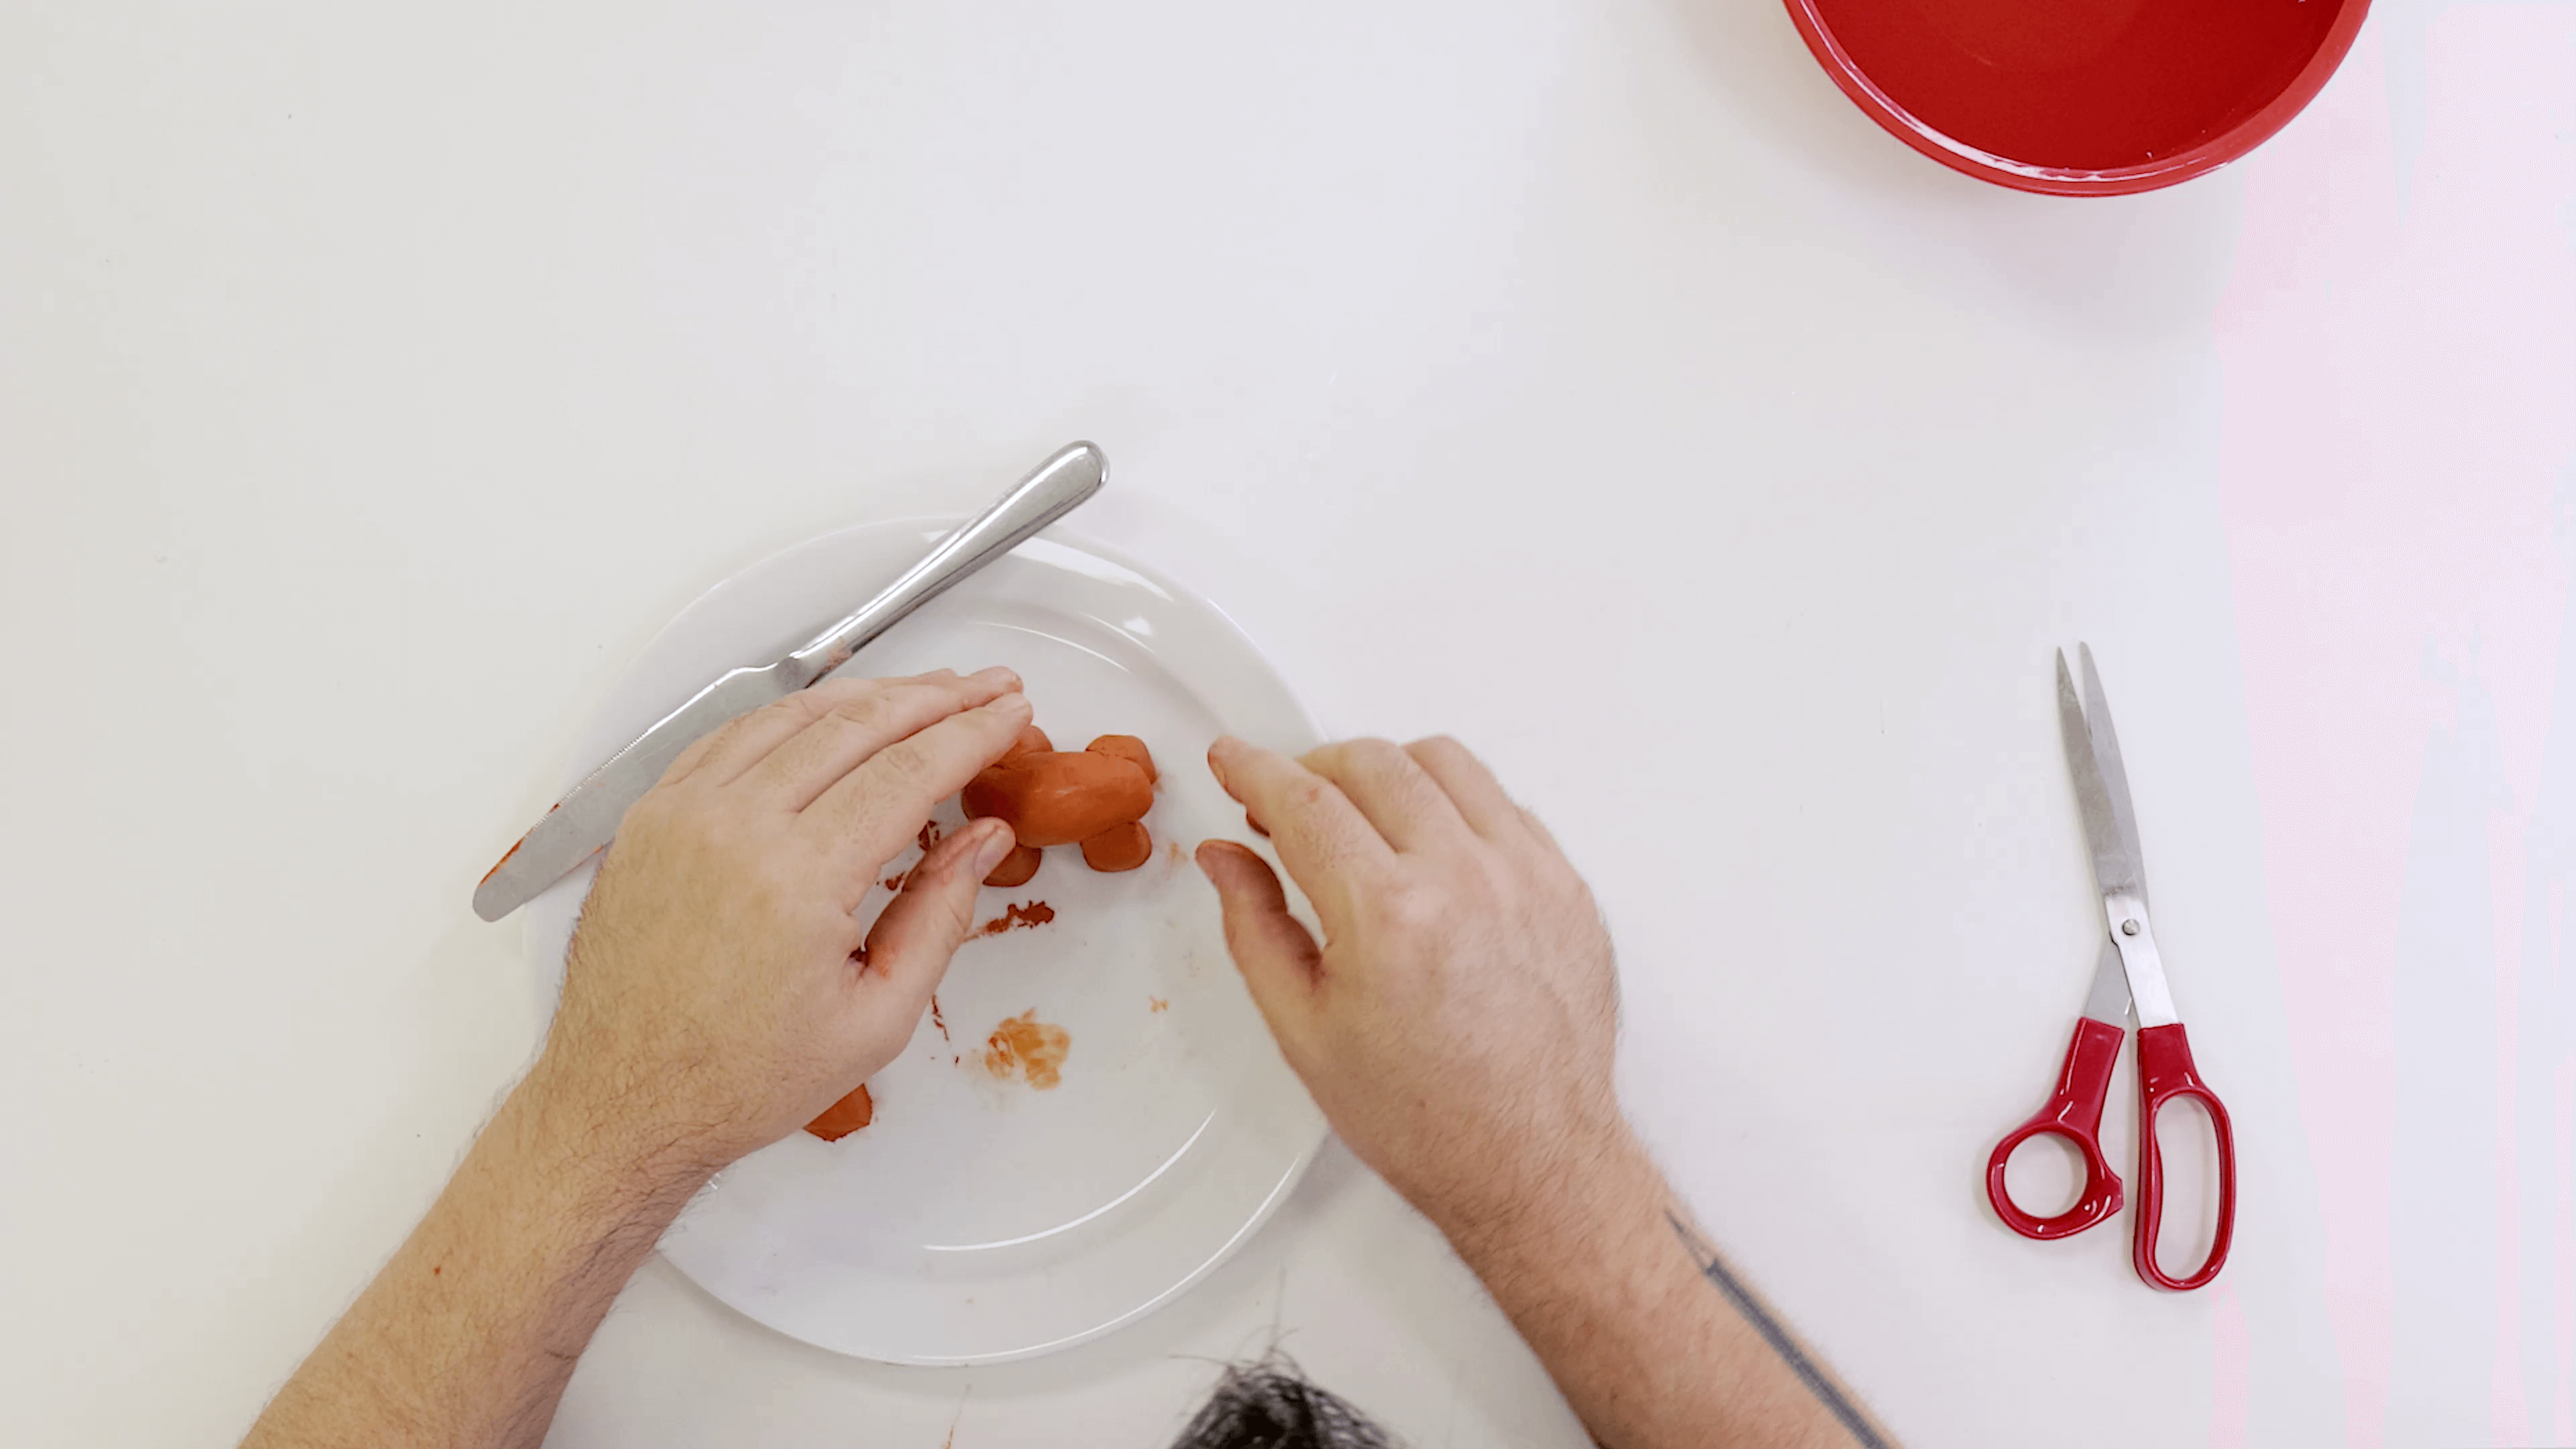
Position them together and press the body shape onto the tops of the legs. Blend the legs into the body.
Roll the head into a round shape. Roll two small balls of clay to create the ears. Mould the ears into crescent shapes and attach them to either side of the head. Place the head on top of the body.
To create a trunk, roll out a tube shape in your hands. Flatten one end of the hair and blend it into the front of the head. Roll out two little cone shapes and press them onto either side of the trunk to act as tusks.
Create the tail by rolling out a tapered tube and pressing it onto the rear of the body.
Finally, roll two small balls for the eyes and press them onto the face.

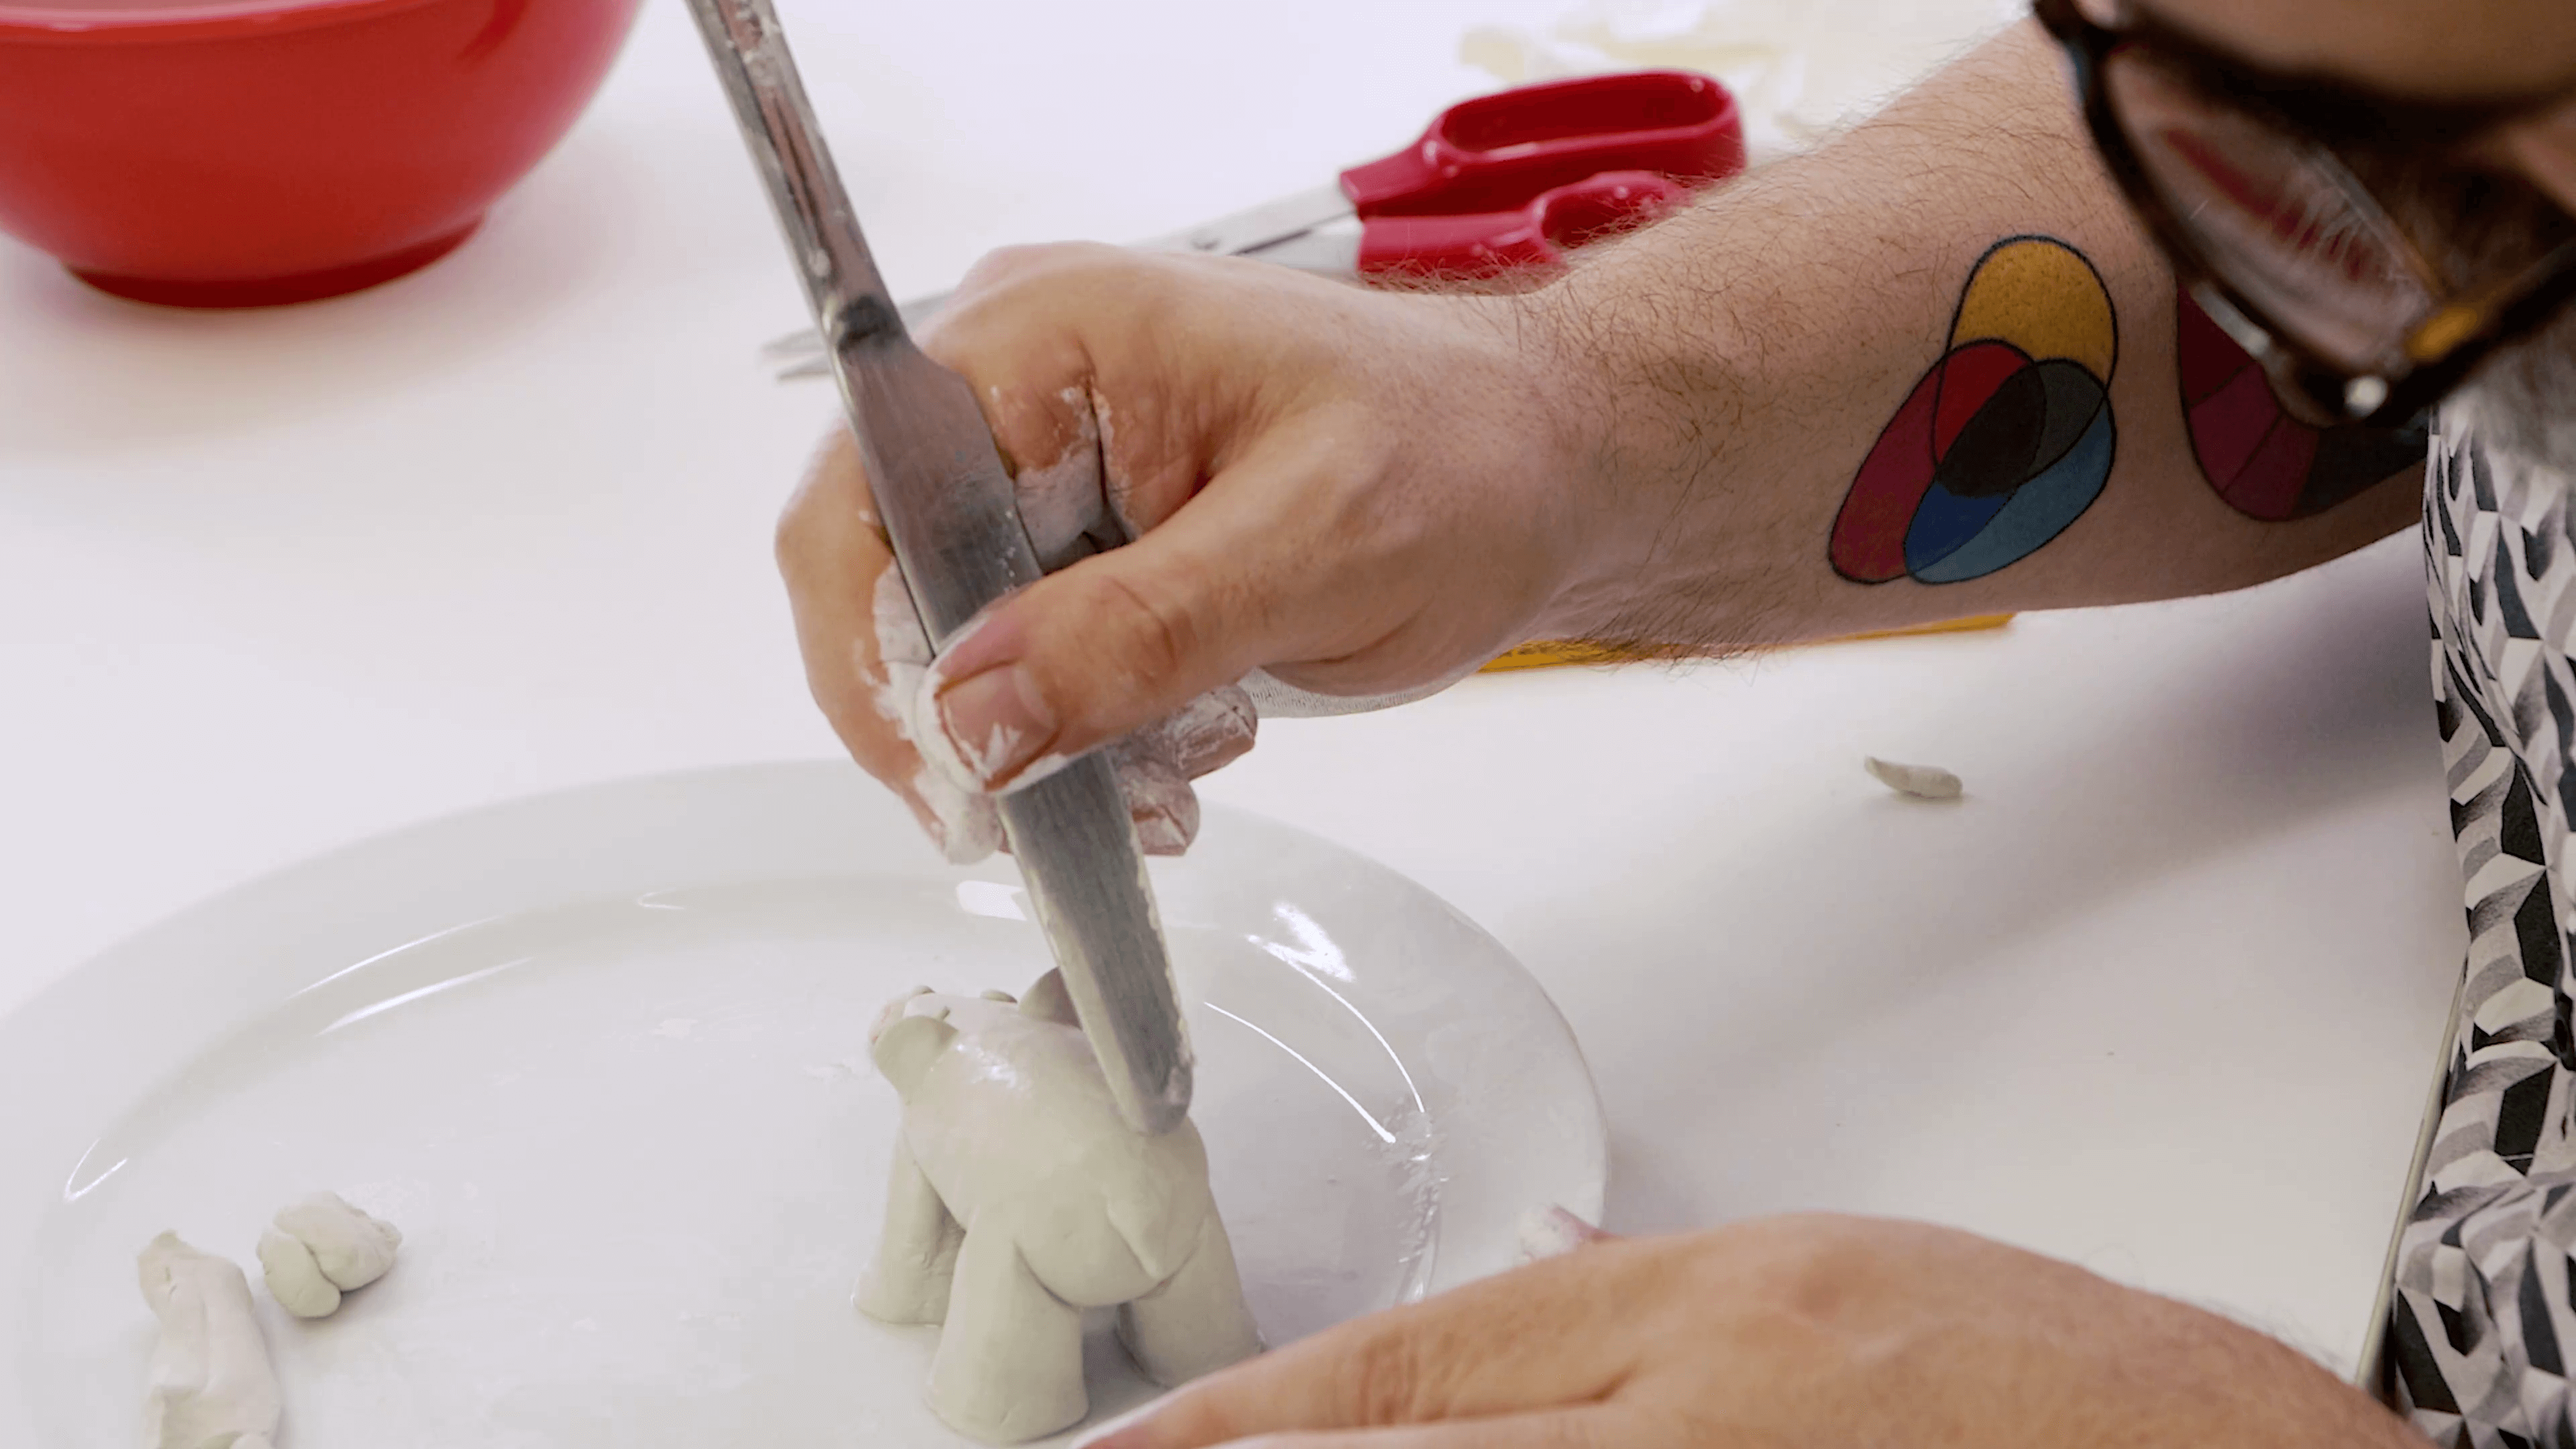
Polar Bear
Open the white clay and cut it in half. Wrap up one half and put it aside for later.
Cut off 1/3 of the block and slice the piece into four smaller blocks.
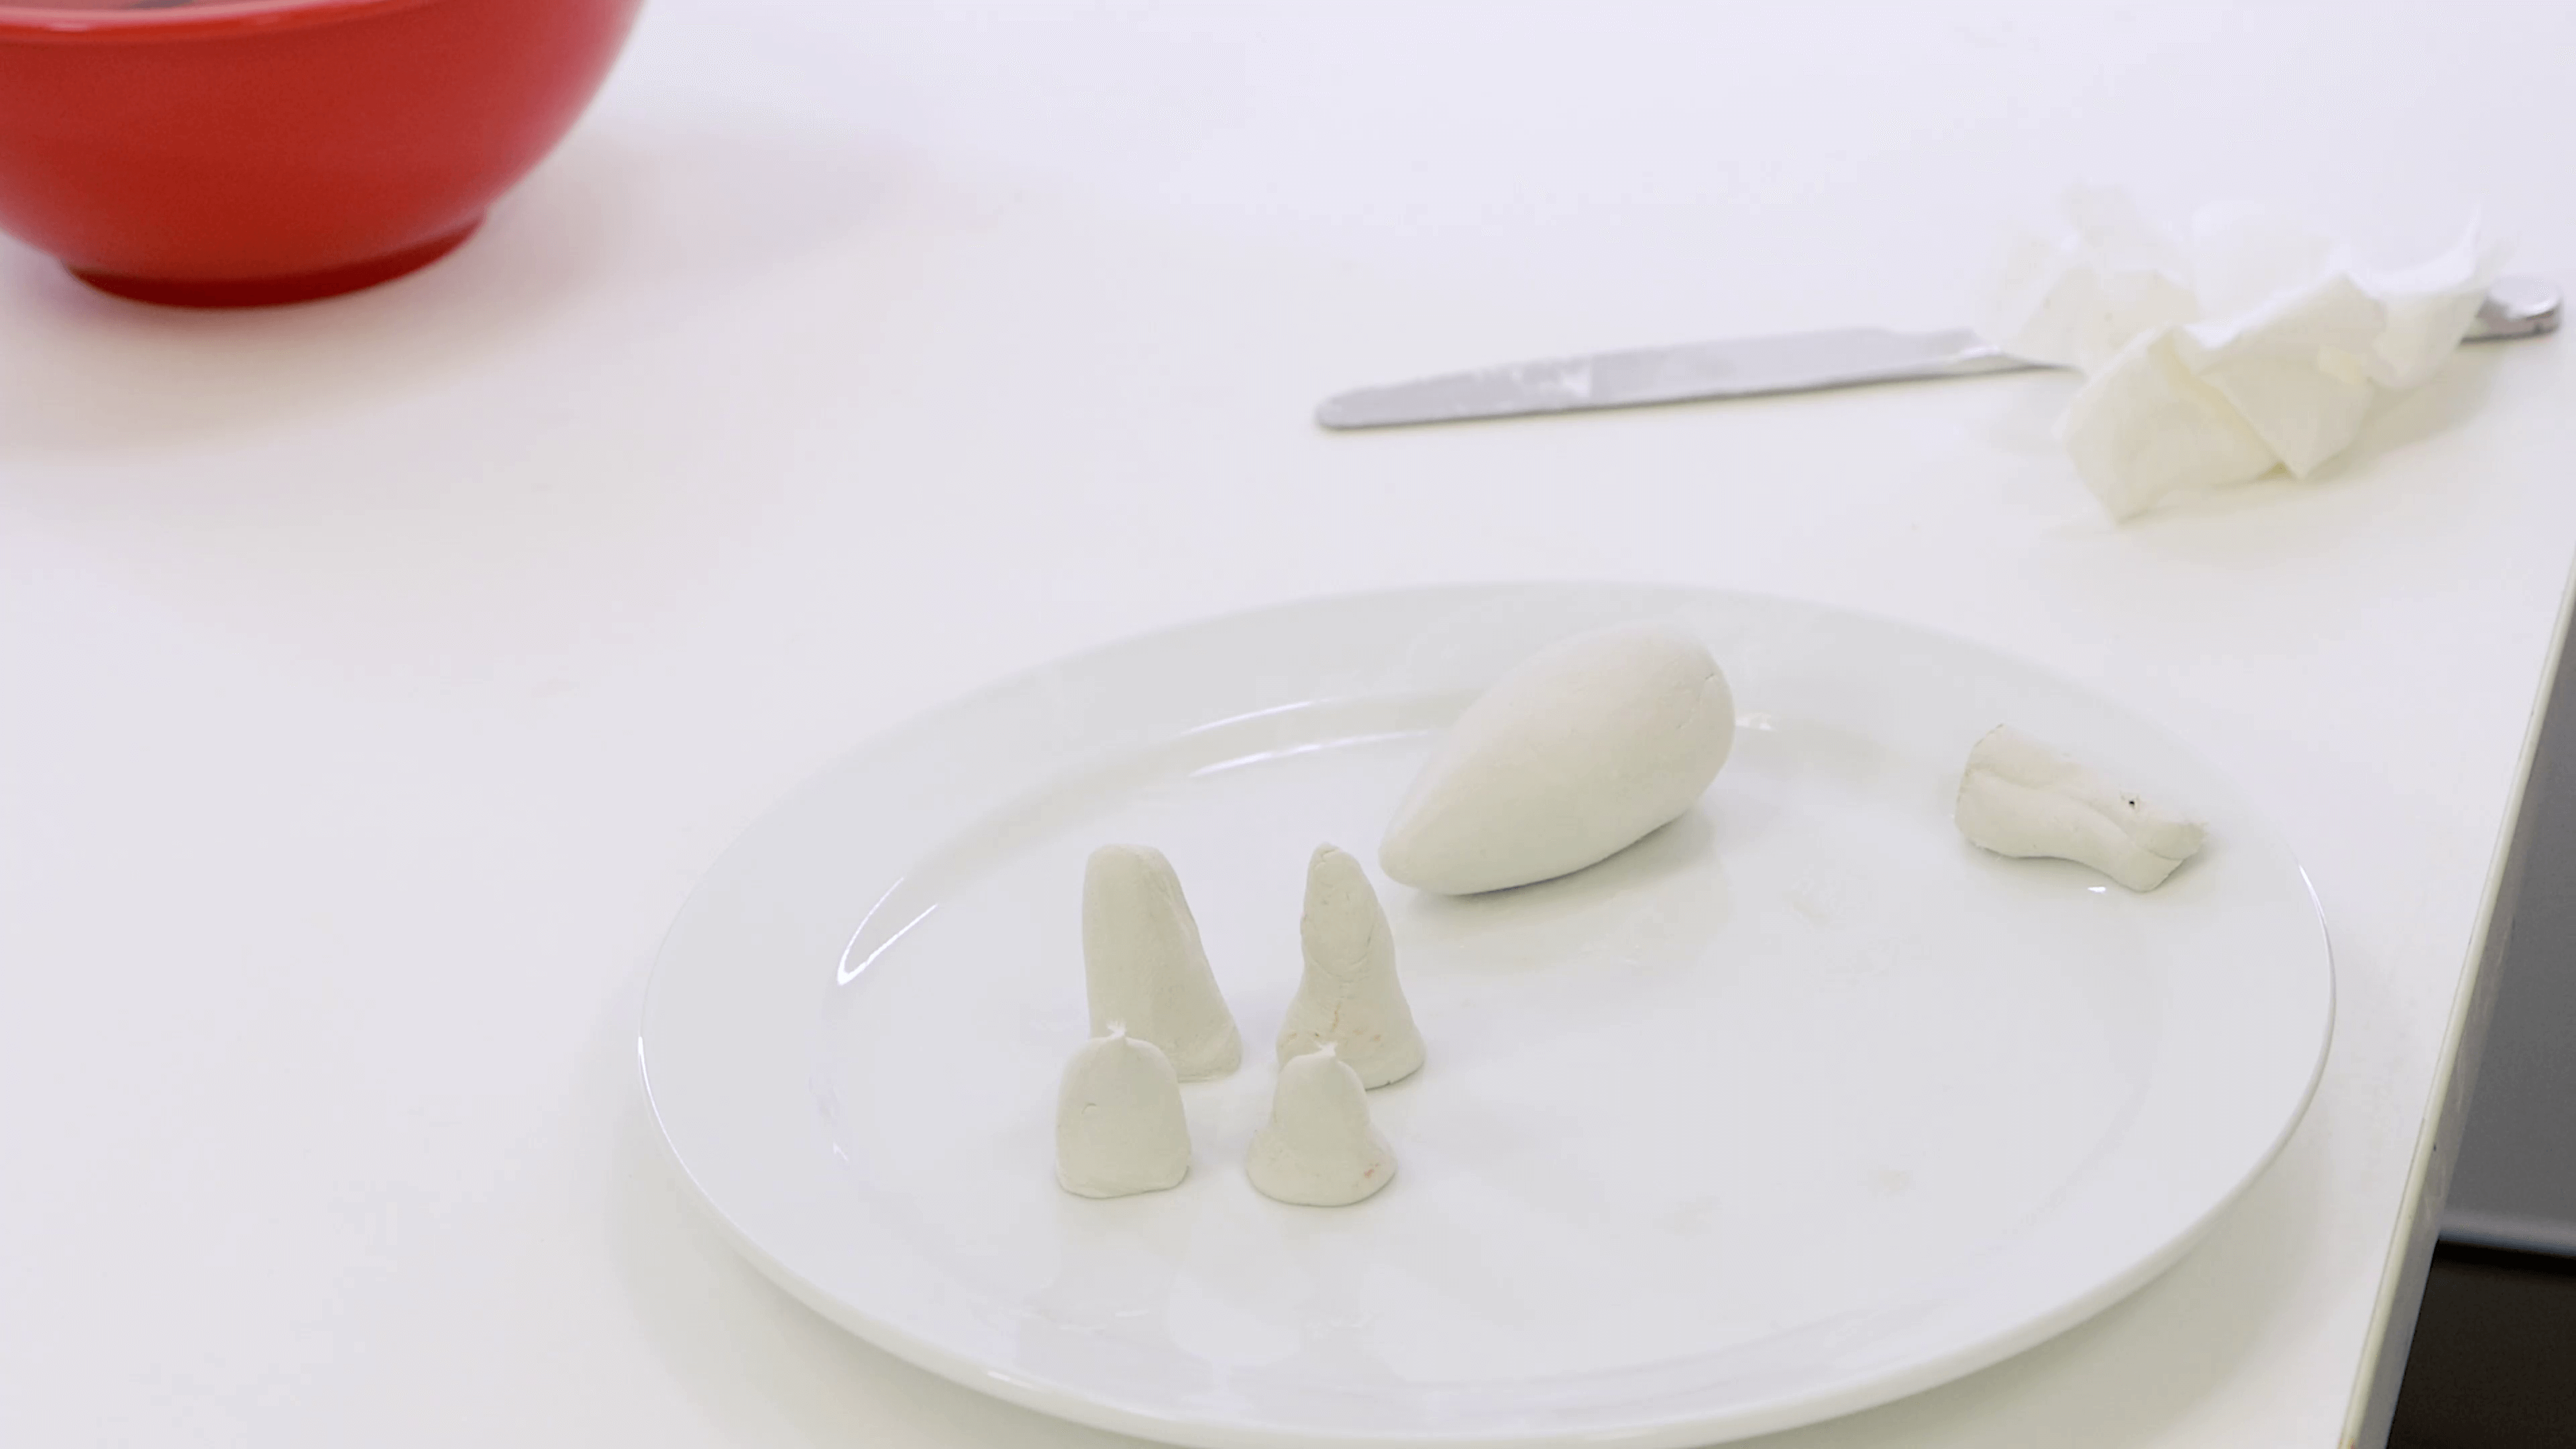
The body can be created by rolling the large block into an egg shape and then tapering one end.
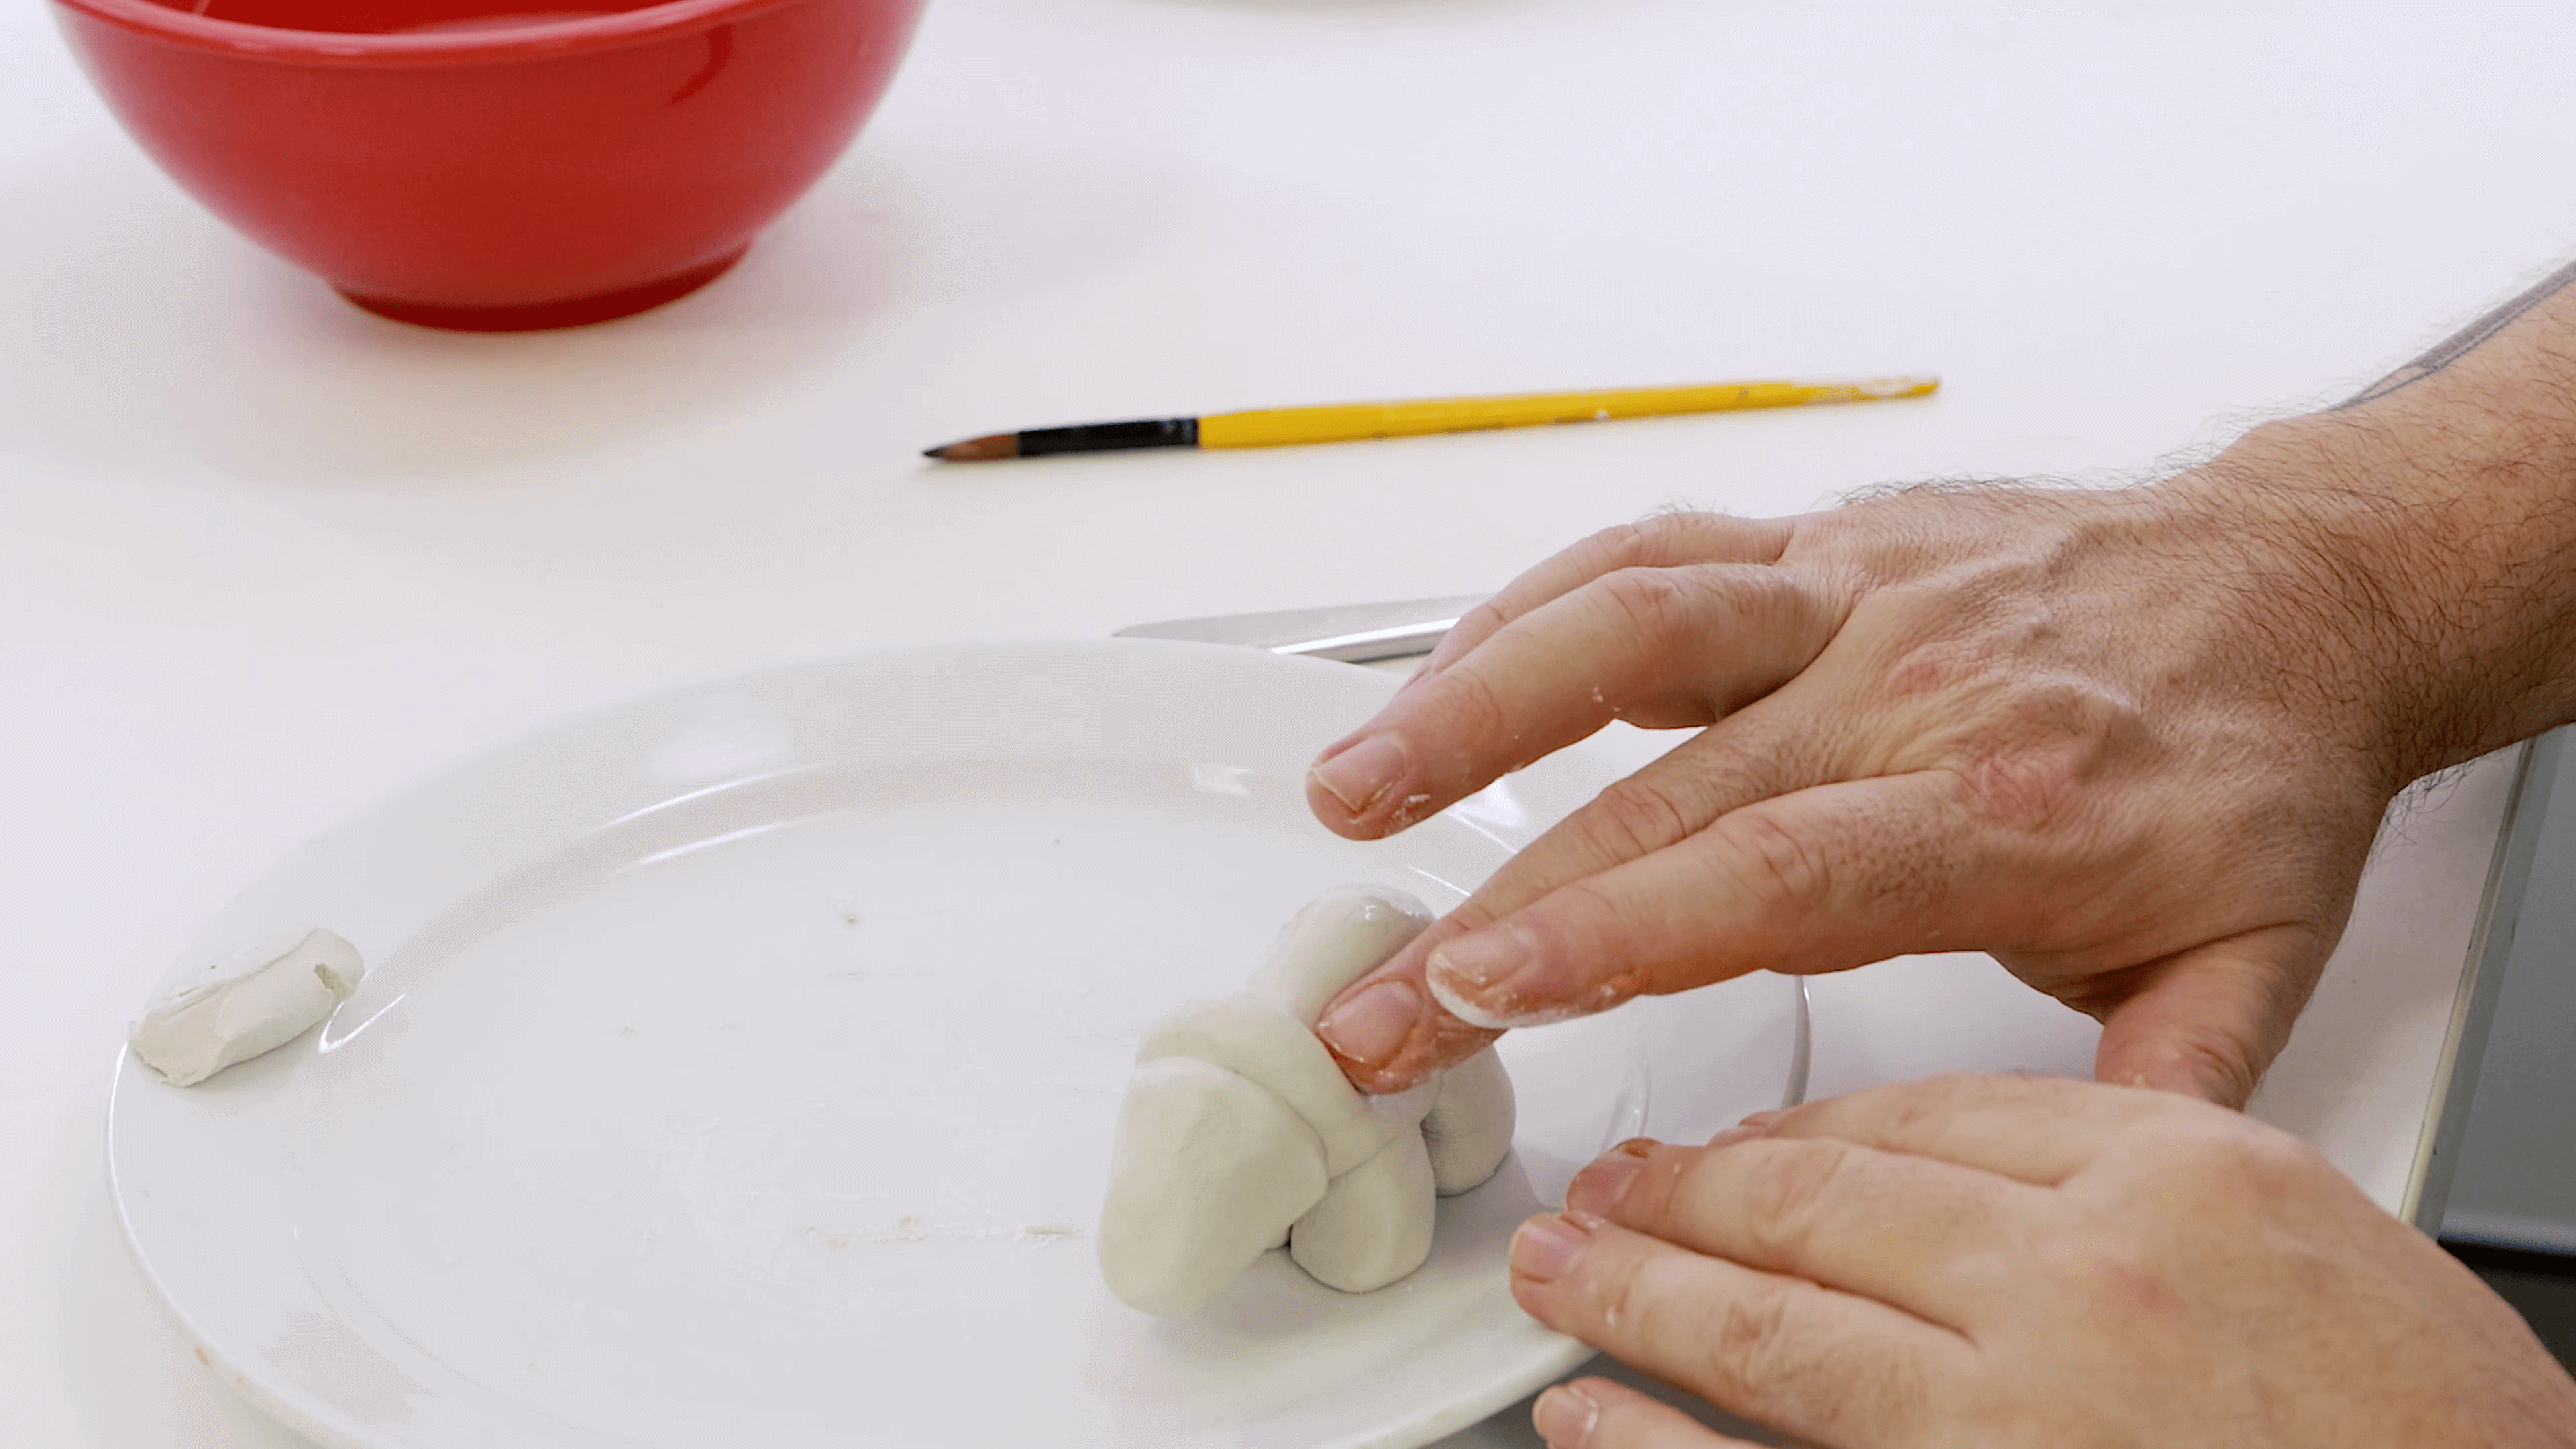
Create the legs by rolling the four smaller blocks into tubes and pressing them onto the plate so they stand upright.
Once positioned, press the body onto each leg and blend the edges.
For ears, flatten out a small ball of clay and then cut it in half. Position them on the head and blend to secure them.

Roll out a small ball for the nose and two more balls for the eyes. Press these onto the face.
Finally, roll a con shape for the tail and press it on the rear of the body.
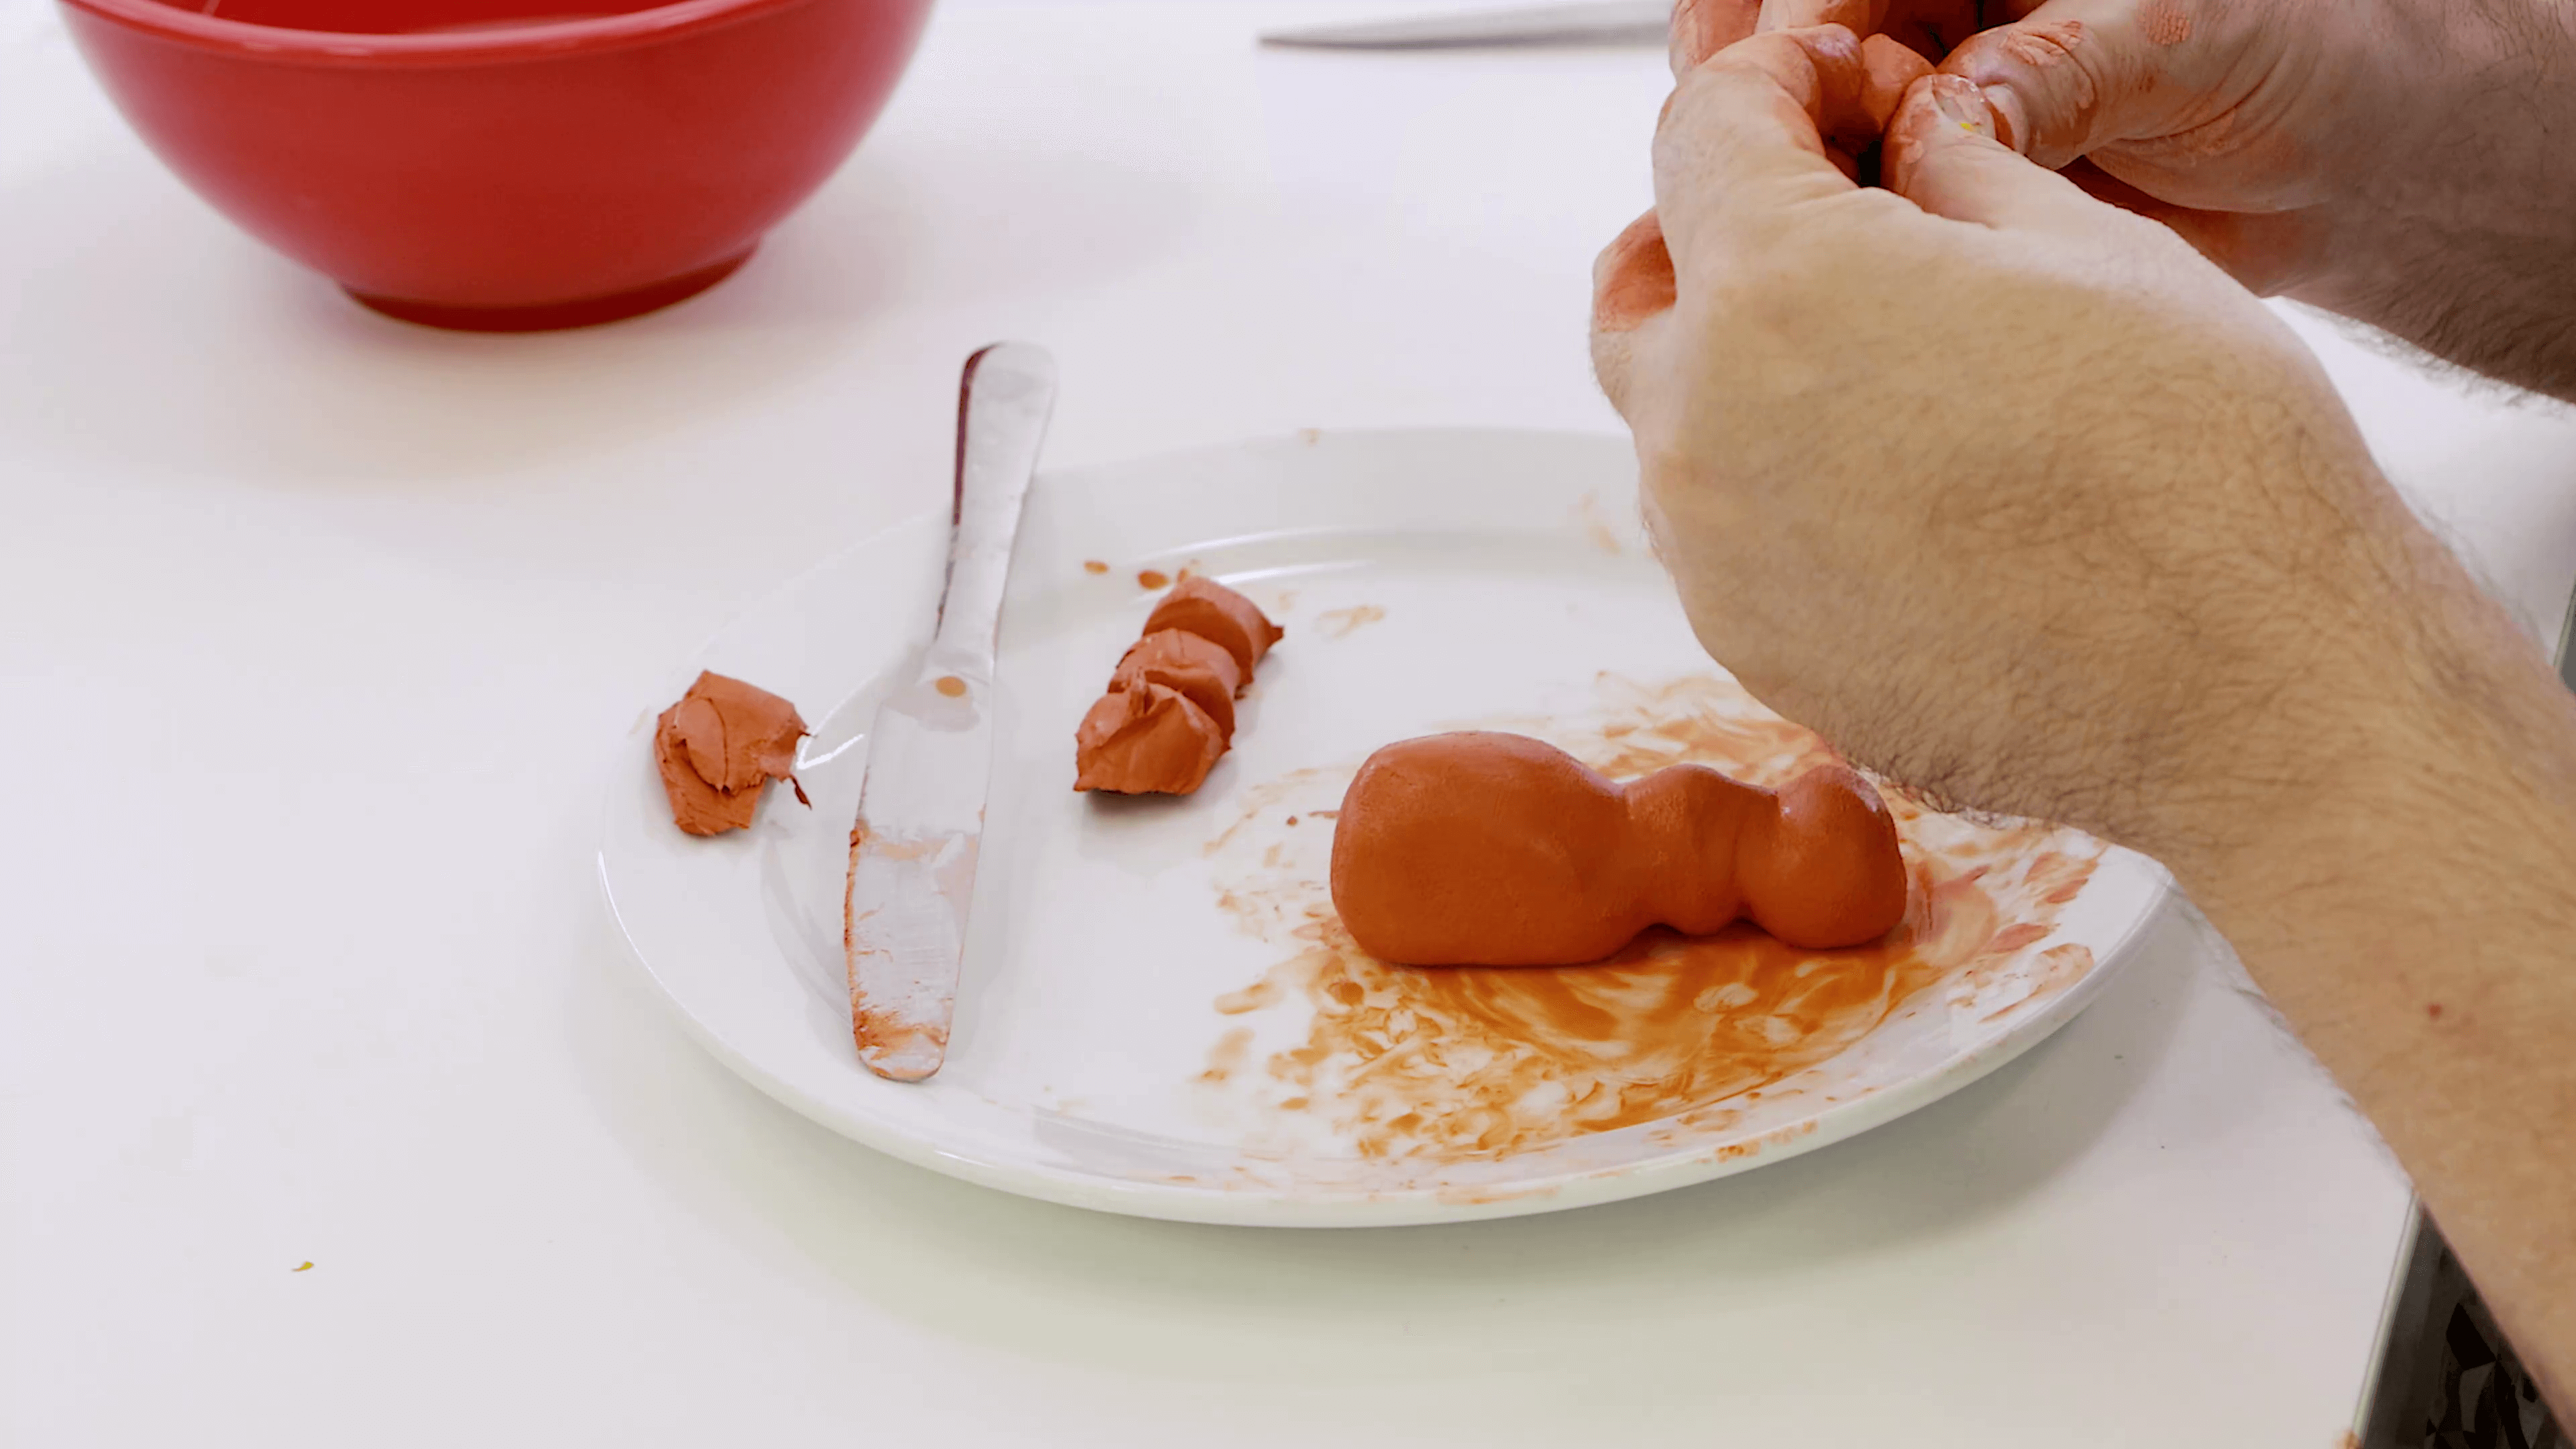
Hippo
Take the leftover half of terracotta clay and cut off 1/3 of the block. Slice it into four equal portions.
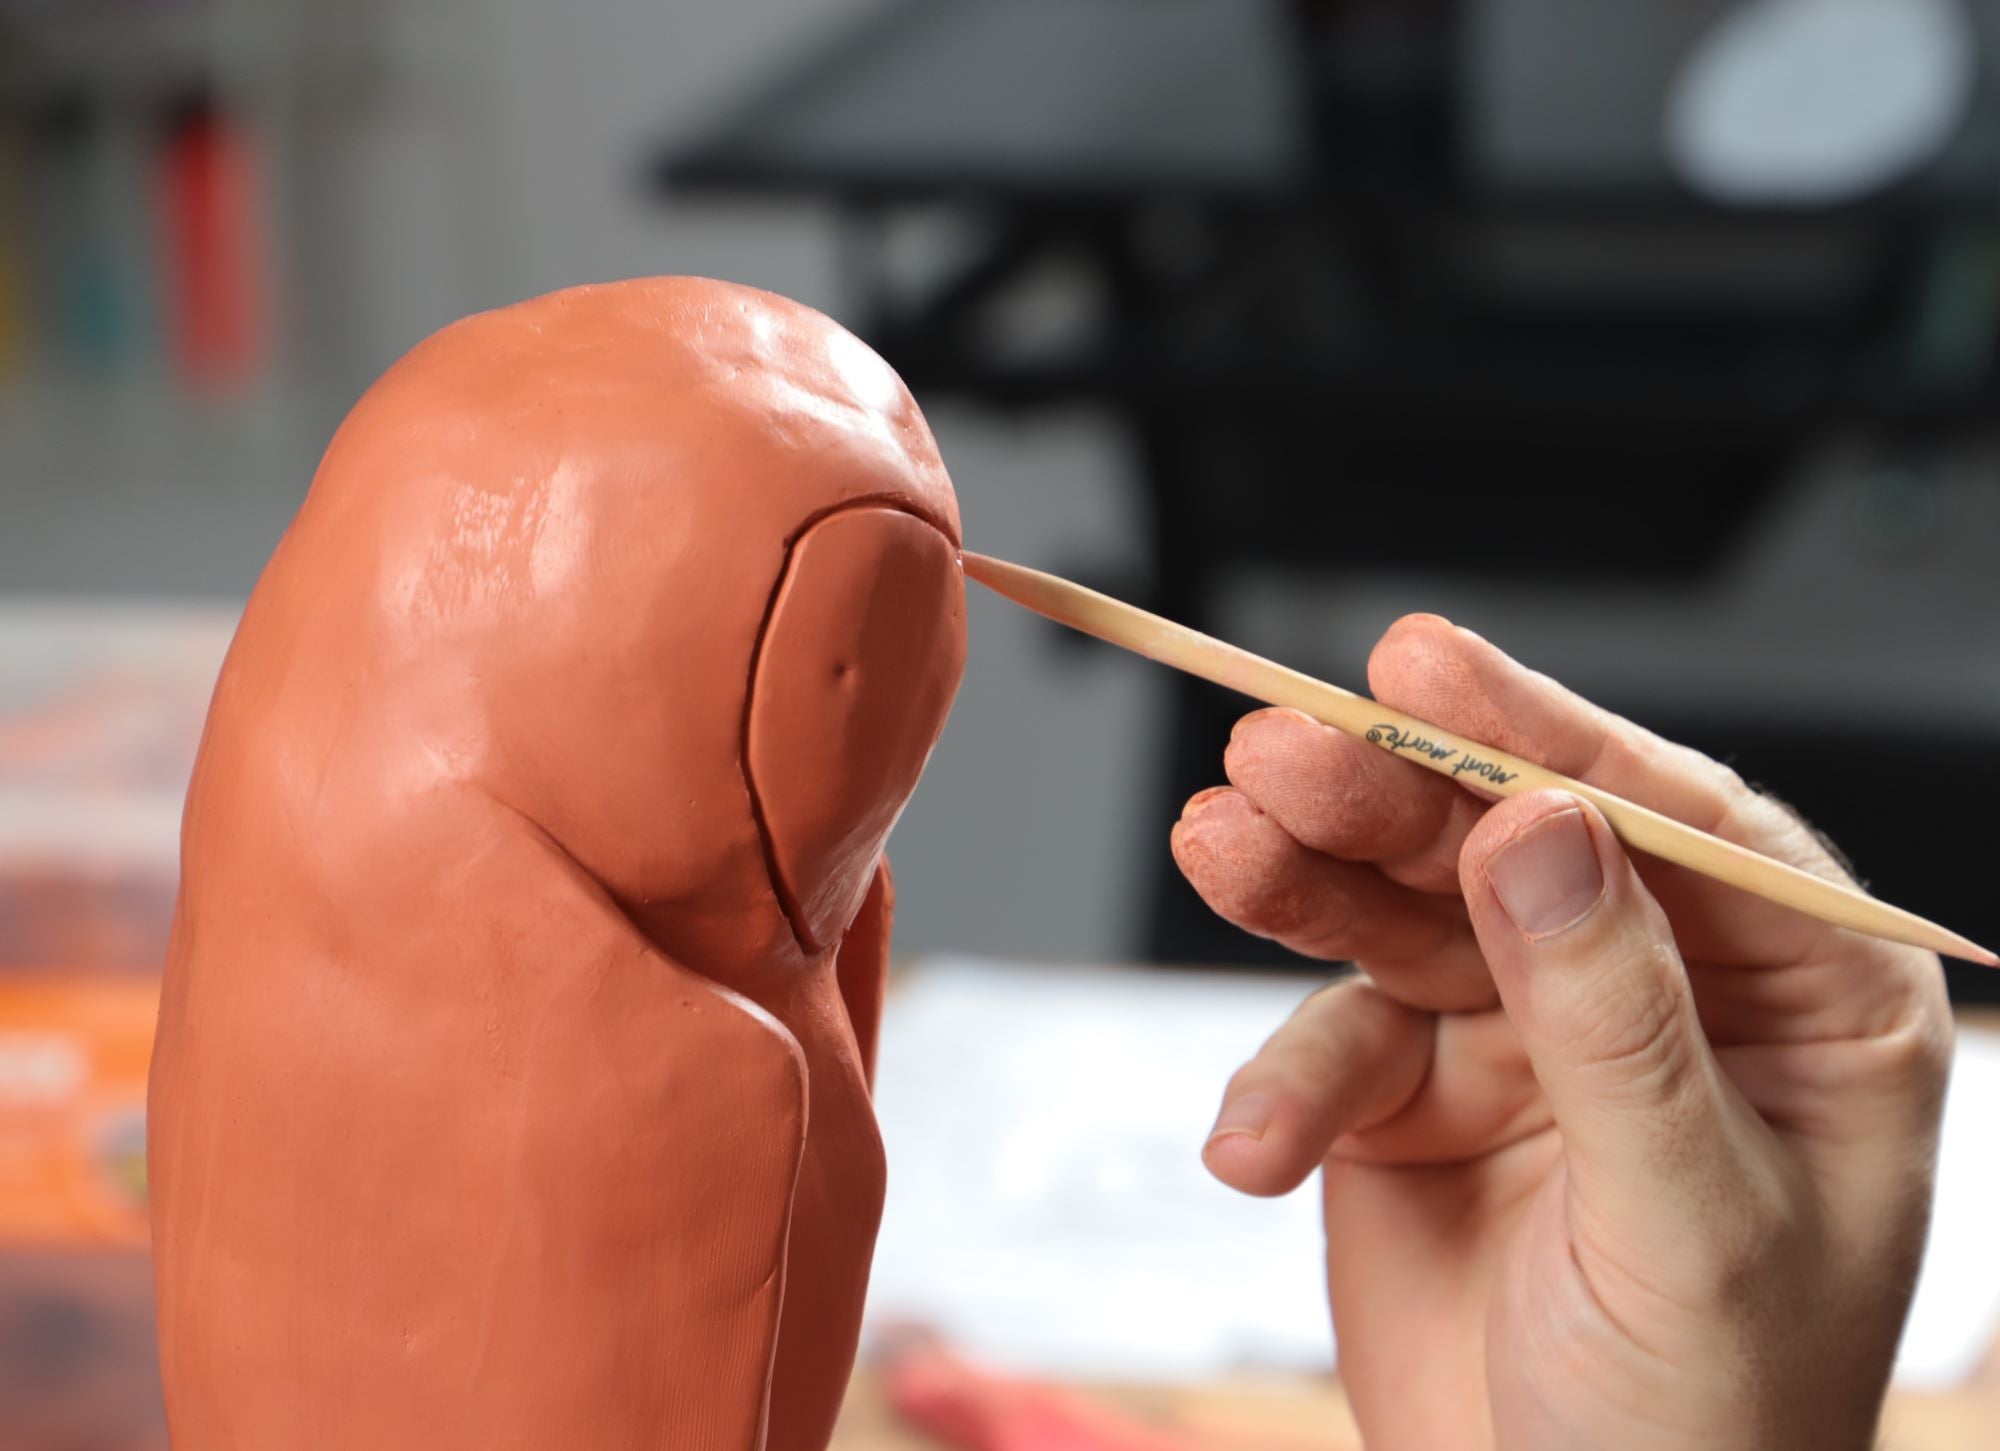
Use the larger block of clay to shape the round body. Create a ball shape at the end to suggest the nose area.
The four smaller blocks can be rolled into tubes and pressed onto the plate quite close together, and the body can be pressed onto the legs. With this hippo, ensure the legs are positioned under the body.
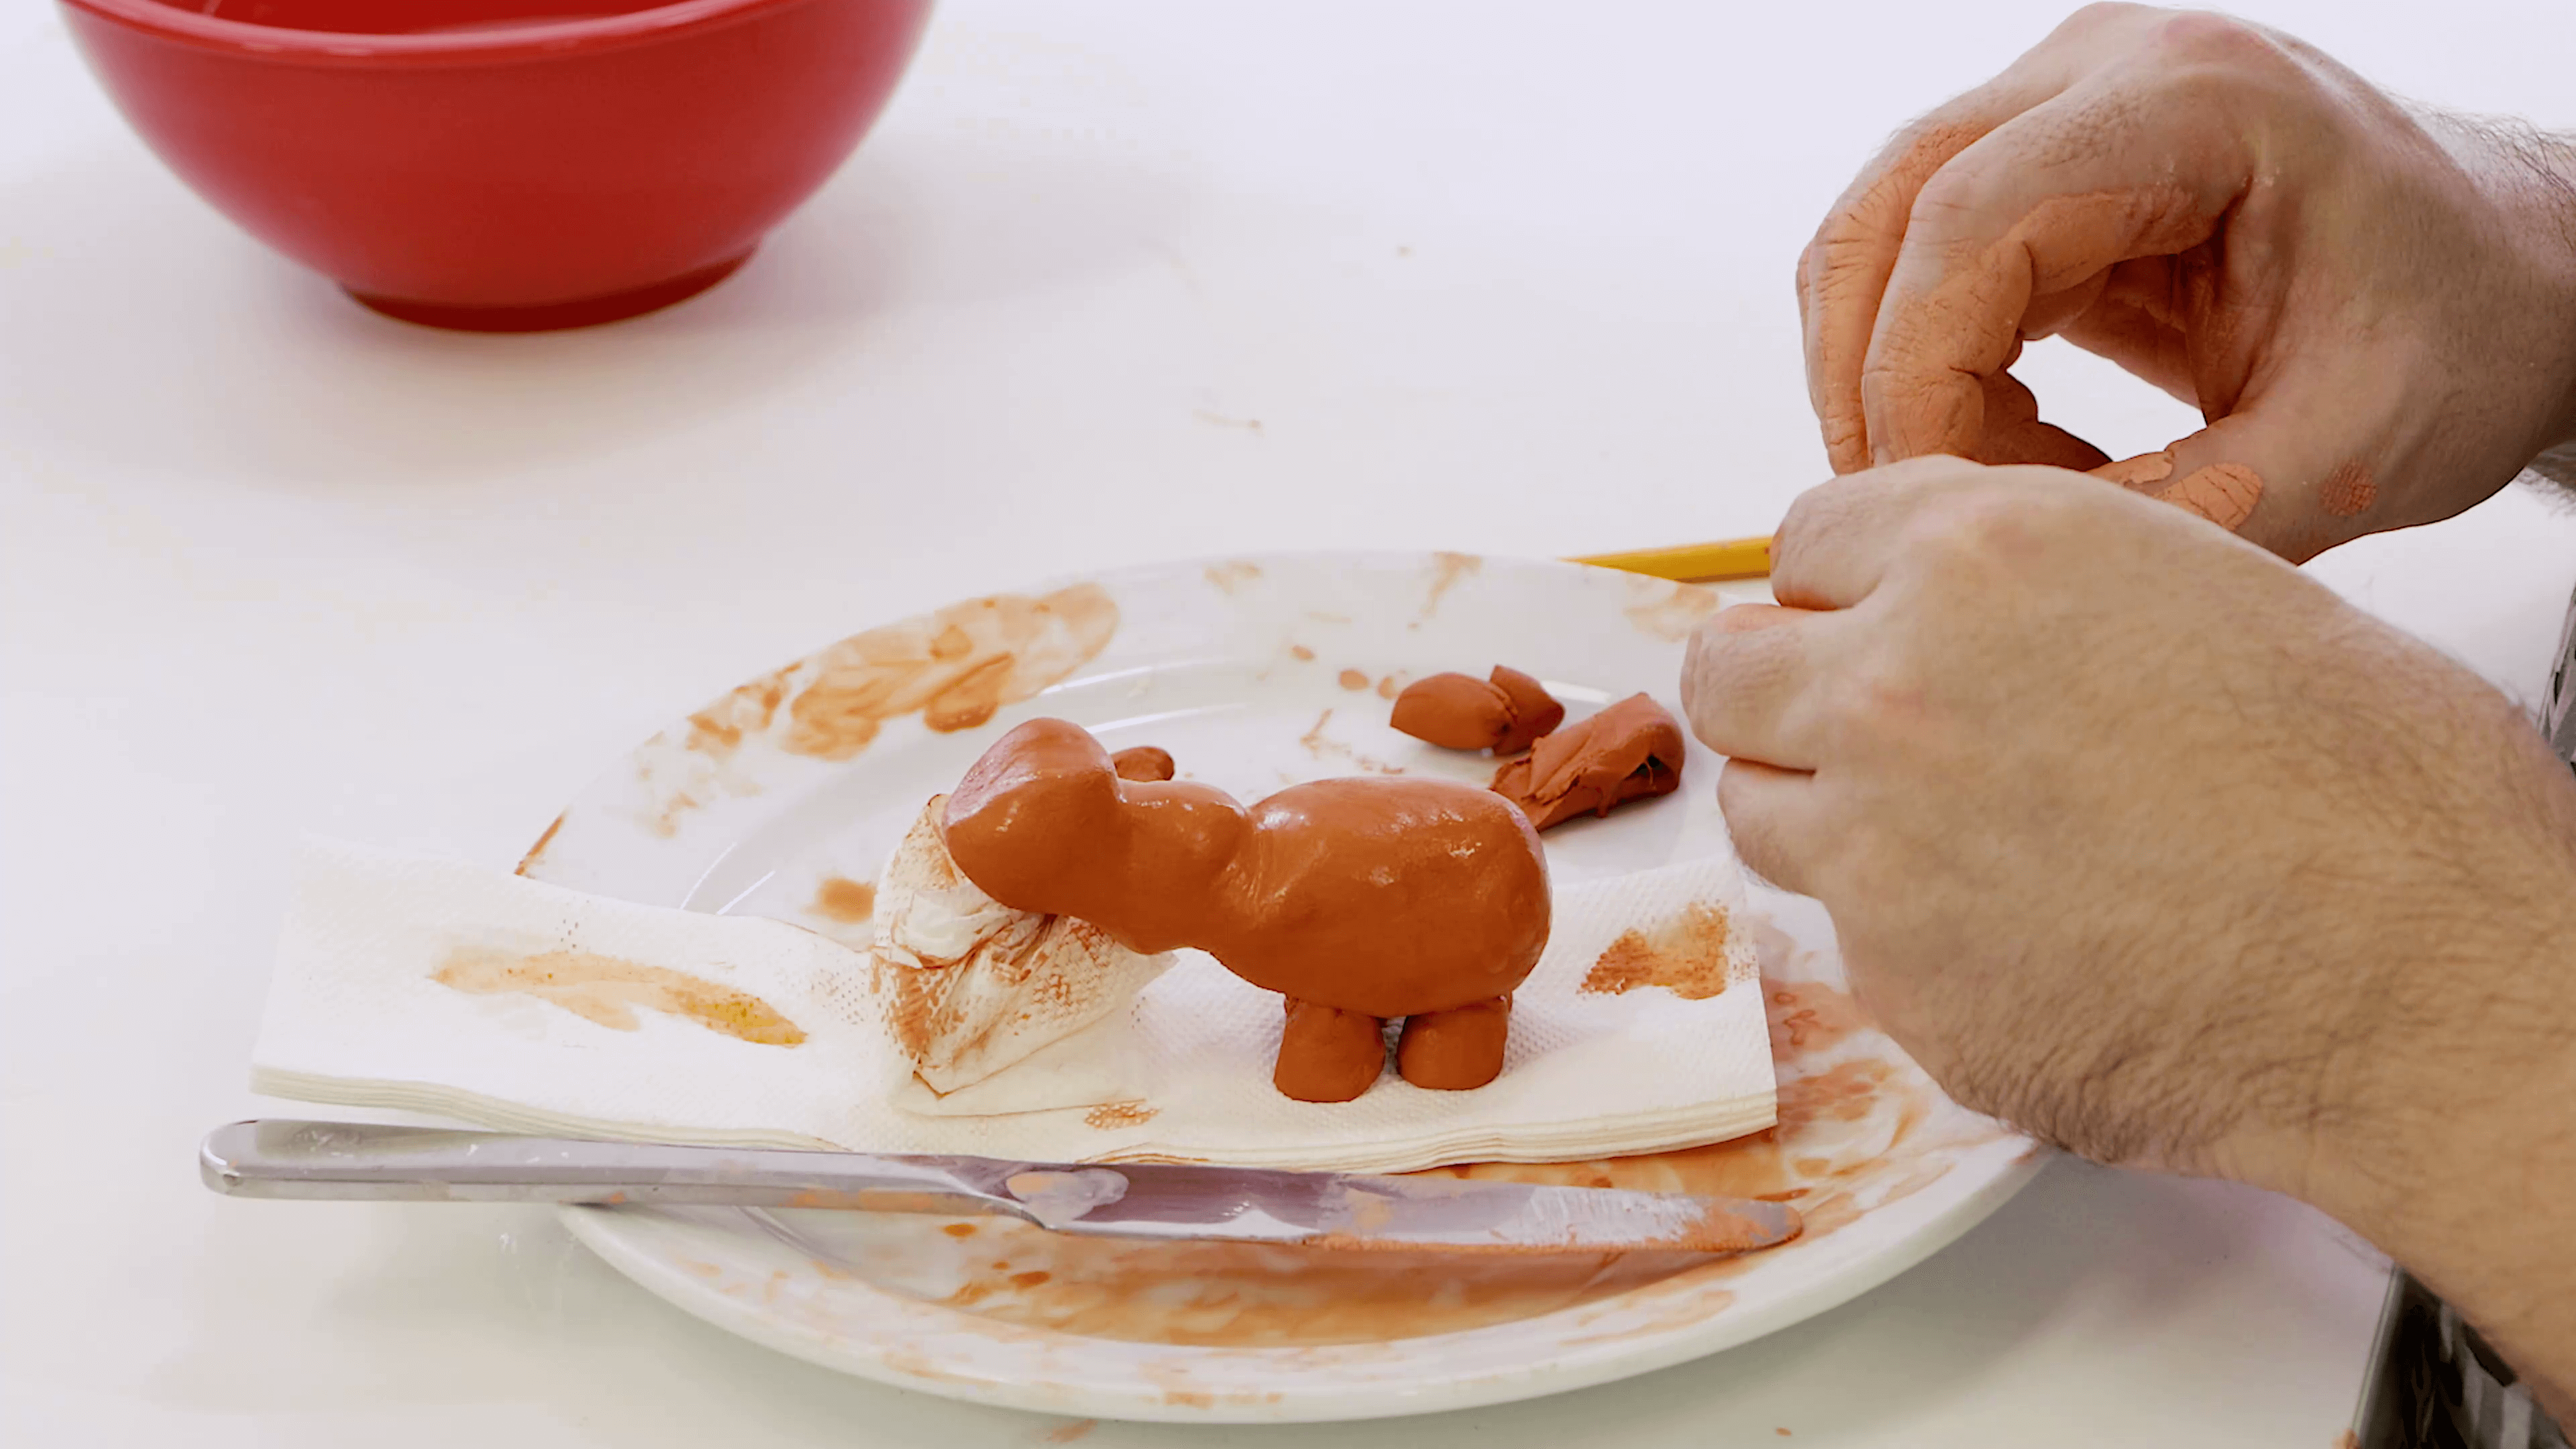
For the nostrils, roll two little balls and press each one into position using the end of the paint brush.
The ears can be created in a similar way, but wrap the clay around the end of the brush a little more.
Make two small balls for the eyes and press them on the face.

The last step is to create the tail by moulding a flat, tapered shape and pressing it onto the rear of the body.
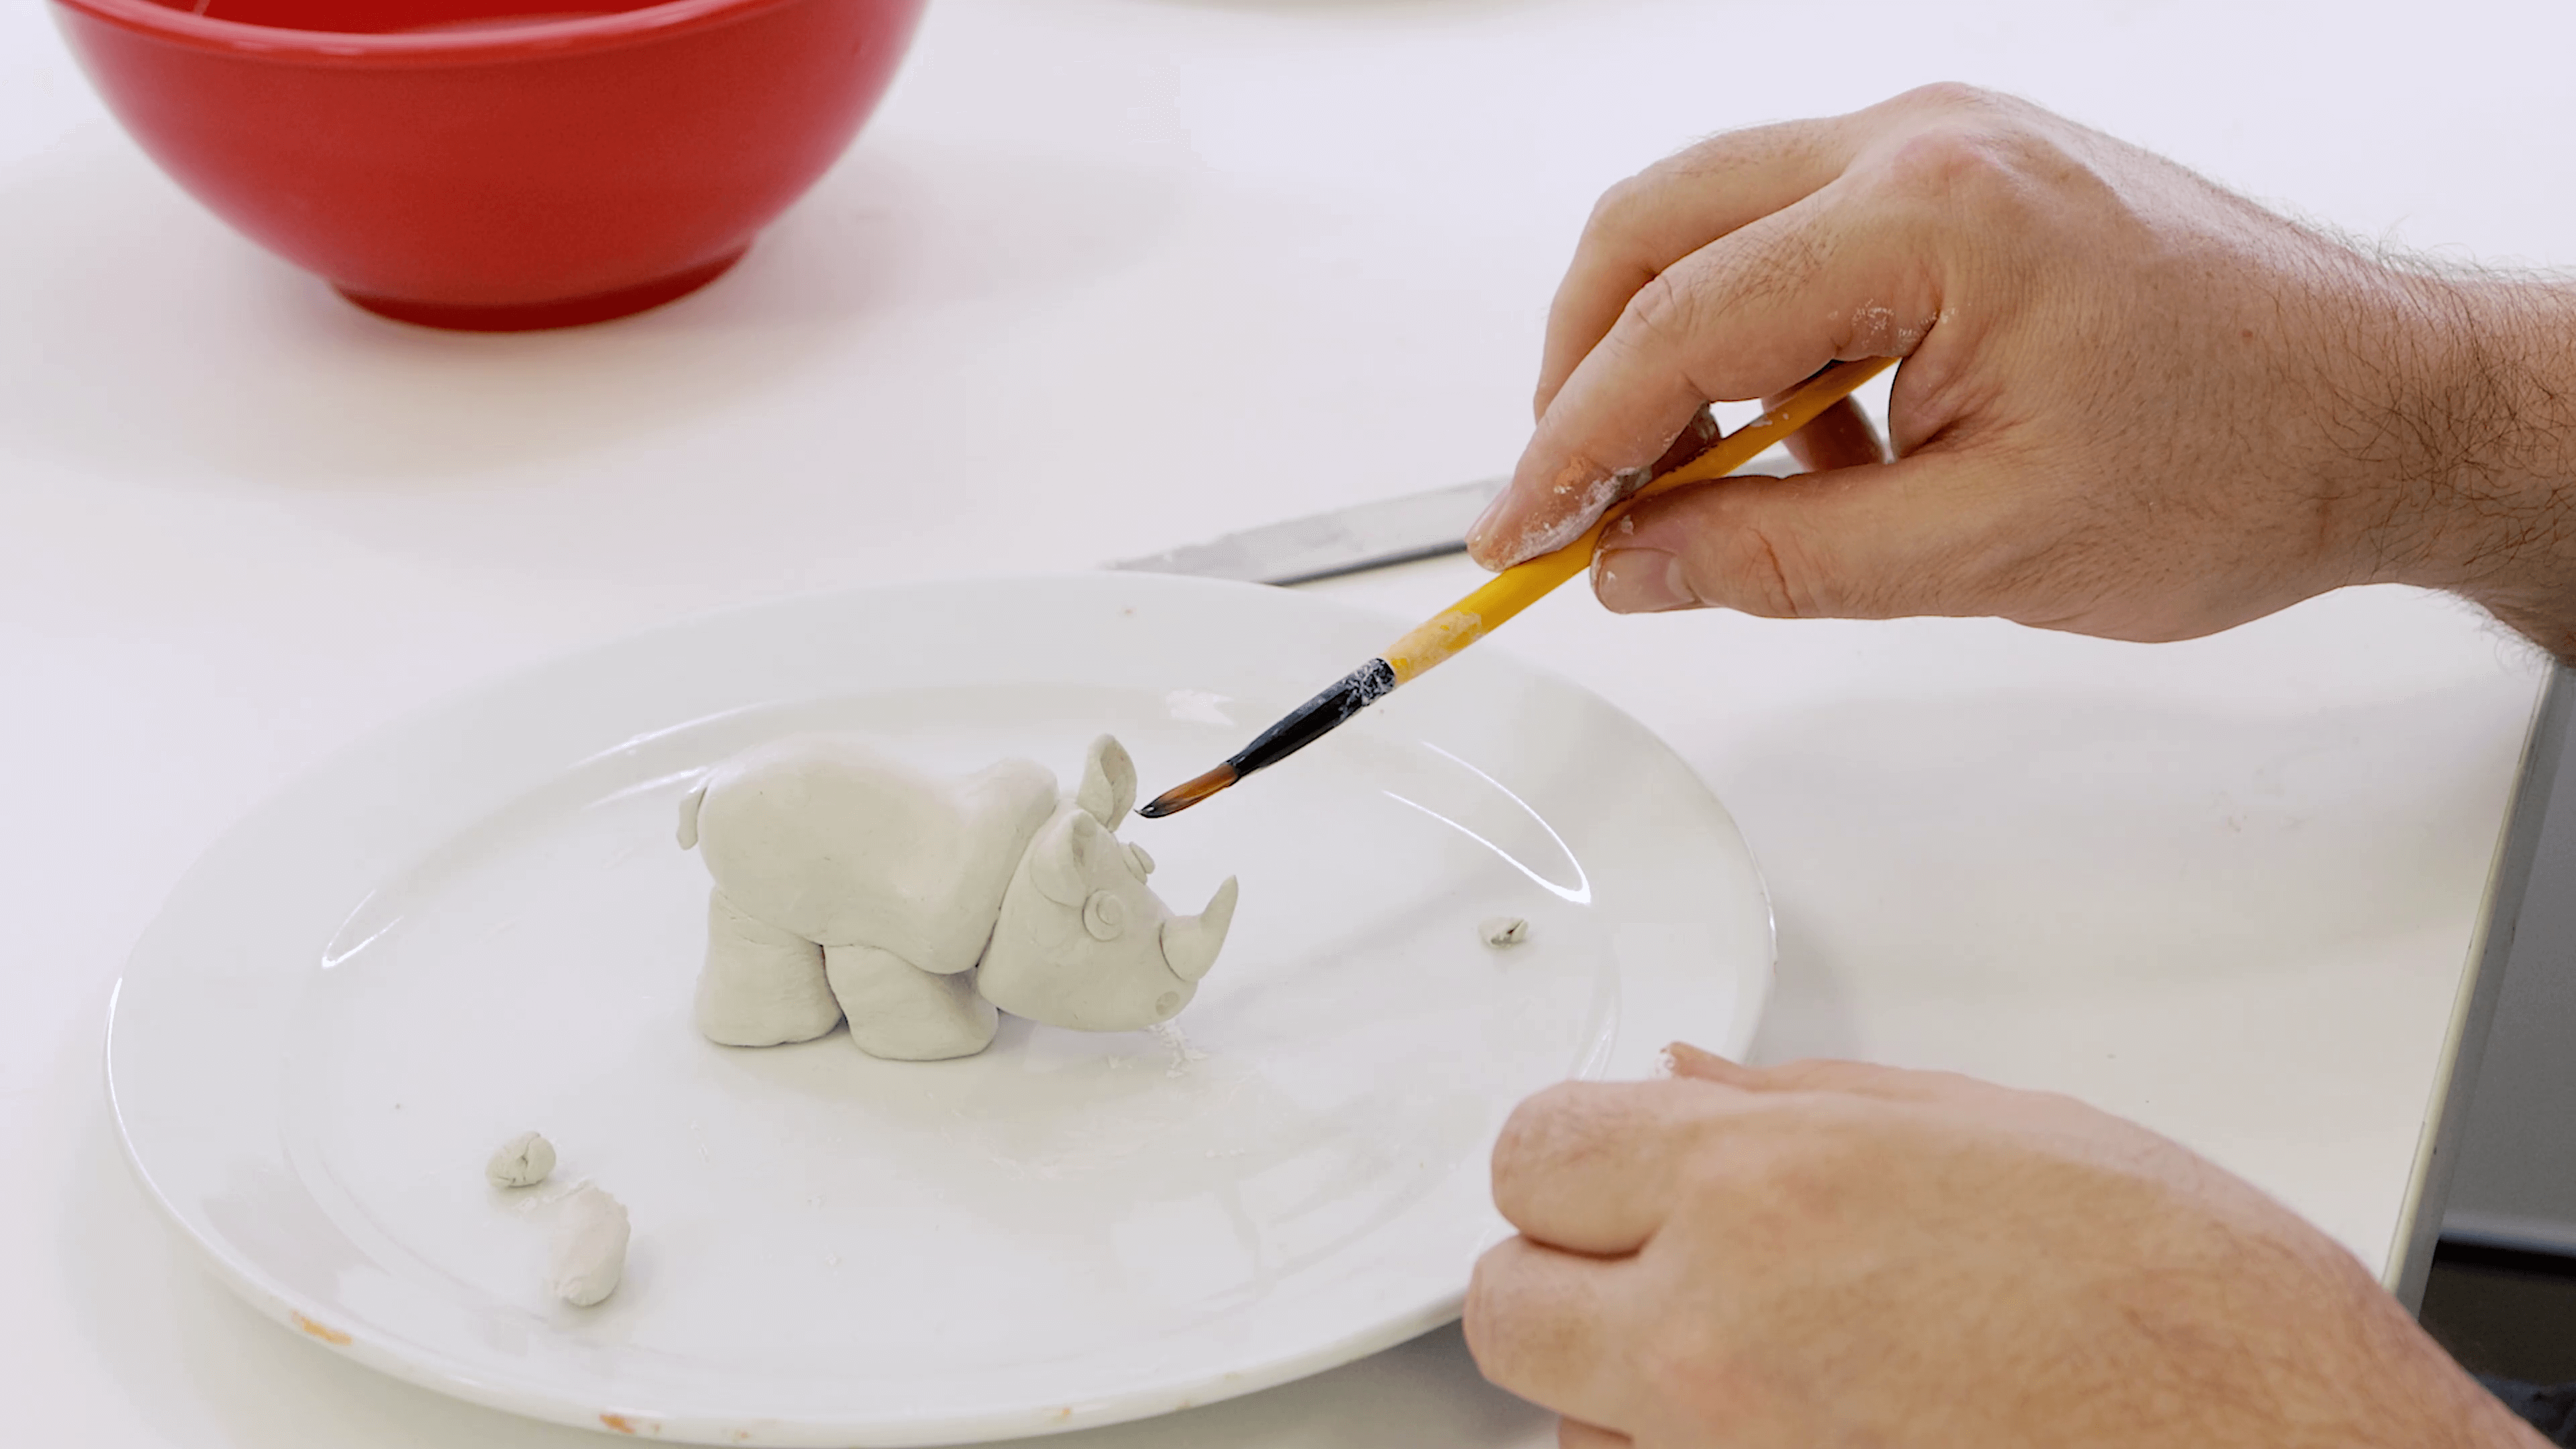
Rhino
Take the leftover half of white clay and cut off 1/3 of the block. Slice it into four equal portions.
Roll the larger block into an egg shape. Flatten one end and pinch this end to form a ridge.
Sculpt the legs by rolling the four small blocks into tubes. Press them onto the plate, and then press the body onto the legs. Blend the edges together.
For the head, create a cone shape and shape the pointy end into a dome. Then, press it on to the body.
To create nostrils, press the end of the paintbrush handle into the face area.
The ears can be created by wrapping two small tubes of clay around the end of the paint brush. Press them into position.

For the horns, mould a cone shape and press it onto the front of the head. Create a slight curve in it.
Roll two small balls for the eyes and press them onto the face.
Finally, create the tail by flattening out a cone shape before pressing it into position.
You’re all done!
Materials:
- MMSP0031 Air Hardening Modelling Clay Premium 250g – Terracotta
- MMSP0030 Air Hardening Modelling Clay Premium 250g – White
- BMHS0014 Acrylic Brushes Signature 4pc
Extra materials:
- Butter knife
- Paper towels
- Old dinner plate (to use as a base to sculpt on)
- A dish of water
You may also like
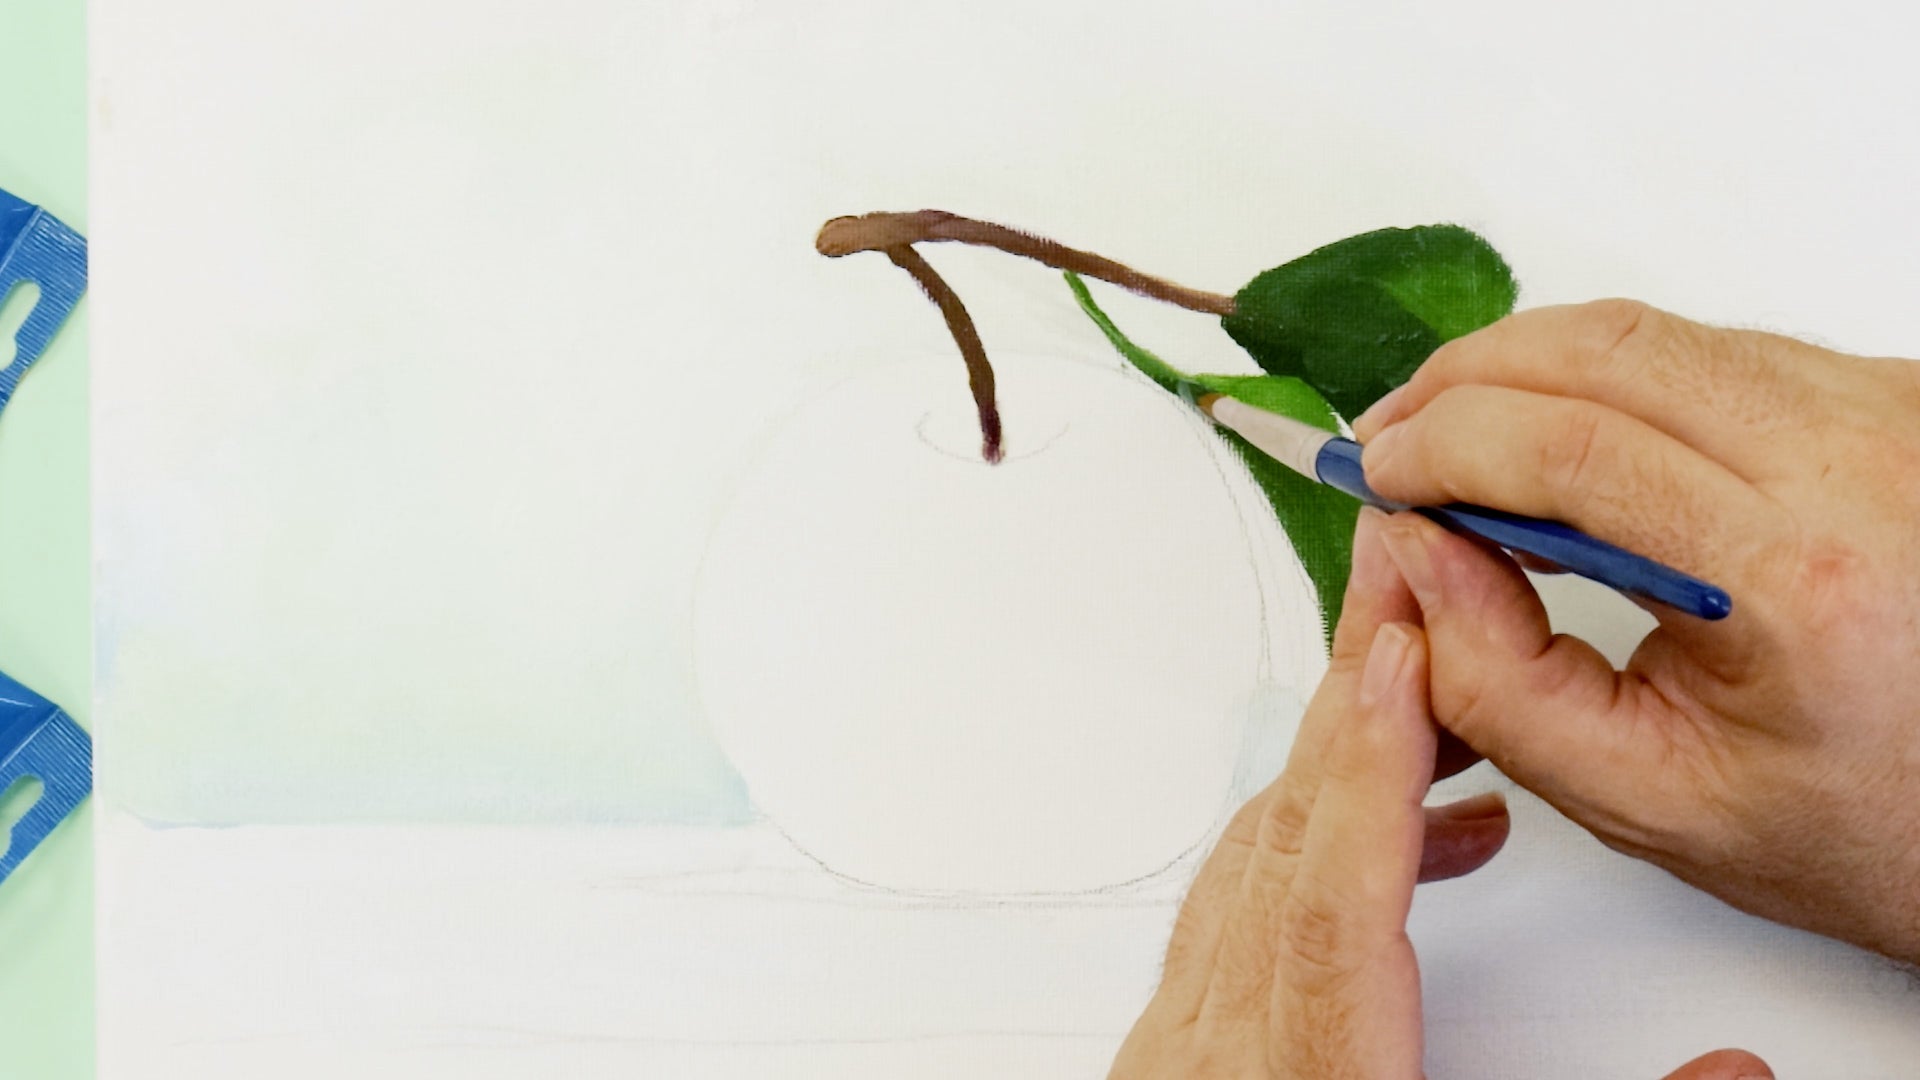
How to paint evenly with a brush
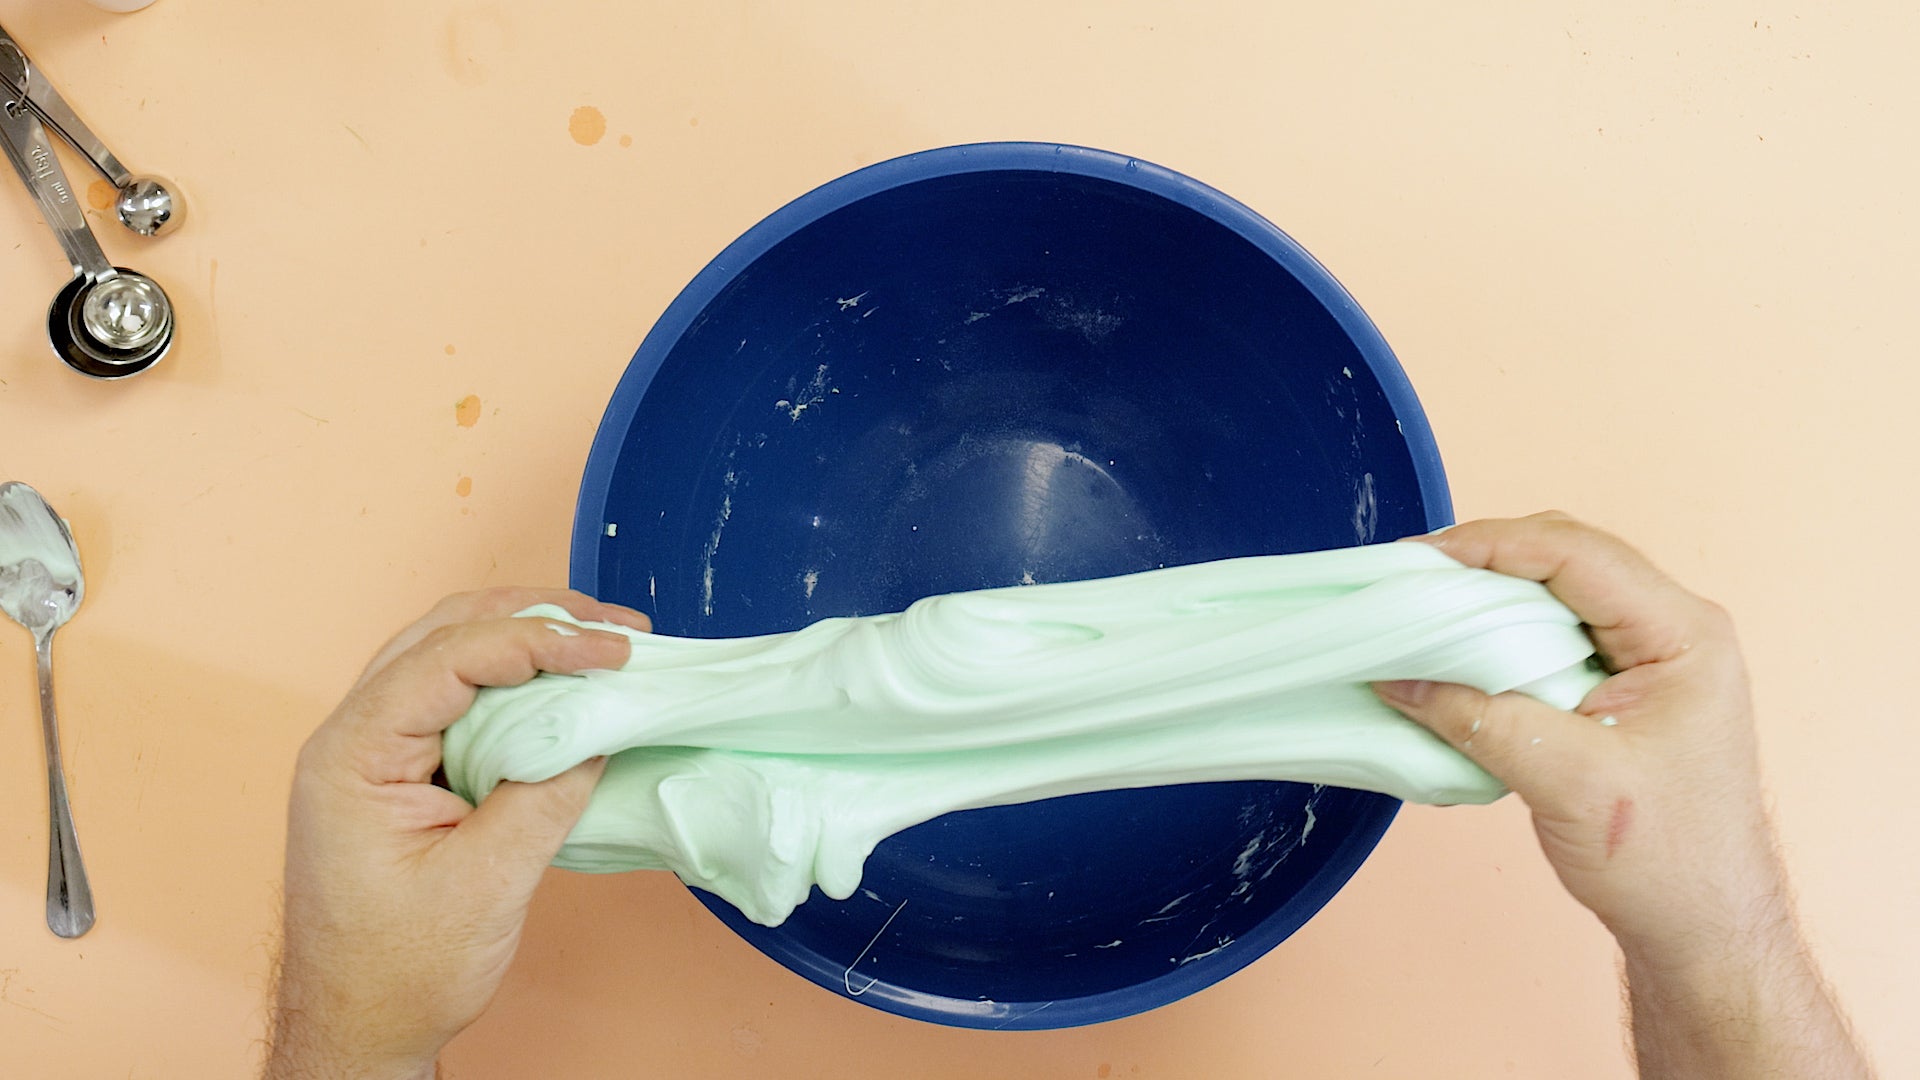
How to make foam slime
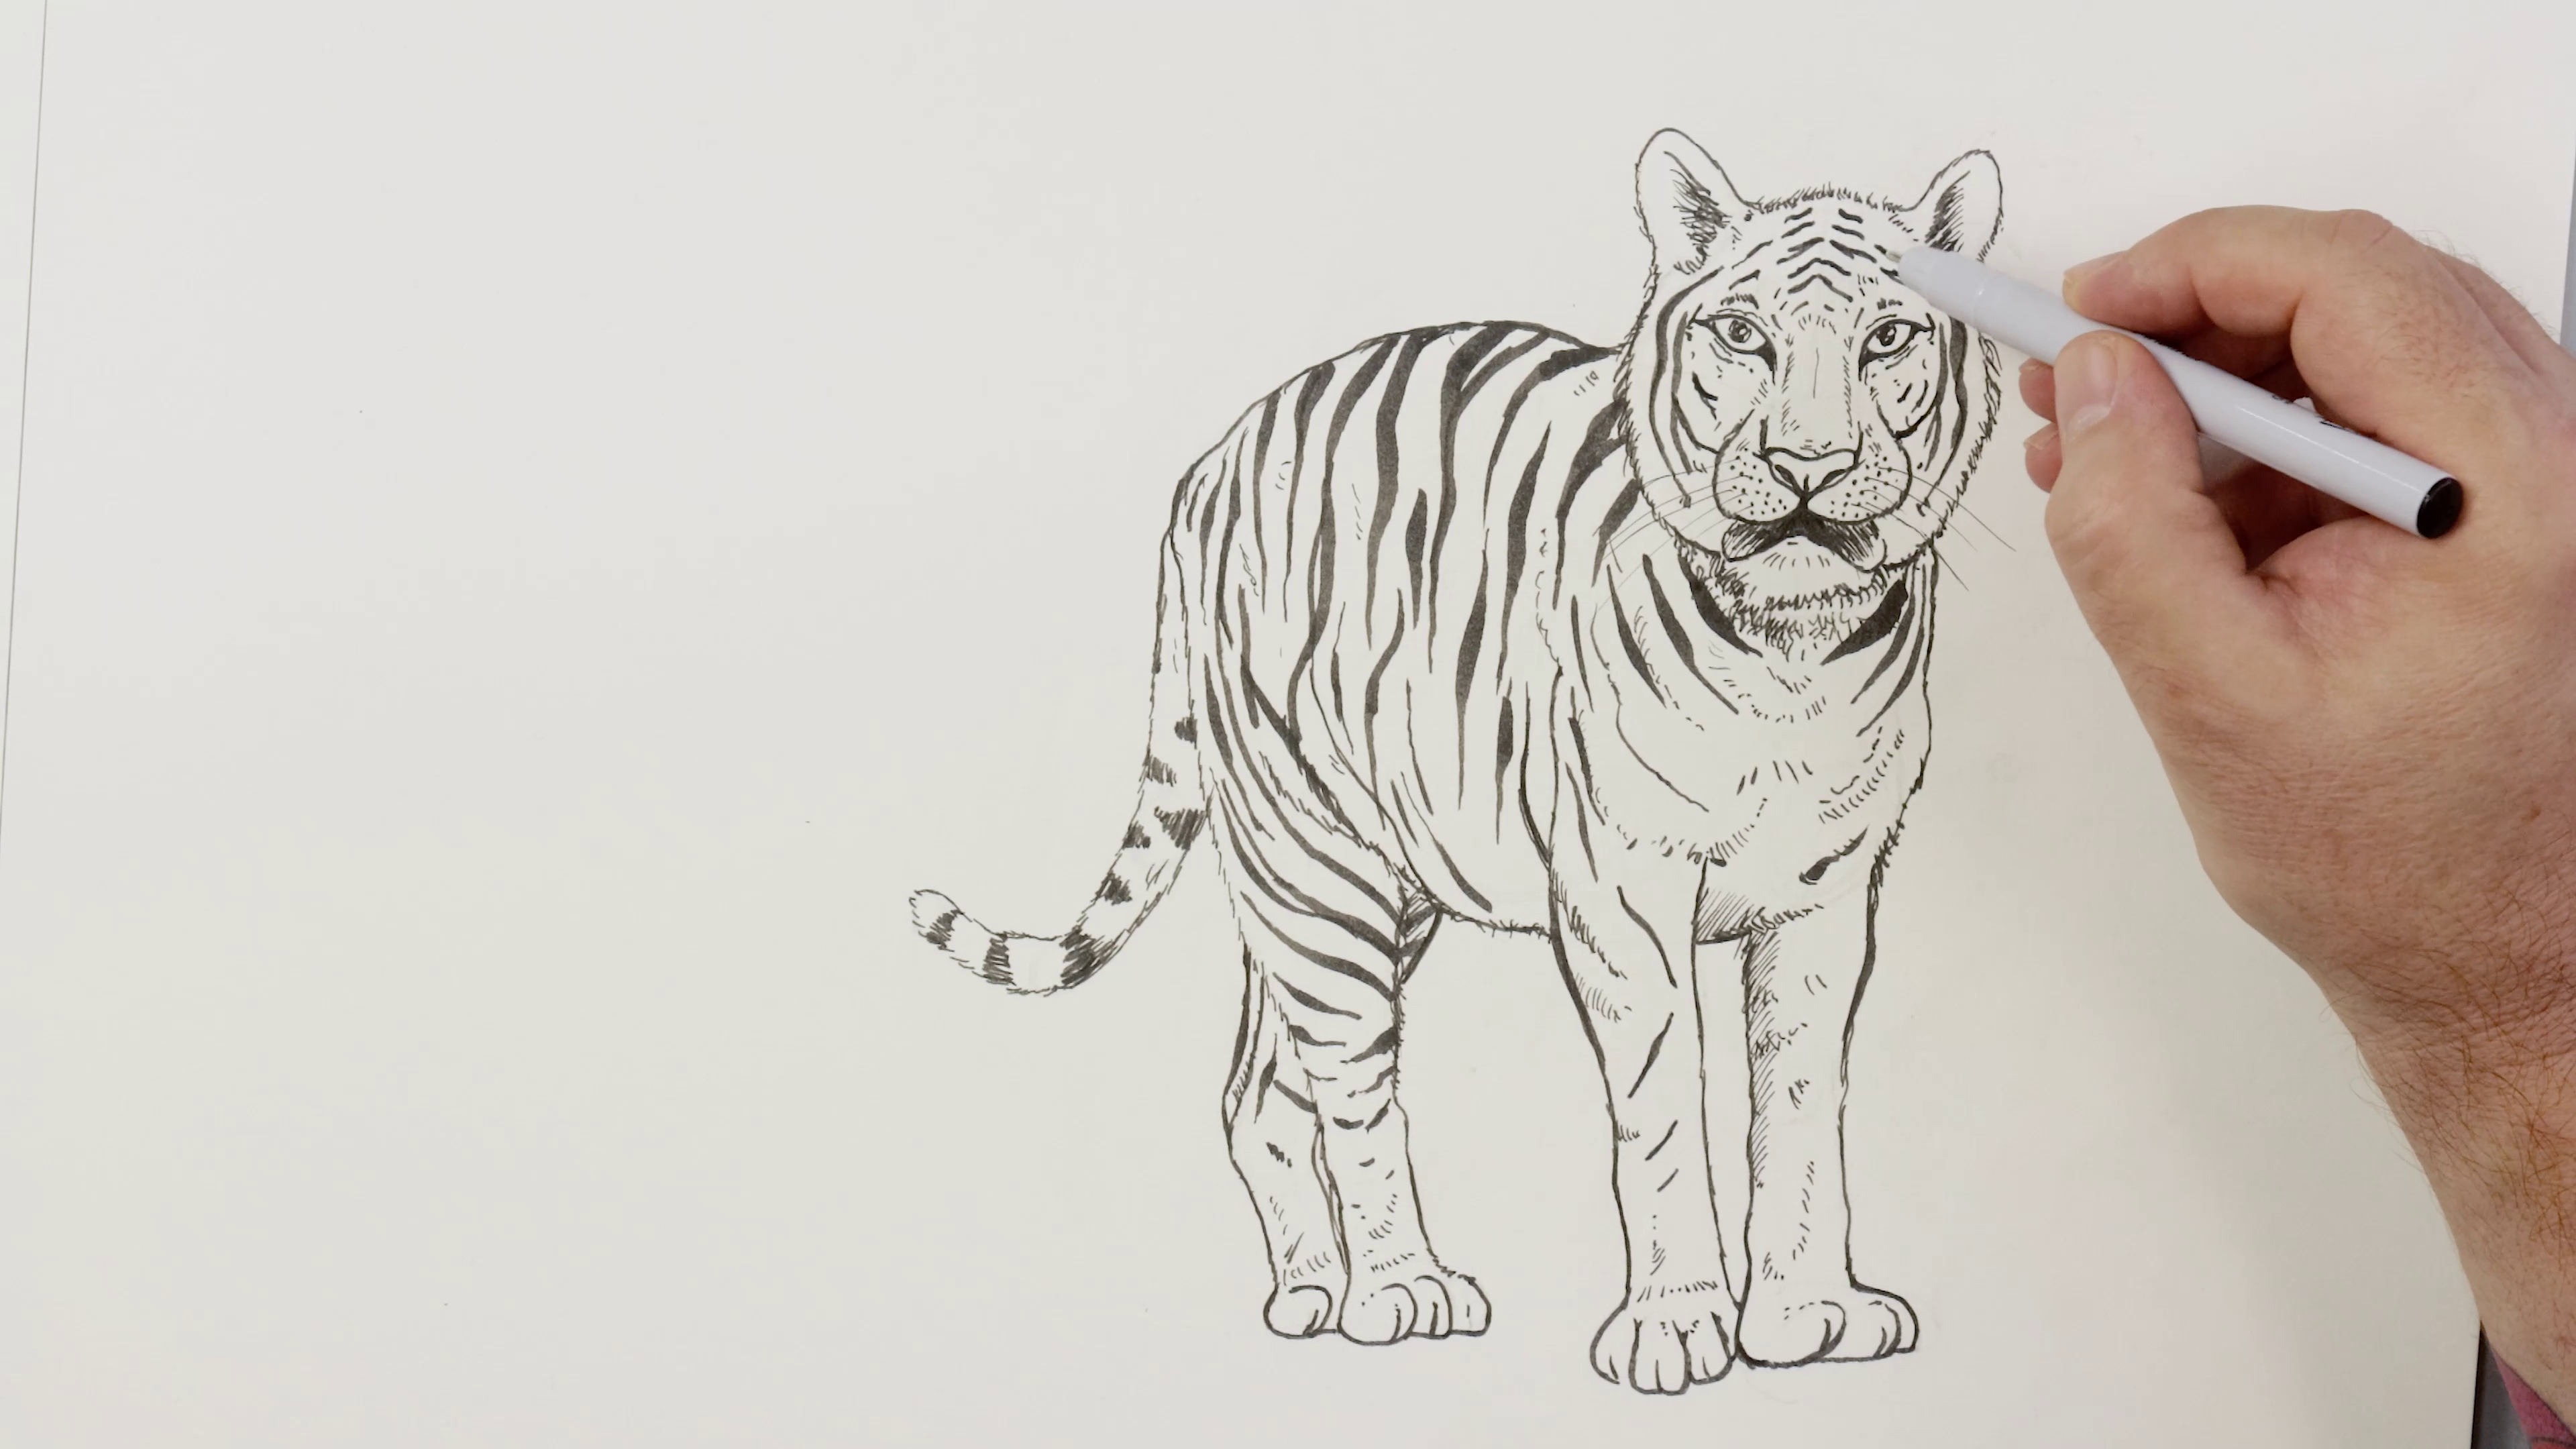
How to draw a tiger
