How to paint an Iris – with botanical artist Karen Green
We are delighted that botanical artist and Pegasus Art tutor Karen Green is able to share a step by step guide to painting a Bearded Iris (Iris x germanica).
Her ever popular painting workshops are the place to come for serious botanical tuition, but this little blog will serve as a taster of how to approach this popular genre. Read on for a list of the materials required, the botanical structure of the plant and of course the basics of botanical painting.
Painting the Iris
Taking it’s name from the Greek goddess of the rainbow, the Iris has a wide variety of flower colours among its many species. However I will be drawing and painting the Bearded Iris (Iris x germanica) with vibrant purple petals.
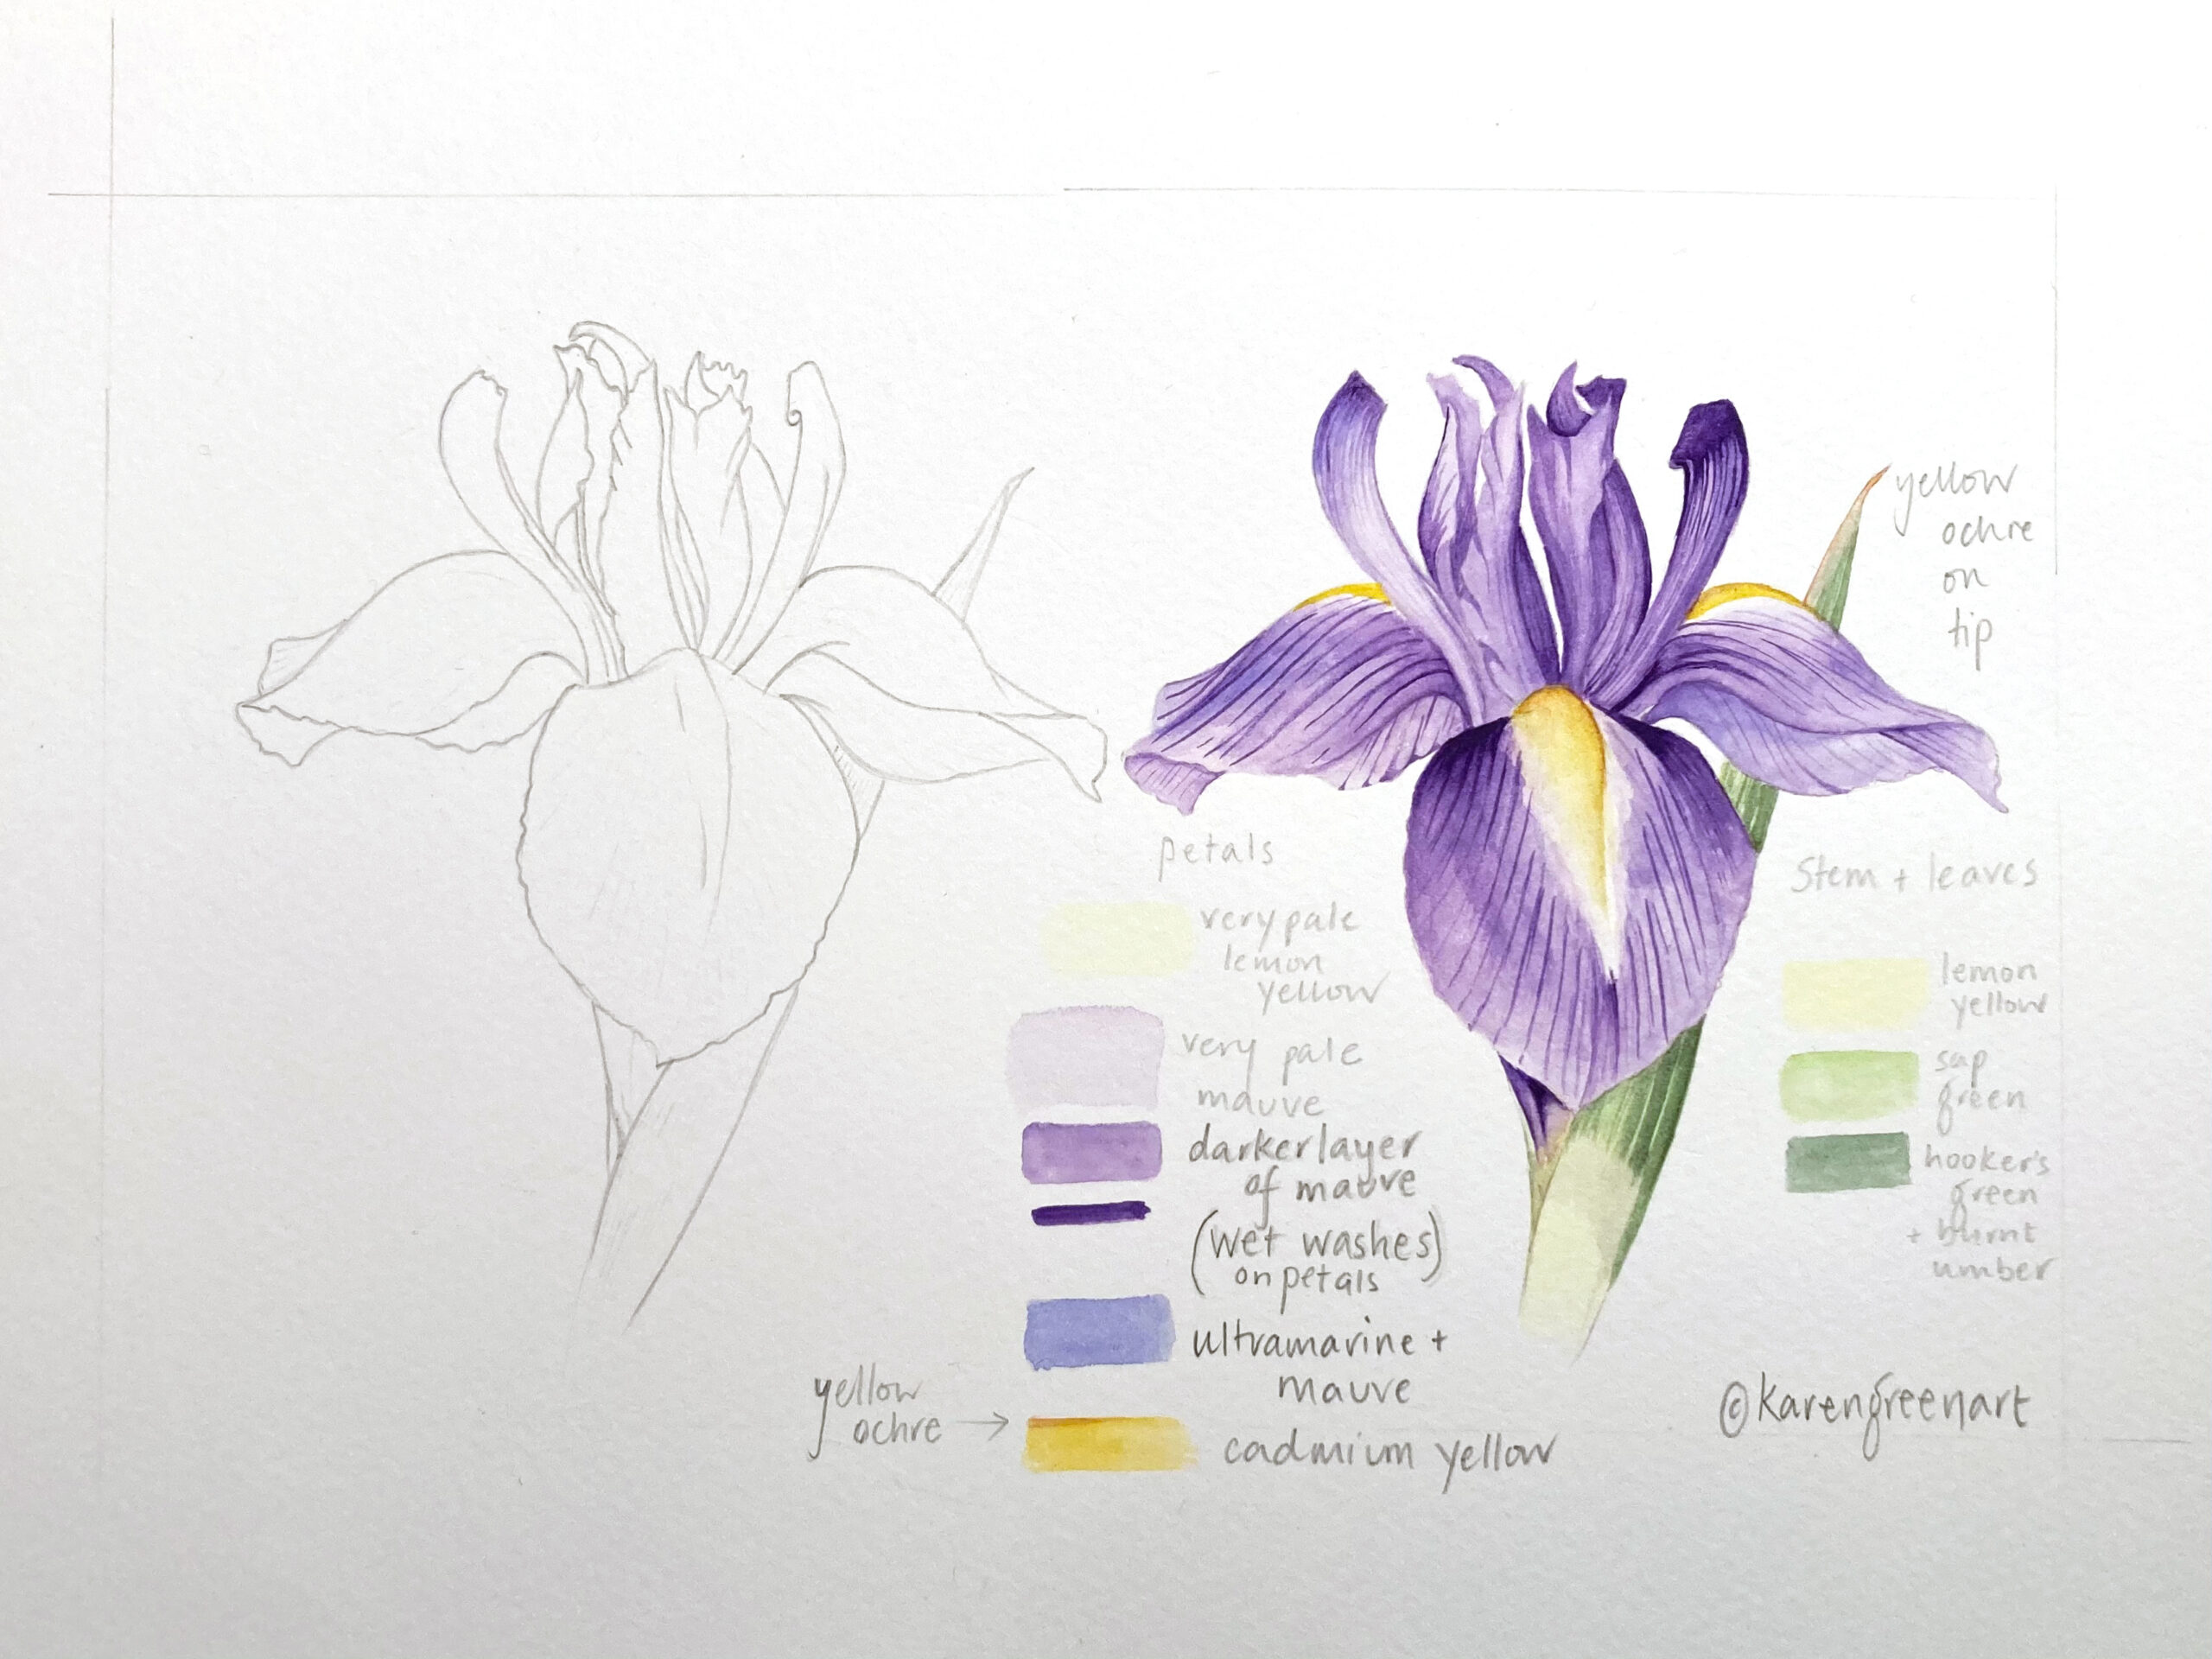
Before beginning any drawing it is always good to have an understanding of how it is botanically structured. The petals are made up of three falls that bend gracefully downwards. The standards are the upper erect three petals of the flower. On top of the fall is the fluffy caterpillar like beard, often in a strikingly contrasting colour to the petals, yellow in the case of the Bearded Iris. The beard acts as a landing pad for the pollinator.
Recommended art materials
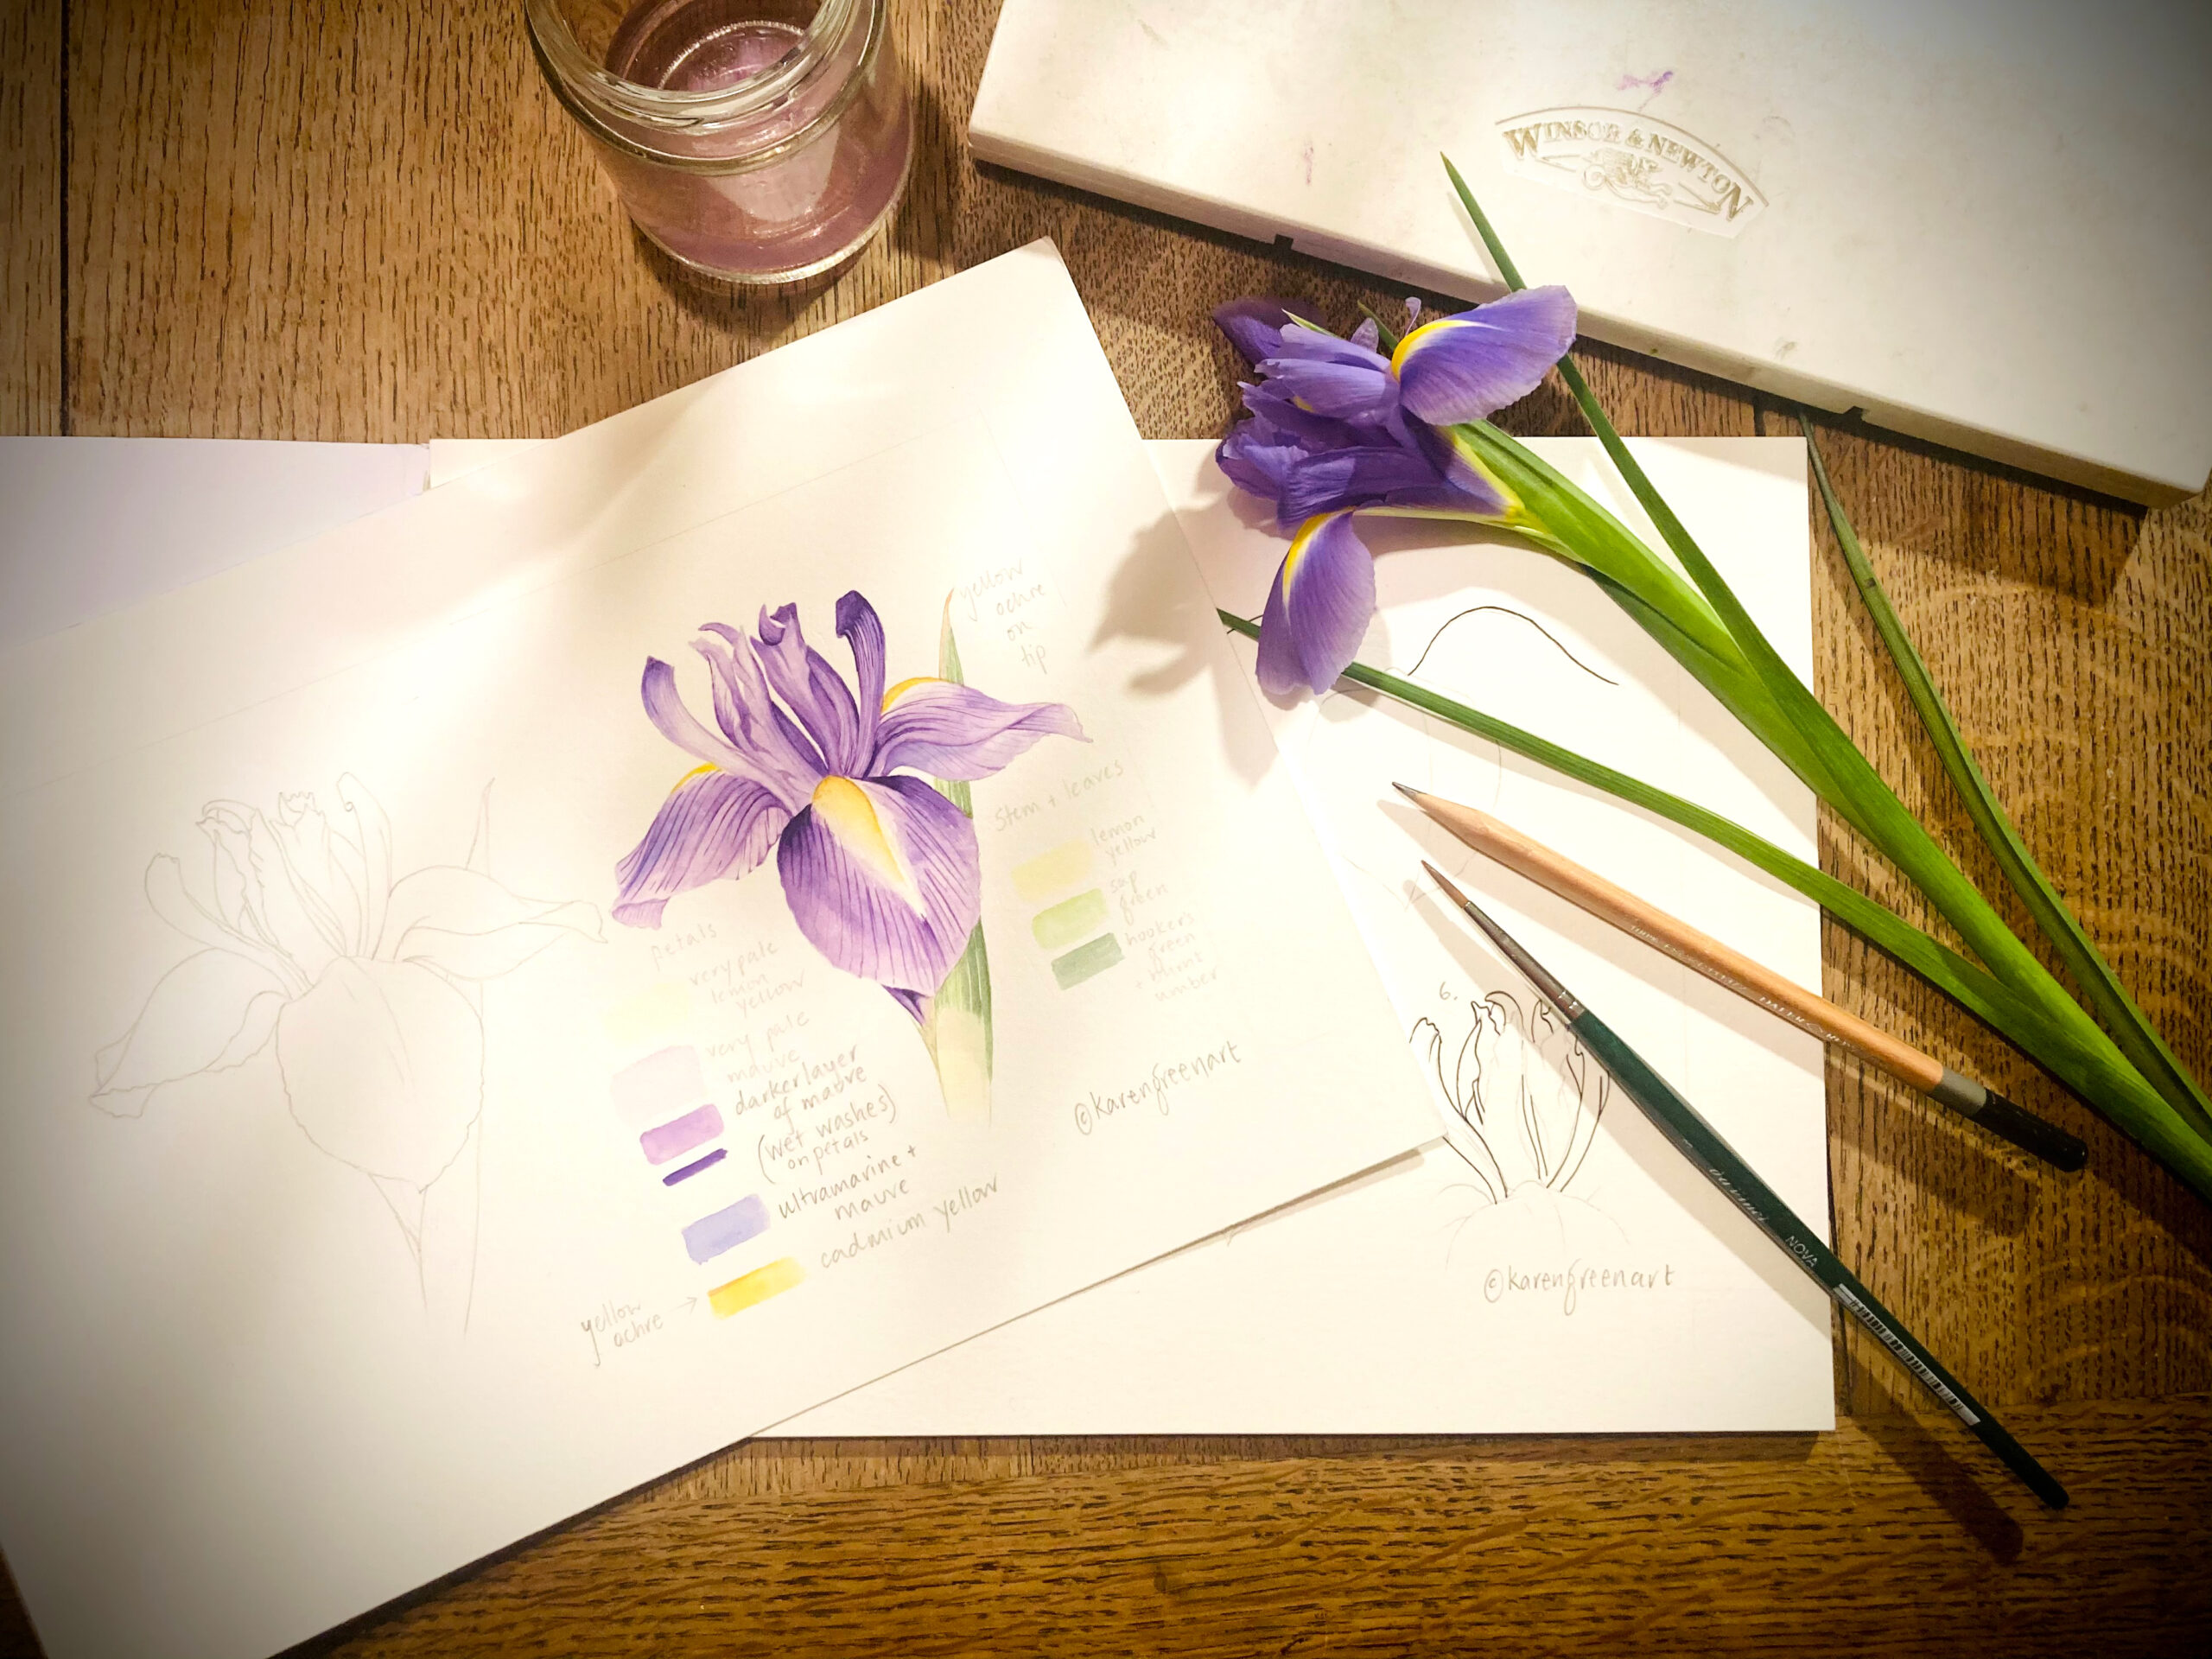
If you fancy a go at creating your own iris painting, I’ve listed below the material you will need. All can be found at Pegasus Art shop and I have given suggested links to the site but you can always use whatever you have to hand.
- Watercolour paper (preferably Hot Pressed – 300gsm)
- https://www.pegasusart.co.uk/arches-watercolour-block-15x30cm-6×12-hot-pressed.ir
- https://www.pegasusart.co.uk/bockingford-block-14×10-300gsm-hp.ir
- A sharp HB pencil
- Putty rubber – a normal rubber is also fine
• Selection of watercolour paints – I have used lemon yellow, cadmium yellow, yellow ochre, sap green, hooker’s green, burnt umber, mauve and ultramarine, but you can always experiment with what you have and find the closest alternative.
https://www.pegasusart.co.uk/winsor-newton-watercolours-individual-colours-in-half-pans.ir
https://www.pegasusart.co.uk/cotman-watercolour-compact-set.ir
• A thin paintbrush – I used size 1 and 3 but use whatever you feel comfortable with.
https://www.pegasusart.co.uk/da-vinci-botanical-art-watercolour-brush-set-x-3-vegan.ir
• A pot of water
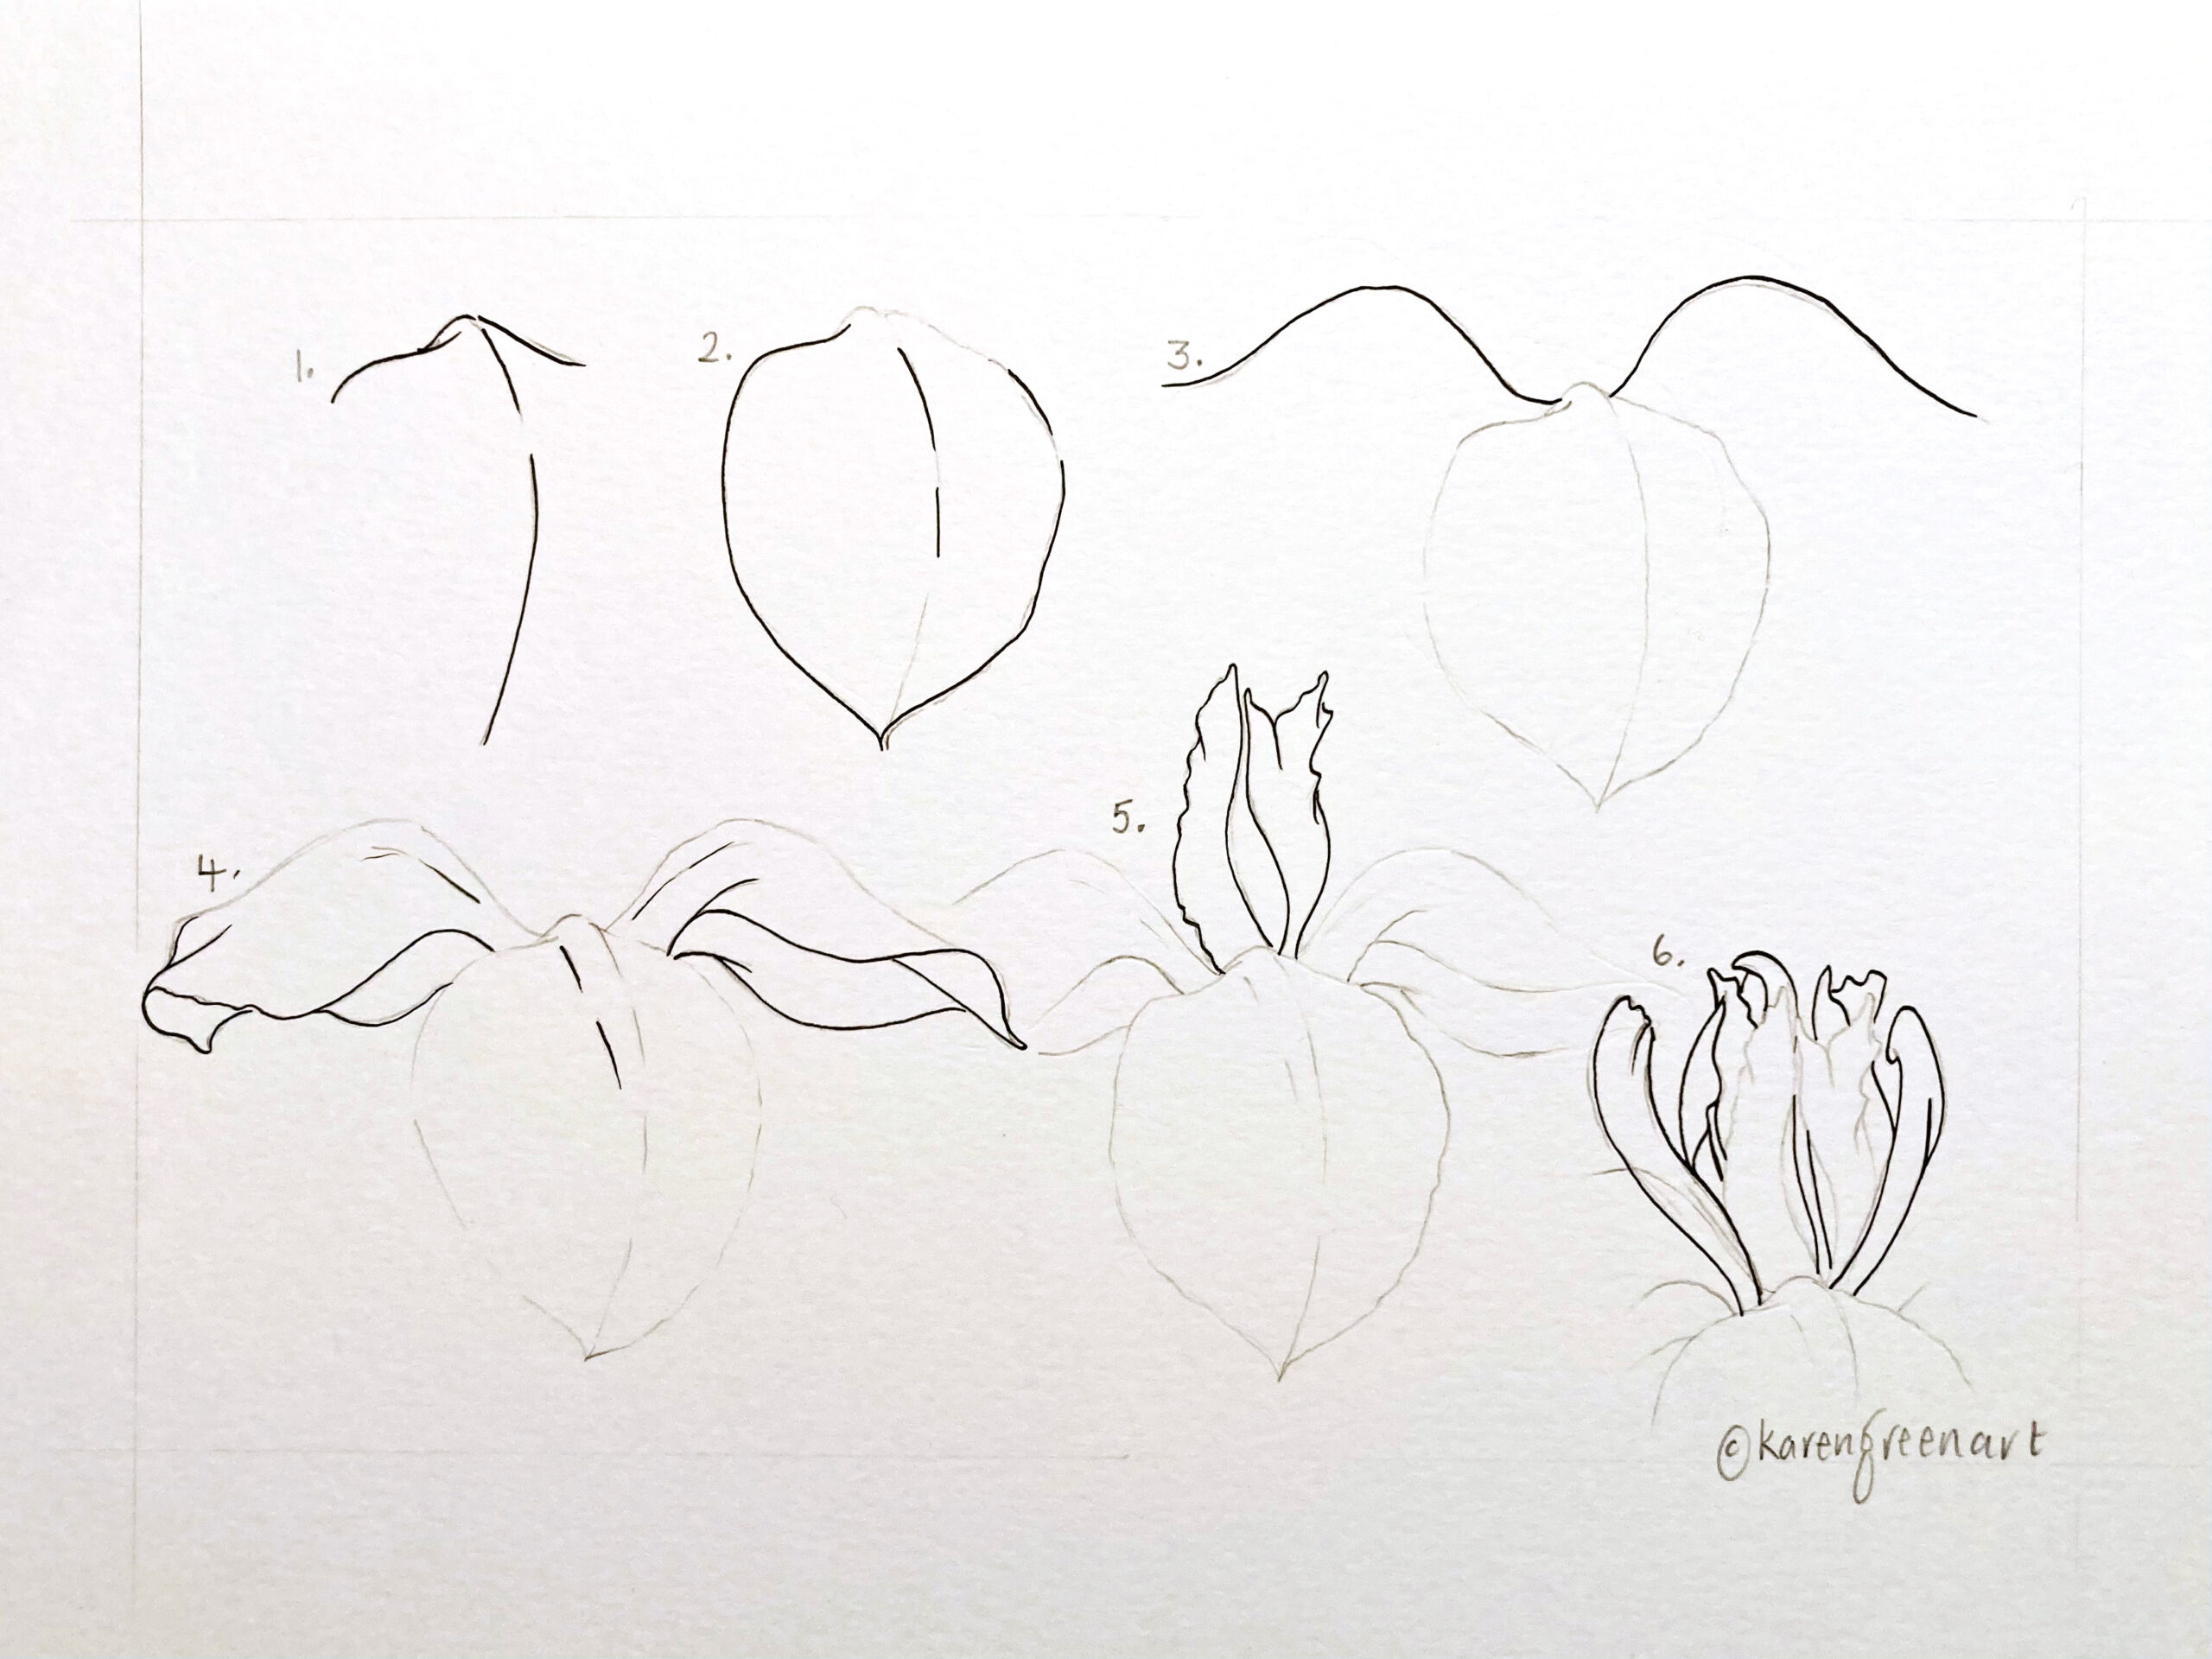
Follow the simple step by step instructions for drawing out the flower, try to make clean, very light lines with your pencil rather than ‘sketchy’ back and forth marks – be confident! You don’t want to see the pencil lines once you have finished the painting so use your putty rubber to dab away at any unwanted marks and ones that are too heavy and dark.
Using the watercolour guide below, always test your colours on a scrap piece of watercolour paper first before applying. The first layers should be very light and slowly the colours should build up in intensity. Use a wetter wash for the base layer, wait for this to dry and then apply another layer on top using more pigment and less paint. You can build up three layers of the mauve paint, this technique is called glazing and gives your painting depth and luminosity.
If you would like more support and guidance on painting plants and flowers botanically, Karen Green runs Botanical Art workshops at Pegasus Art. Forthcoming workshops include:
Blossom Botanical Painting workshop
Saturday 7th May
10am – 4pm £80
Peas & Pears Botanical Painting workshop
Saturday 24th September
10 – 4pm £80
There will also be a Winter Botanical workshop coming soon.

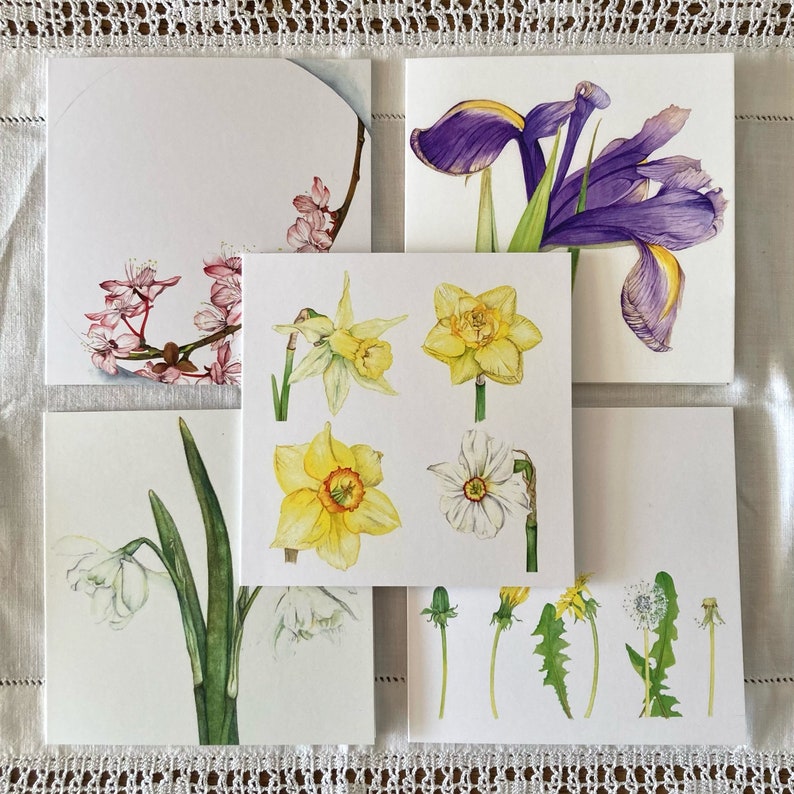
You can buy Karen’s botanical illustrations online here:
https://www.karengreenart.com/
Her Instagram account is:
https://www.instagram.com/karengreenart/?hl=en
You can buy her Botanical Gift cards on Etsy here: