
Parol DIY v. 2.0
A parol is a star lantern hung up in Filipino homes during the Christmas season. Last year, I made my first parol. You can find that DIY here. This year, I upped the game on the parol by making it three dimensional! The 1.0 version was made of popsicle sticks because I had trouble finding bamboo sticks and because popsicle sticks have no bend, it was a flat parol for Christmas 2019! So this year I was excited to finally find those bamboo sticks (for real most of the reviews on Amazon were about how perfect it was for making parol!). So let’s get to it!
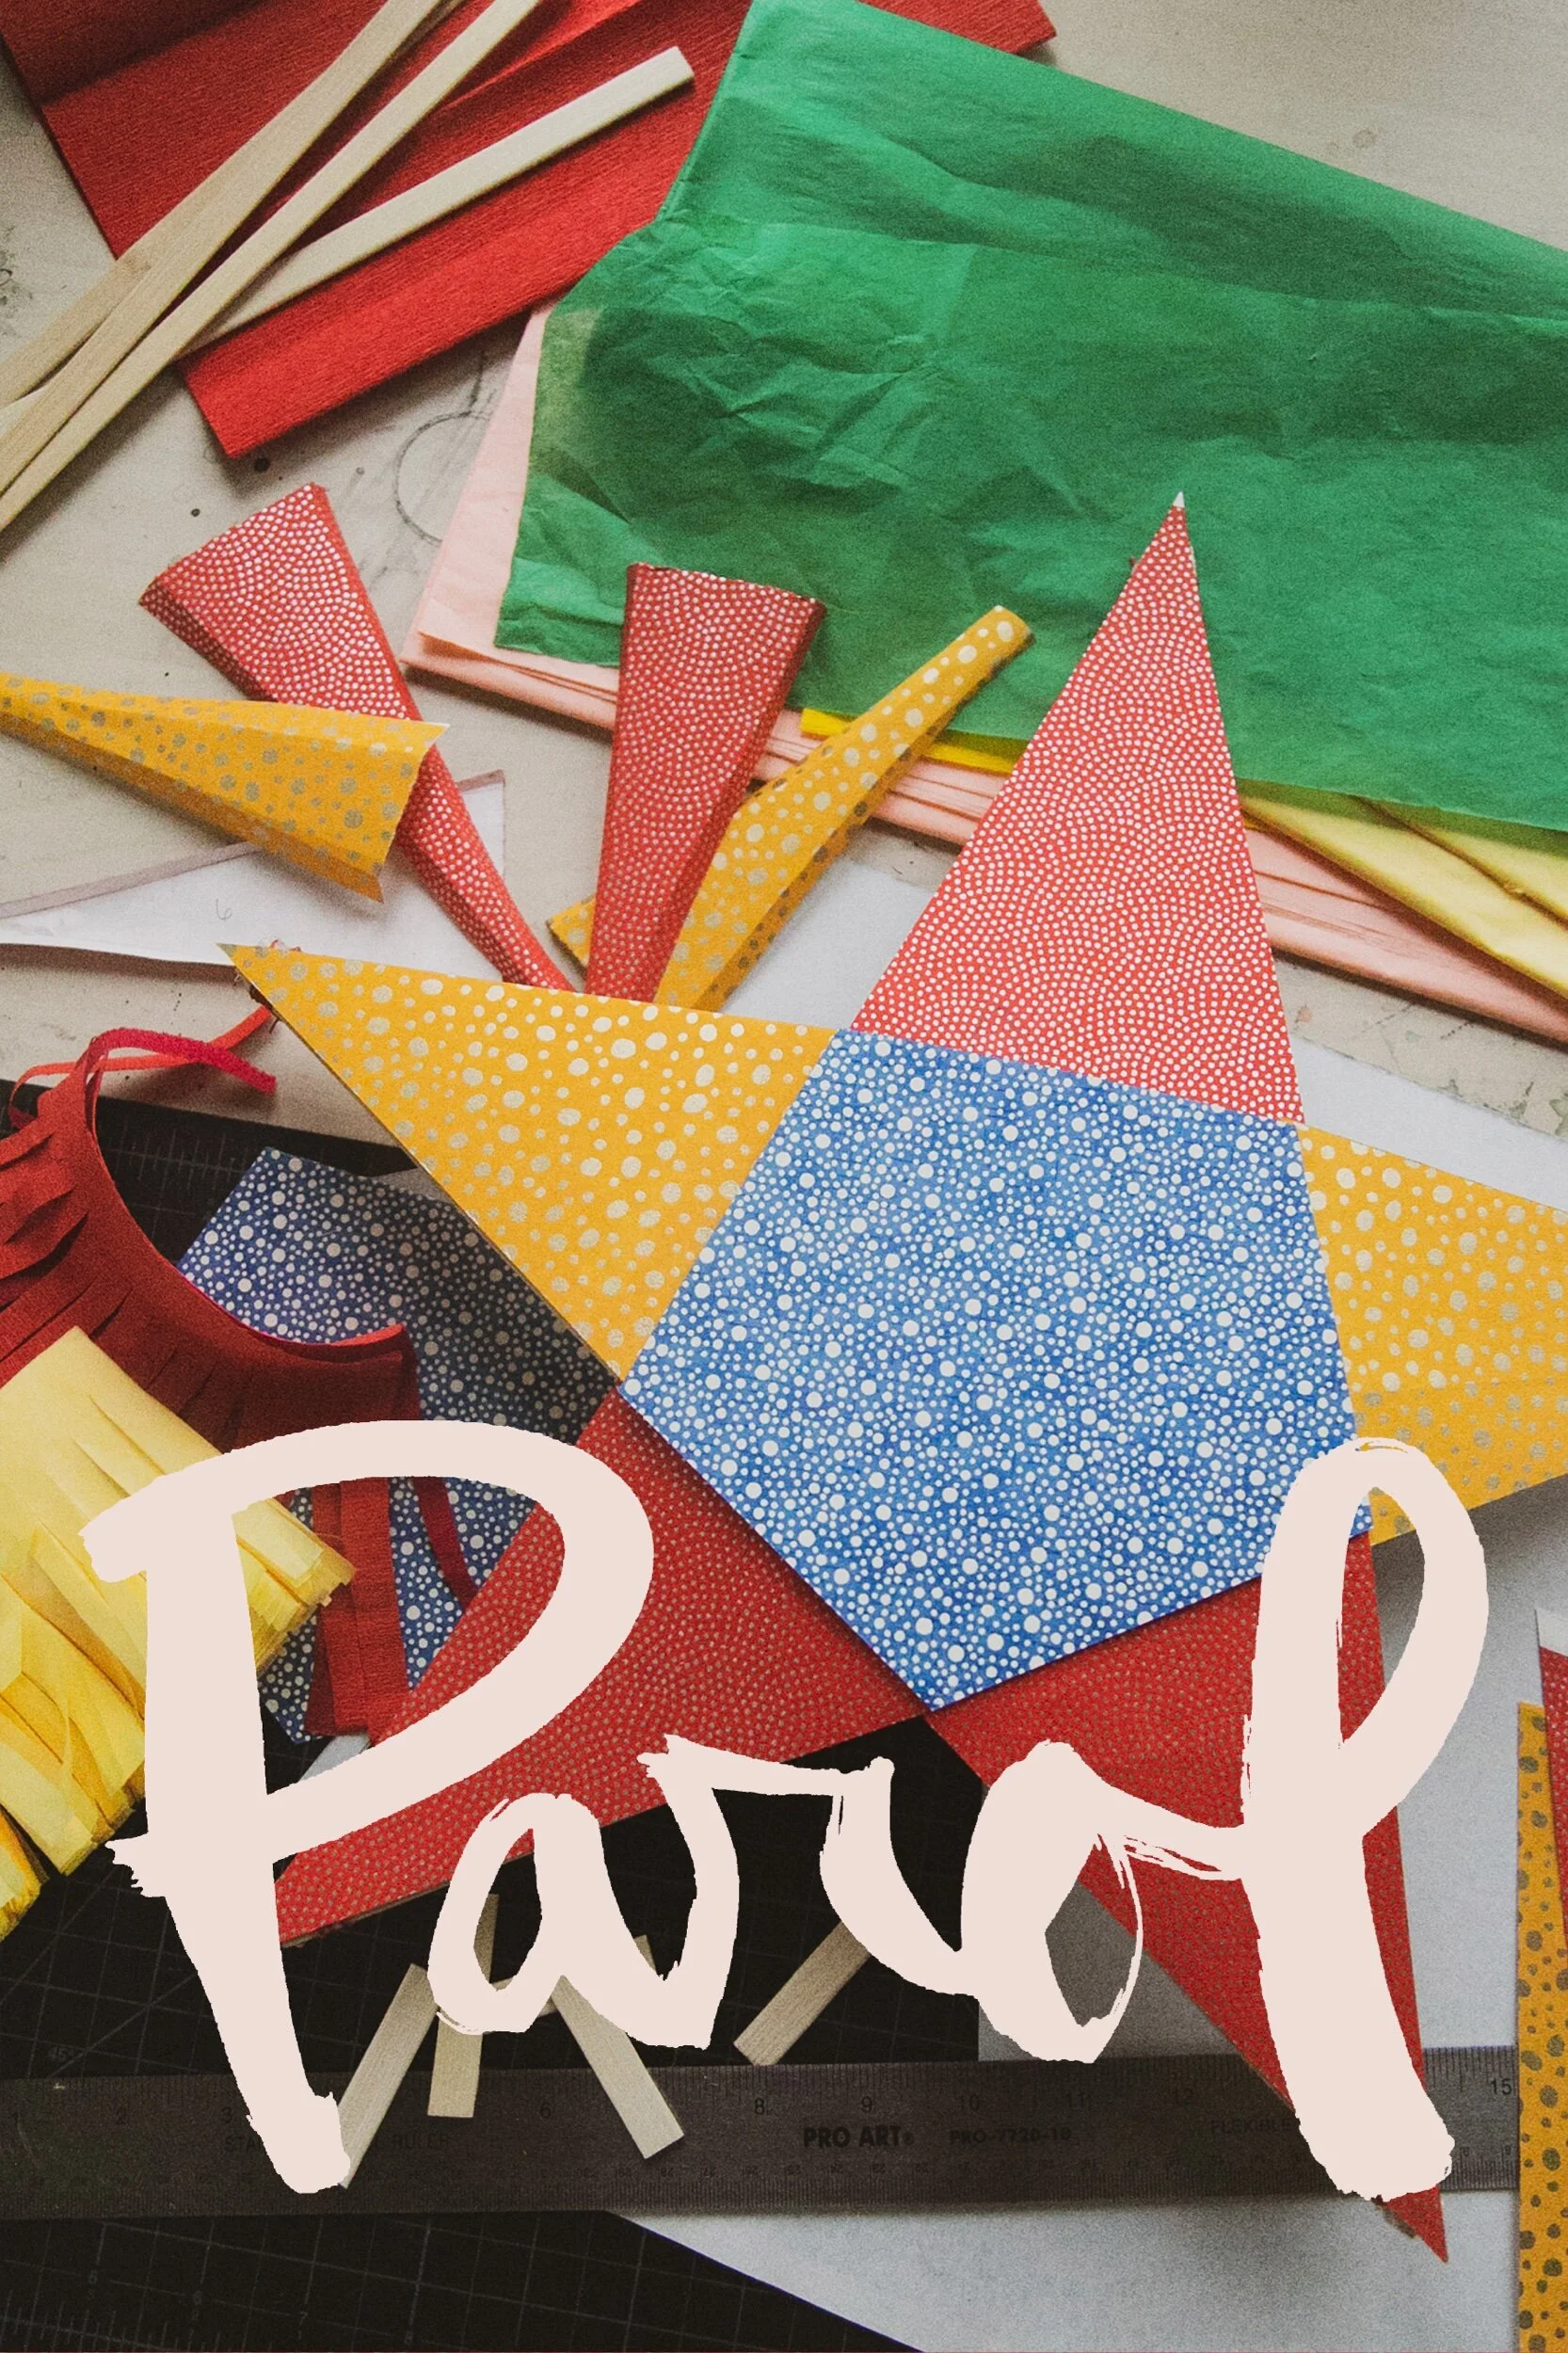
WHAT YOU NEED:
Bamboo Sticks — I used 15.5 in sticks from here. 10 to make the star and several 2 inch pieces for the inside.
Glue for paper and hot glue gun for building the star frame.
Paper — I used Japanese paper from here and crepe paper and tissue paper from here.
Wax Coated Thread from here
Washi Tape from here and a Stapler
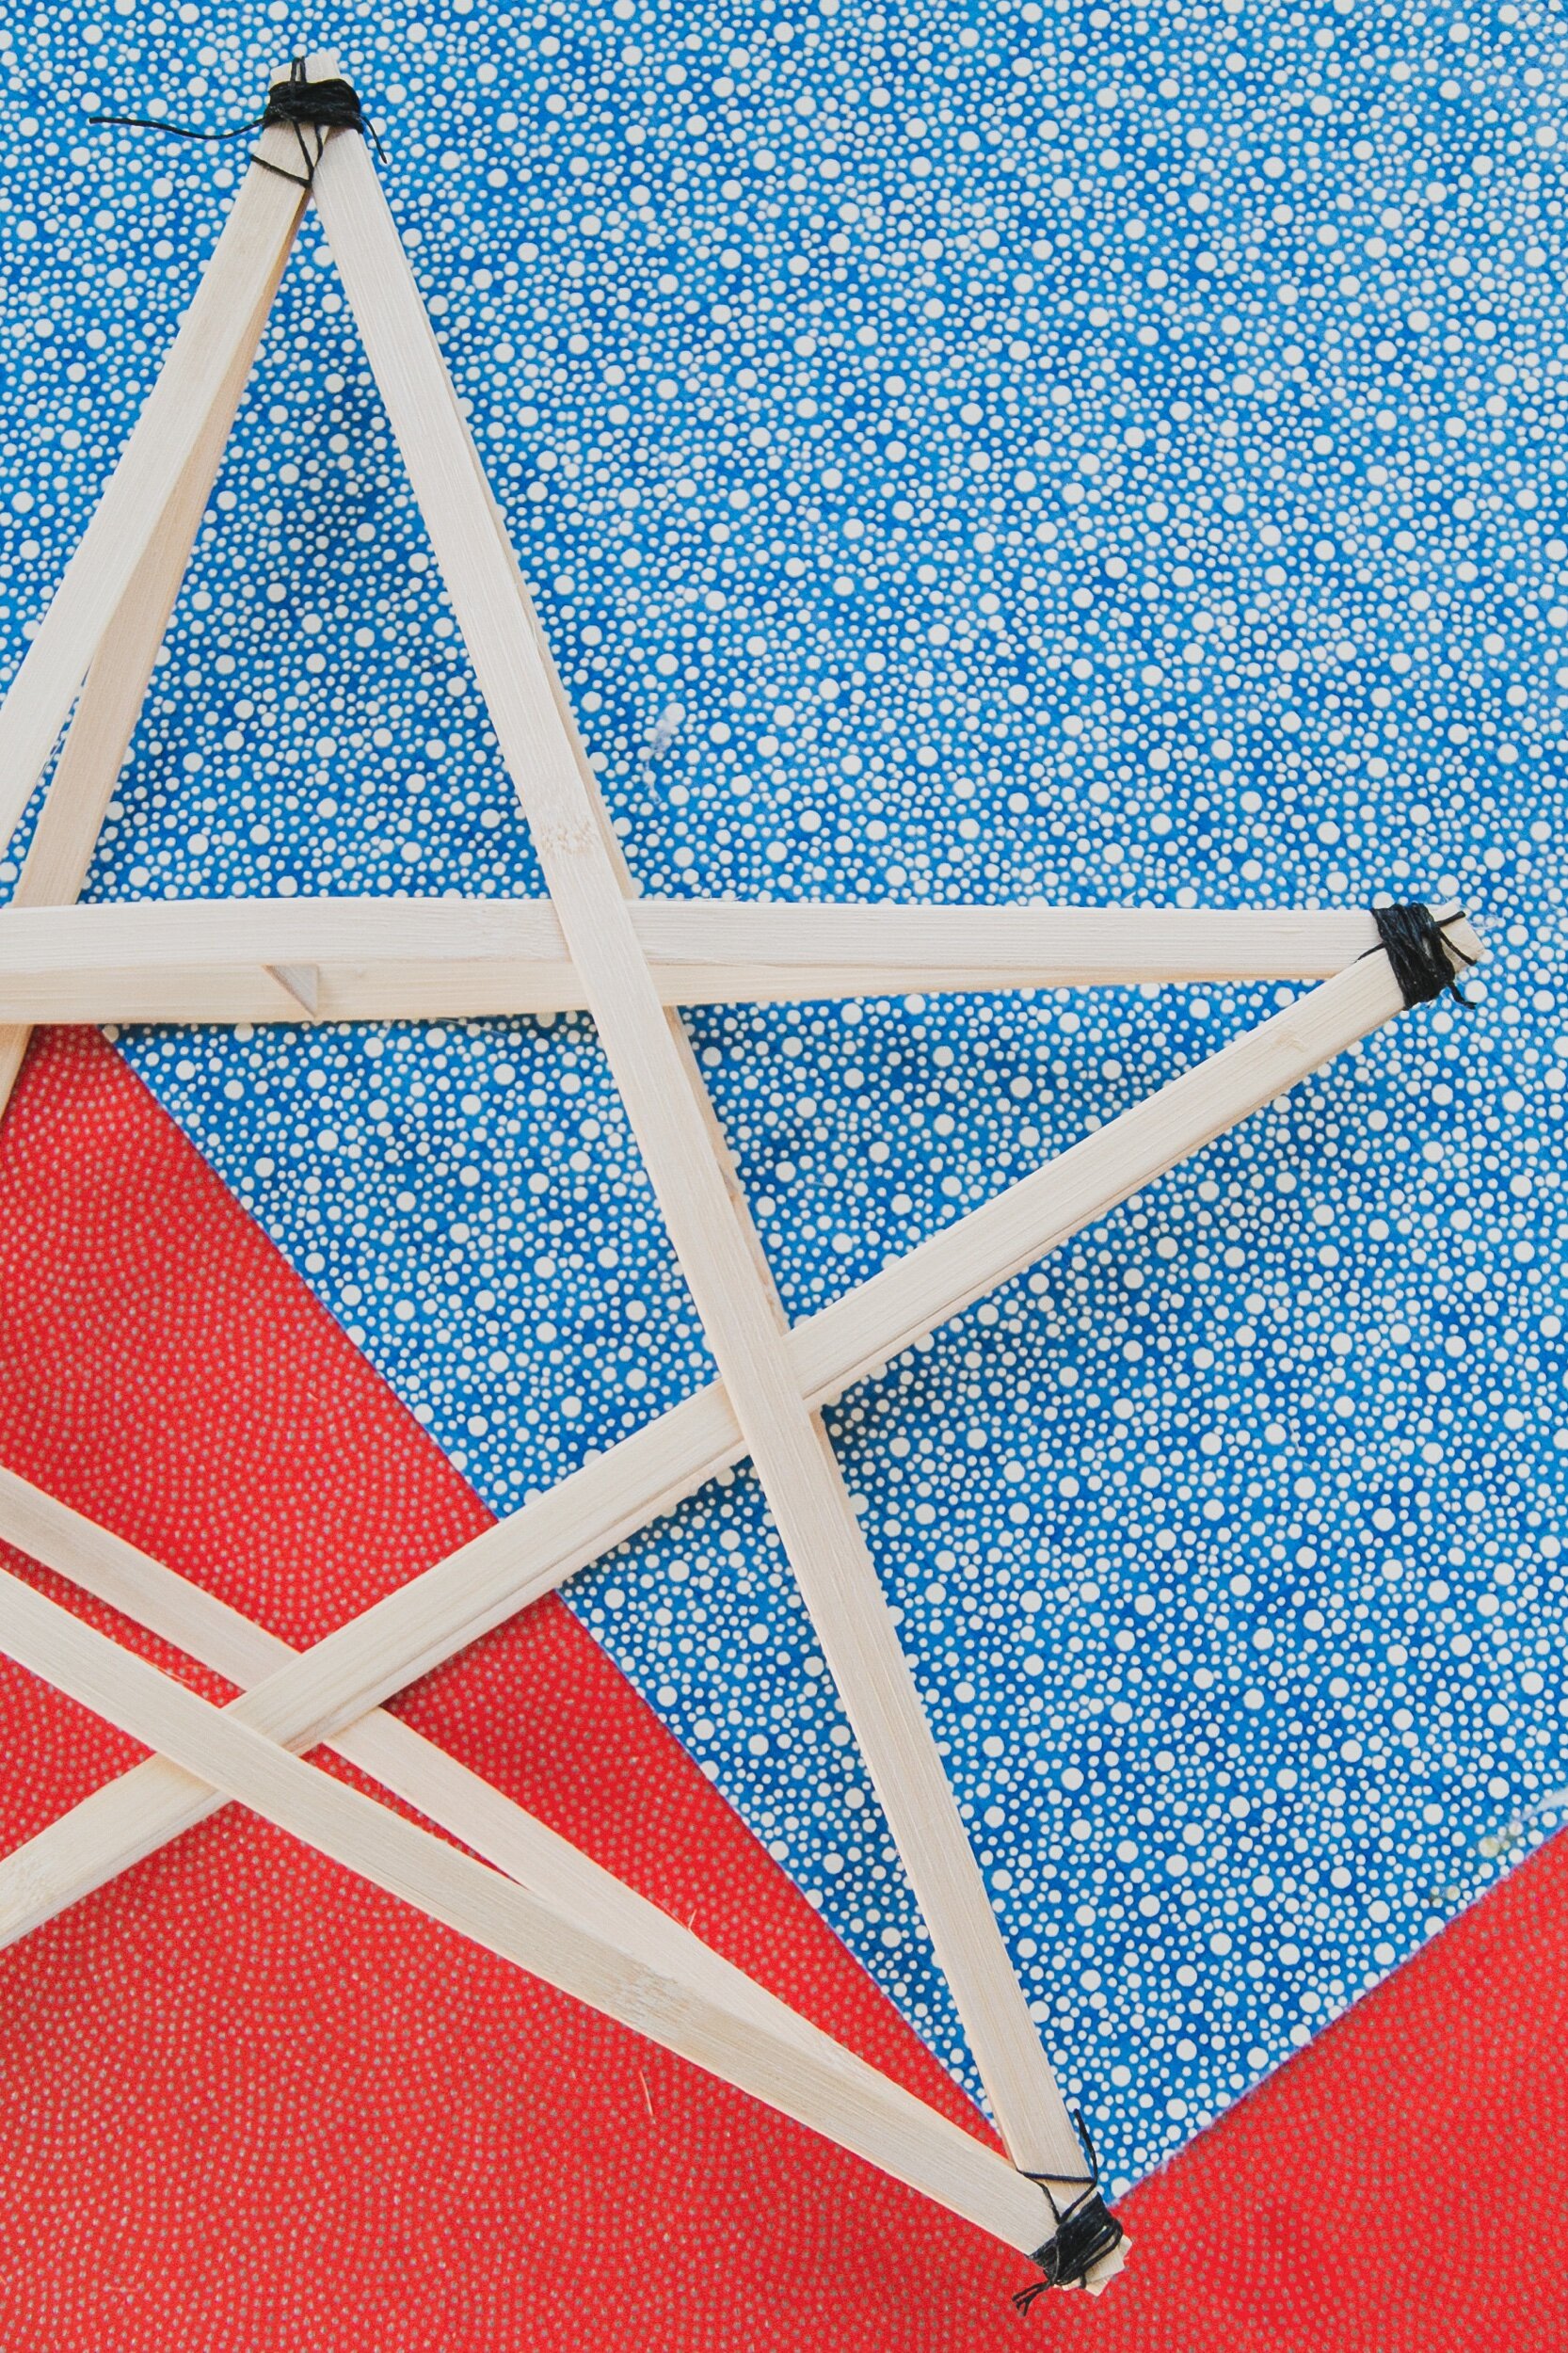
First you’ll build a star and then build a second star directly on top of the first star. Mark where the top of the star is with a pen or pencil. I put the star together with a hot glue gun so it’ll stay put when I tie each point together. When you insert the 2 inch bamboo pieces the glue alone won’t hold the tension so the wax thread is needed for a secure hold.
After the two star frames have been glued together and have cooled, secure each point with wax thread. Then insert the 2 inch bamboo pieces at every side and the intersecting bamboo sticks of the center to open up the star. Secure each bamboo piece each with glue.


Next, mark each segment of the star to indicate what color paper will be used there. Then mark each side of the star 1 through 10. You’ll be managing several pieces of paper all in various sizes so this is the easiest way to keep track of each piece of paper and where they’ll be glued.
Trace each side of the star and give a 1/4 to 1/2 inch margin on each side. This extra space is where you will apply the glue and then fold this section over to the front and back of the star to adhere the paper. I traced and cut out templates on card stock first because if you’re using Japanese paper, pencil marks are difficult to erase. If you don’t mind pencil marks, by all means skip this step! Trace and then score where the margin is. This helps make folding over the lip of paper easier. And remember, number what piece you are tracing/cutting out so you don’t loose track of which piece belongs to what side!
With all pieces cut out and labeled (you labeled each piece, right!?) start gluing!


Just some thoughtful advice, glue the sides first before the triangular segments. You want the triangle pieces to cover up the excess of the side pieces. DO NOT GLUE DOWN THE POINTS OF THE STAR. Leave an opening at each point to insert the tassels. You can refer to this DIY to learn how to make tassels. Don’t worry about the points of the star looking unfinished. You will add tassels to cover them up.
Lastly, you can add any other embellishments, but most importantly don’t forget the string from which you’ll hang the star! And that’s it! Happy crafting and Merry Christmas!


